...because home doesn't happen overnight.
Okay, so yesterday I took inventory of the things I love and detest most about our home. (And for time’s sake, I’m just talking interior…the exterior is a whole ‘nother ball game.) Following Real Simple‘s “What’s Your Decorating Style?” article featured in the March 2010 issue, I was on to Step Two. This step required me to compile a plethora of small objects, momentos, jewelry and even clothing that makes me feel joyful and inspired. I browsed around the house picking out my favorite home accessories then made my way into my bedroom to grab some lovable clothes and jewelry. Here’s the Little Lovies Stash I ended up with:

I found it beneficial to take a picture of my stash. For some reason, seeing my items in a photograph was like seeing them for the first time. My pile of favorites included the following:

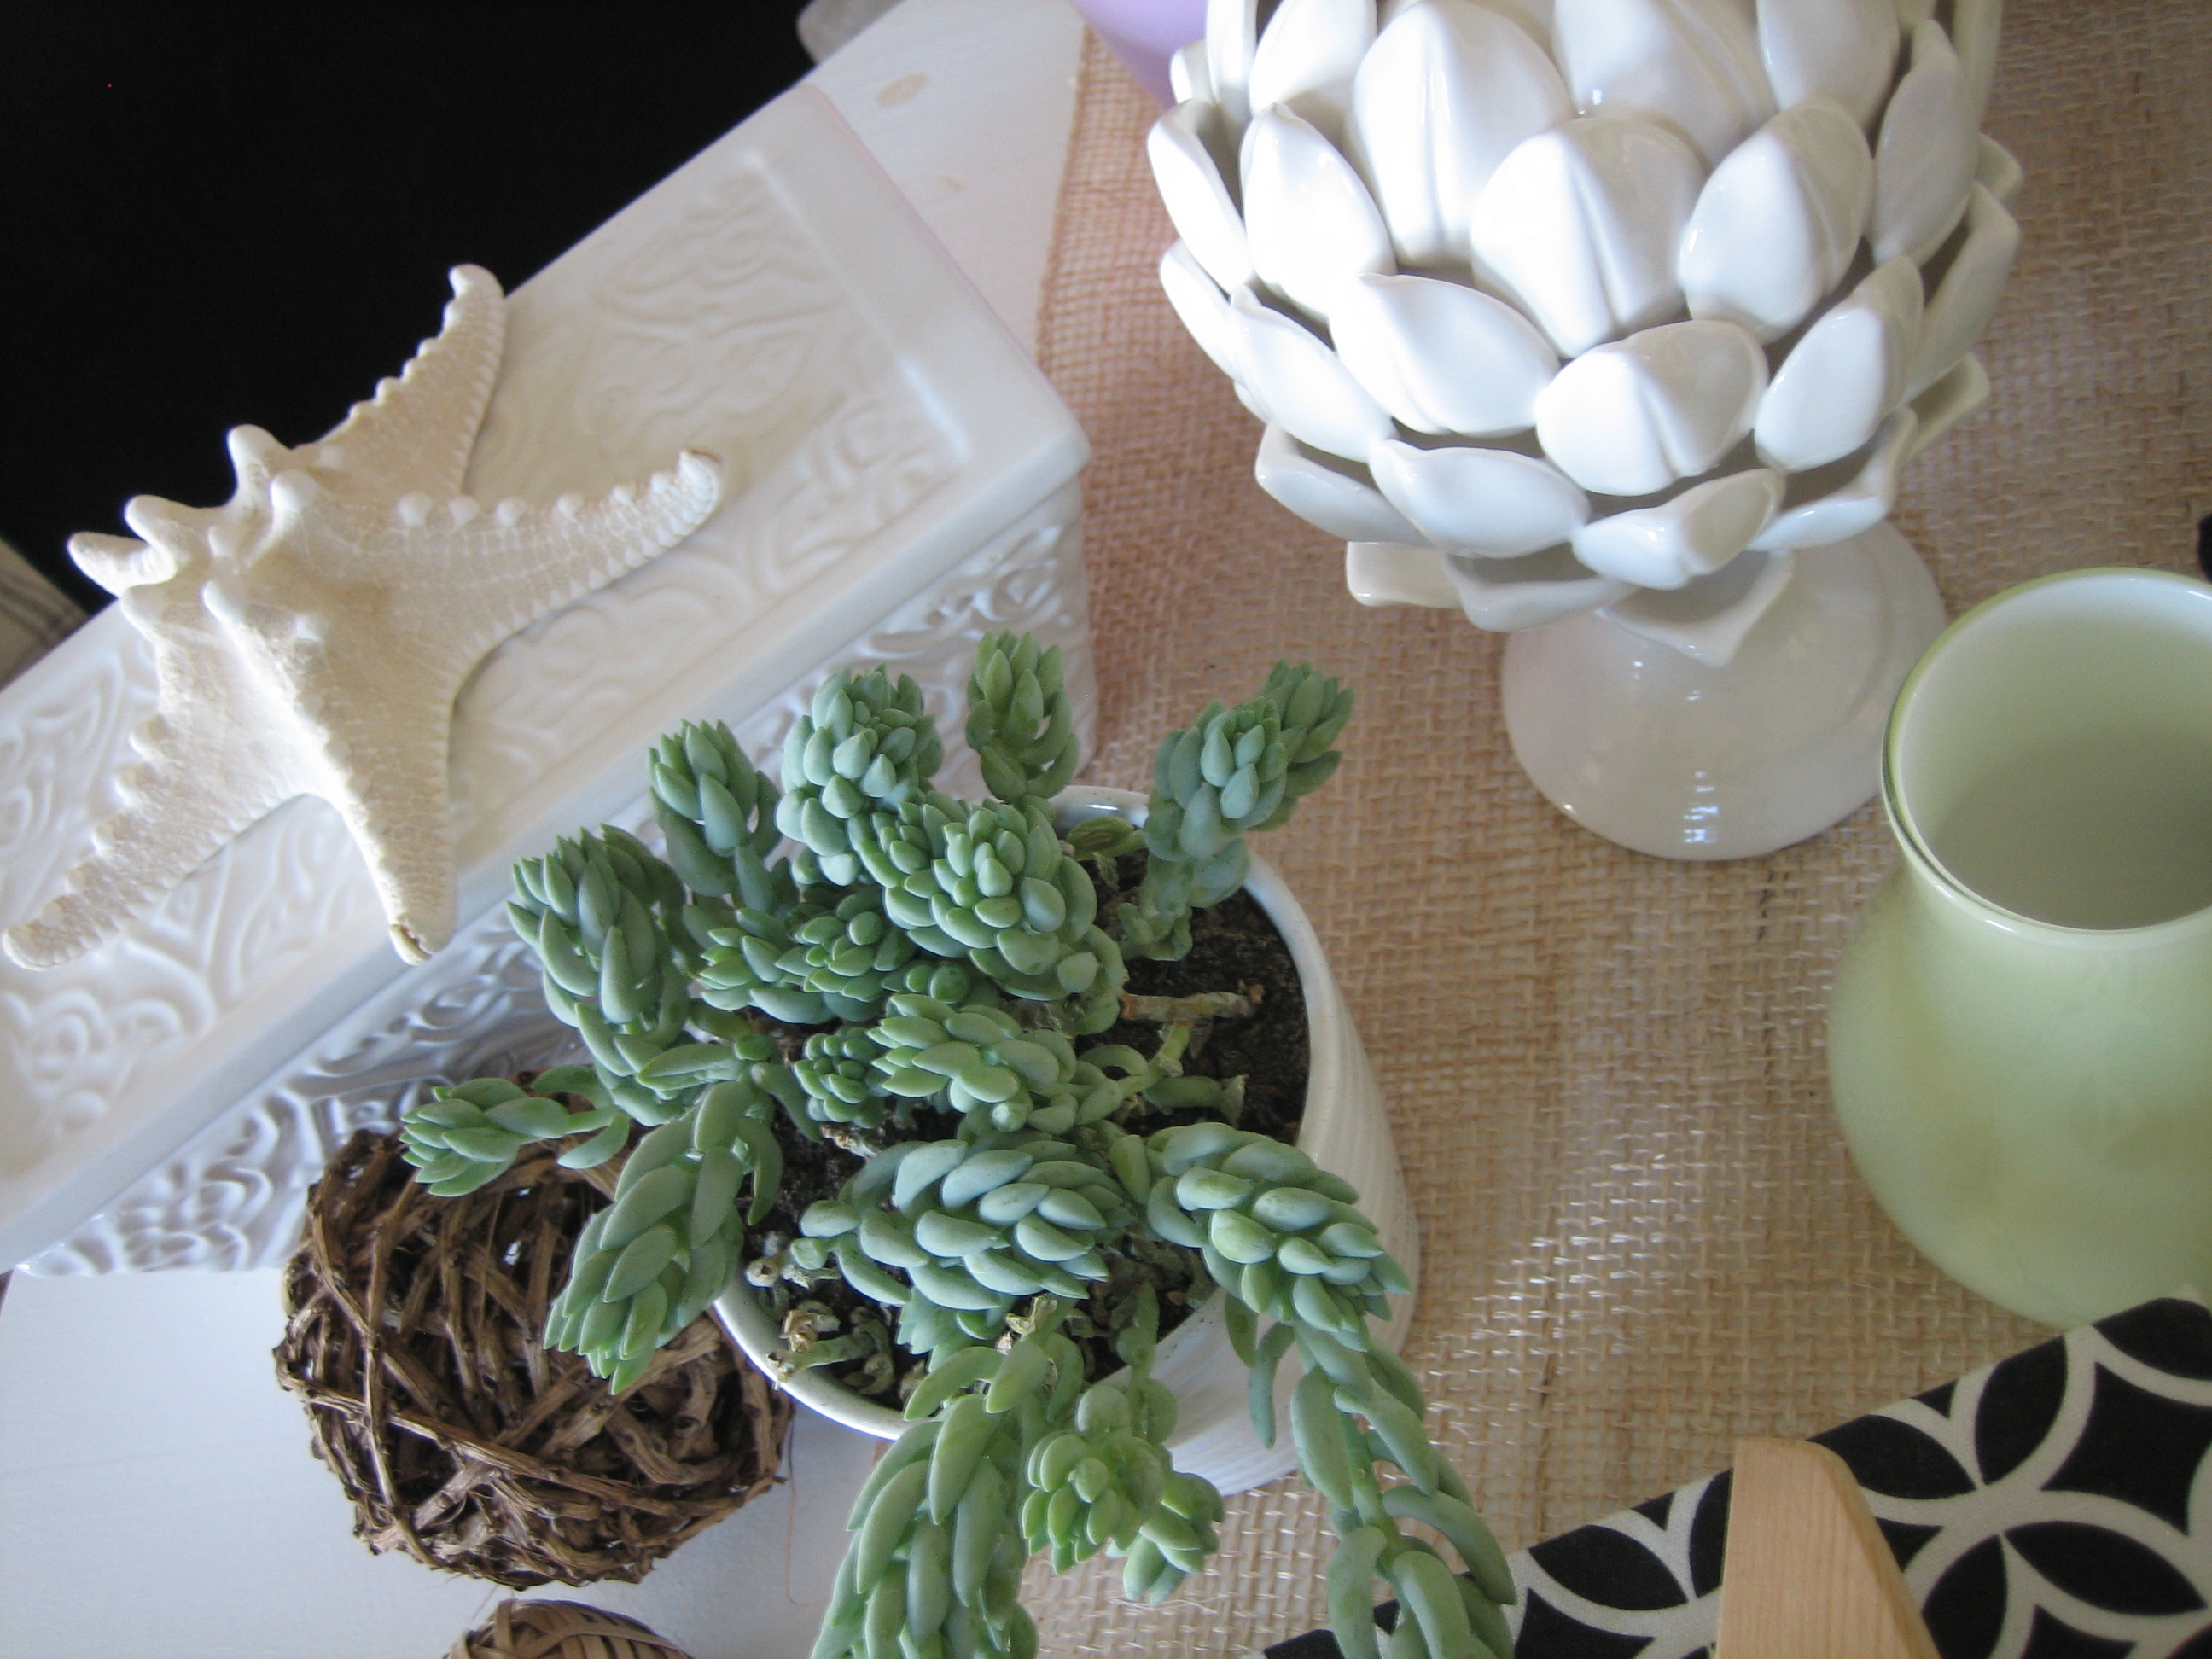
(a starfish from Everett’s nursery, a white ceramic box given to me by my Grandma, a Burrow’s Tail planted in a white IKEA pot, 2 textural stick spheres, a white porcelain artichoke gifted by Handy Hubby, a light green IKEA vase and a woven table runner beneath all of that)

(a false book – the kind that you open to find hidden storage inside – in a geometric black-and-white patterned fabric and a playful wooden airplane from Goodwill that reminds me of my boys)

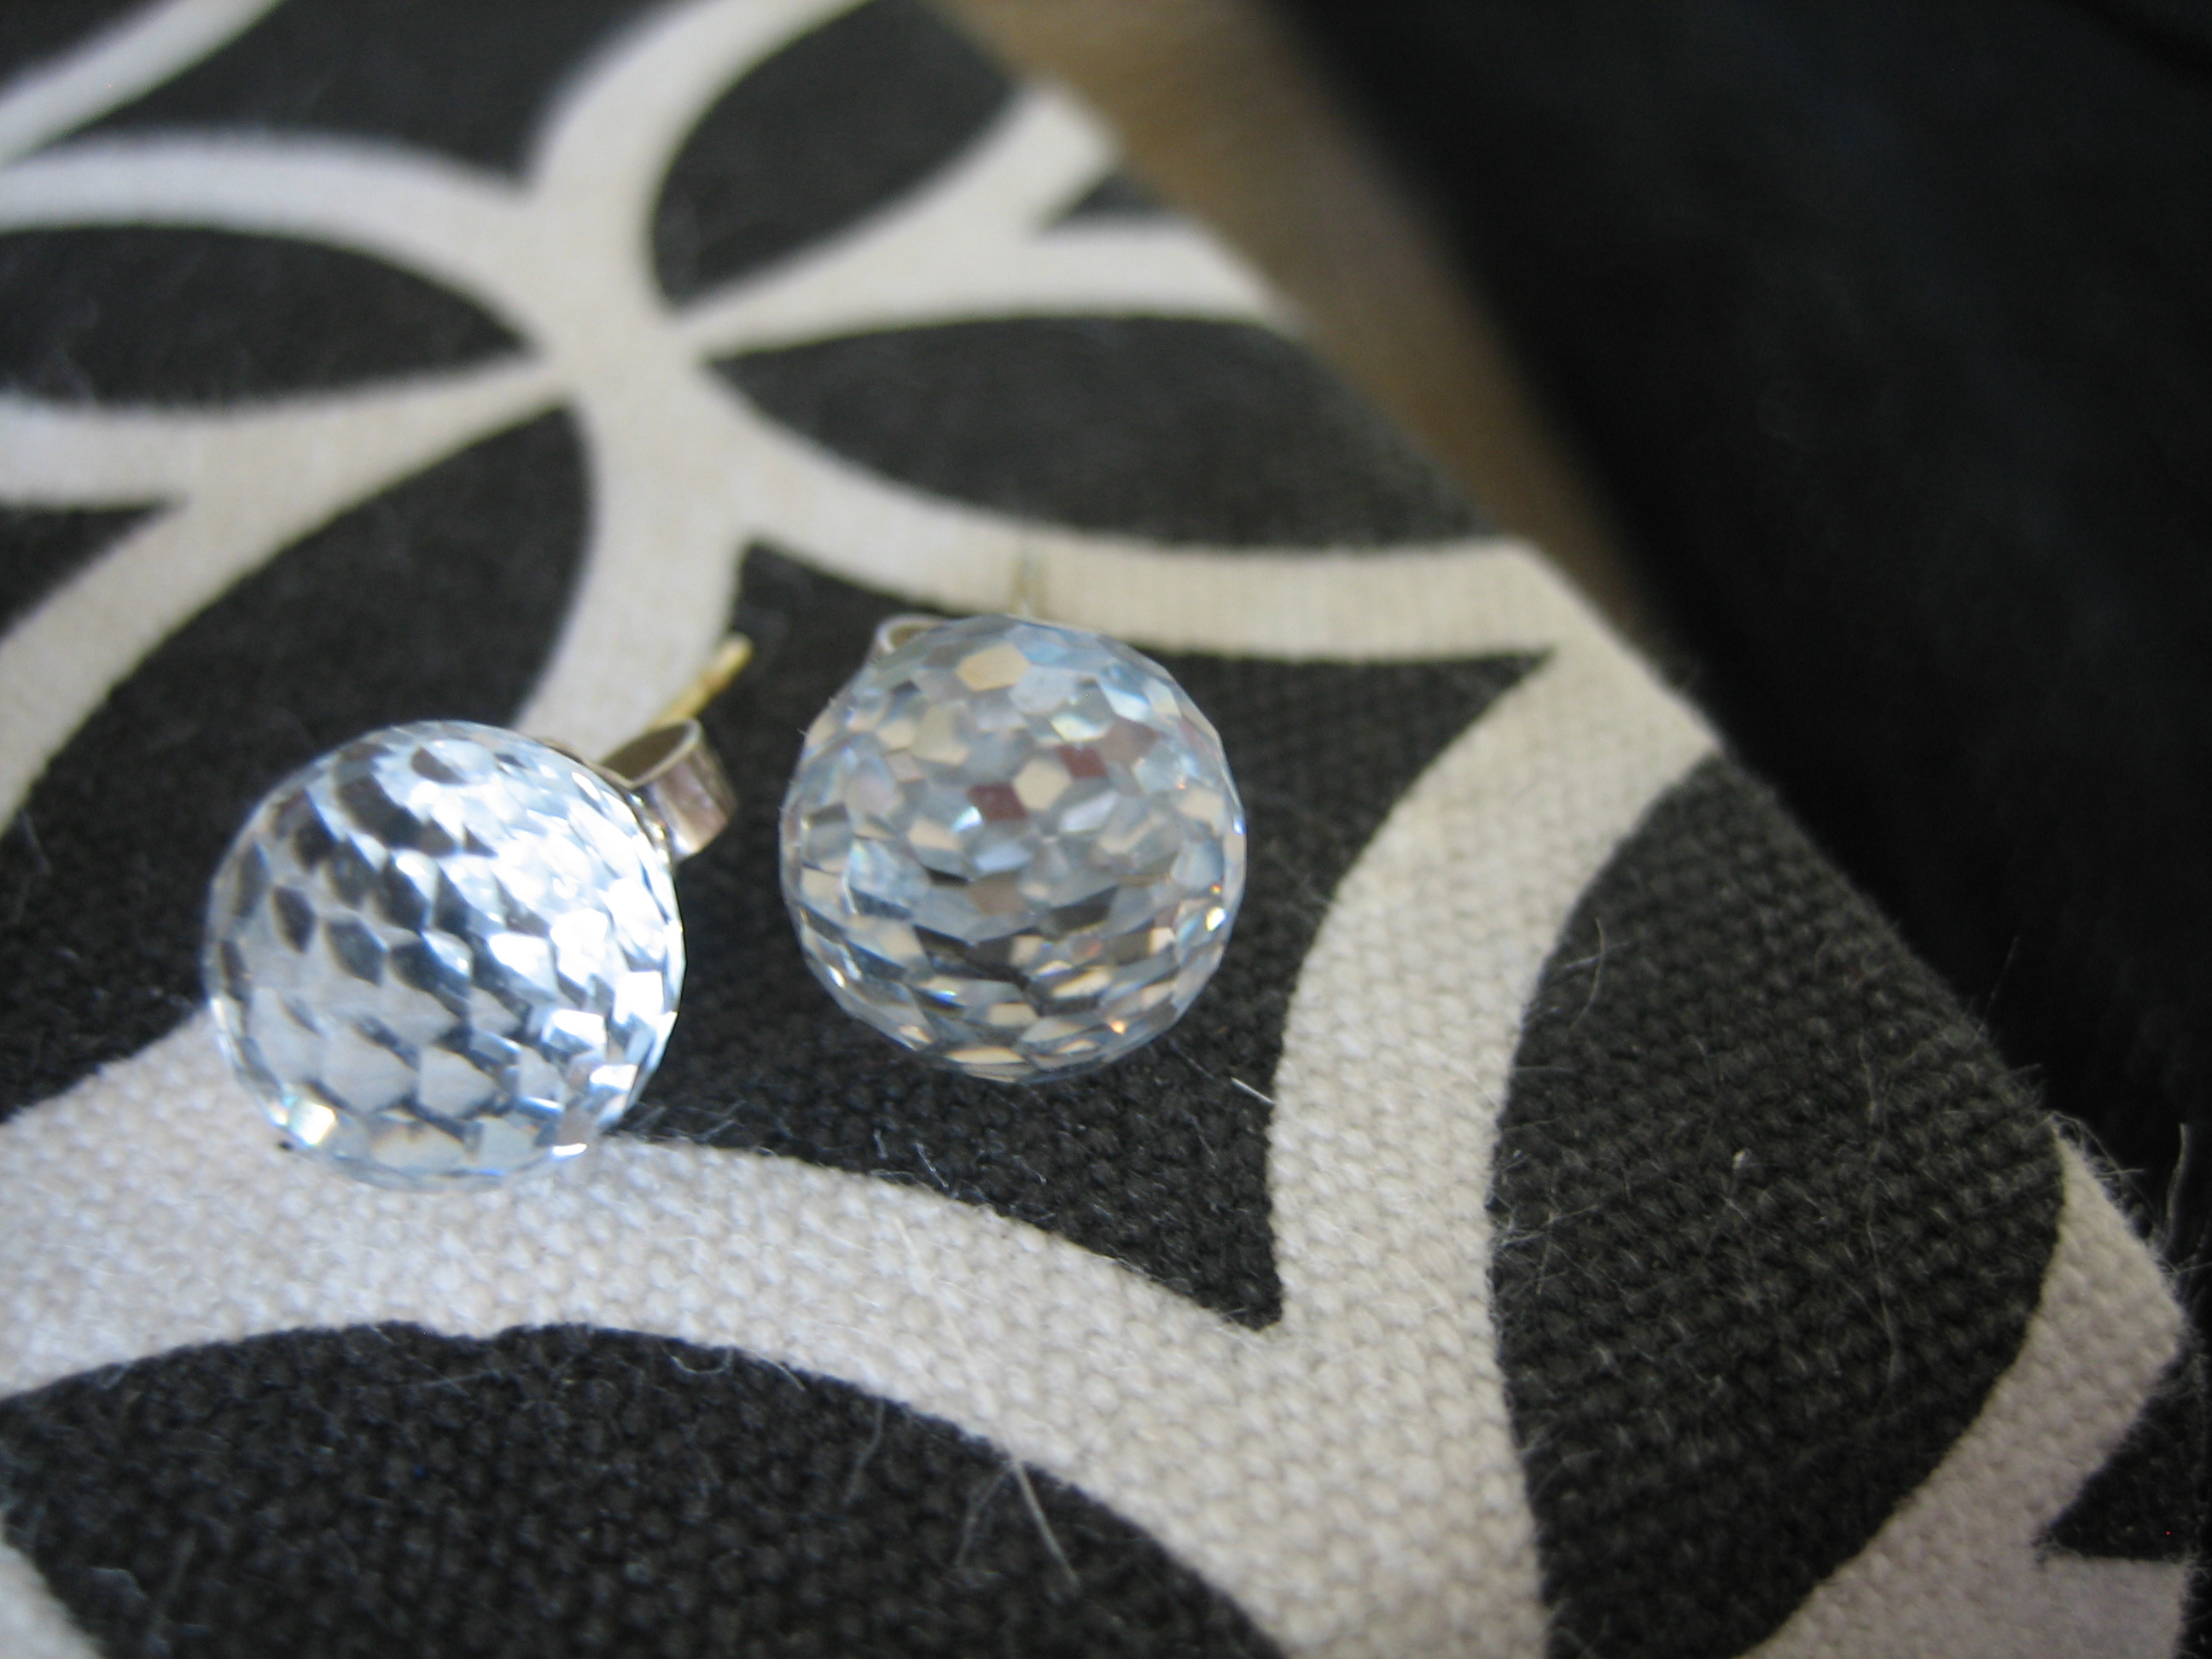
(a pair of crystal earrings from my Grandma that resemble mini disco balls and reflect light like no other)

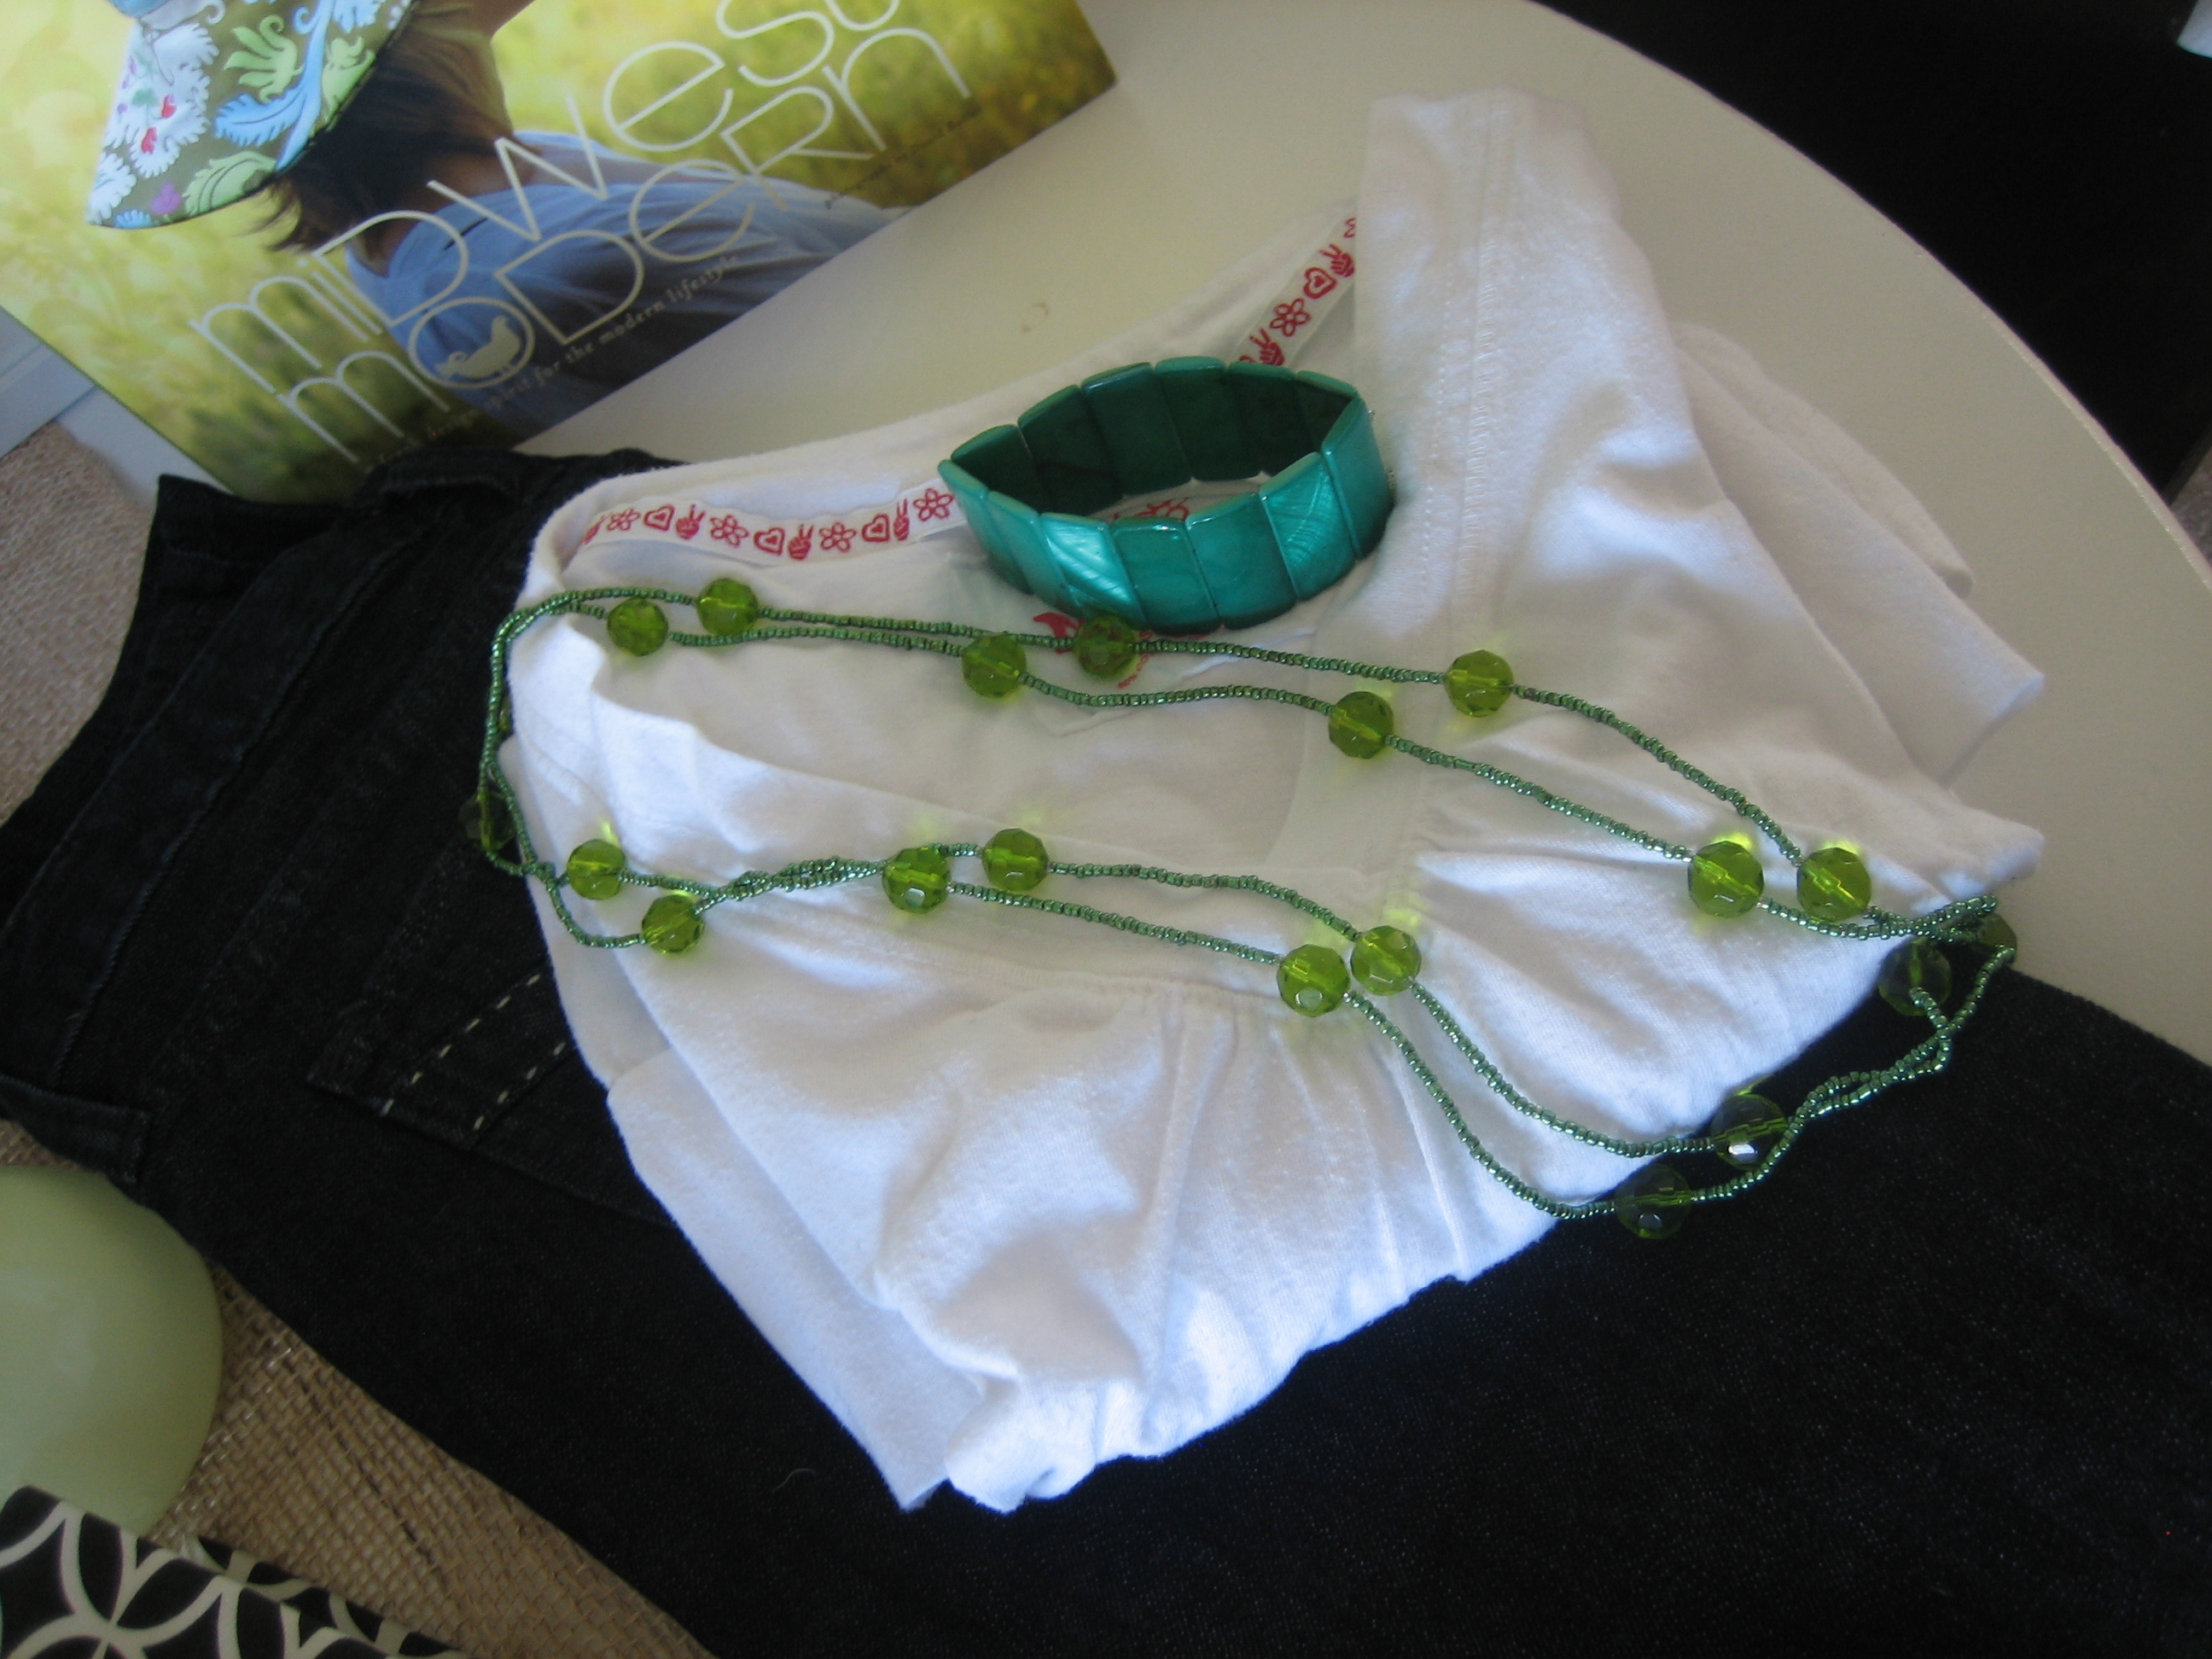
(a pair of dark skinny jeans, a white rouched cotton v-neck shirt, a bold turquoise bracelet and a green beaded necklace make up my feel-good outfit)
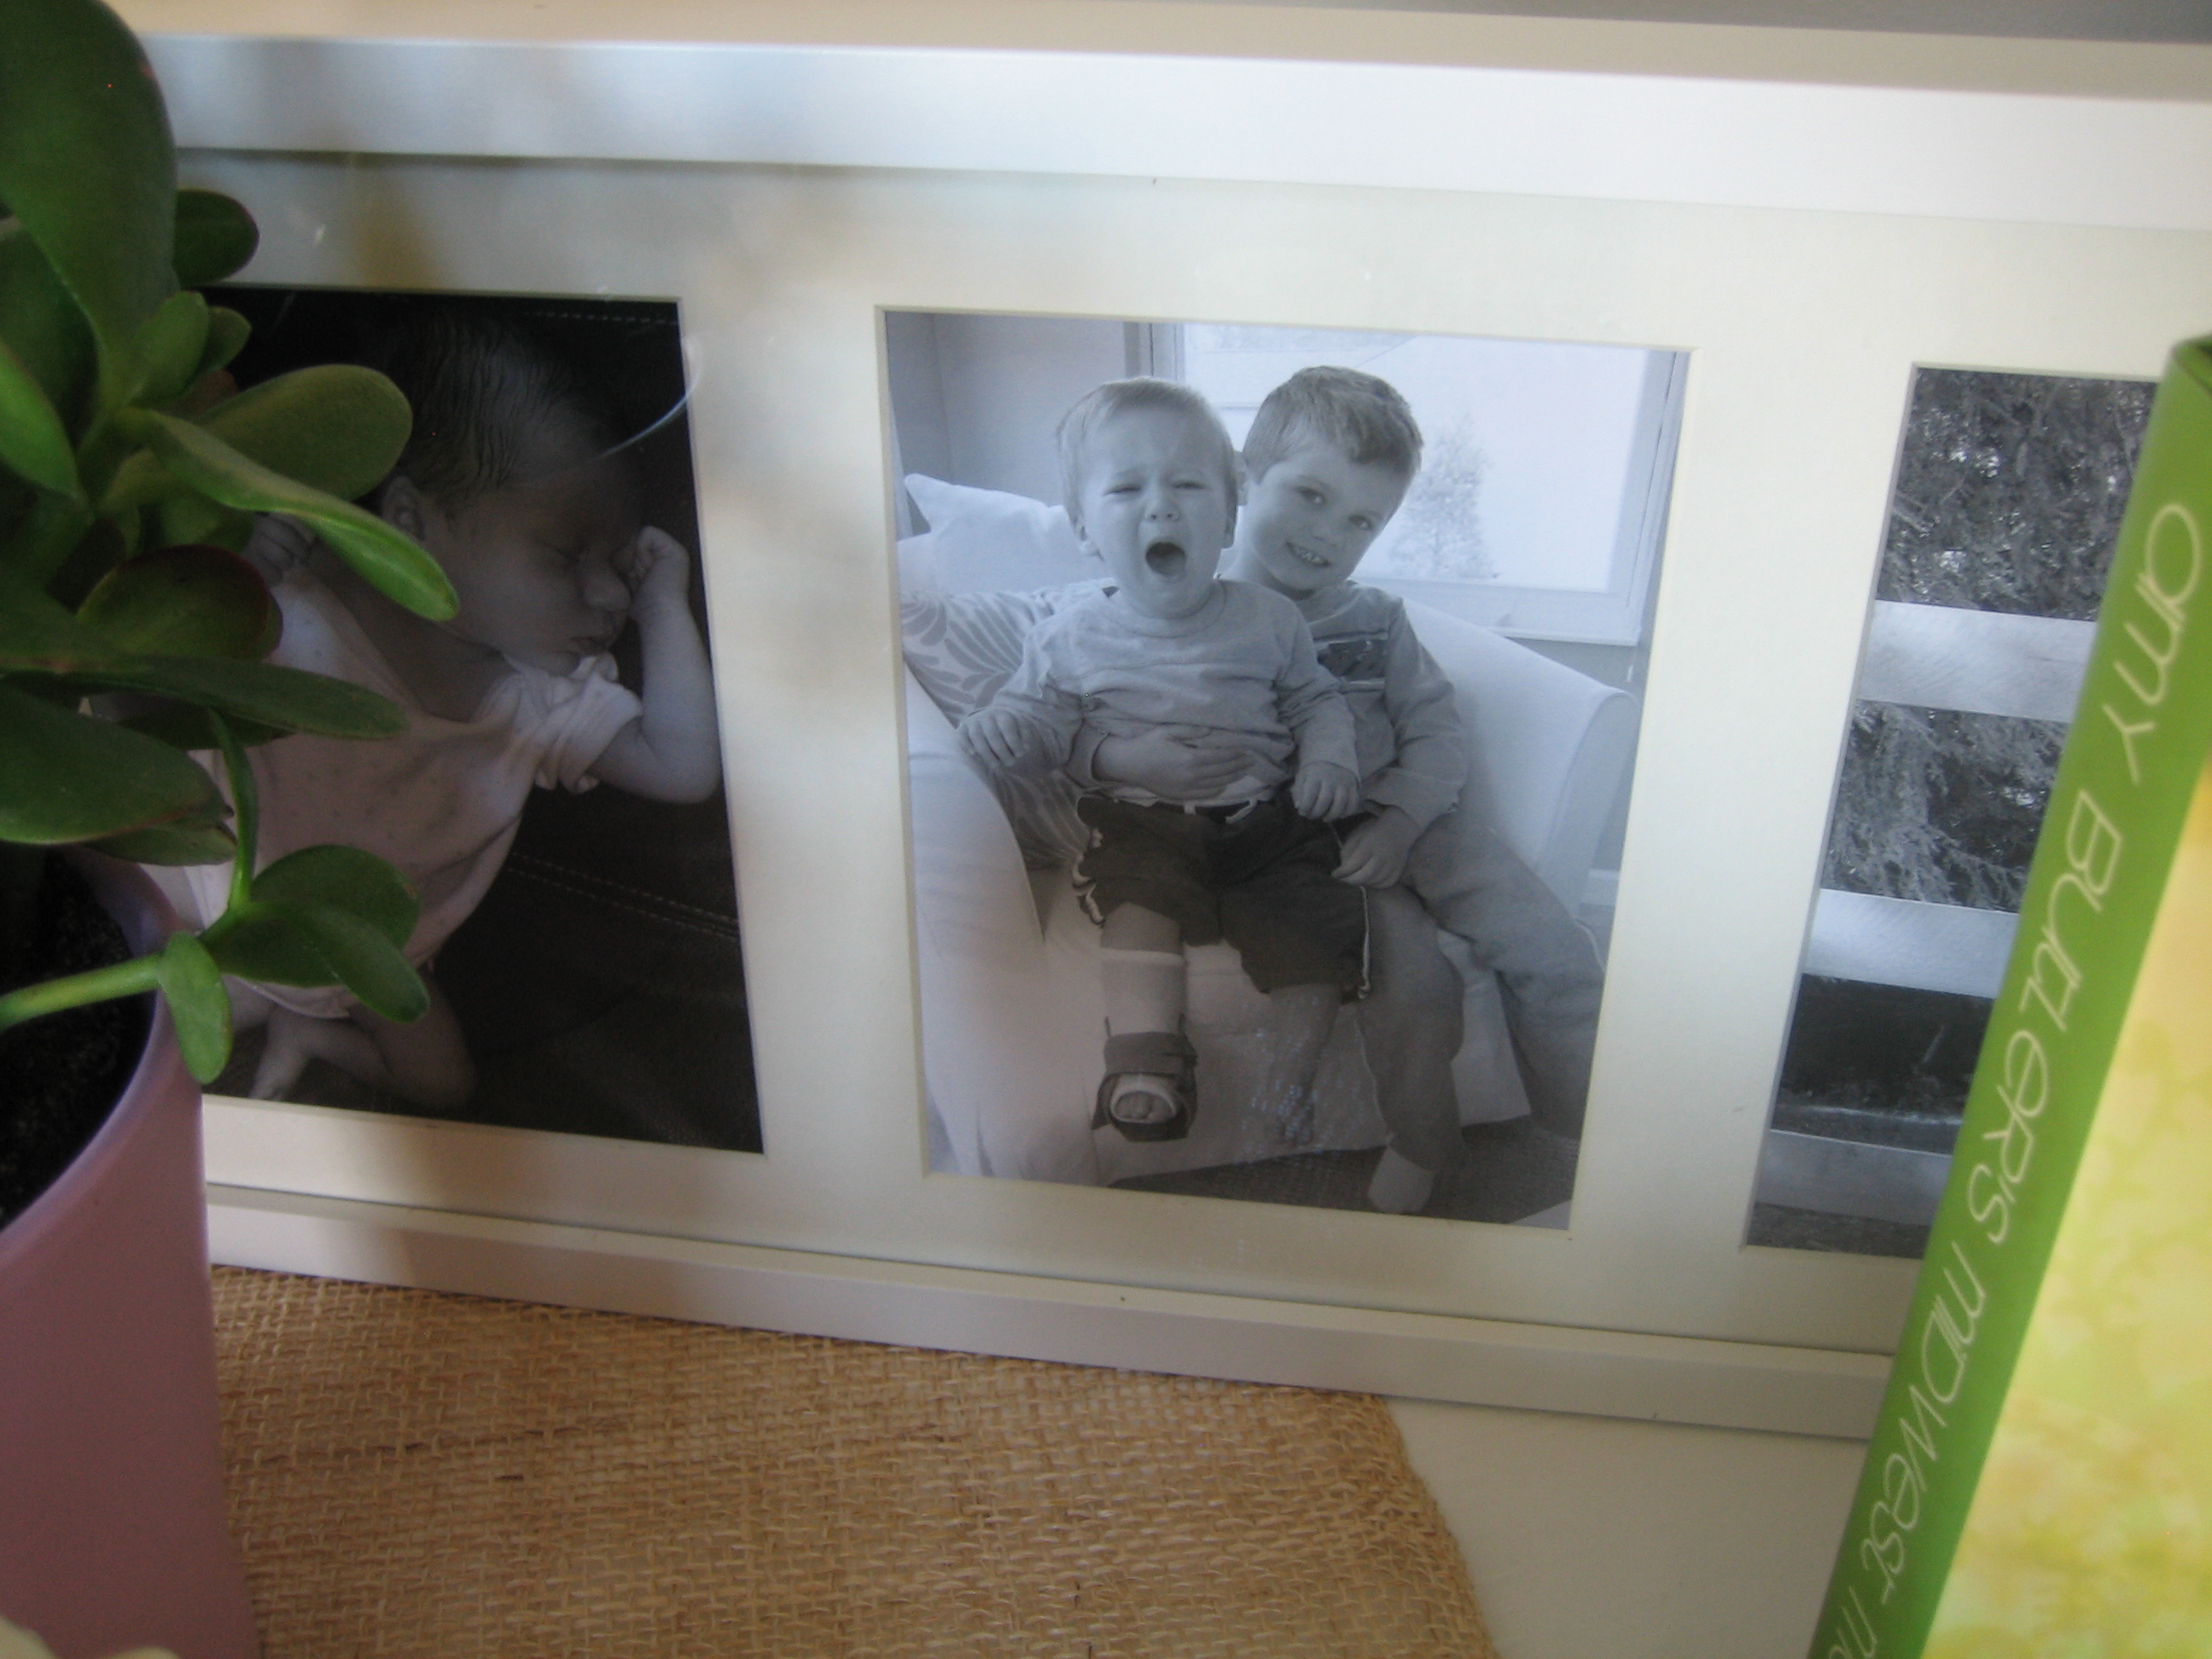
(my read of the moment, Amy Butler’s Midwest Modern, which contains fun photos of nature-inspired punchy fabrics)

(framed black-and-white pics of my boys)

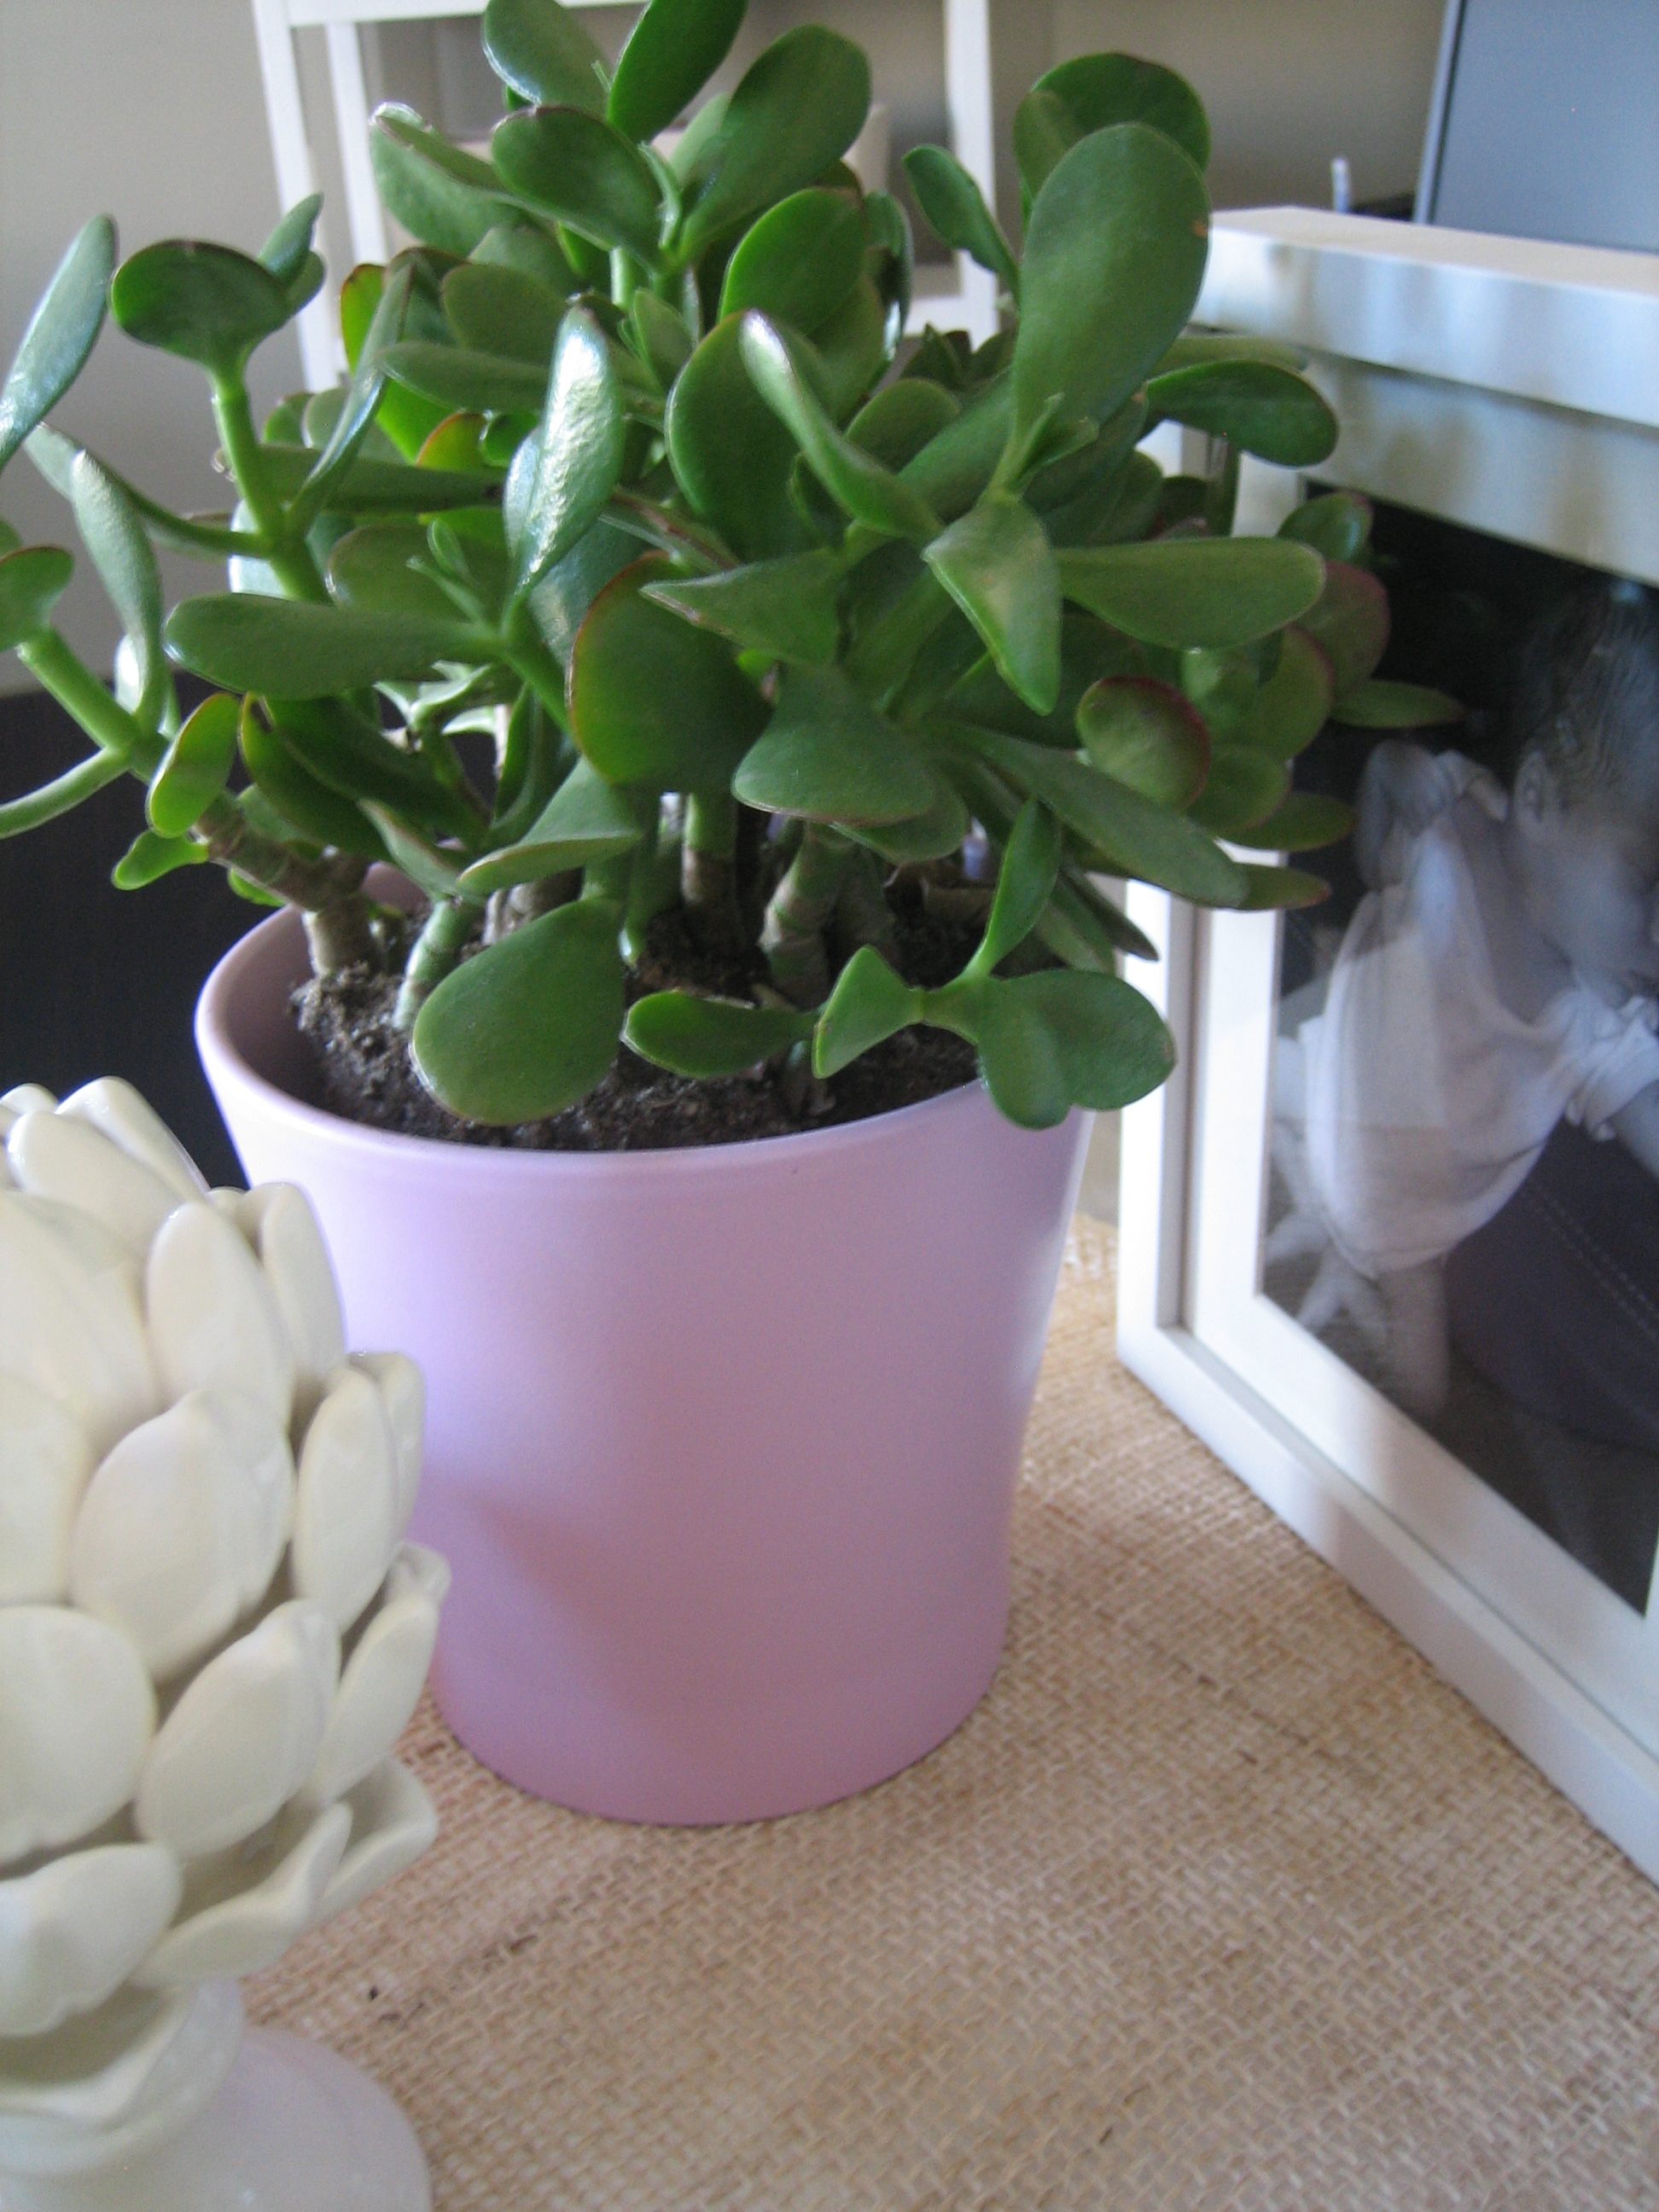
(yet another succulent potted in light pink)
That concludes my Little Lovies stash. Without deciphering the items too much (that comes later in the week), it seems I’m drawn to little things that I have emotional connections with versus items with hefty price tags. Hey, that could be a good thing! What itty bitties or clothes make you smile? Try grouping them together and taking a picture for a different viewpoint. Stay tuned for Step Three where I take a mini-vacay and attend the Oscars! A girl can dream…

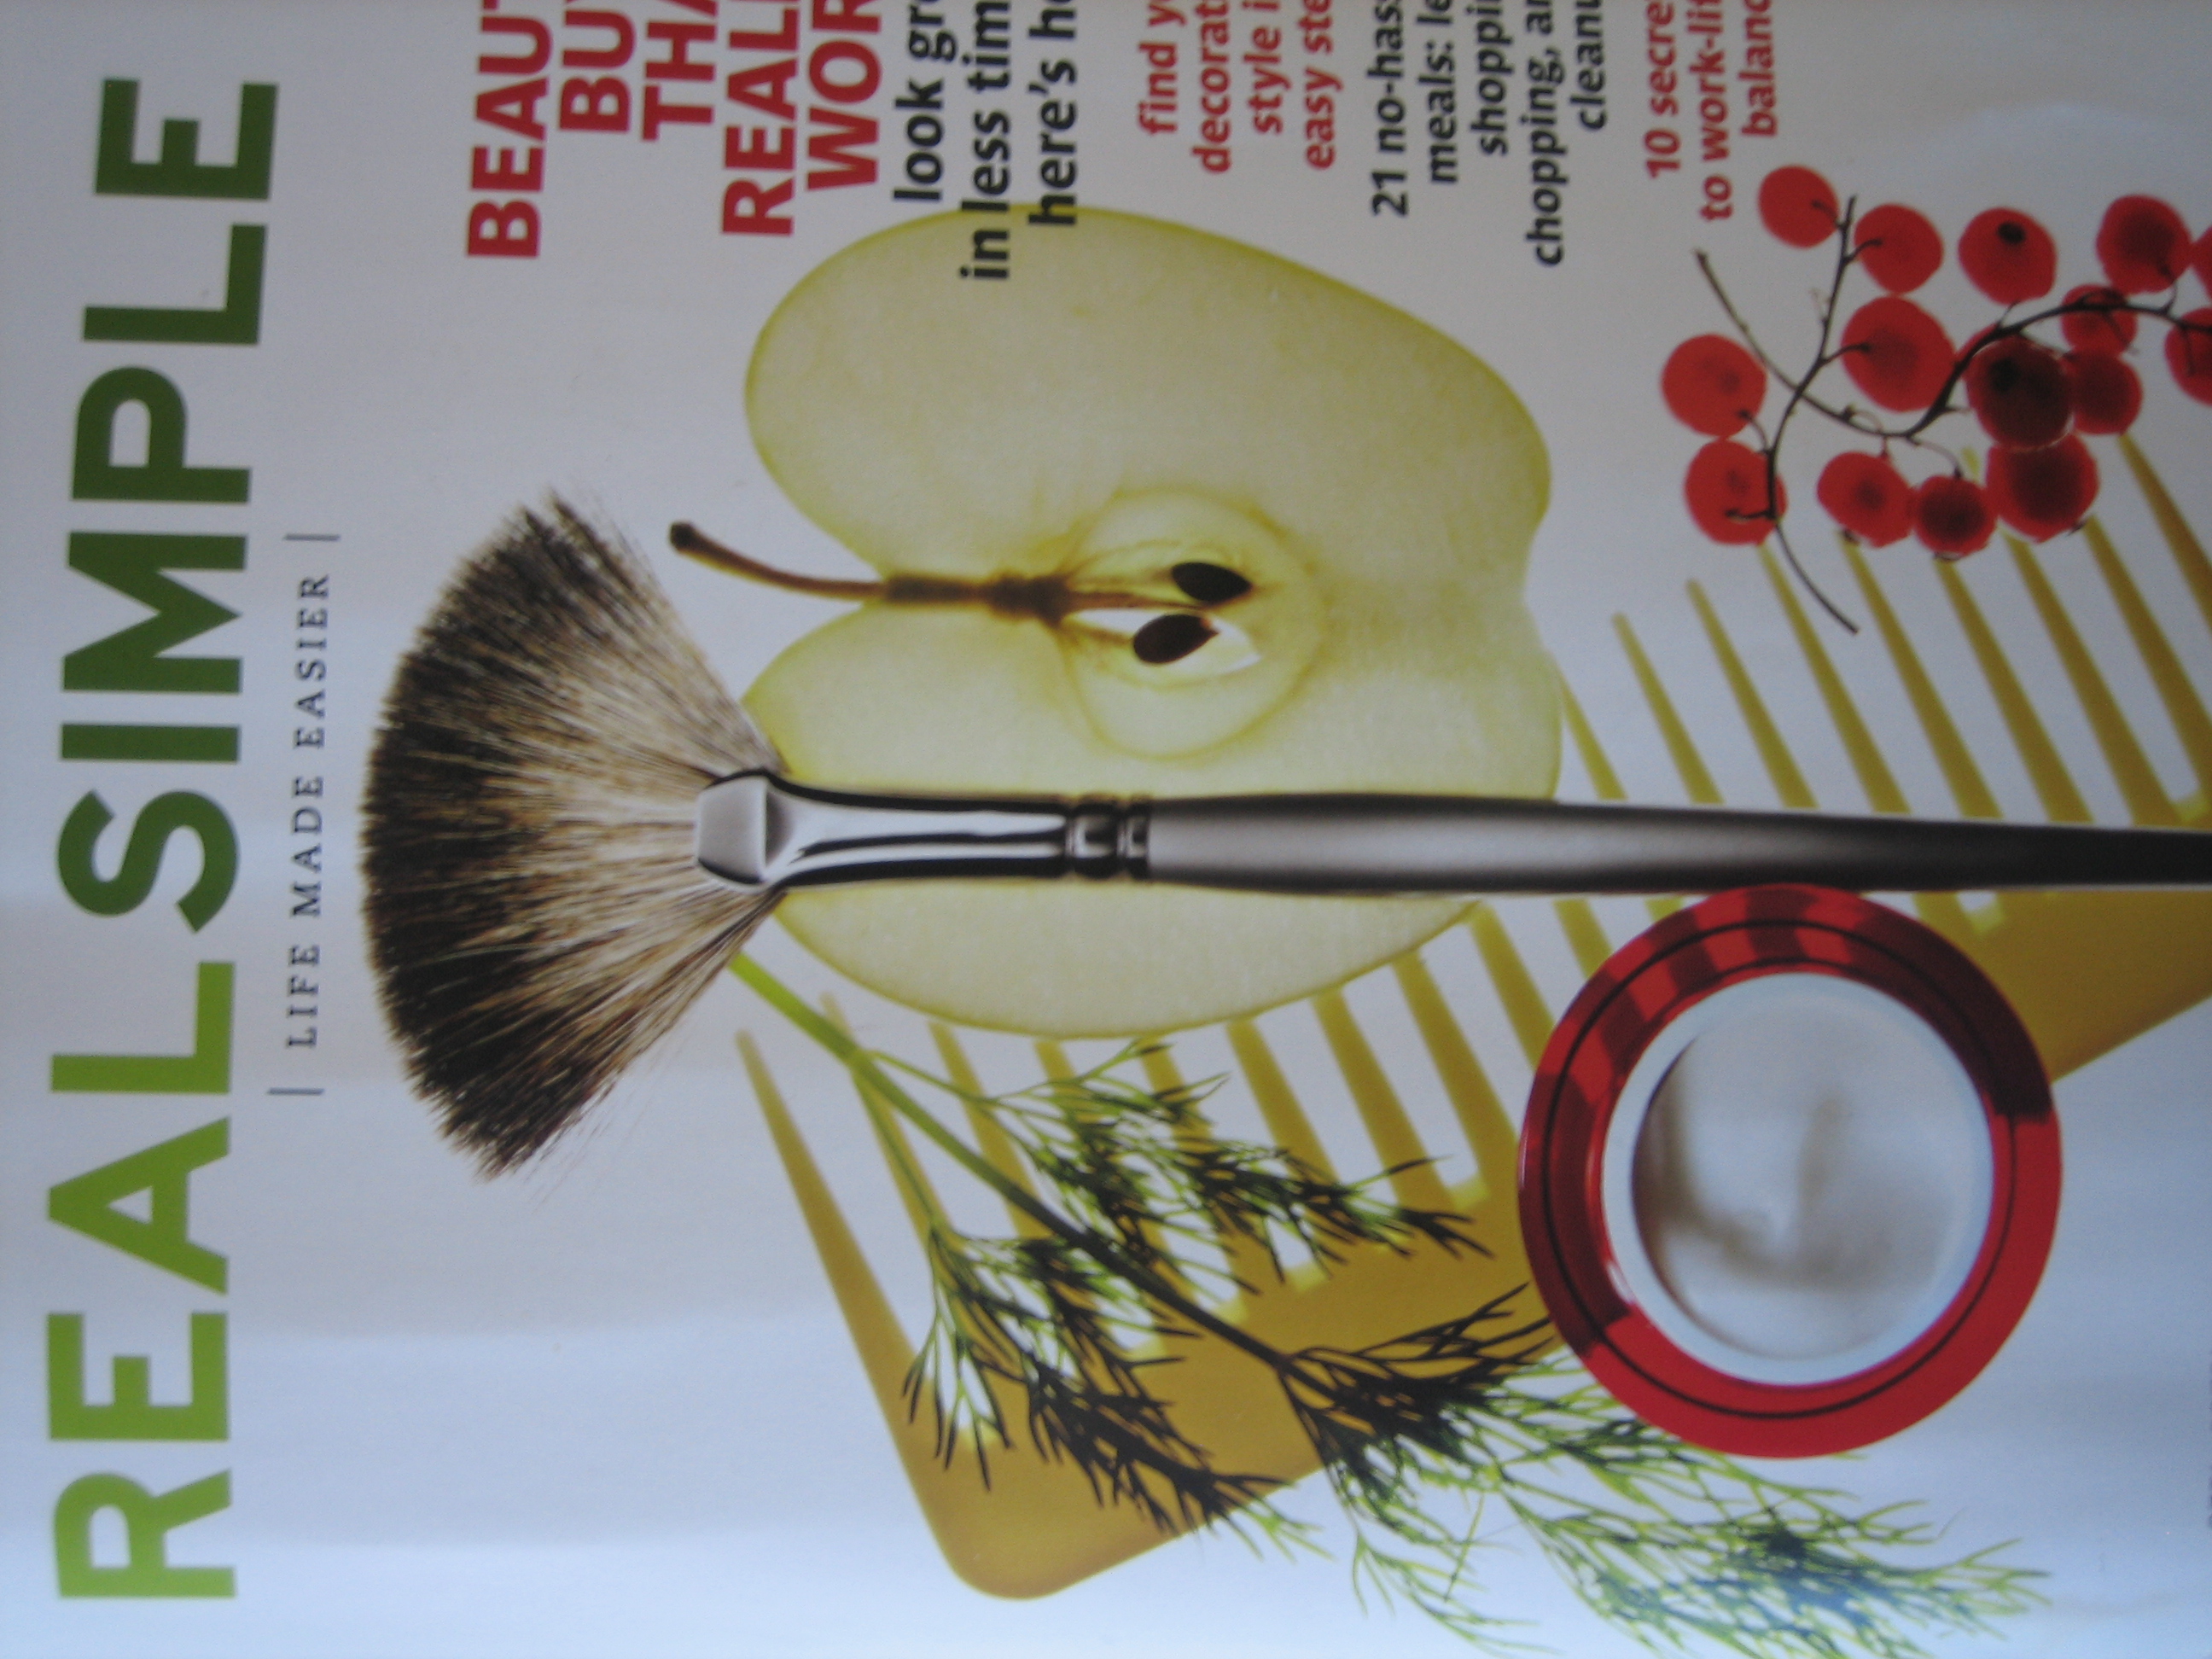
I finally got around to reading the March 2010 issue of Real Simple this past week. (My subscription was a Christmas gift from Handy Hubby’s folks…thank you!)

Of particular interest to me was an article entitled “What’s Your Decorating Style?” I’m all for not ‘labeling’ yourself as akin to one specific design style, yet I find myself a little overwhelmed by all the home decor options available nowadays. It helps (me, at least) to have some sort of guideline when searching for a piece of furniture or home accessory. I took Real Simple up on their little design soul-search and decided to share my results with you this week. I’m hoping it will help me define a loose design style and also maybe assist you in pinning down your decor preferences. Feel free to grab a pad of paper, a pen and your camera to follow along! And your style might be waaay different than mine – that’s great! Remember, that you’re just trying to find out what you like…there’s no right or wrong.
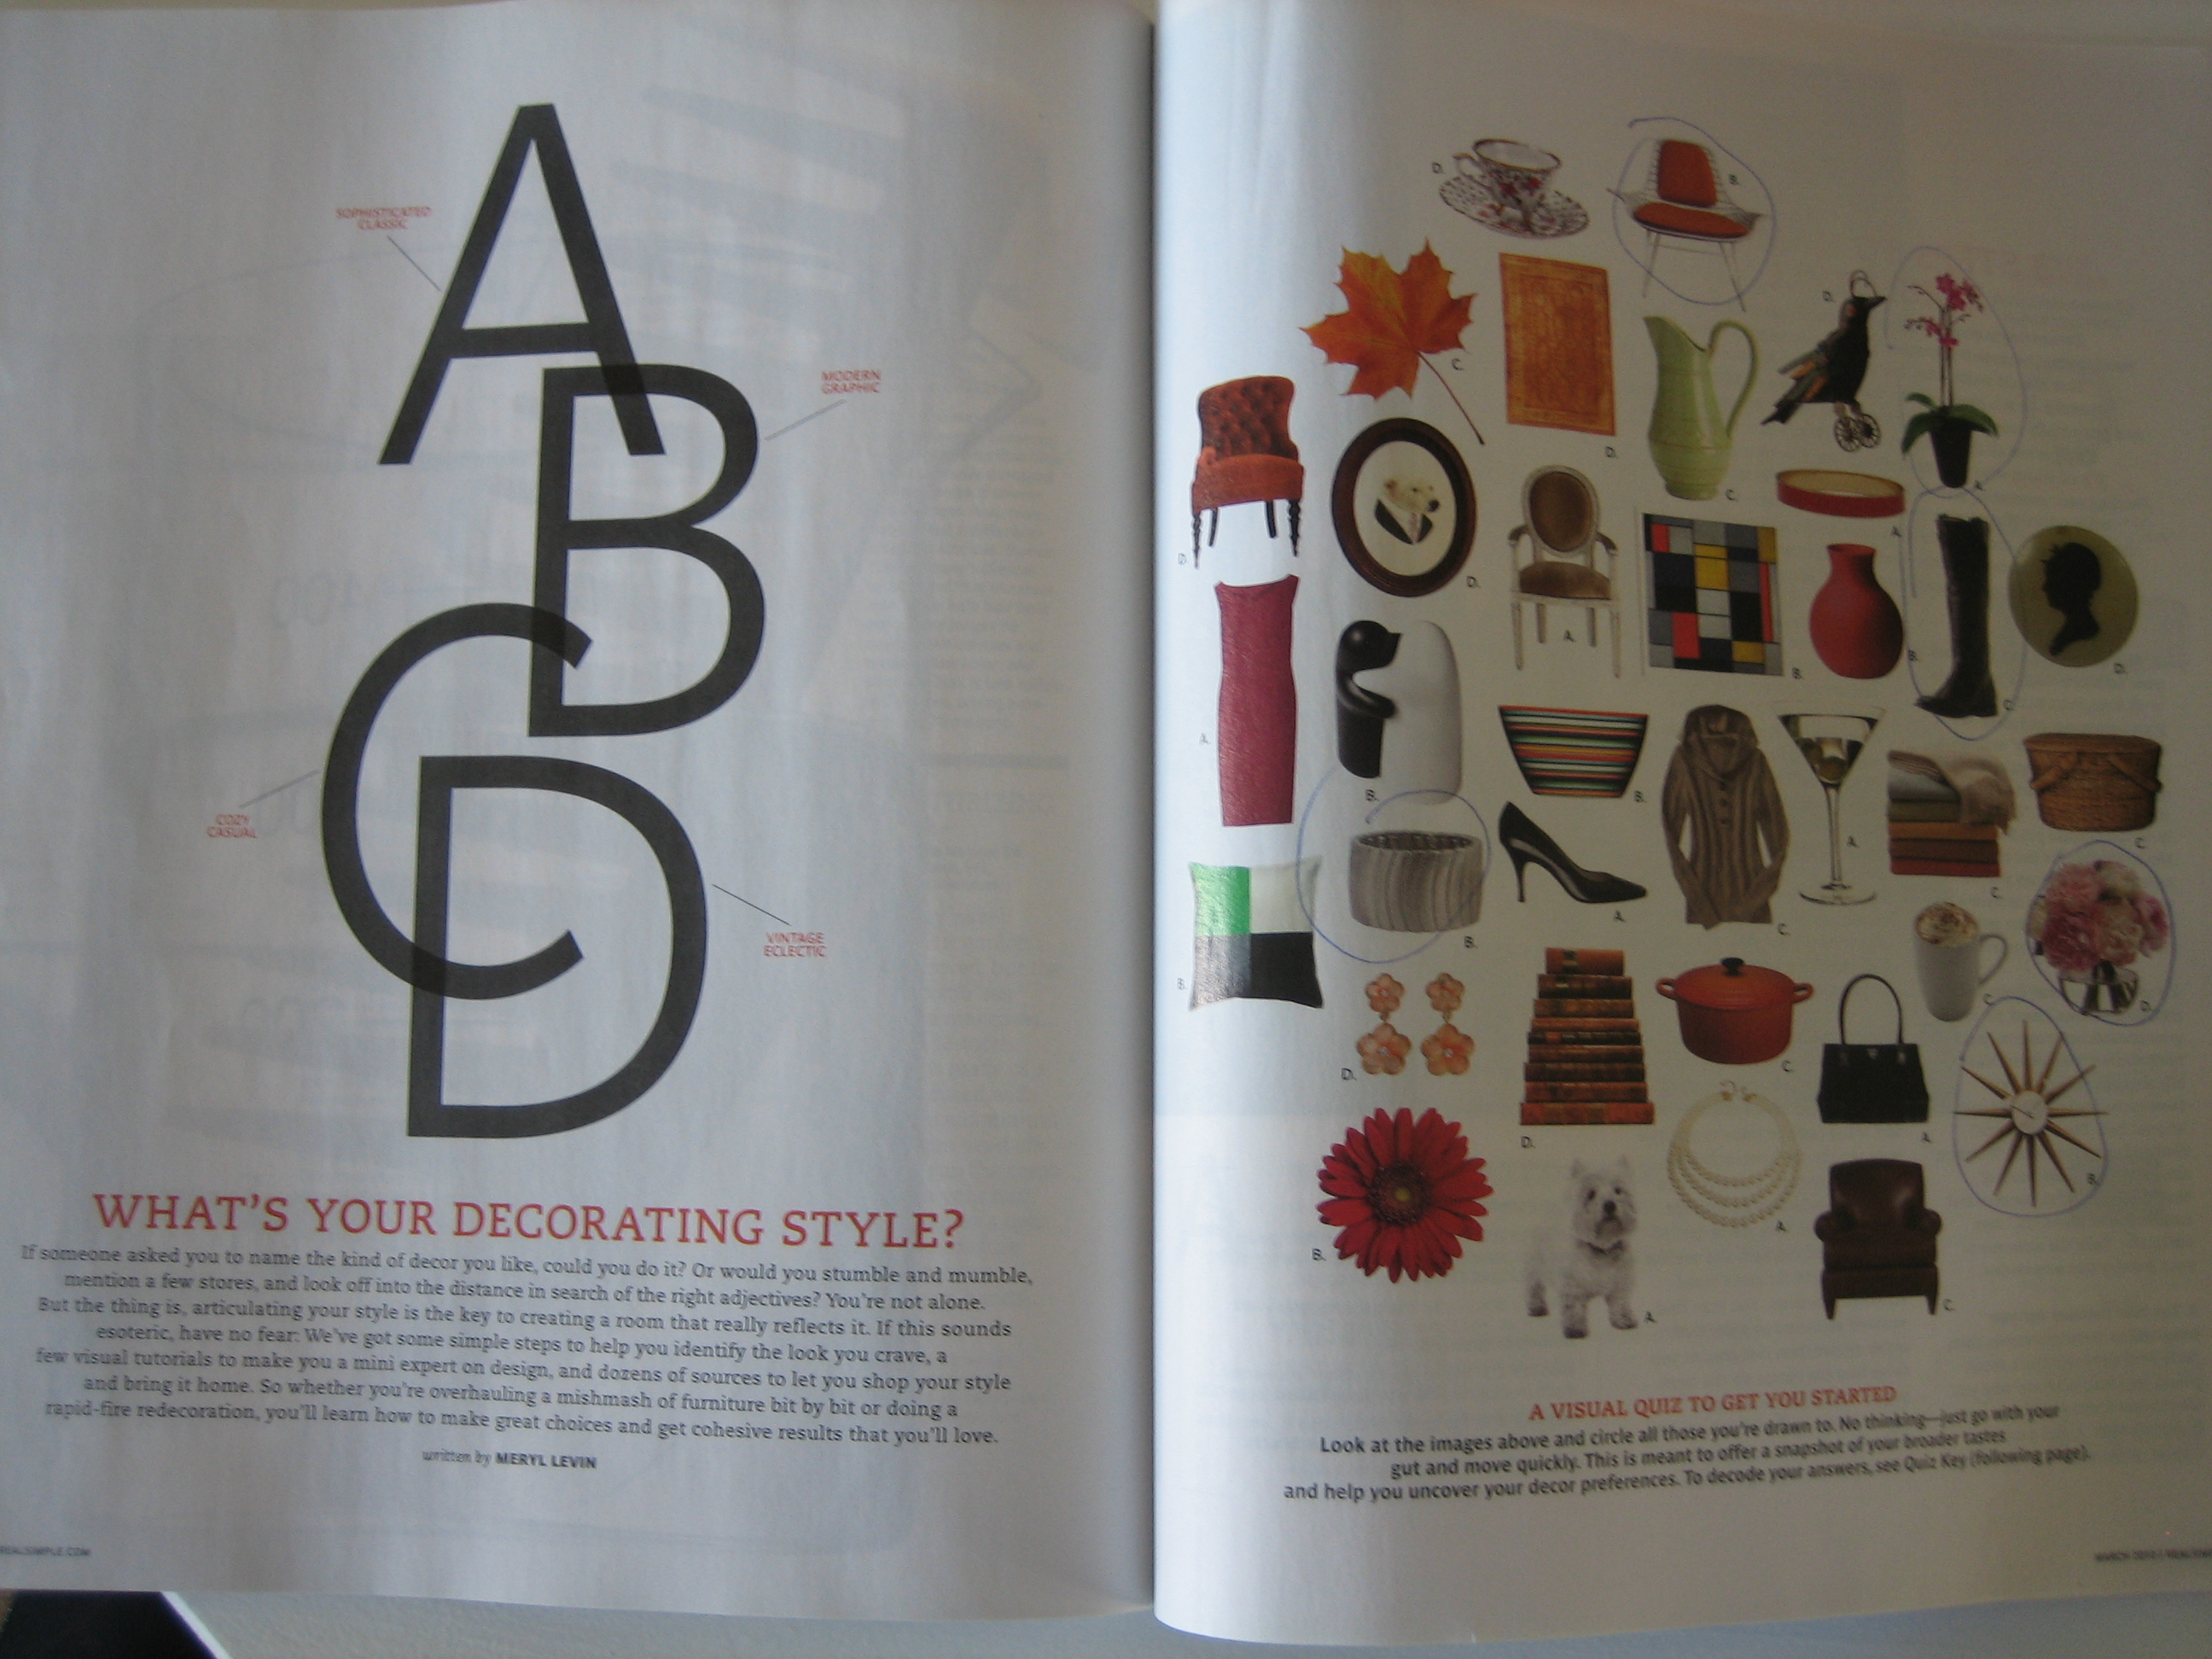
The first page is a collage of images on which you are to circle the ones you’re drawn to. No thinking allowed. It’s meant to help you visualize a general sense of your design taste. (You can quiz yourself here with similar images.)

Each item is labeled with either an A, B, C or D. (I detest these quizzes because I already know that the letter I circle the most of is ‘the winner.’) It’s difficult to tell from the photo, but I circled 6 images: a mid-century modern chair (B), a potted orchid (A), a leather riding boot (C), a silver metal bracelet (B), a vase of pink roses (D) and a starburst clock (B). The B’s have it with a little bit of everything else thrown in. So, what do mostly B’s mean?
You’re into color, contrast and clean lines. You’ll probably like the style Modern Graphic. Modern Graphic is a fresh, fun contemporary look that combines urban styling (imagine a downtown loft) with edgy, colorful elements and midcentury designs. Simple furniture forms balance out bold accents and patterns.
Well, I can go with the clean lines, downtown loft and midcentury designs but I’m not really into bold accents or colorful designs. While the jist of my style may be modern, I prefer more serene colors. Good to know. I’ll keep that in mind…
On to the actual Step One, where I’m asked to tour my home and make 2 blatantly honest lists: “Love It” and “Wish I Could Replace It.” Easy. I could do that in my sleep. I ran around my house snapping pics of my faves and my not-so-faves. Take a look.
“LOVE IT”

(a chair I found on the side of the road and brought back to life with some wood stain and new upholstery)

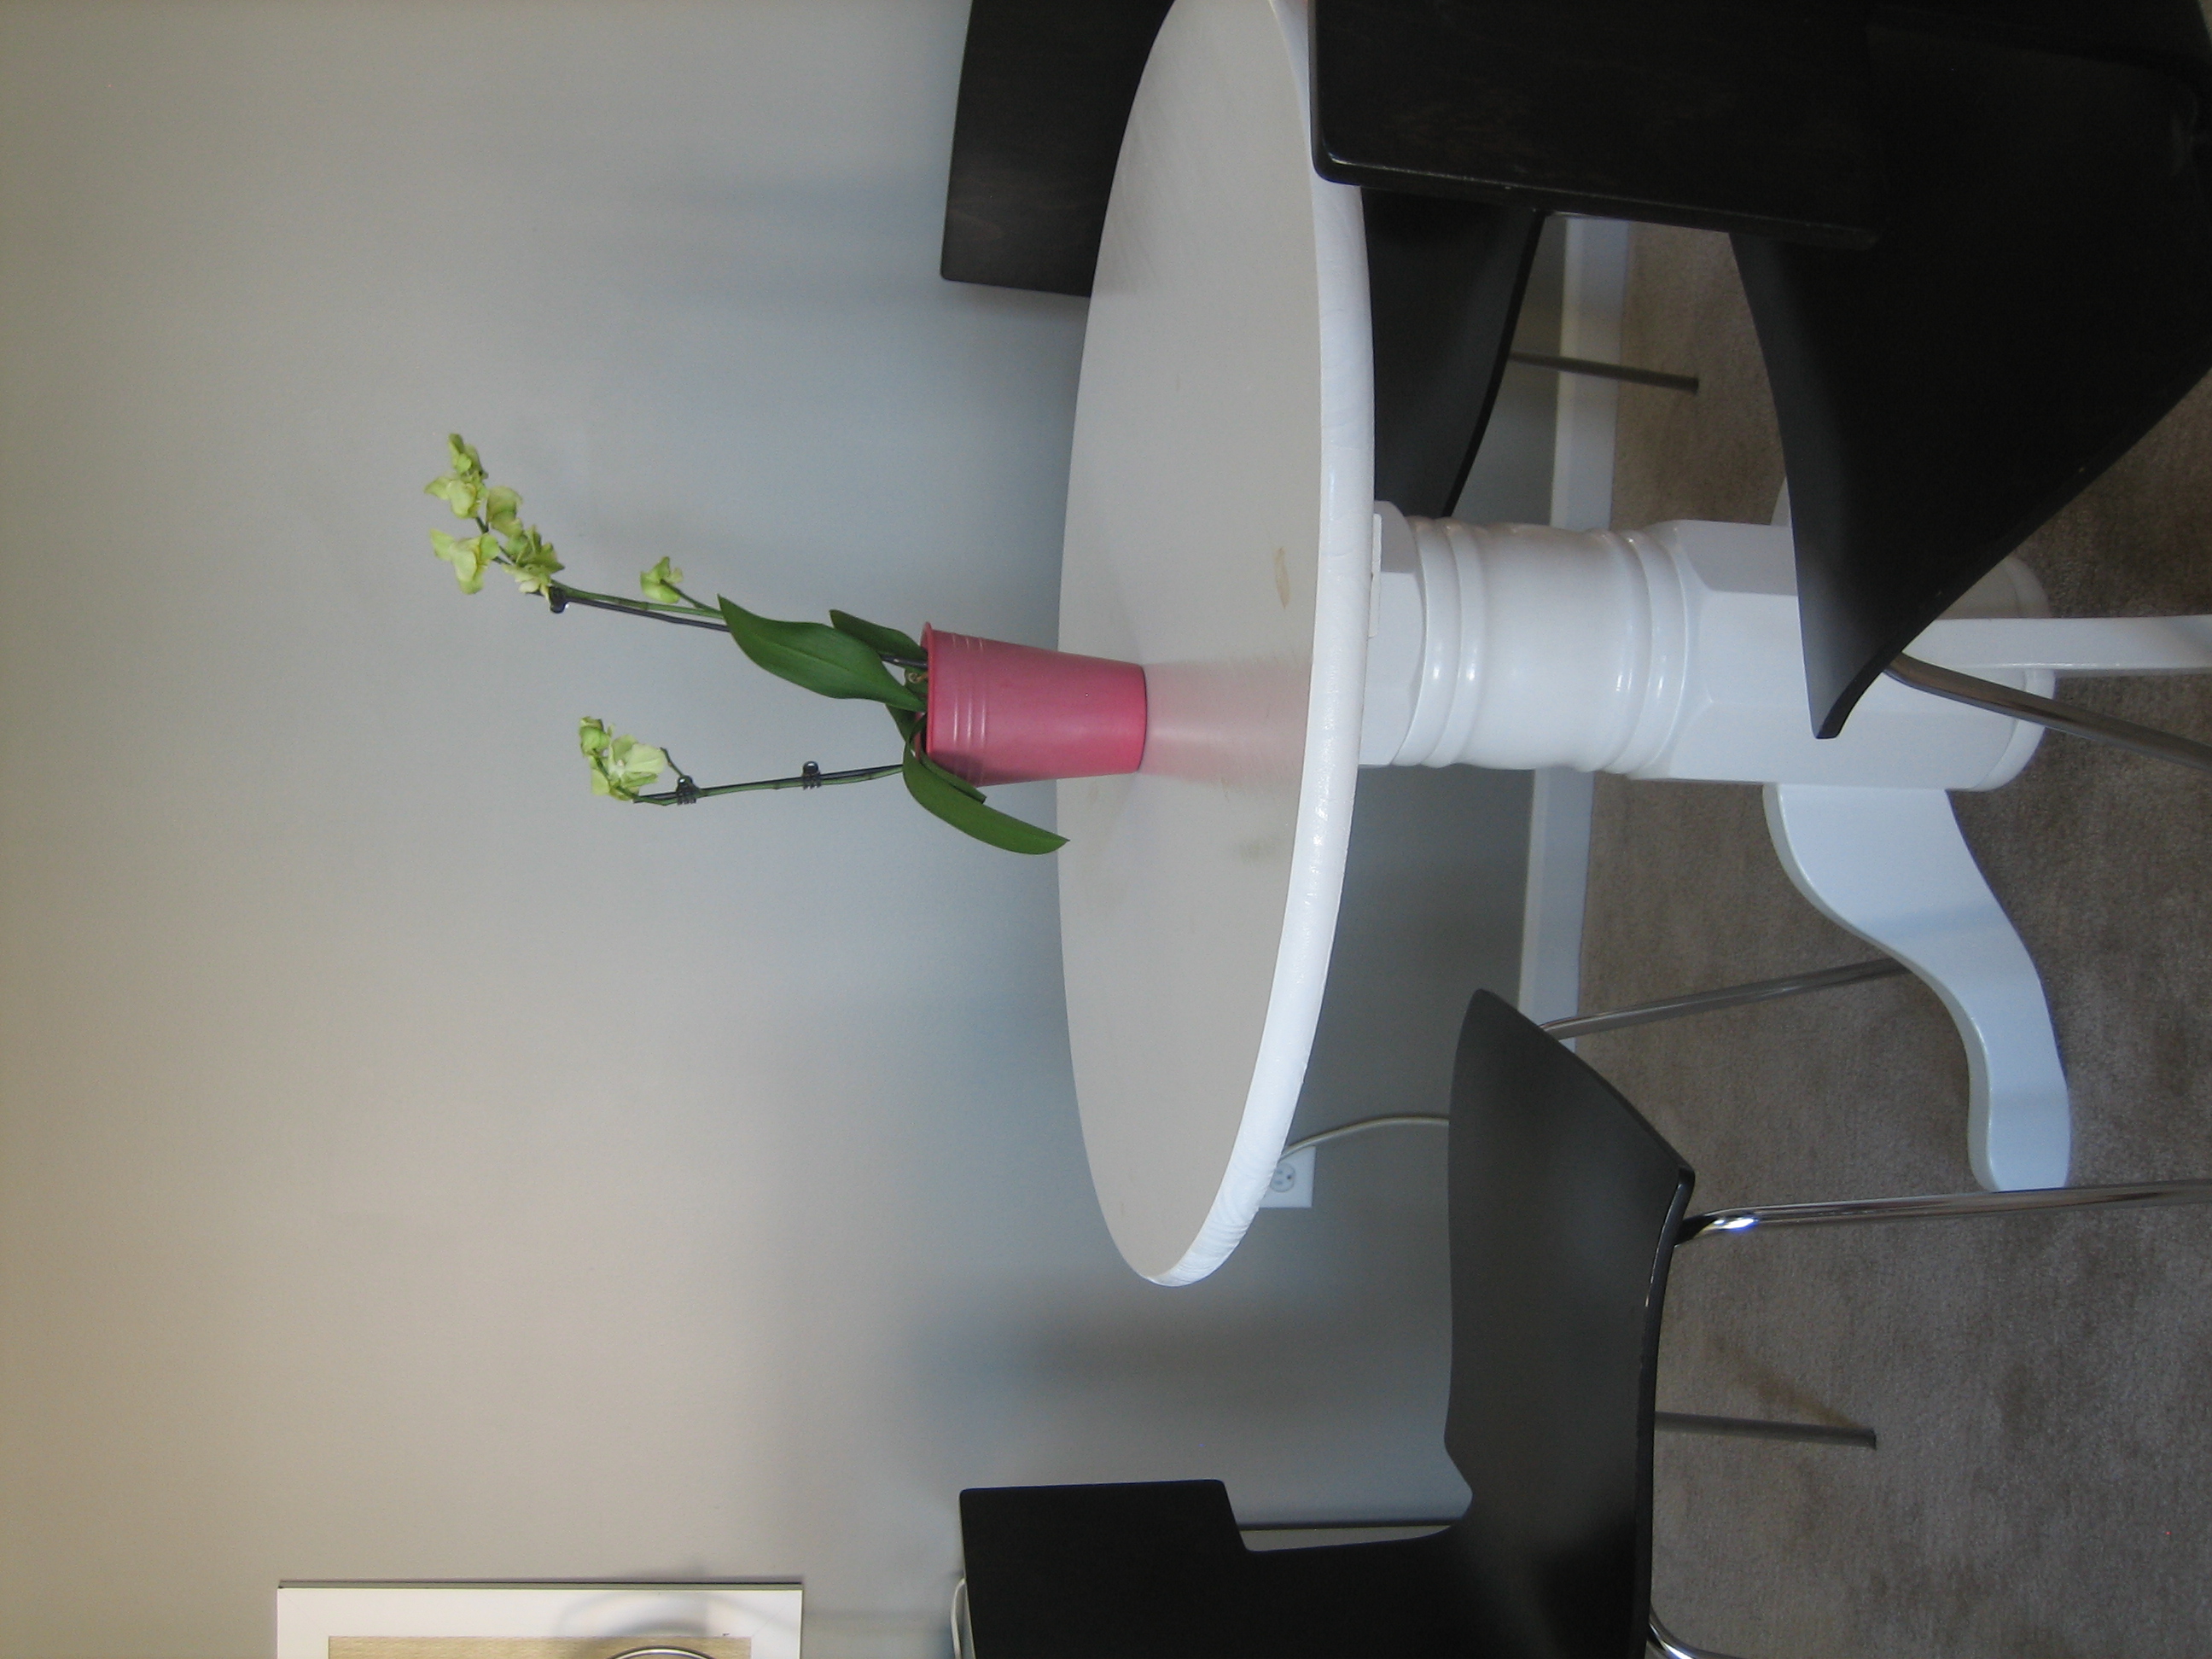
(my DIY pedestal table…pedestal base and chairs from Craigslist, tabletop from Lowe’s)

(a Home Decorator’s Outlet find that I painted green inside)

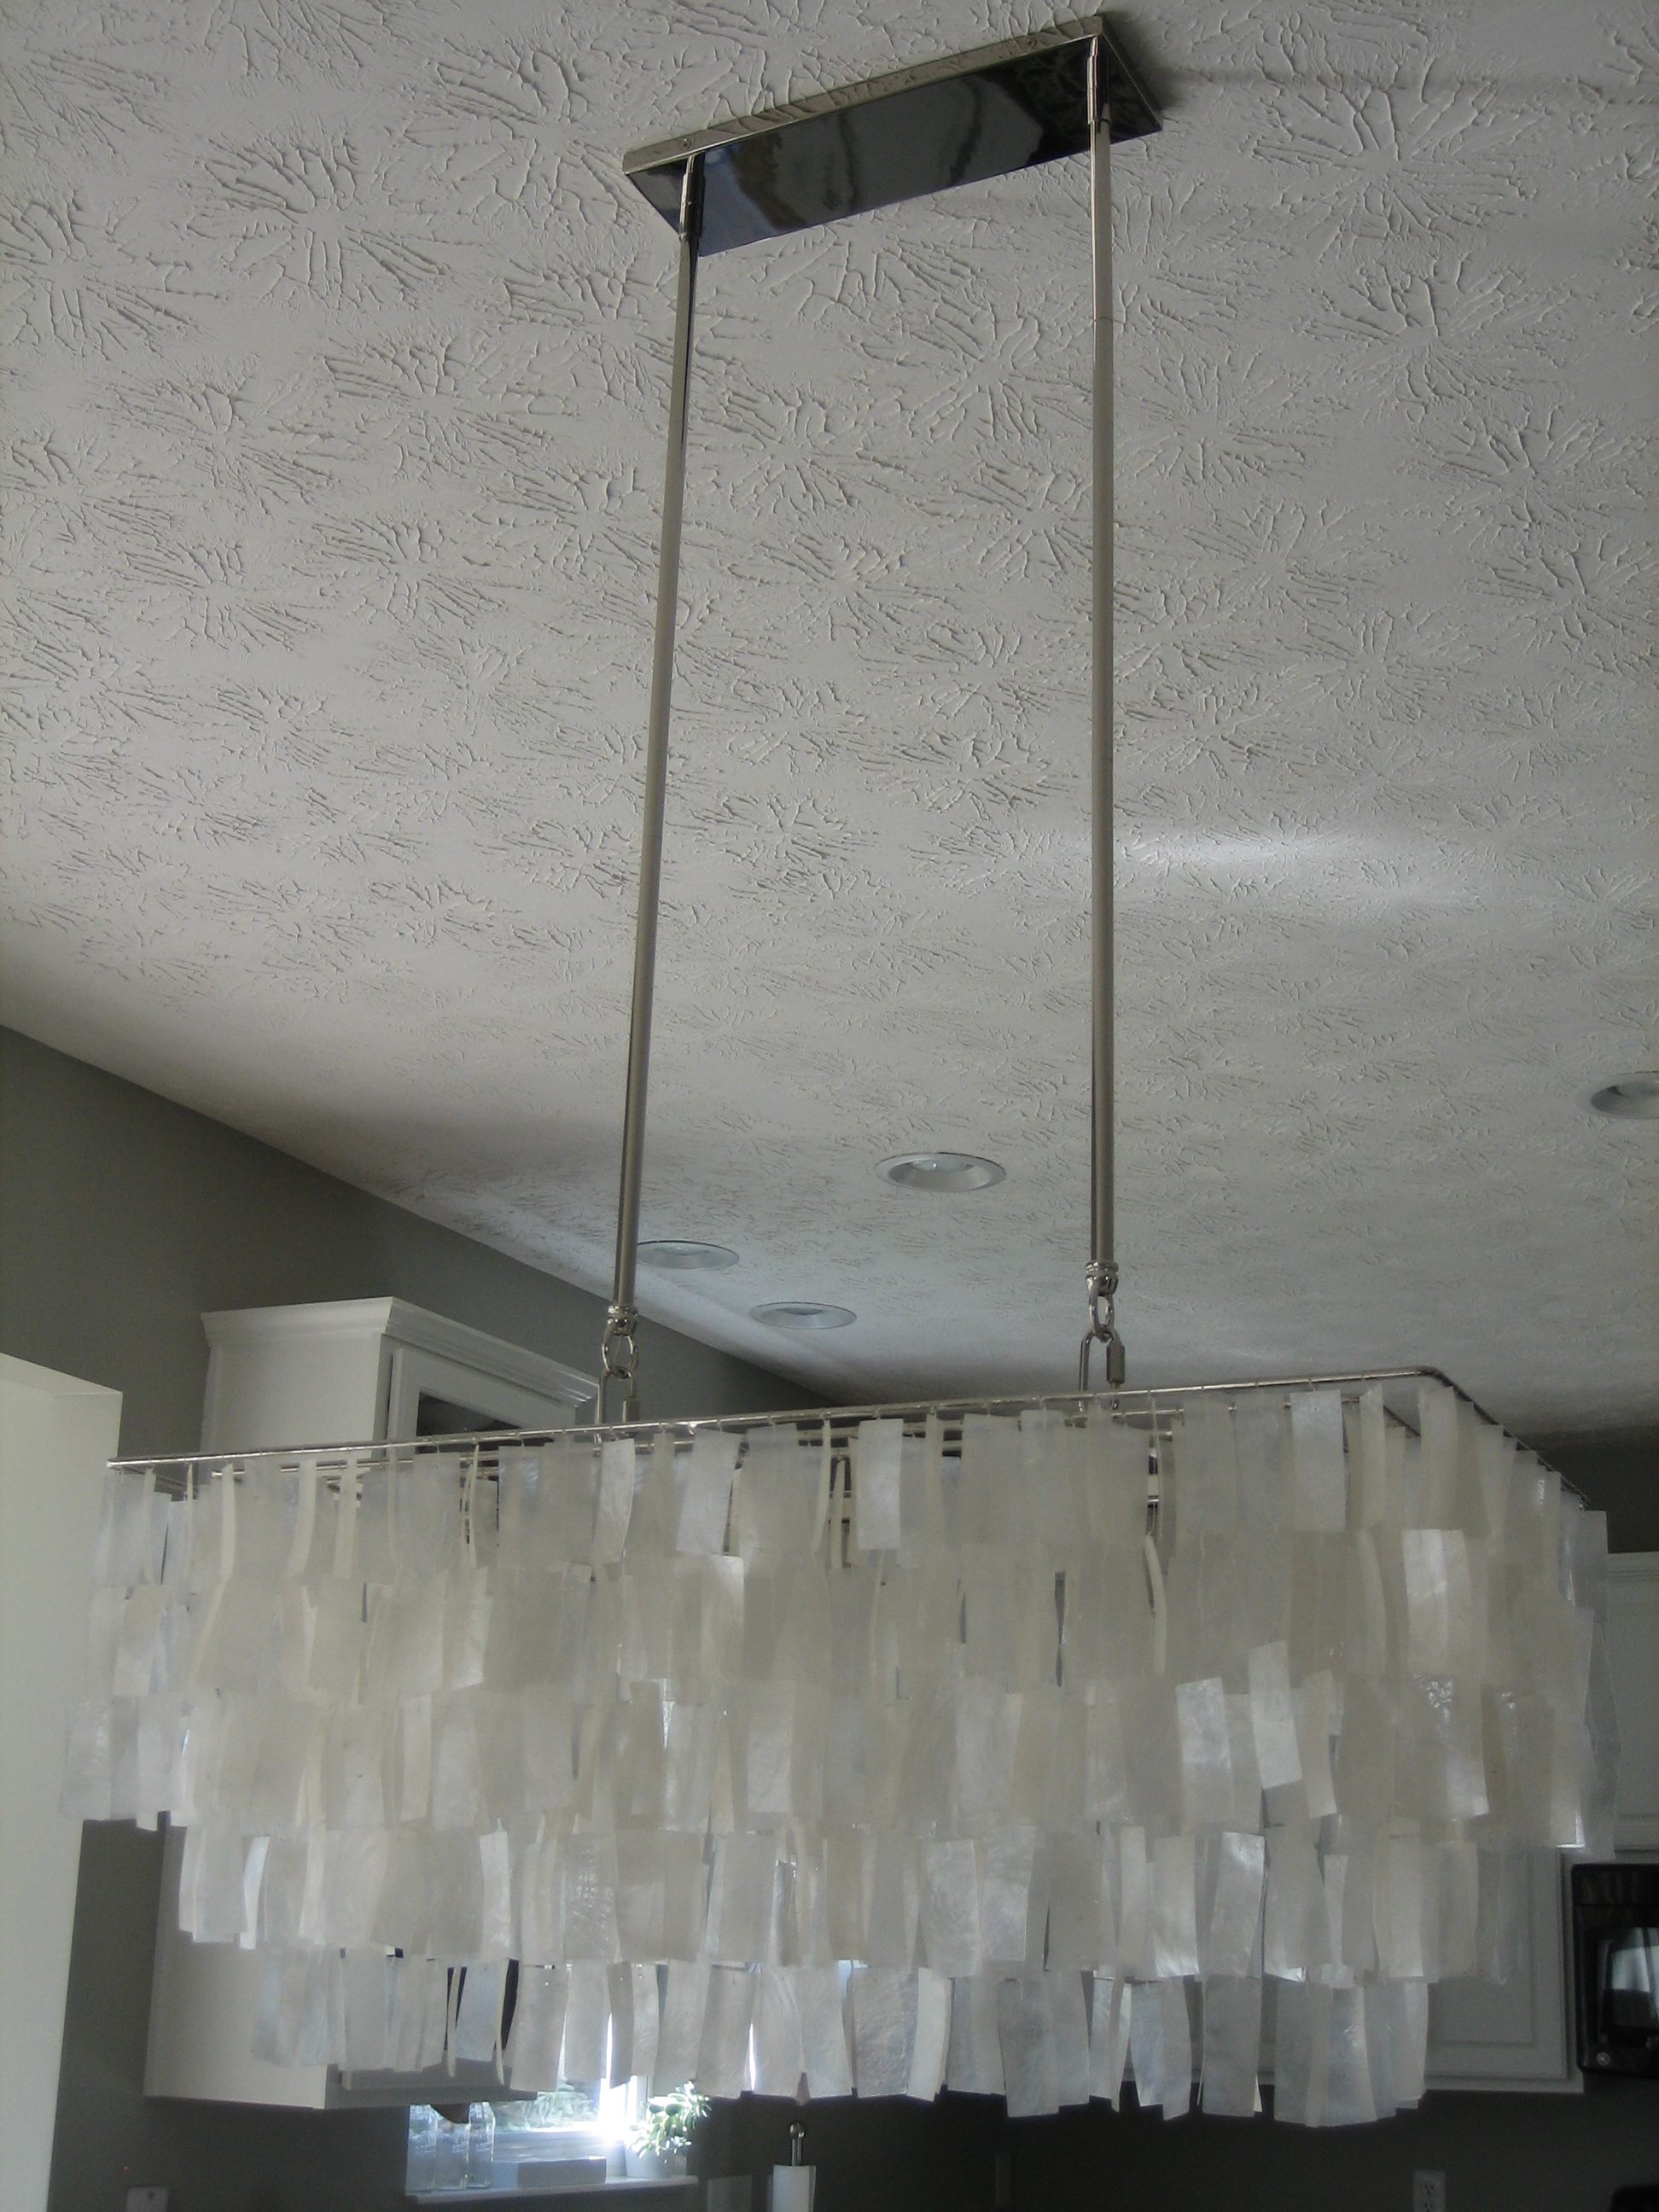
(my West Elm dining chandelier that I splurged on when it went on sale last year)

(my IKEA craft/sewing desk)

(our tall 9-foot ceilings which lend an open feel)

(our functional IKEA console for storing toys in the family room)

(our rustic family room side table from Ballard Designs outlet for a steal!)

(our light and airy sunroom)
Now, for the “WISH I COULD REPLACE IT”

(our busy builder laminate countertops)

(this horribly ugly intersection of wood, vinyl and carpet floorings, UGH!)

(our orangey oak stair railing and carpeted steps)

(our electric stovetop…we’d prefer gas)

(the boys’ orangey oak bathroom vanity)

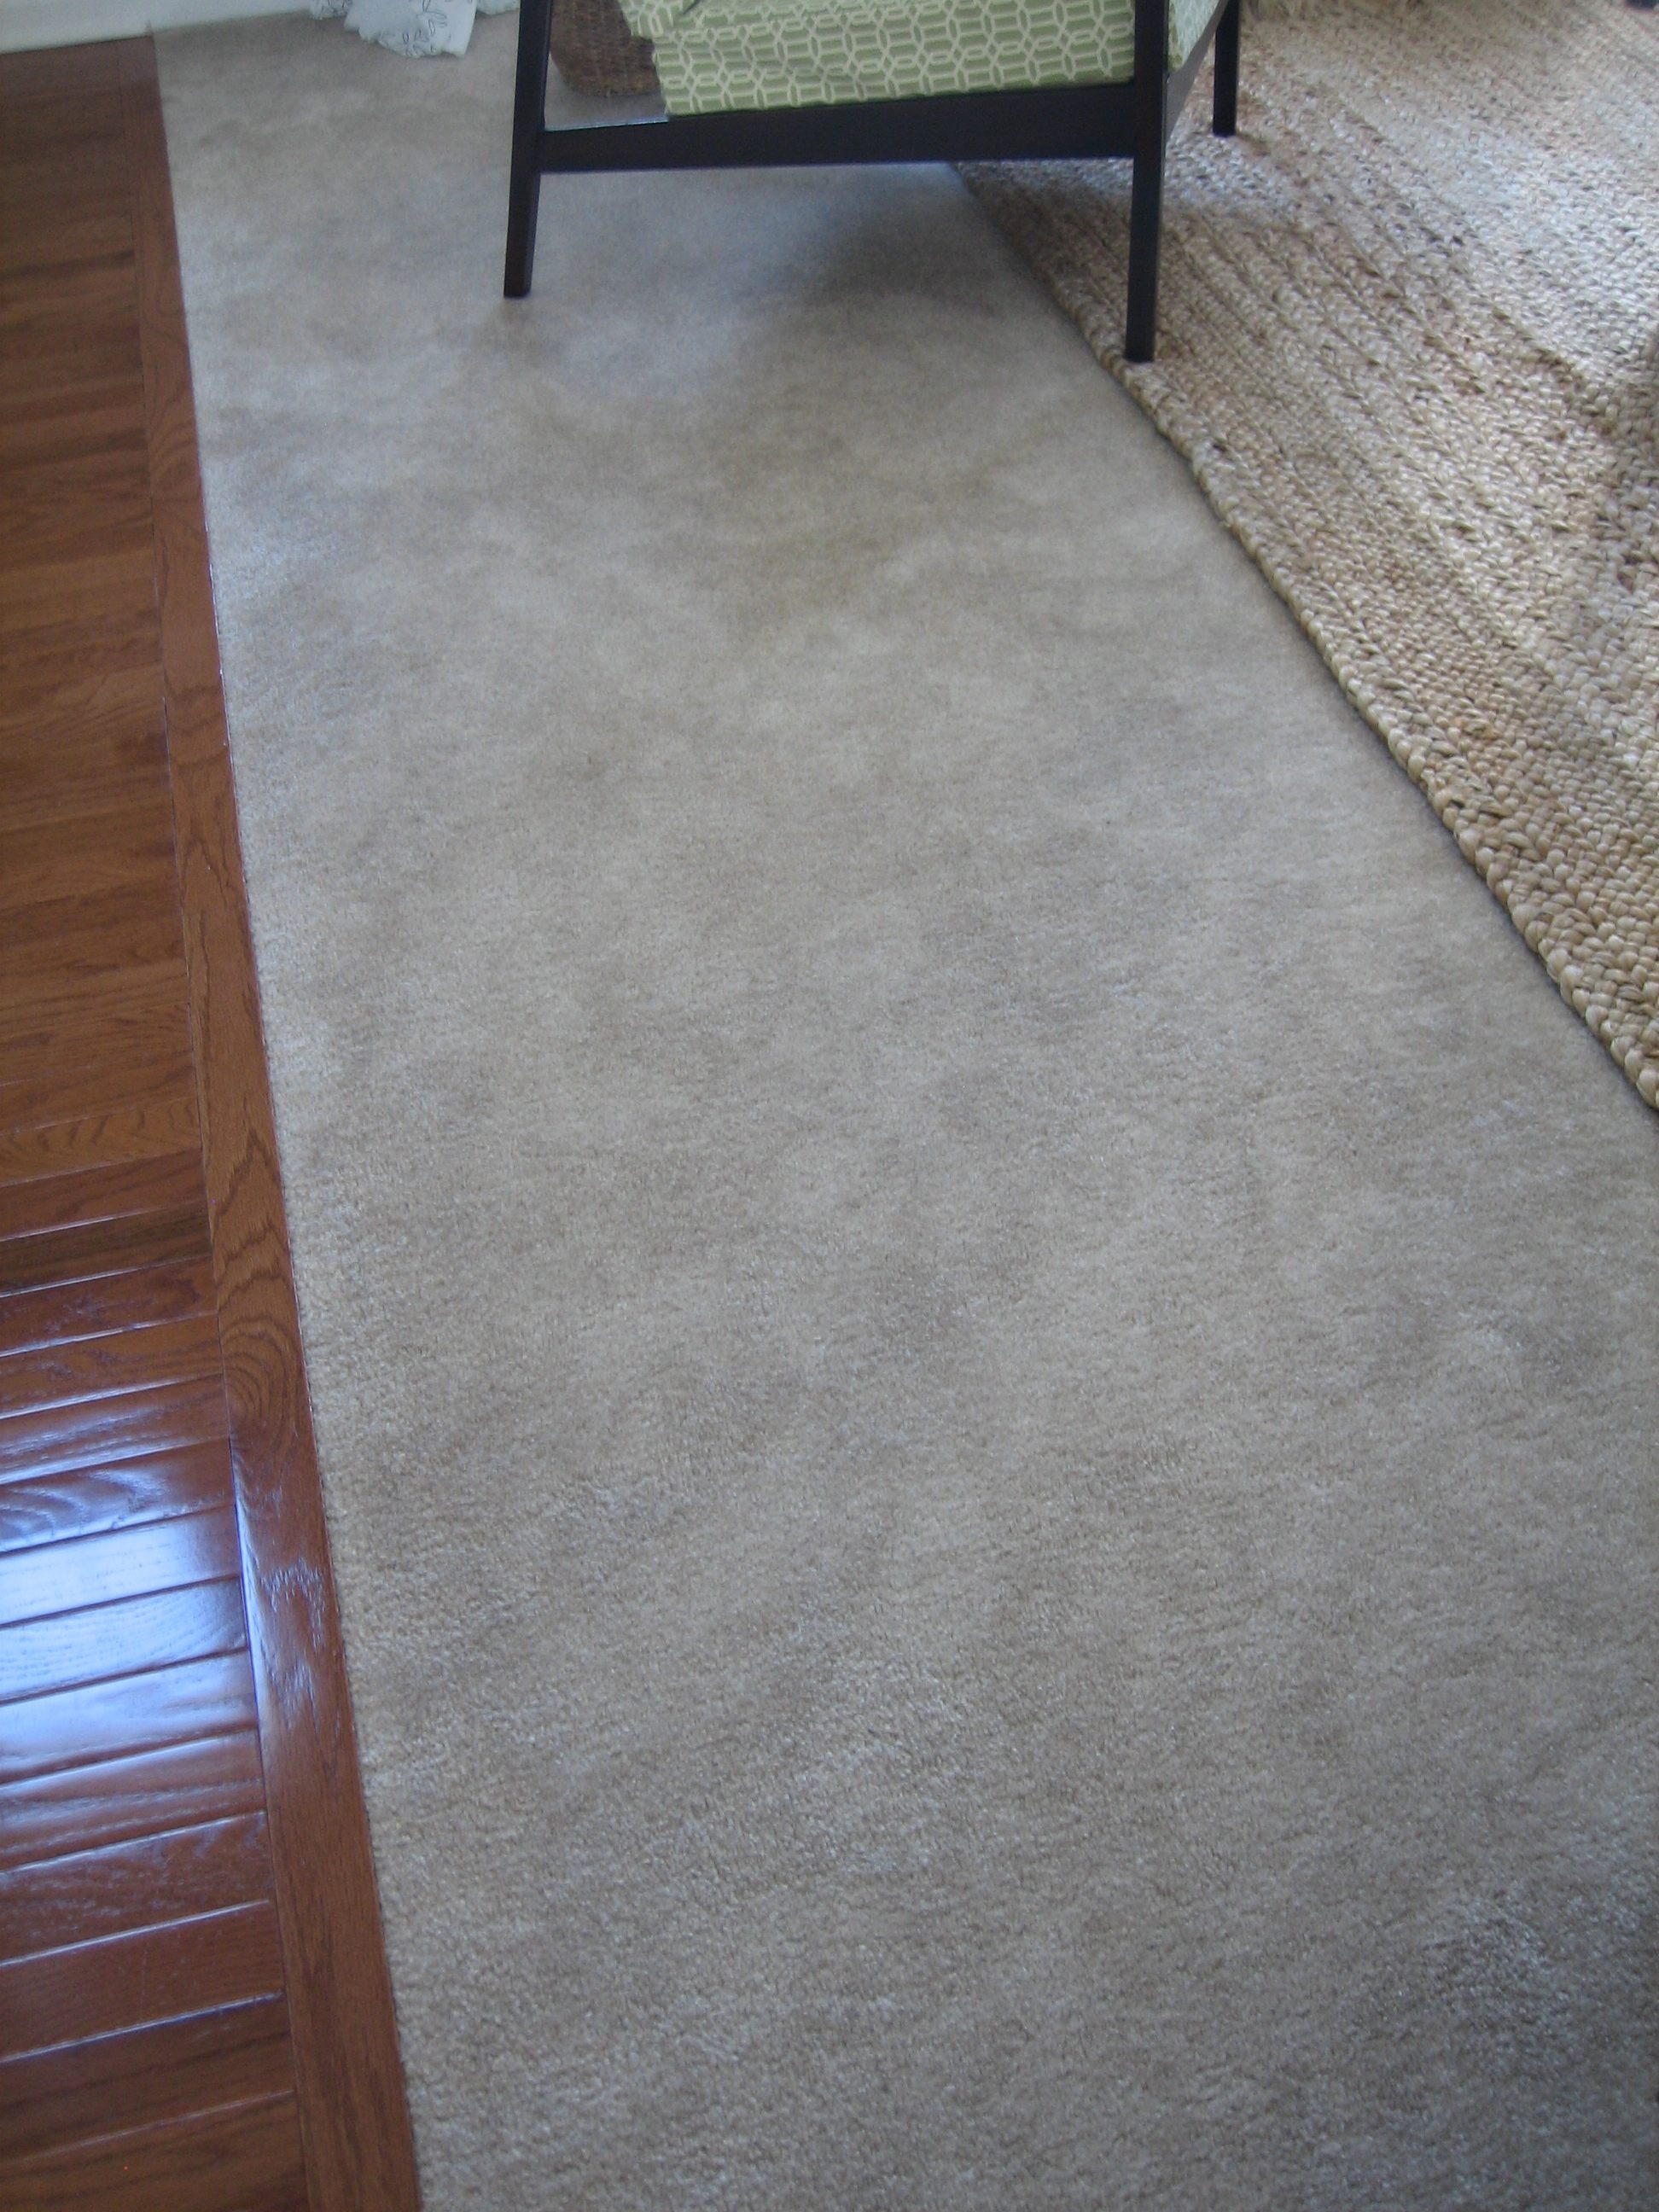
(our first-floor carpet…have I mentioned I don’t like our floors?!)

(our master bath light fixture)

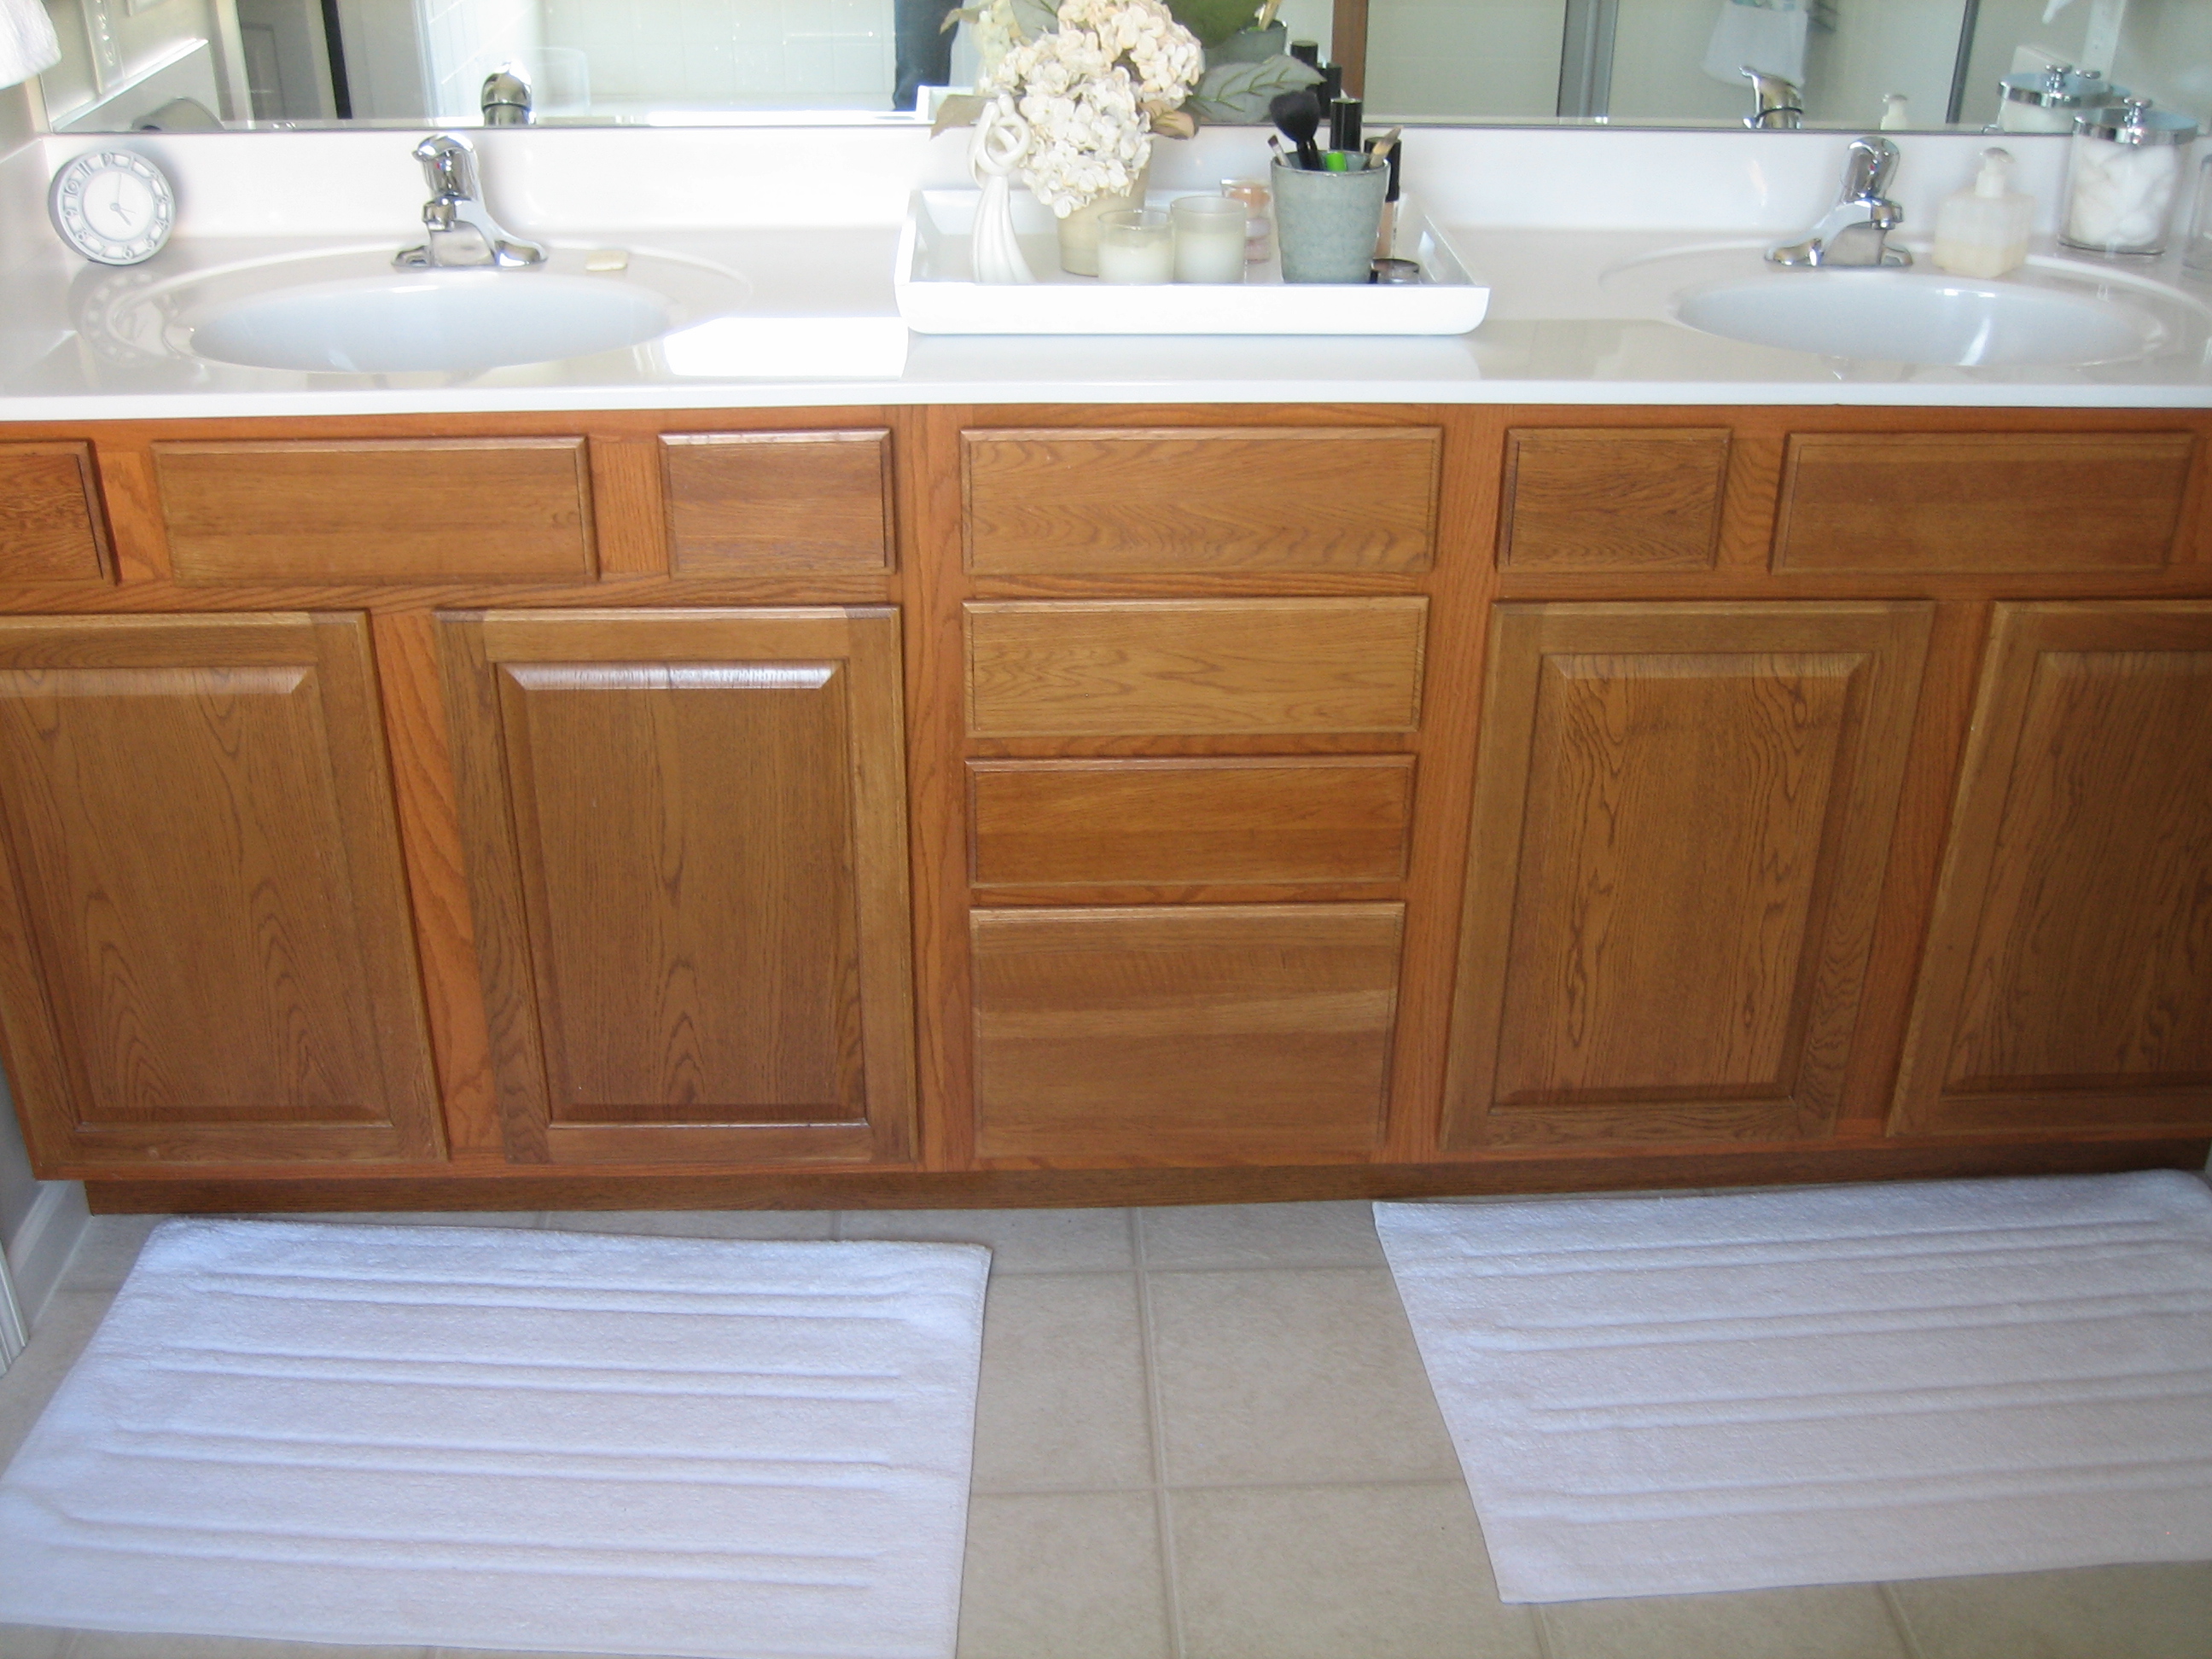
(our master bath orangey oak vanity – have I mentioned I don’t like orange oak?!)

(our master bed frame…a little too delicate and feminine)

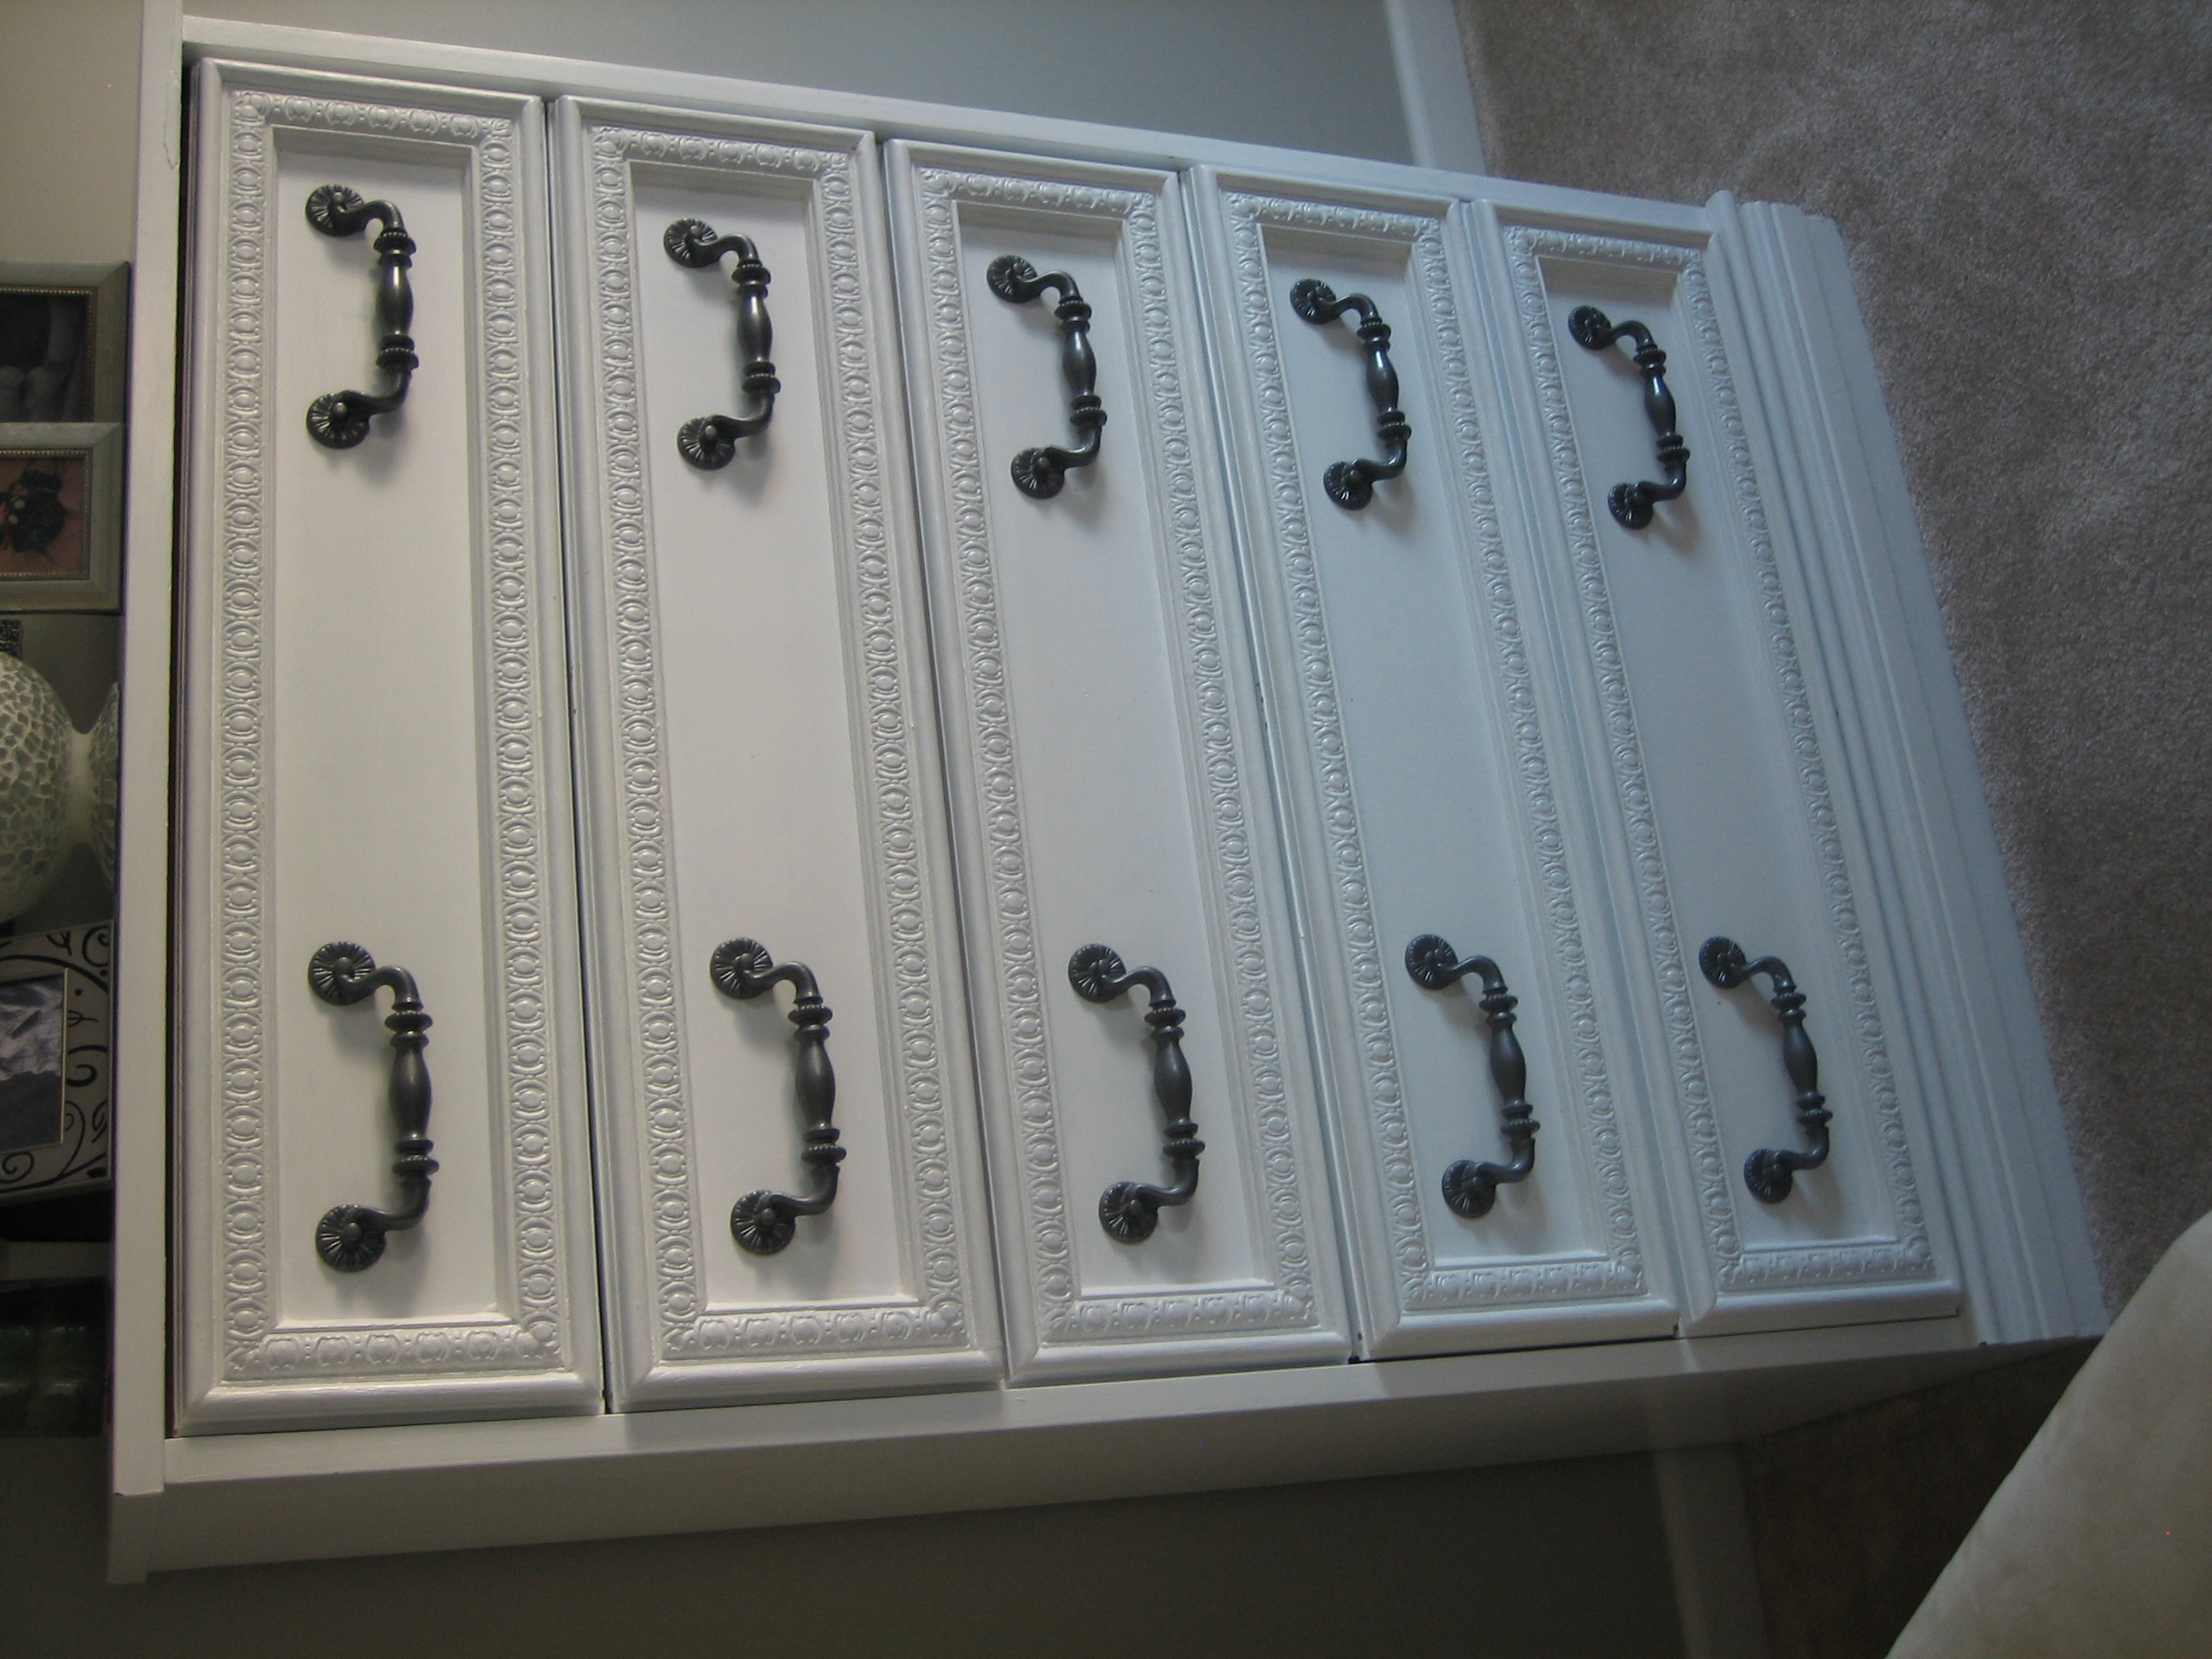
(our master bedroom dresser…it was left by the previous owners of our first home…we painted it white)
So, there are my Step One lists. Don’t know about you, but that was pretty cathartic for me! Wow, I really don’t like our floors, oak vanities or master bedroom furniture. Oh, if only I had the time and money to change up those “Wish I Could Replace”-ems. What about you? What items in your home popped up on your list of favorites? What would you change if money wasn’t an issue? Sometimes knowing what you absolutely don’t like is just as helpful as those things you ogle over. Stay tuned for Step Two where I’ll (you’ll) conquer the little things.

We’ve been working hard on the family photo wall that I mentioned here. Well, guess what? It’s finally done (“all done” as Everett would say) and I’m super, super, SUPER excited to share it! Really. This is what we had to start with…

A nice blank canvas but pretty tall and narrow. Not to mention it’s home to our thermostat, dining area light switch and a random outlet (seriously, why would we need an outlet here?). After pouring over image after image of family gallery walls online, I knew I wanted to fill the wall up with white frames. Kind of like Brangelina…”if we’re gonna do it, we might as well do it big.” While Handy Hubby was out of town on biz, the boys and I took a little trip to IKEA. I had the measurements of the wall written down and my nifty tape measure. I wanted the overall outline of the gallery to be similar in shape to the rectangular wall but not so orderly that it looked contrived. So, right there in IKEA I mapped out the dimensions of our wall and played around with frames to get an idea of which ones would work. I’m pretty sure I got a lot of “OMG, she’s crazy!” looks, but I get that a lot and I’m used to it.

This was my loose, general layout just to figure out which frames to purchase. Once I got home and had more precise details, I changed it up to the layout below to compensate for the thermostat, switch plate and electrical outlet.

Then came the hard part…choosing what to put in each frame. I started a ‘family wall’ folder on the computer to help narrow down the possibilities. I just kept deducting and deducting for days until I had a small selection to choose from. (Much like the judges’ process of elimination on American Idol during Hollywood Week.) I didn’t want only photos though. I wanted to use Handy Hubby’s Valentine’s Day gift and somehow include our boys’ baby footprints.
I put together 2 mini display cases for the baby prints. I started with these footprints made from DIY kits available at craft stores… (we made the prints a while back when our boys were babies but haven’t ever displayed them)

I cut pieces of linen fabric to fit the smallest IKEA frames then hot-glued the prints to the linen.


I didn’t iron the linen because I wanted it to look a little worn and old. Then I framed ‘em up and cut away the excess fabric from the backs.

Voila! Two baby footprint shadow boxes that mean the world to me.

I designated 4 frames to Handy Hubby’s Vday gift and the baby footprints then ordered the remaining frames’ photos via ePingo. It wasn’t exactly cheap but after sorting through all of our digital pictures, I was happy to finally display some precious moments…well worth the money to me. **When ordering photo prints make sure you choose photos that are oriented (horizontally/vertically) the way the frame will be hung on the wall AND in the correct size needed. This can be a very tedious task but necessary.** Once our prints arrived, I cleaned each frame and inserted the corresponding photo. Then Handy Hubby got to work hanging each frame on the wall. He taped off a template for a uniform border and then hung the frames within the template using a pencil, level, tape measure, drill driver, drywall anchors/screws and lots of patience.

3 of the IKEA frames (the individual 5×7′s) I bought didn’t include hanging hardware. Boo. A minor setback. I found a box of picture hanging hardware at Hobby Lobby and Handy Hubby made it work, Project Runway style. Man, I love that guy.

After all the frames were hung, we were left with this empty space around the thermostat.

It wasn’t a surprise. I had a little idea for personalization. A(nother) trip to Hobby Lobby and I found what I was looking for.

A few wooden characters and some blue tacky goo filled the spot nicely.

It says it all. Handy Hubby was relieved and said, “So, I guess that means we’re done having kids.” I warned him that it would be very easy to change up the “Me, U & 2″ to “U, Me & 3.” “Oh,” was his reply. (It’s okay, Handy Hubby, I’m not ready for that.)
If you’ve made it this far into the post, you deserve a look at the finished product.

From the family room…

Some close-ups…


I am sooooo pleased with the way our family wall turned out. It’s organized but not a sterile all-the-same-size frame layout. It took way more planning than I thought but now that it’s finished I can’t help but stop and browse over the pics every time I pass by. Our boys even like looking at them and since the bottom frames are low on the wall, our 2-year-old can take part in the picture gushing. I was torn between color prints or all black-and-whites but I’m in love with the B&W. By far, the emotions and memories that this wall conjures up is what makes it special. And I’m so giddy to have our most meaningful family moments captured in a place for us and visitors to see. Thank you, thank you, THANK YOU Handy Hubby for all that you did! Another project I couldn’t have done without you. Literally. No family = no family wall.

Life is good.

As promised twice (here and here), I’m letting you in on the final pics and whereabouts of the dresser my dad handed down to me. For the sake of before-and-afters, let’s take a look at the original.

It had great lines but the orangey wood was doing nothing for me. After some sanding, priming, painting, polyurethaning and knobbing (adding new hardware), here’s the final product…

My favorite part? The rustic knobs that I got at Hobby Lobby for $6 total. (They were 50% off!) I read on a blog recently (I’m sorry, I can’t remember which one!) that Hobby Lobby was the place for quirky knobs. I thought I’d check ‘em out and I was not disappointed. I had a hard time deciding on one style.


I liked the ounce of warmth it brought to the all-white, glossy piece. Have you figured out where the dresser lives now? I originally thought the dresser would go here…

…at our entry. But it felt and looked crowded. Plus, once the dresser was complete, it seemed a little too playful for our living room. (Our front door opens right up into the living room.) Immediately, I knew where that little dresser would fit. In the guest/playroom!

See it over there by the door? I think it looks cute-sy. When I’m in there playing with my boys, I like looking over and seeing it. It reminds me of when I was a kid (it’s from my dad, remember?). And I love that I made it work with our home, so we can enjoy it for years to come.

It welcomes our guests to their room too. They can set their purse, overnight bag or glass of water on it. I’m already scheming to add fun artwork above it. With all the white going on, it needs a splash of color, don’t ya think? And since the dresser makeover only cost me $6 (the cost of the knobs), I can spare a little change to bring in some personality. Stay tuned to see how the dresser comes into its own with a few accessories!

My blogging desk was a little blah. In fact, it was never meant to be a desk to begin with. It’s an IKEA console that I transformed into a desk out of necessity. (Take a look at how I painted it here.)

This piece of furniture works hard though. It serves as our mail sorter (see all those baskets?), bill paying center, blogging office and house stereo (during family dance parties). And since I’ve been spending so much more time there (well, here) downloading DIY photos and such, the idea struck me to make it a little more appealing. Even though I had polyurethaned it, the desk top was getting nicked up. I decided to add a glass top for function and style. Handy Hubby found a local glass shop to supply and cut a glass desk top for under $40.

It was a great improvement but I had one more trick up my sleeve. Off to my fabric store crush, Fabric Shack, in Waynesville.

That’s just a corner of the store. They’ve recently expanded into another building. It’s a sewer’s haven. I was looking for a fun printed fabric to display underneath the glass top. I narrowed it down to these final four…

Wanna guess which one I chose? Ta-da!…

I was totally digging the scrolled, monogram-esque print. A yard and a half put me back $10. I brought it home, measured my desk top, added an inch lengthwise and widthwise and then cut my fabric to those measurements. With the added inch, I was able to finish the edges.

I simply removed the glass top, smoothed out the fabric over my desk then placed the glass back on top of the fabric. (Well, maybe it wasn’t as easy as it sounds. I had to keep adjusting until all the wrinkles were out.)

Here’s my view while blogging now…

To the left… (to the lef’, to the lef’…everythin’ you own in a box to the lef’)

To the right…

All together now…

This little detail makes blogging even more fun for me! If that’s possible.
Adding a quirky detail like this to an overused area in your home can make the oodles of time you spend there more inspiring. Do you have a built-in kitchen desk where you make grocery lists or pay bills? Why not hang or lean a small but fun framed print above it? Do you spend a lot of time cooking in the kitchen? Try framed artwork here too that either leans or hangs against your backsplash. Maybe you just like to chill in a corner on your favorite chair reading a book. You can add a funky side table in a fun color or hang some bold artwork just at eye level. Is there a designated place where you hang your keys on a daily basis? That would be the perfect opportunity to add some ‘flare’! It’s the little things like this that can make ordinary, mundane chores less stagnant.

I live a skip, hop and jump away from one of my favorite home shopping destinations: exit 19 off I-75. Not only is IKEA on this exit, but if you drive a little further west you’ll find the Ballard Designs/Frontgate/Grandin Road Outlet. Yes, it houses all of those big names under one roof.

It makes me giddy. I try to check it out every few months or so even if I’m not looking for anything in particular. On my last visit, I decided to bring along my camera and be that weird girl who takes pictures of random stuff with a goofy smile on her face. Yes, I’m that girl and I’m comin’ atcha with a few of my favorite finds. I tried to focus on budget items even though this outlet also has pricier, high-end outdoor furniture and such.
My first find was this rack of souped up charging stations or as uppity people like to call them “charging valets”.

You know I like to keep my electrical devices and wires contained and this bad boy could sure deliver in that department. It has a pull-out drawer to store your keys, wallet, glasses or other non-charging items.

Lift the top to find a hidden power strip in charge of, well, charging your phone, iPod or camera.

If I didn’t already have a DIY charging station of my own, I would have totally brought this baby home with me. At $25, it was a ridiculous steal!

Next, I drooled over this adorable yet feisty little guest towel tray.


For only $12, I started thinking I needed that tray. Then I realized I didn’t have the guest bathroom, guest paper towels or guests to go with it. Bummer.
On to the rug section where more than one foot-wiper caught my eye.


I can attest to the durability of these geometric print rugs…I have a larger one right inside my front door…that I paid full price for a while back. Boo. These smaller versions were on sale at $23! If you have a door that seems to catch on every rug you lay down, this low-profile rug is for you. Plus, just throw it in the washer when it gets too grody. Easy.
I couldn’t believe the price tag on this next indoor/outdoor beauty…


At $10, I seriously thought about changing my last name to something that started with an “L”, “N” or “Q”! (Those seemed to be the only monograms left.)
Onto the outdoor furniture section where…

…you guessed it, everything was an additional 50% off! Woohoo! I spotted this outdoor coffee table right away. Heck, this glossy gal would even look good indoors!


With the 50% savings, this table could be yours for the low, low price of $75! (That’s my best infomercial line.) Man, I really wanted that table but, sadly, I couldn’t come up with a place for her to live at my house. I made myself move on and came across these mod outdoor chairs.


The price of $150 was for the pair and that was before the 50% discount. So, that’s 2 outdoor chairs for $75 total – roughly $37 a pop. Not bad. Not bad at all.
My last find was the barstool triplets.


I totally fell in love with the textured basketweave tops. But at $79 each, I was about to walk away. Then I looked up, saw heavenly lights and heard angels singing…the whole bit.

Ahhhhh! Another 75% off?! Holy bajeezes…that would be like $20! And, then, like I always do when I decide to buy something, I pick over each one of that particular item to make sure I get the ‘best’ one. I sat on each one, I stood on them, I made sure they didn’t rock, I checked for scratches/dings and I banged on the tops to check the stability of the basketweave seats. It’s really a rigorous test that I put these things through. Highly technical, you probably wouldn’t understand. Anyhow, here’s the winner that got stuffed into the back of my SUV:

It sits next to my kitchen cabinet when I’m not using it to eat lunch at the island with my lil’ boys.

I placed a basket on top of it to drop dirty dishtowels into until laundry time. Before, I was just piling up dirty dishtowels on the floor next to the cabinet until I remembered to take them up to the laundry room. This way, they’re kind of hidden. So, my trip to the outlet only set me back $20. I think taking pictures of the other great finds I didn’t necessarily need was almost as fun as buying them…and it saved me the buyer’s remorse.
How ’bout you? Do you have a favorite outlet store that you frequent in search of great deals? Are you ever the crazy person taking pictures of items you love but don’t really want to buy? Or is it just me?
FYI-As much as I’d like to, I don’t get compensated for saying how awesome this outlet or its items are. I just like to pass on the thrifty deals and eye candy to others.

At the beginning of the week, I introduced you to the secondhand dresser my dad so kindly gave me.

As promised, I’m back to share some pics of my progress. However, (and I apologize) due to an overzealous almost-2-year-old (thus an exhausted Mama) I’m not quite as far along on the dresser’s makeover as I’d like to be. Still, I’m a woman of my word. So, here’s a sneak peek…

Okay, not really a huge surprise…I painted it white. And those are Hobby Lobby knobs (say that 3 times fast) to replace the old hardware as soon as the second coat of polyurethane dries.

And as for where this new addition to our furniture family will go, let’s just say it is a ‘welcomed’ piece. Yep, that’s a hint. Here’s hoping it’s a productive weekend!

I don’t enjoy cooking. At all. I want to. But I really don’t like it. The only reason I cook is to eat. And I looooooove eating. One of my favorite easy meals of all time is a recipe I made up out of neccessity. We were 7 days out from our last grocery visit which meant our fridge was nearly empty. Here’s what I came up with…
Ingredients:
1 sweet onion, chopped
2T. butter
3T. pesto (I buy the large premade jars from Sam’s)
1lb. spaghetti pasta
1/4c. (give or take depending on how much you’re into cheese) grated parmesan cheese
1T. EVOO (extra virgin olive oil)
Directions:
Boil water and cook pasta al dente. Meanwhile, melt butter in a medium skillet. Add the chopped onion and saute for about 5 minutes. Stir in pesto and parmesan cheese. Sizzle for another 2 minutes until cheese is gooey. (Sometimes I even cook it a little longer and the parmesan crisps up.) Strain pasta and drizzle EVOO overtop. Make a plate of pasta topped with the onion/pesto/parmesan mix. Mmmmm.

It’s so easy even I can do it.

Leprechauns must have invaded our home last week and sprinkled green dust on me while I was sleeping. On a whim, I decided our living room/office needed a green wall as a focal point. I painted sample splotches of different greens on the wall behind the sofa.

I decided on the far left color, Sherwin Williams Ryegrass. In one morning, I had it painted.


At first, I really liked it. It was a nice punch of color to an otherwise neutral room. But then the natural light that the room gets during the first half of the day started moving towards the back of our house, leaving a much ‘greener’ green…see the corner?

And it got more intense as night fell. It kinda hurt my eyes. I decided to sleep on it. When I woke in the morning and came downstairs, I was pretending I had never seen the wall before. So, as soon as I entered the living room, I thought, “Holy cow! That is a GREEN wall!!” It seemed so out of place in relation to the rest of our home. Here’s the view from our dining area…

Layne even said, “Oh…my…goodness.” I was pretty disappointed about the whole thing. Because I really did love the color…just not in my house. It was not something I could live with day in and day out. Maybe it would have been better in a room with tons of windows, like this Apartment Therapy one:

It looks much calmer when broken up by lots of white molding and windows. The pops of bright pink are a nice complement. However, my living room has no white molding, only two windows and no bright pops of anything. That must be where I went wrong. So, the lesson here is just because you like the look of a room in a picture doesn’t mean you should paint a room in your home that same color. The rooms should be similar in style and it should flow with the rest of your home in order to work. Our living room is nothing like the Apartment Therapy room above and we have no other bright walls in our house, so this didn’t work for us. Always stick to your idea book (i.e. your Little Black Book). In hindsight, there are no green rooms in my inspiration folder.
Still, I had fun painting the wall and trying something a little different. In the end though, it was not something I could live with and look at every day. I’m keeping my day job. Sometimes finding out what doesn’t work for your home is just as helpful as finding something that you love. I’ll be sticking to neutral walls and adding in color with artwork and pillows…something I know we can all live with. And, in case you’re wondering, I’ve already re-painted the wall (well, the entire living room) in a neutral taupey-gray…I like where this is going…

I had been eyeing an unused dresser at my Dad’s for the last few months. He’s been updating his house recently and the dresser got shoved into the empty, seldom used living room. I finally asked him what his plans were for it and he replied, “Do you want it?” Of course, I wanted it! I warned him that I would paint it if he gave it to me. (He’s a little against painting wood.) He said he didn’t mind. Somehow, Handy Hubby squeezed it into the back of our SUV with a stroller and Pack-N-Play in tow. Yippee for free furniture!

Since Handy Hubby has been out of town all week, Layne has been standing in as man of the house. He voiced his interest in helping me with a project. I obliged. I told him he could help me sand the dresser. I handed him a face mask to put on and he was concerned that he couldn’t see.


Through my giggles I informed him that it was supposed to cover his nose and mouth.

Ahhh, much better but his right ear looked a little painful. I didn’t mention it. He helped me remove the hardware.

Then we were set to start sanding. Layne really liked it. He said it tickled his fingers.

Now, if you are wanting to sand a piece of furniture in a timely manner, I would not recommend having your 5-year-old do it. It took us much longer than it should have. Also, if you are wanting a good even sanding job, I would not recommend having your 5-year-old do it. It’s not as smooth as it should be. However, we had a lot of fun doing it together. The dresser had been in my family for years, so it was far from perfect to begin with. What’s a few more dings and scratches? I like a piece of furniture with a story. And who’da thought I would be the one to introduce Layne to his first power tool?! A few hours (and probably a few angry neighbors) later, we had it lookin’ good.

Layne really wanted to help me prime and paint it. At first, I let him start priming it but after I saw him pushing the paint brush across one door (leaving a pretty ugly brush mark not to mention ruining the paint brush), I asked him if he wanted to watch a cartoon. Cartoons trump painting. Stay tuned later this week to find out how the dresser turns out and where its new home will be…

budget decor, inspiration