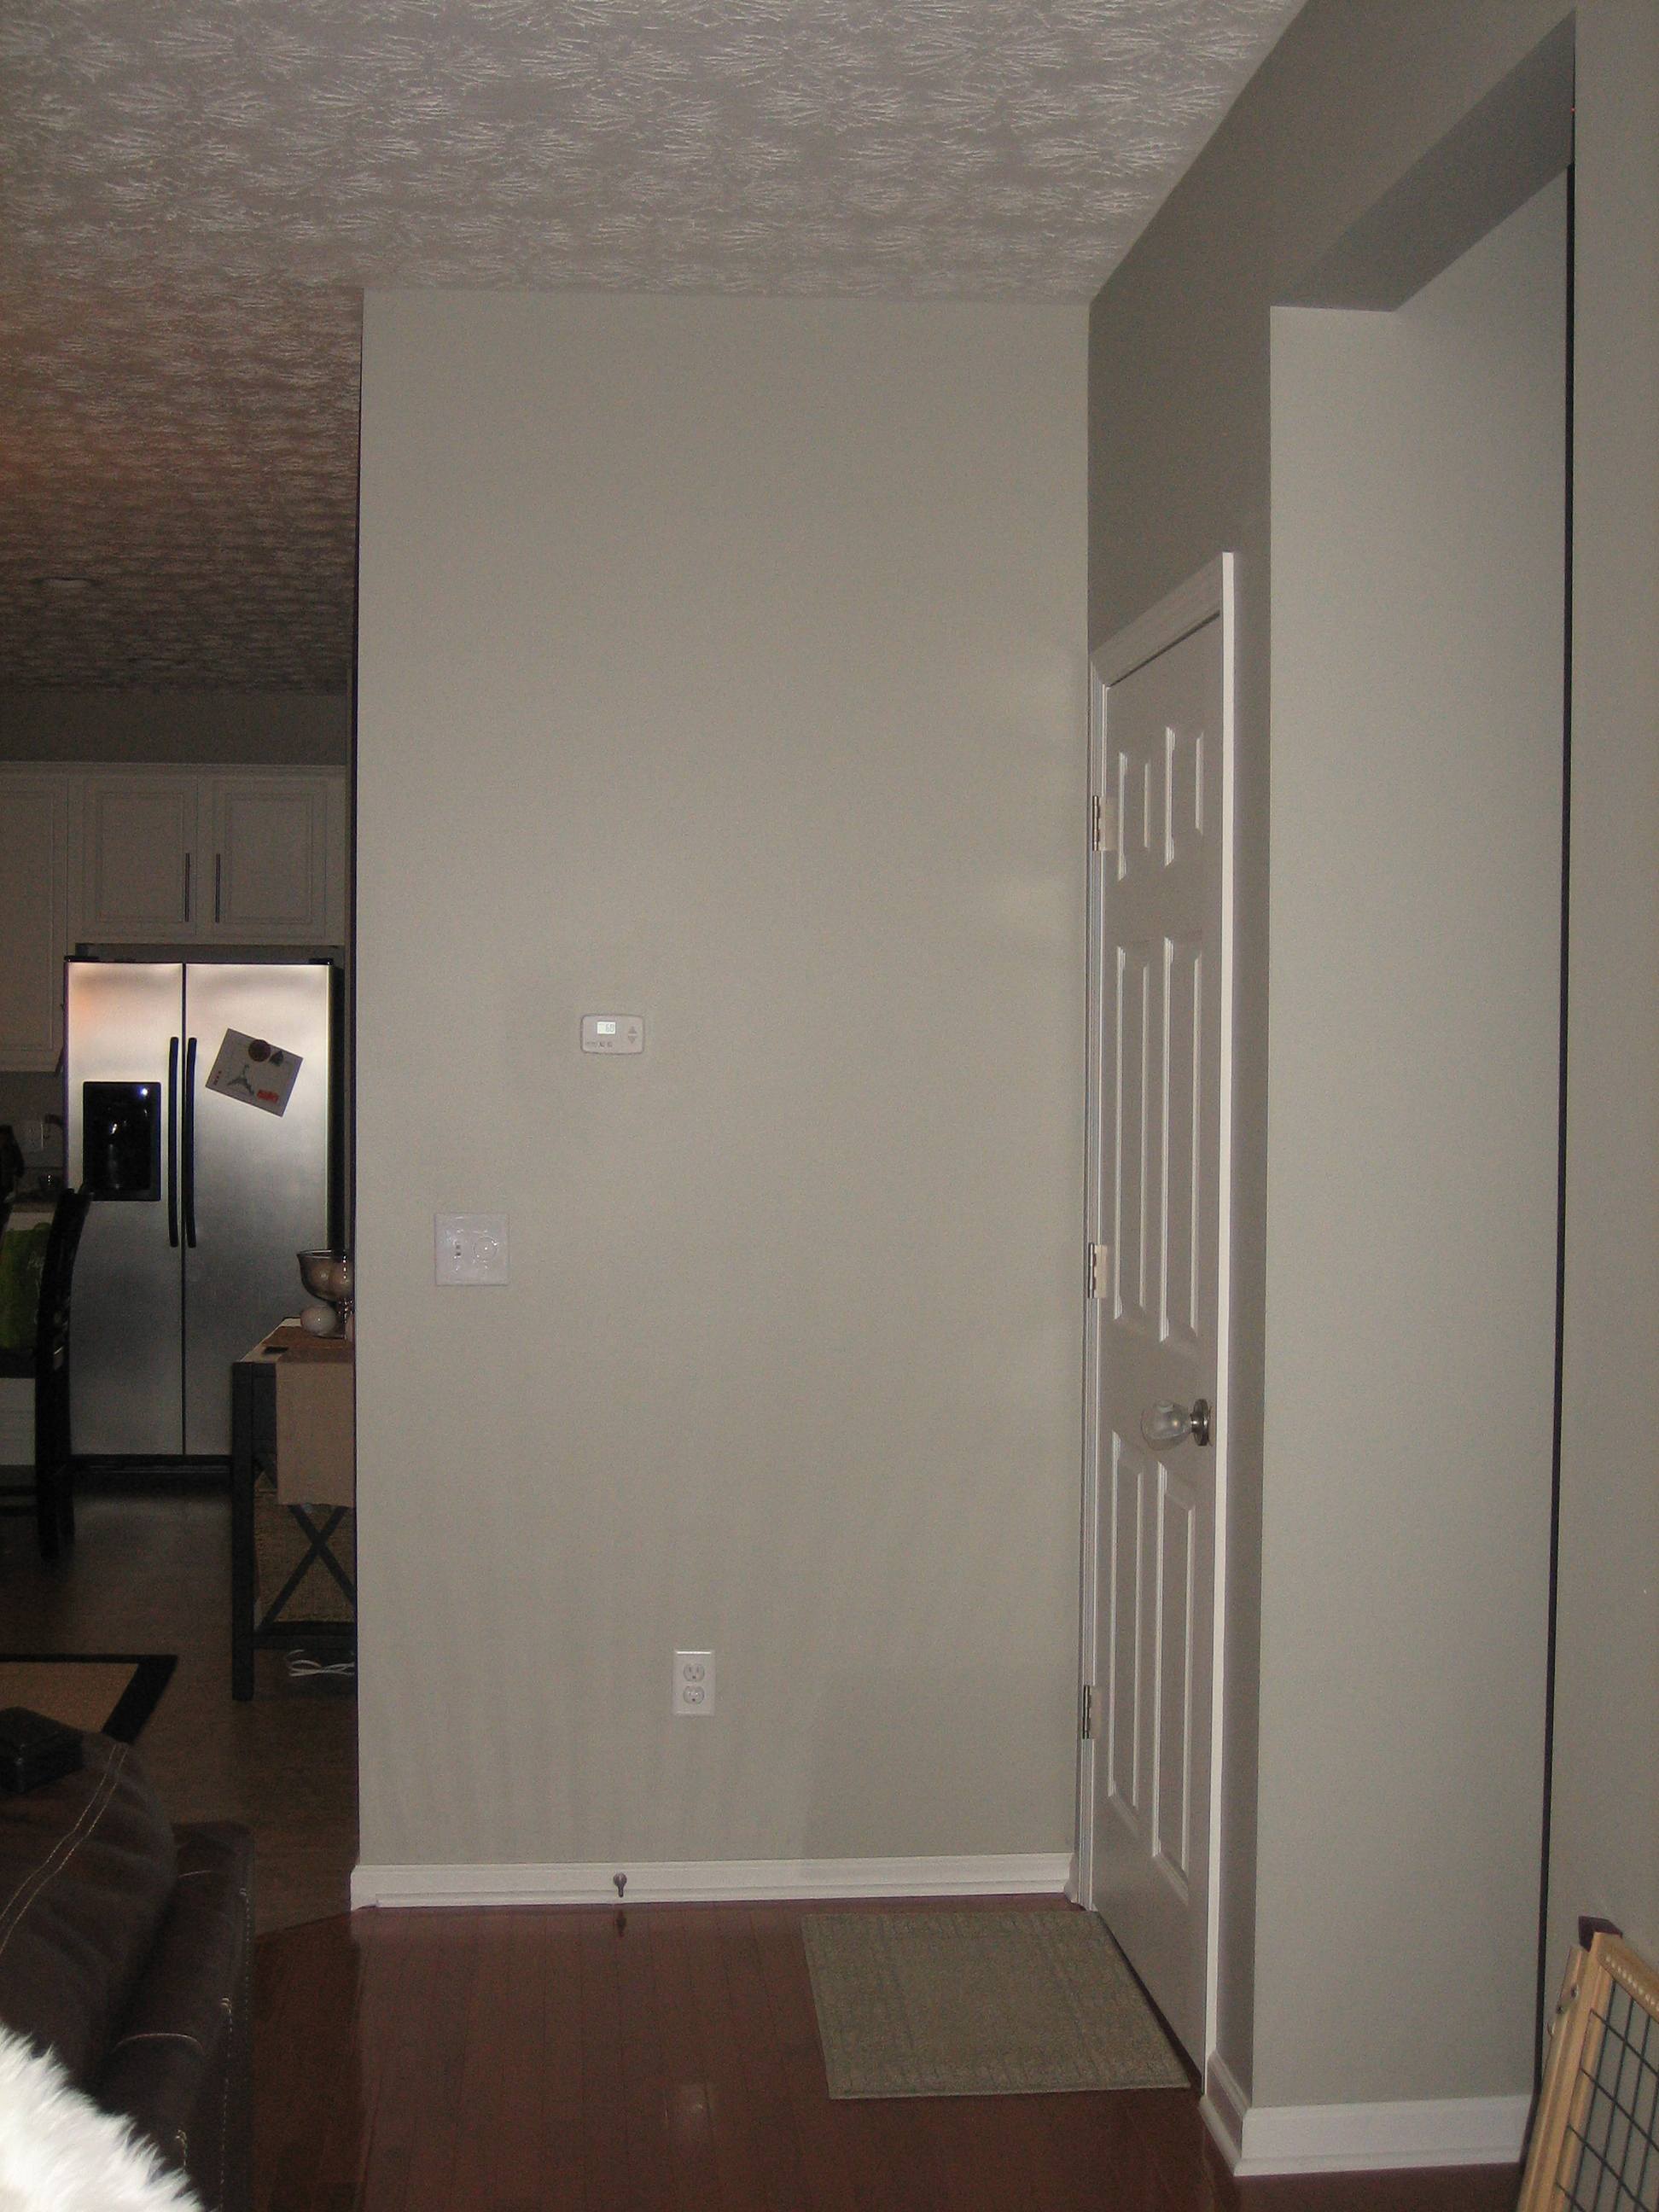
We’ve been working hard on the family photo wall that I mentioned here. Well, guess what? It’s finally done (“all done” as Everett would say) and I’m super, super, SUPER excited to share it! Really. This is what we had to start with…

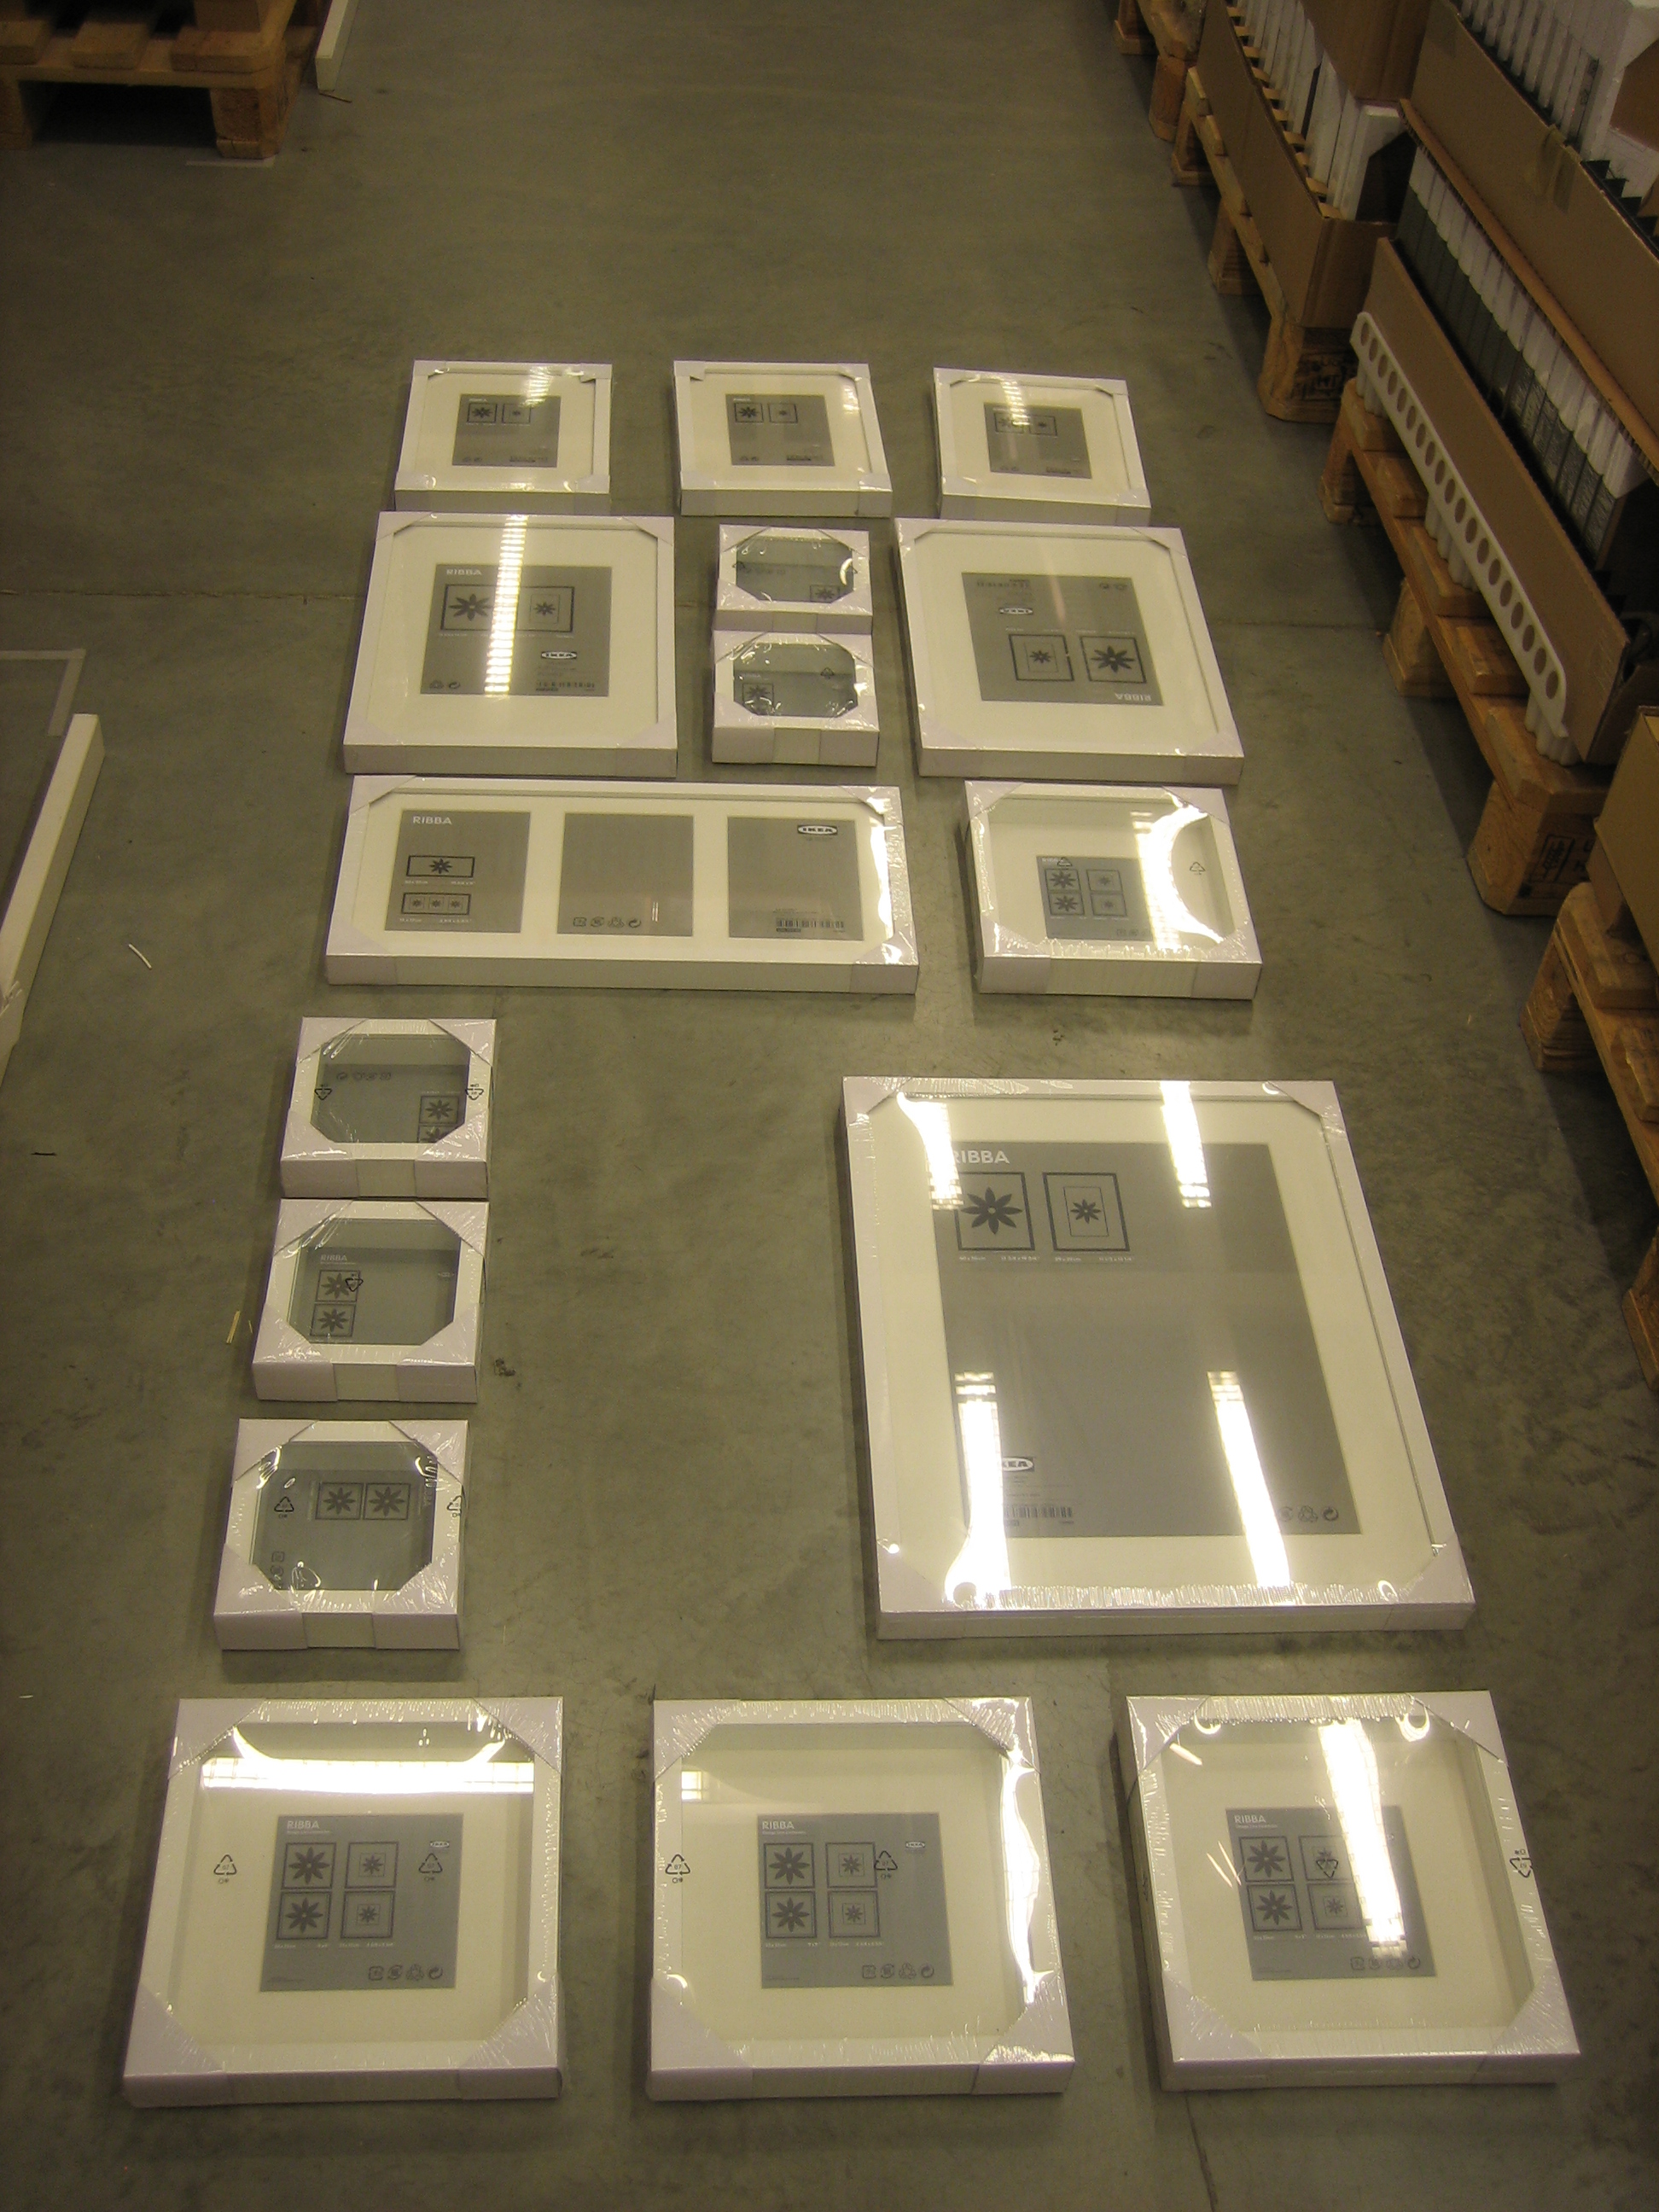
A nice blank canvas but pretty tall and narrow. Not to mention it’s home to our thermostat, dining area light switch and a random outlet (seriously, why would we need an outlet here?). After pouring over image after image of family gallery walls online, I knew I wanted to fill the wall up with white frames. Kind of like Brangelina…”if we’re gonna do it, we might as well do it big.” While Handy Hubby was out of town on biz, the boys and I took a little trip to IKEA. I had the measurements of the wall written down and my nifty tape measure. I wanted the overall outline of the gallery to be similar in shape to the rectangular wall but not so orderly that it looked contrived. So, right there in IKEA I mapped out the dimensions of our wall and played around with frames to get an idea of which ones would work. I’m pretty sure I got a lot of “OMG, she’s crazy!” looks, but I get that a lot and I’m used to it.

This was my loose, general layout just to figure out which frames to purchase. Once I got home and had more precise details, I changed it up to the layout below to compensate for the thermostat, switch plate and electrical outlet.

Then came the hard part…choosing what to put in each frame. I started a ‘family wall’ folder on the computer to help narrow down the possibilities. I just kept deducting and deducting for days until I had a small selection to choose from. (Much like the judges’ process of elimination on American Idol during Hollywood Week.) I didn’t want only photos though. I wanted to use Handy Hubby’s Valentine’s Day gift and somehow include our boys’ baby footprints.
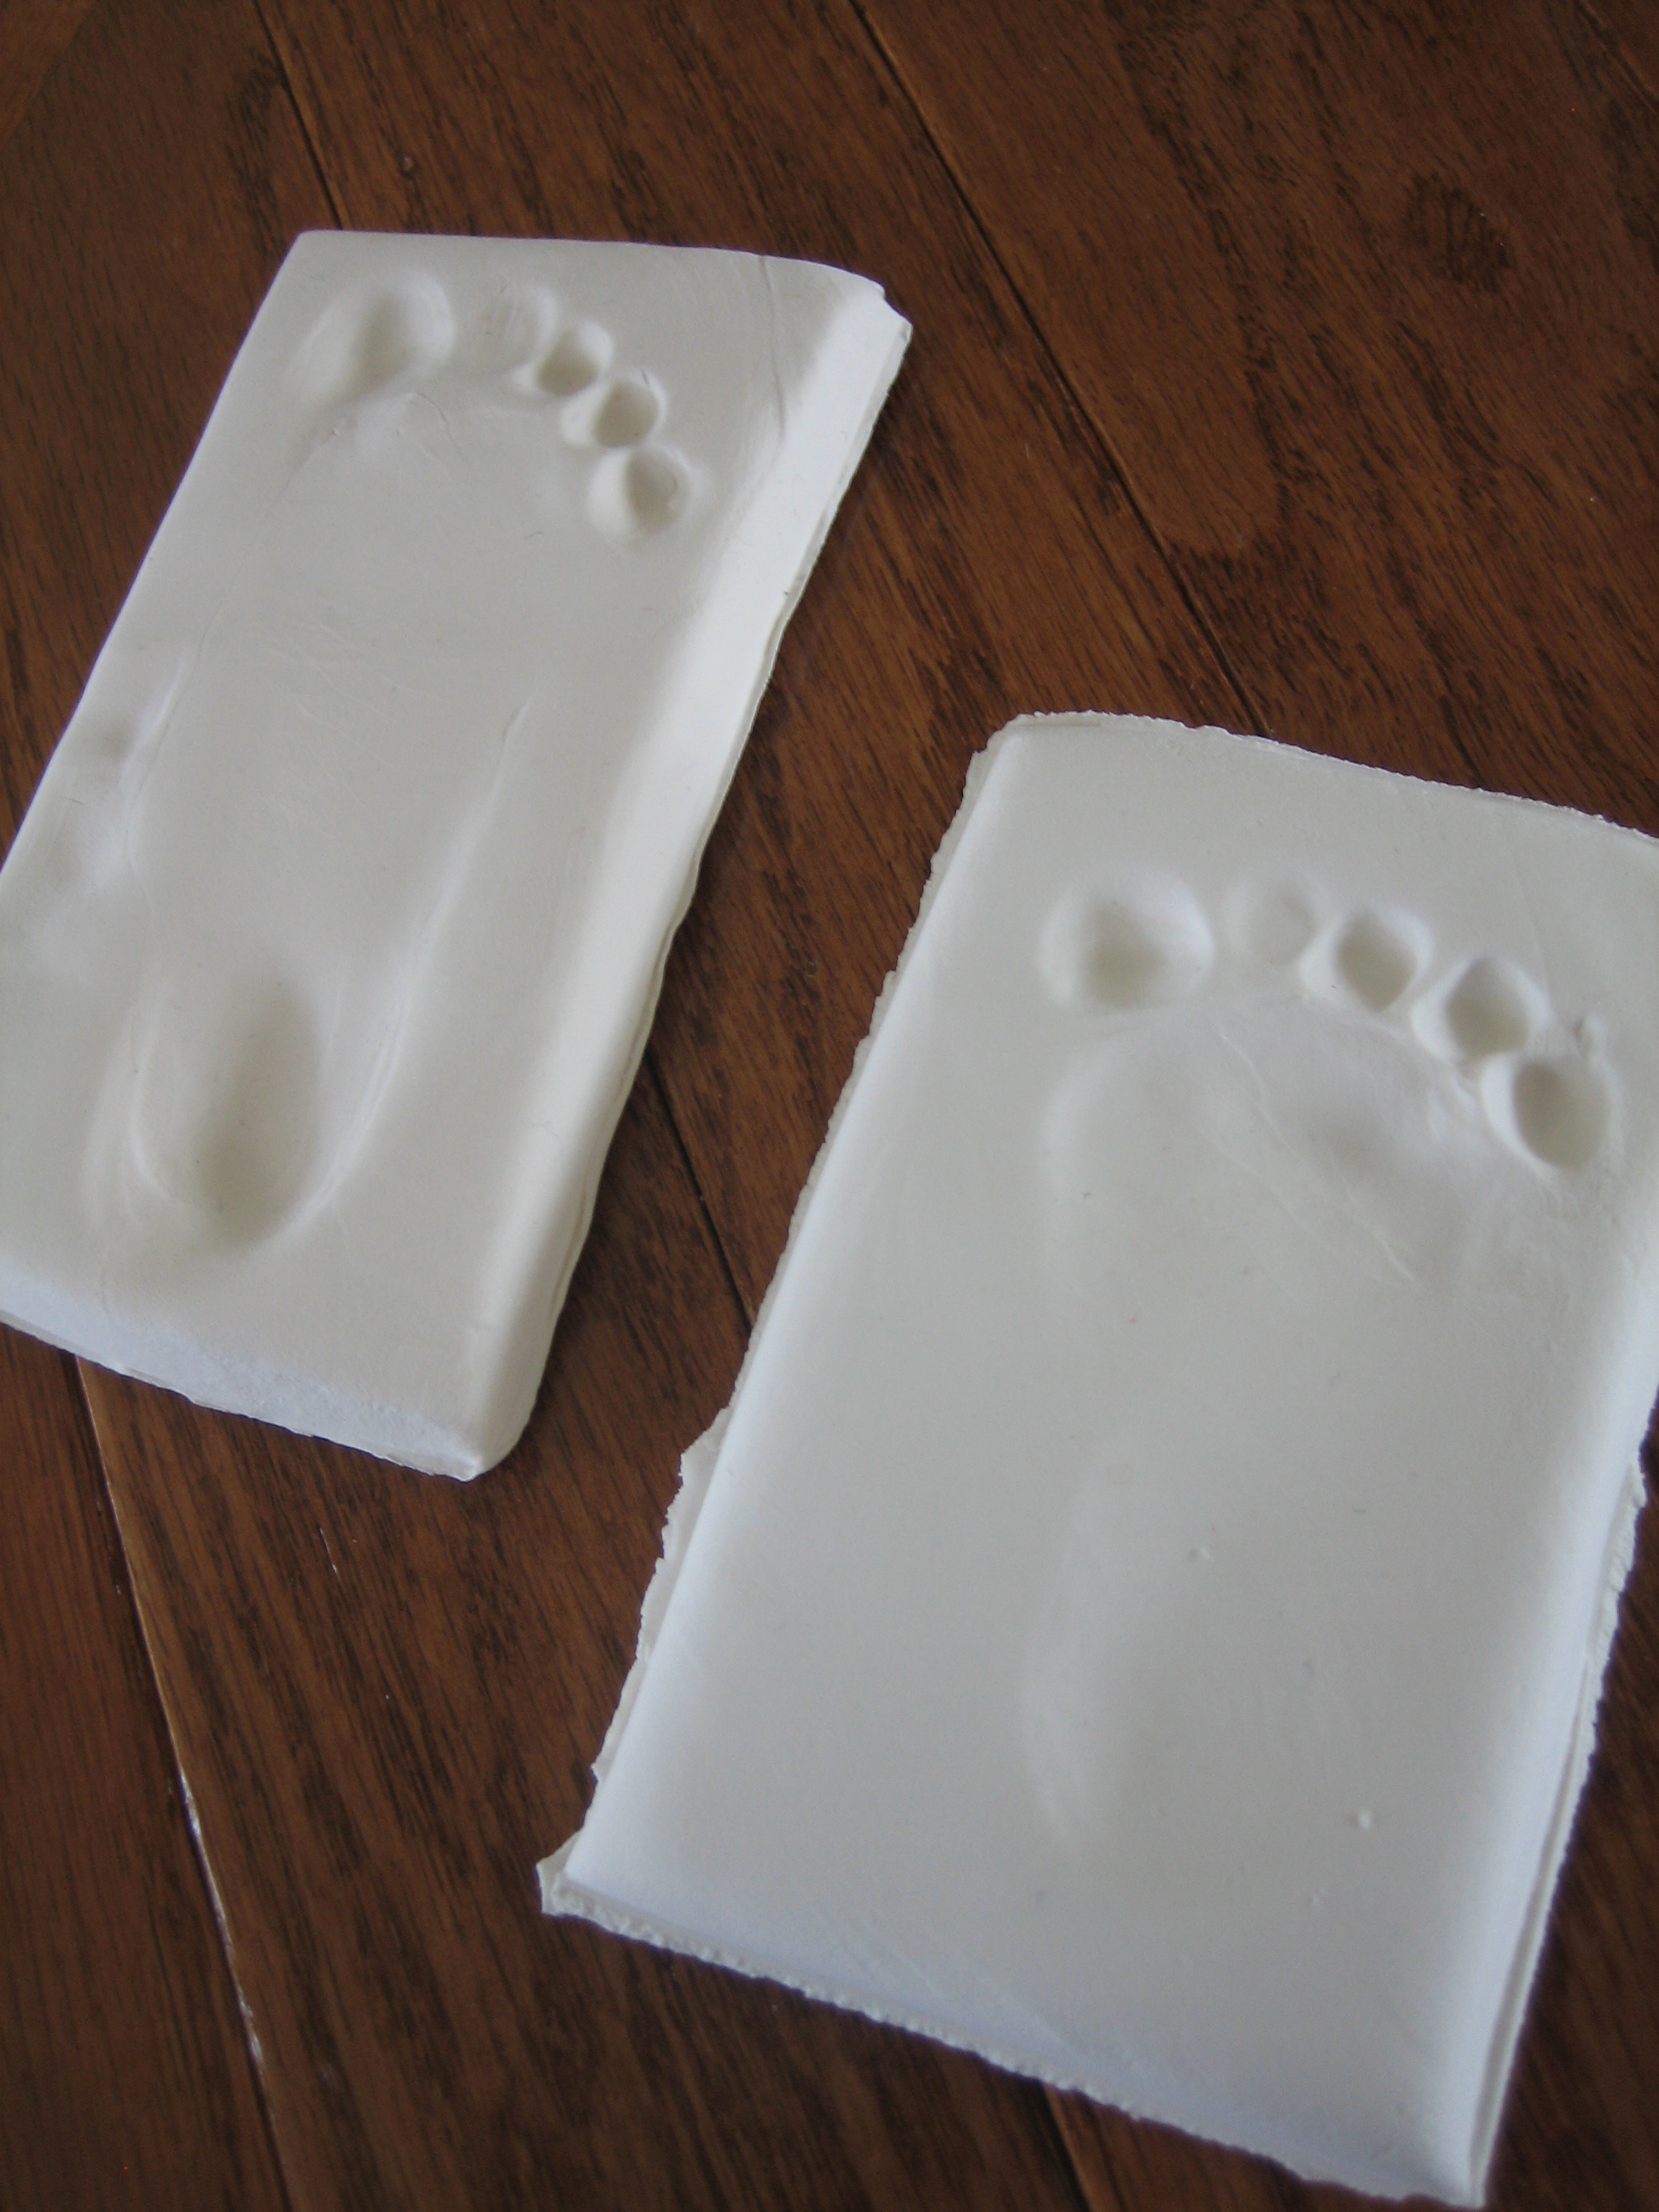
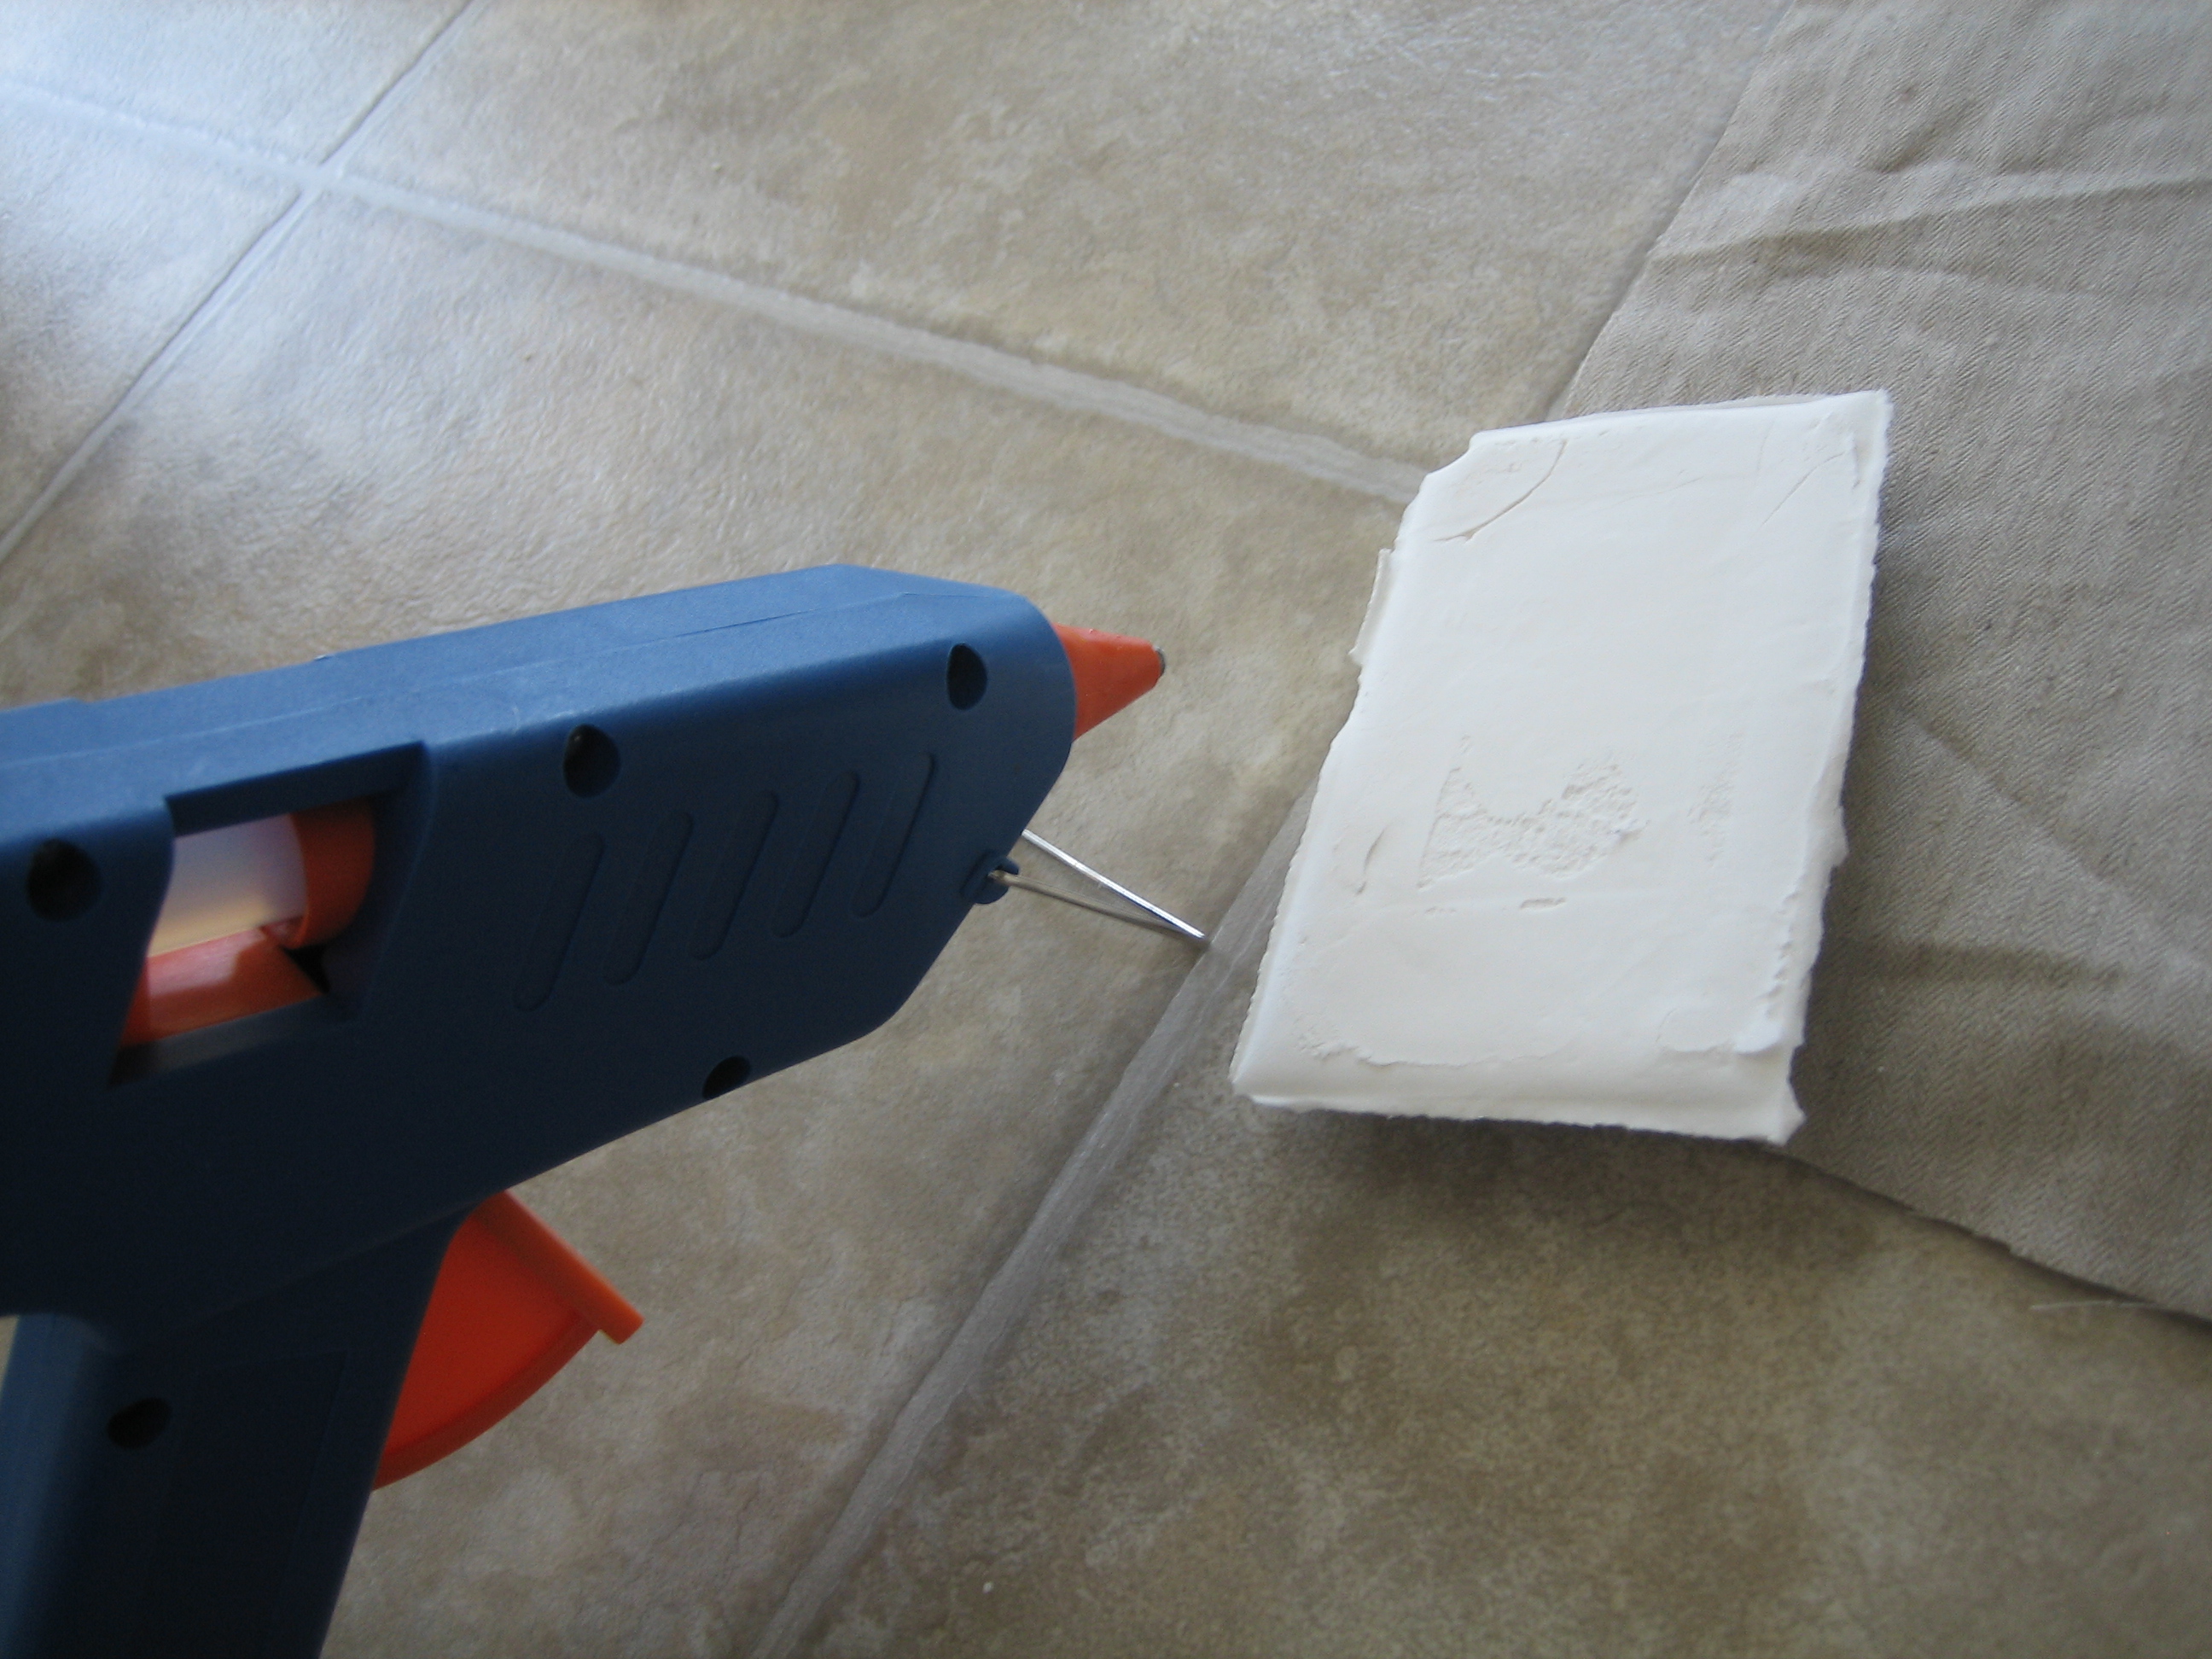
I put together 2 mini display cases for the baby prints. I started with these footprints made from DIY kits available at craft stores… (we made the prints a while back when our boys were babies but haven’t ever displayed them)

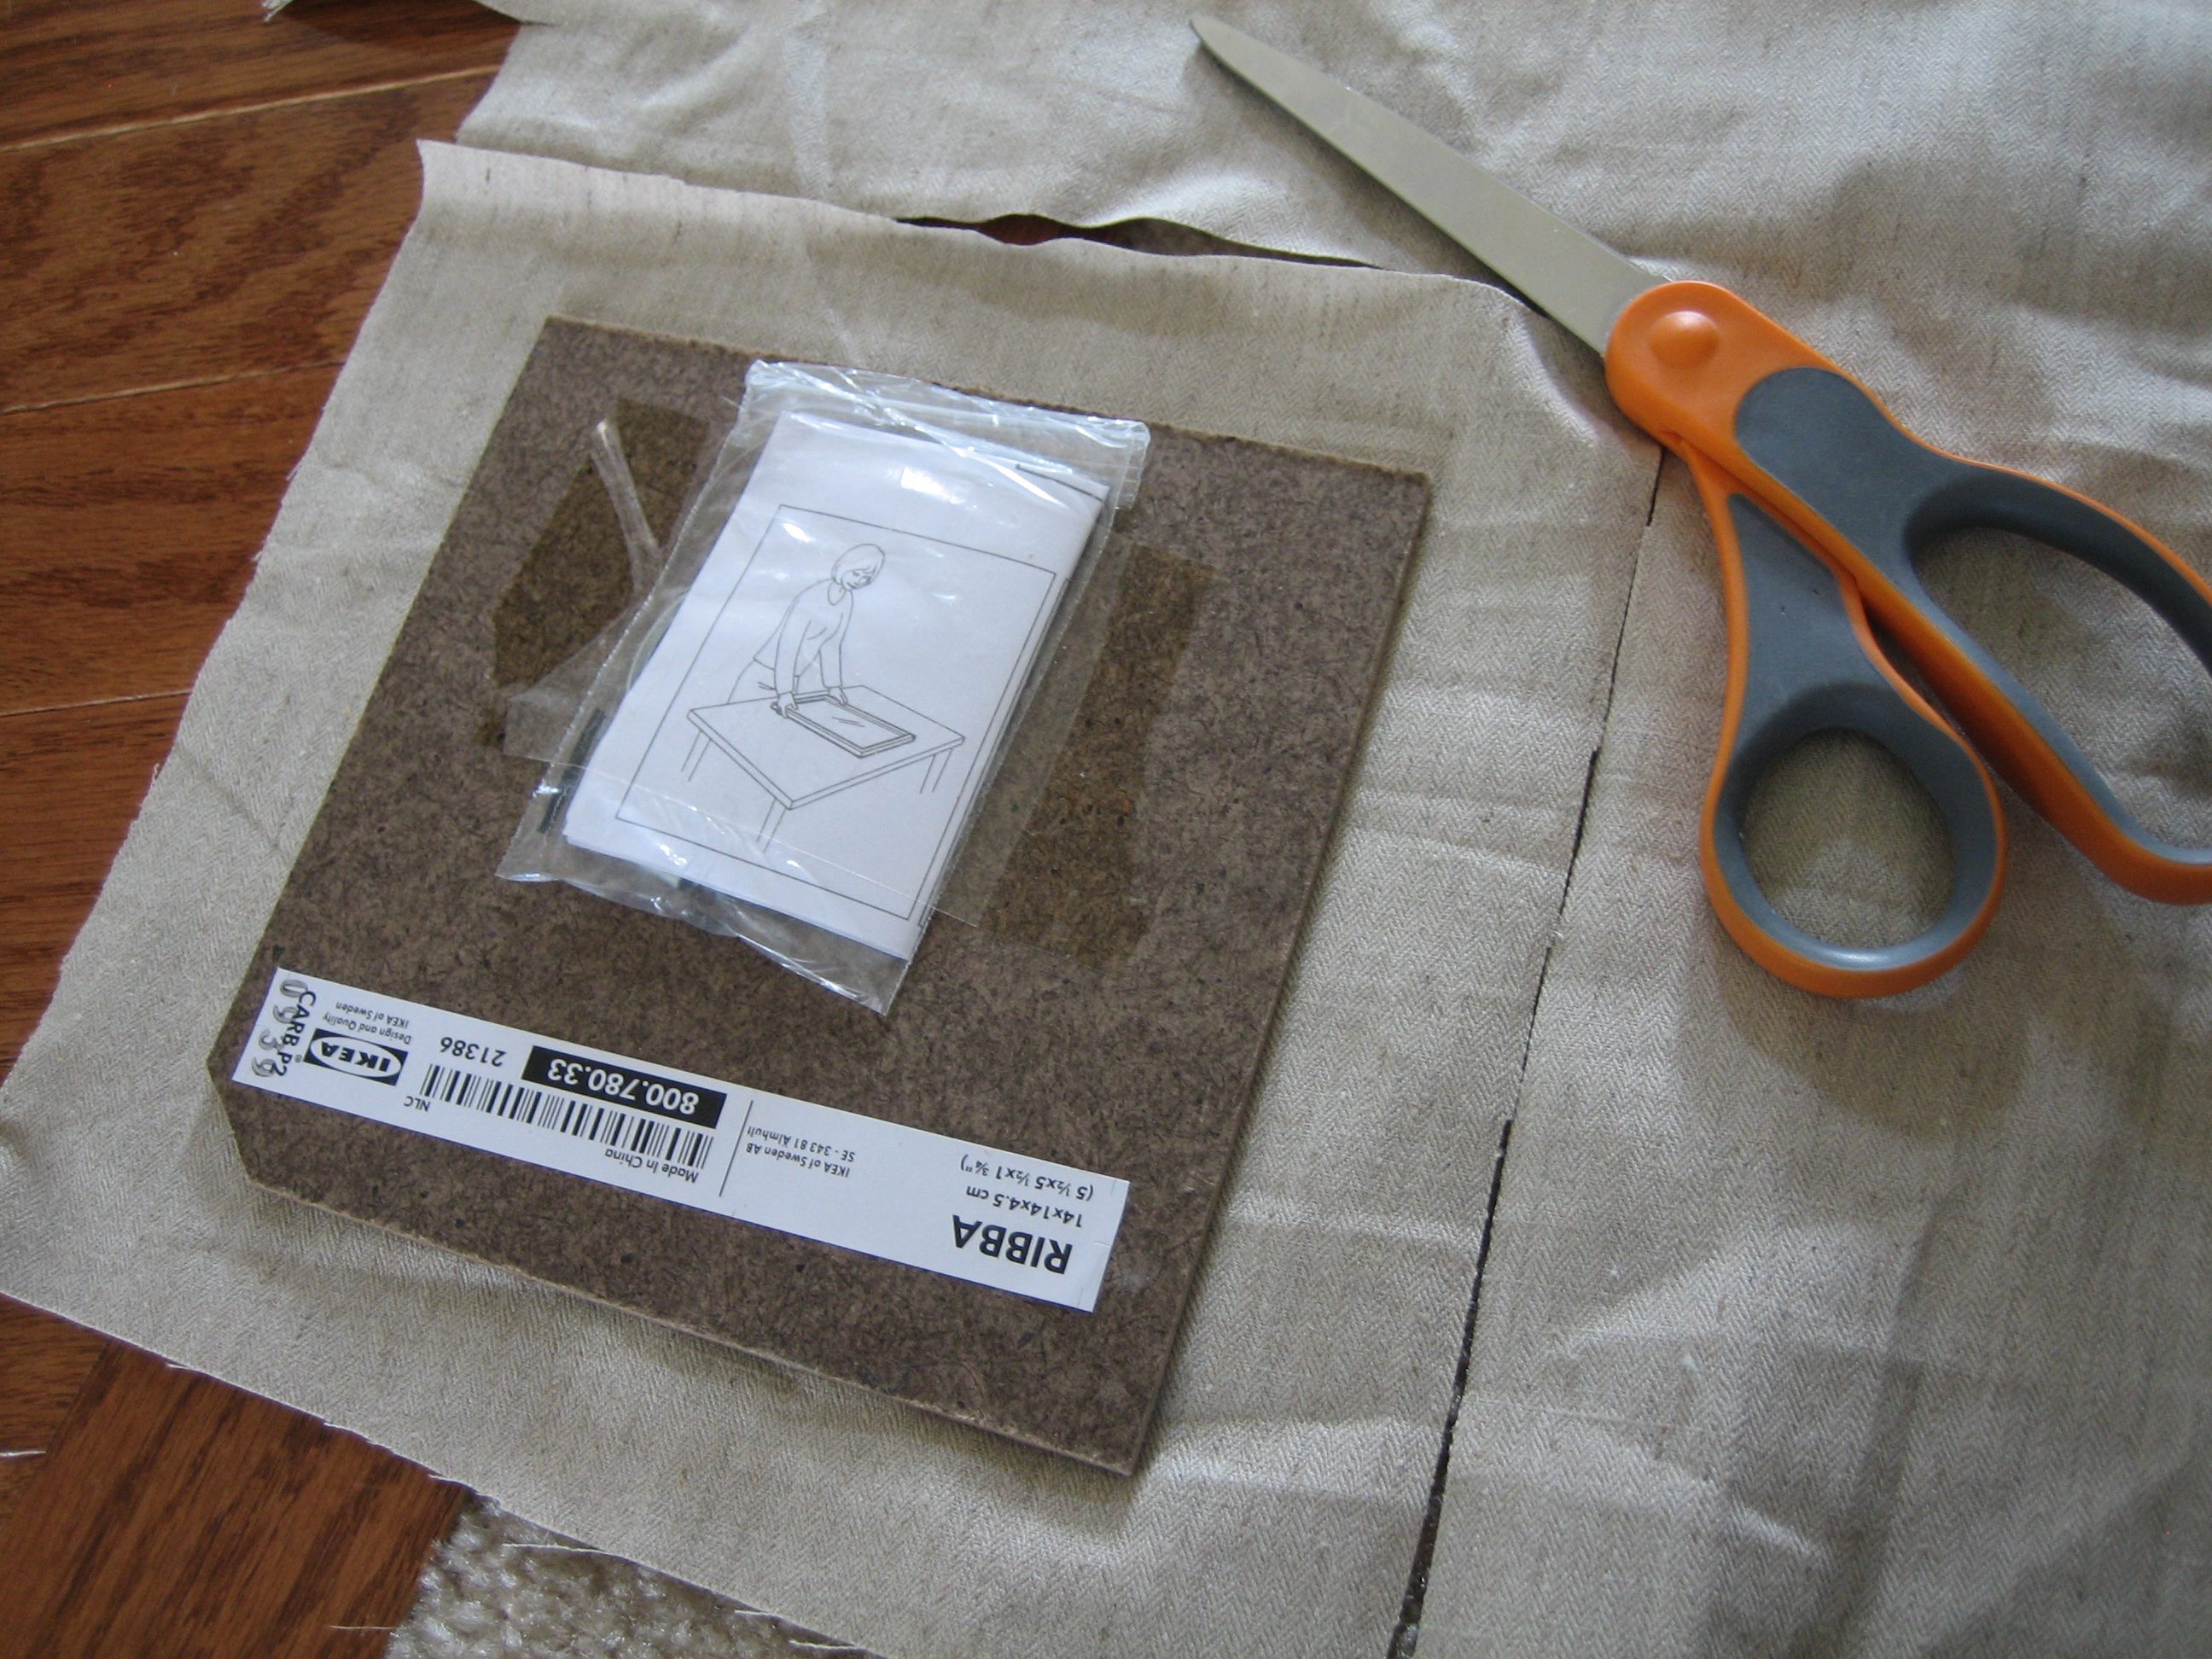
I cut pieces of linen fabric to fit the smallest IKEA frames then hot-glued the prints to the linen.


I didn’t iron the linen because I wanted it to look a little worn and old. Then I framed ’em up and cut away the excess fabric from the backs.

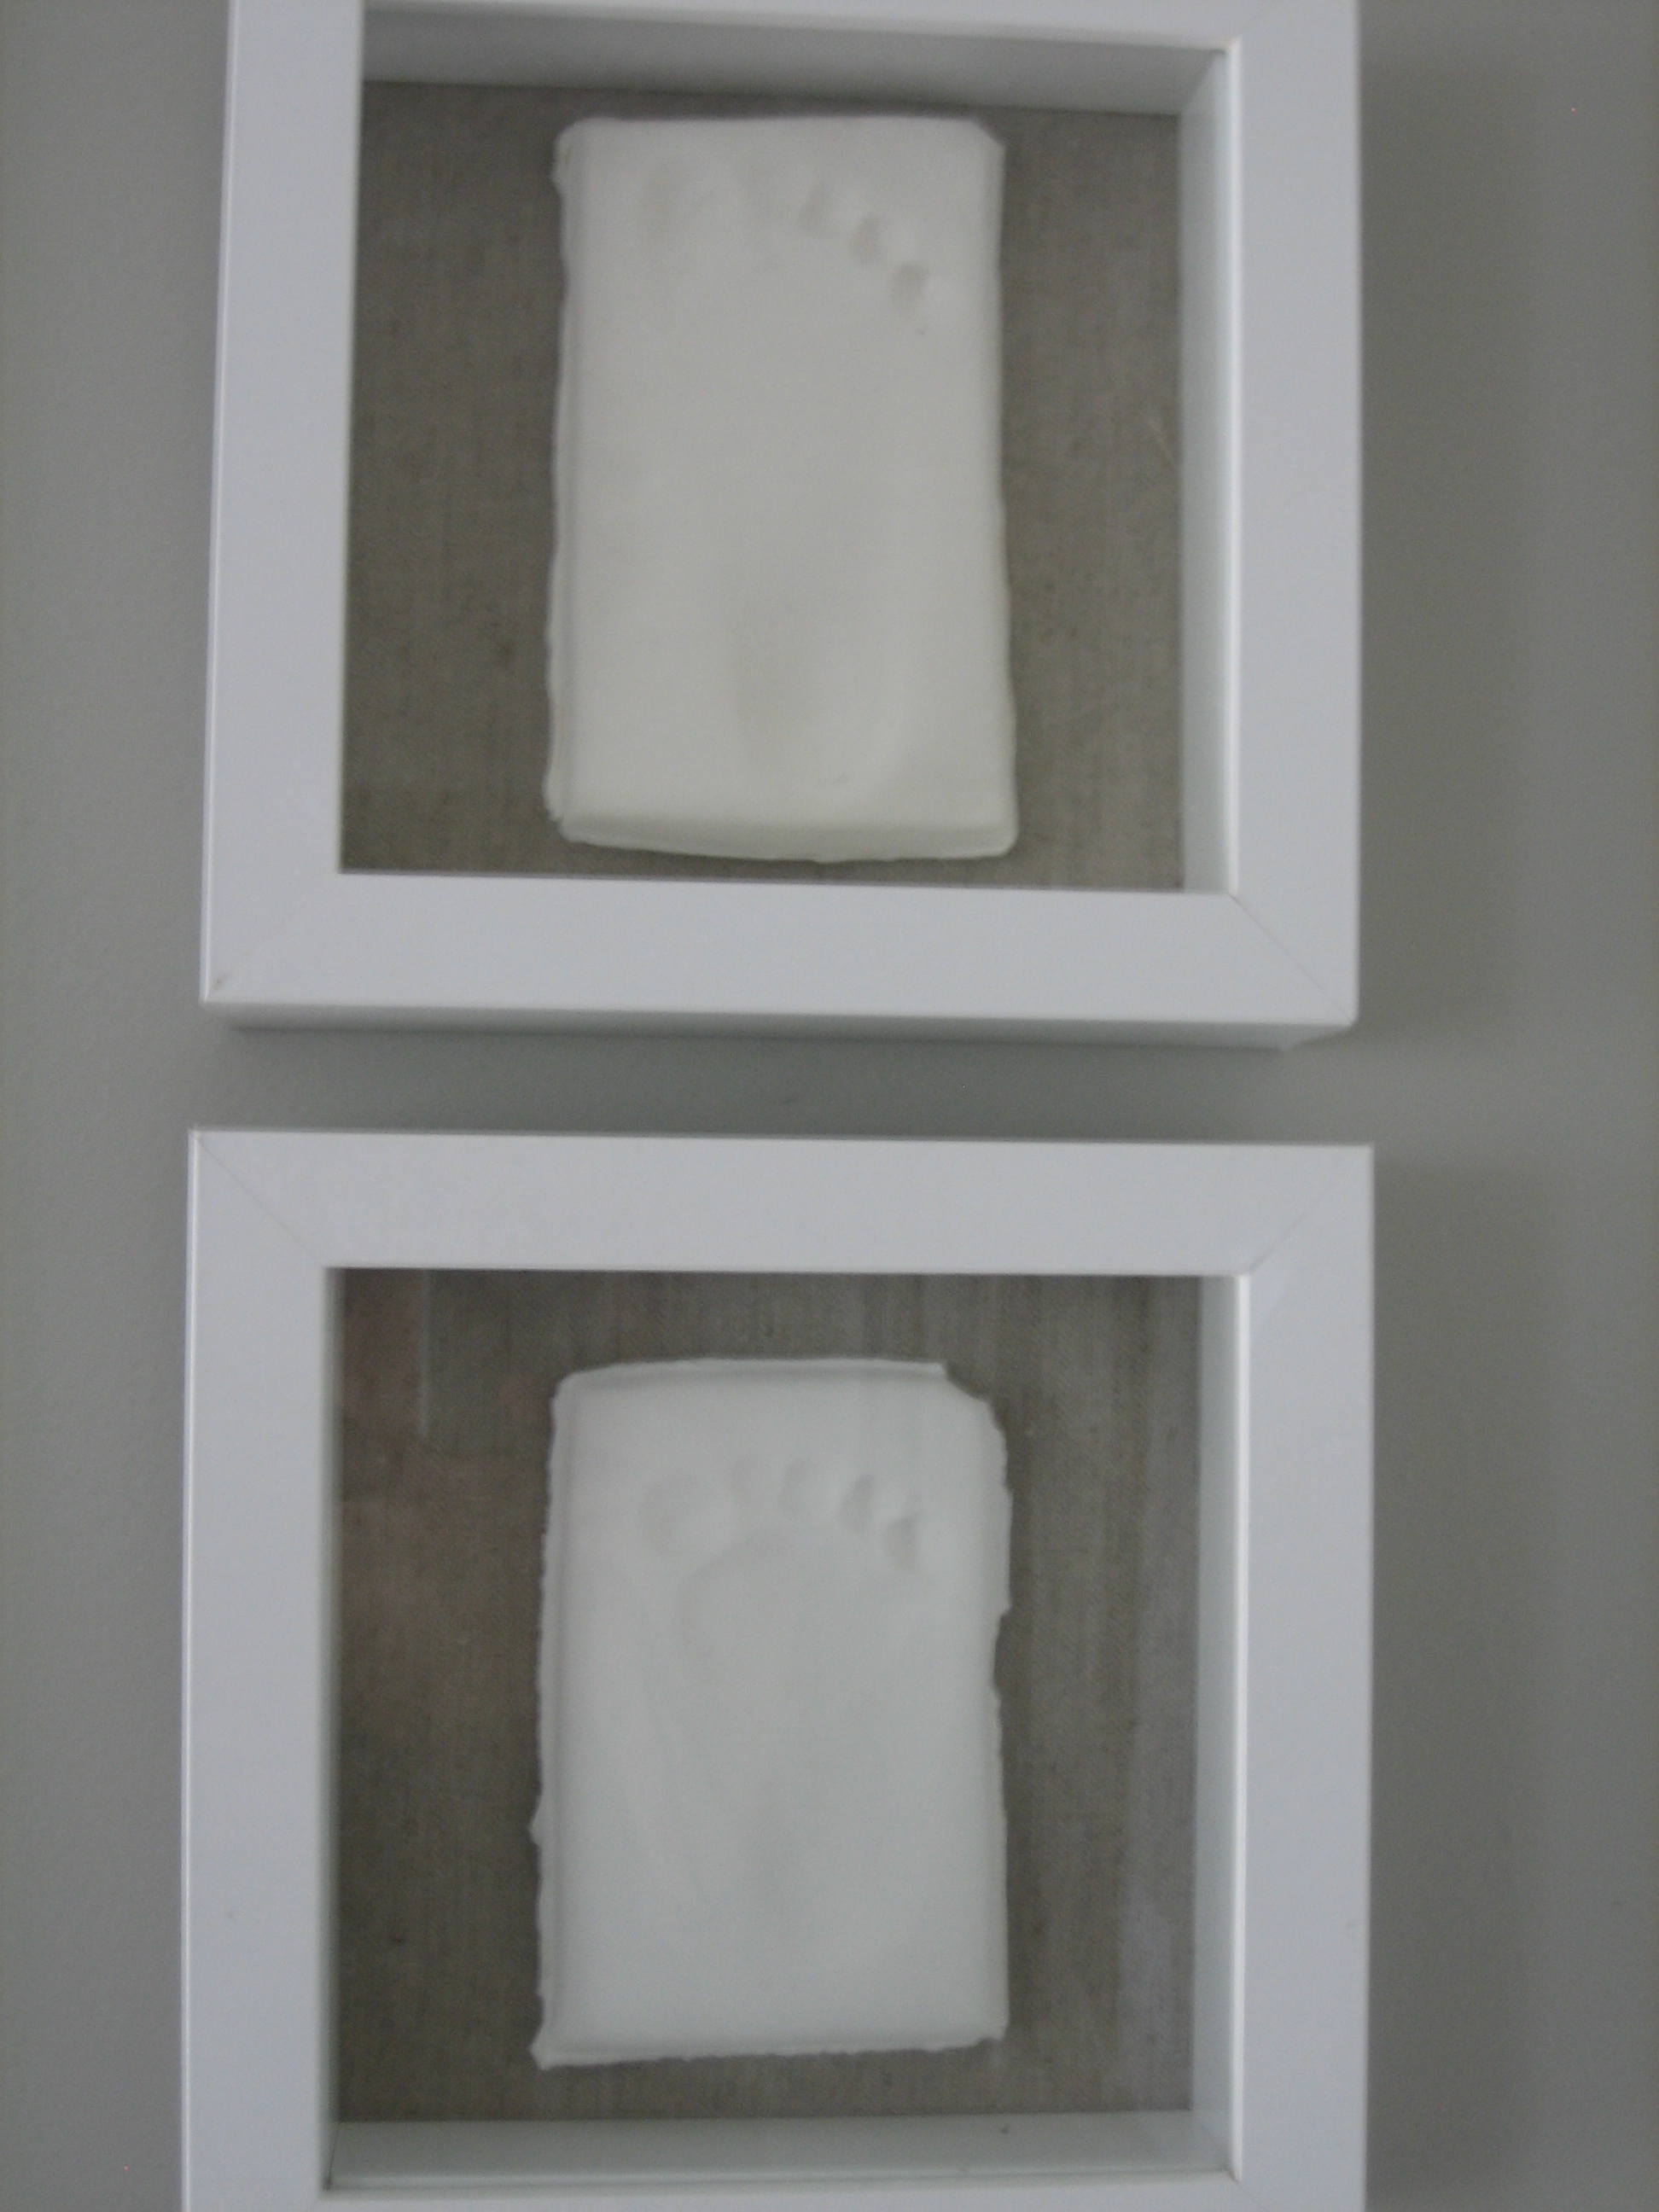
Voila! Two baby footprint shadow boxes that mean the world to me.

I designated 4 frames to Handy Hubby’s Vday gift and the baby footprints then ordered the remaining frames’ photos via ePingo. It wasn’t exactly cheap but after sorting through all of our digital pictures, I was happy to finally display some precious moments…well worth the money to me. **When ordering photo prints make sure you choose photos that are oriented (horizontally/vertically) the way the frame will be hung on the wall AND in the correct size needed. This can be a very tedious task but necessary.** Once our prints arrived, I cleaned each frame and inserted the corresponding photo. Then Handy Hubby got to work hanging each frame on the wall. He taped off a template for a uniform border and then hung the frames within the template using a pencil, level, tape measure, drill driver, drywall anchors/screws and lots of patience.

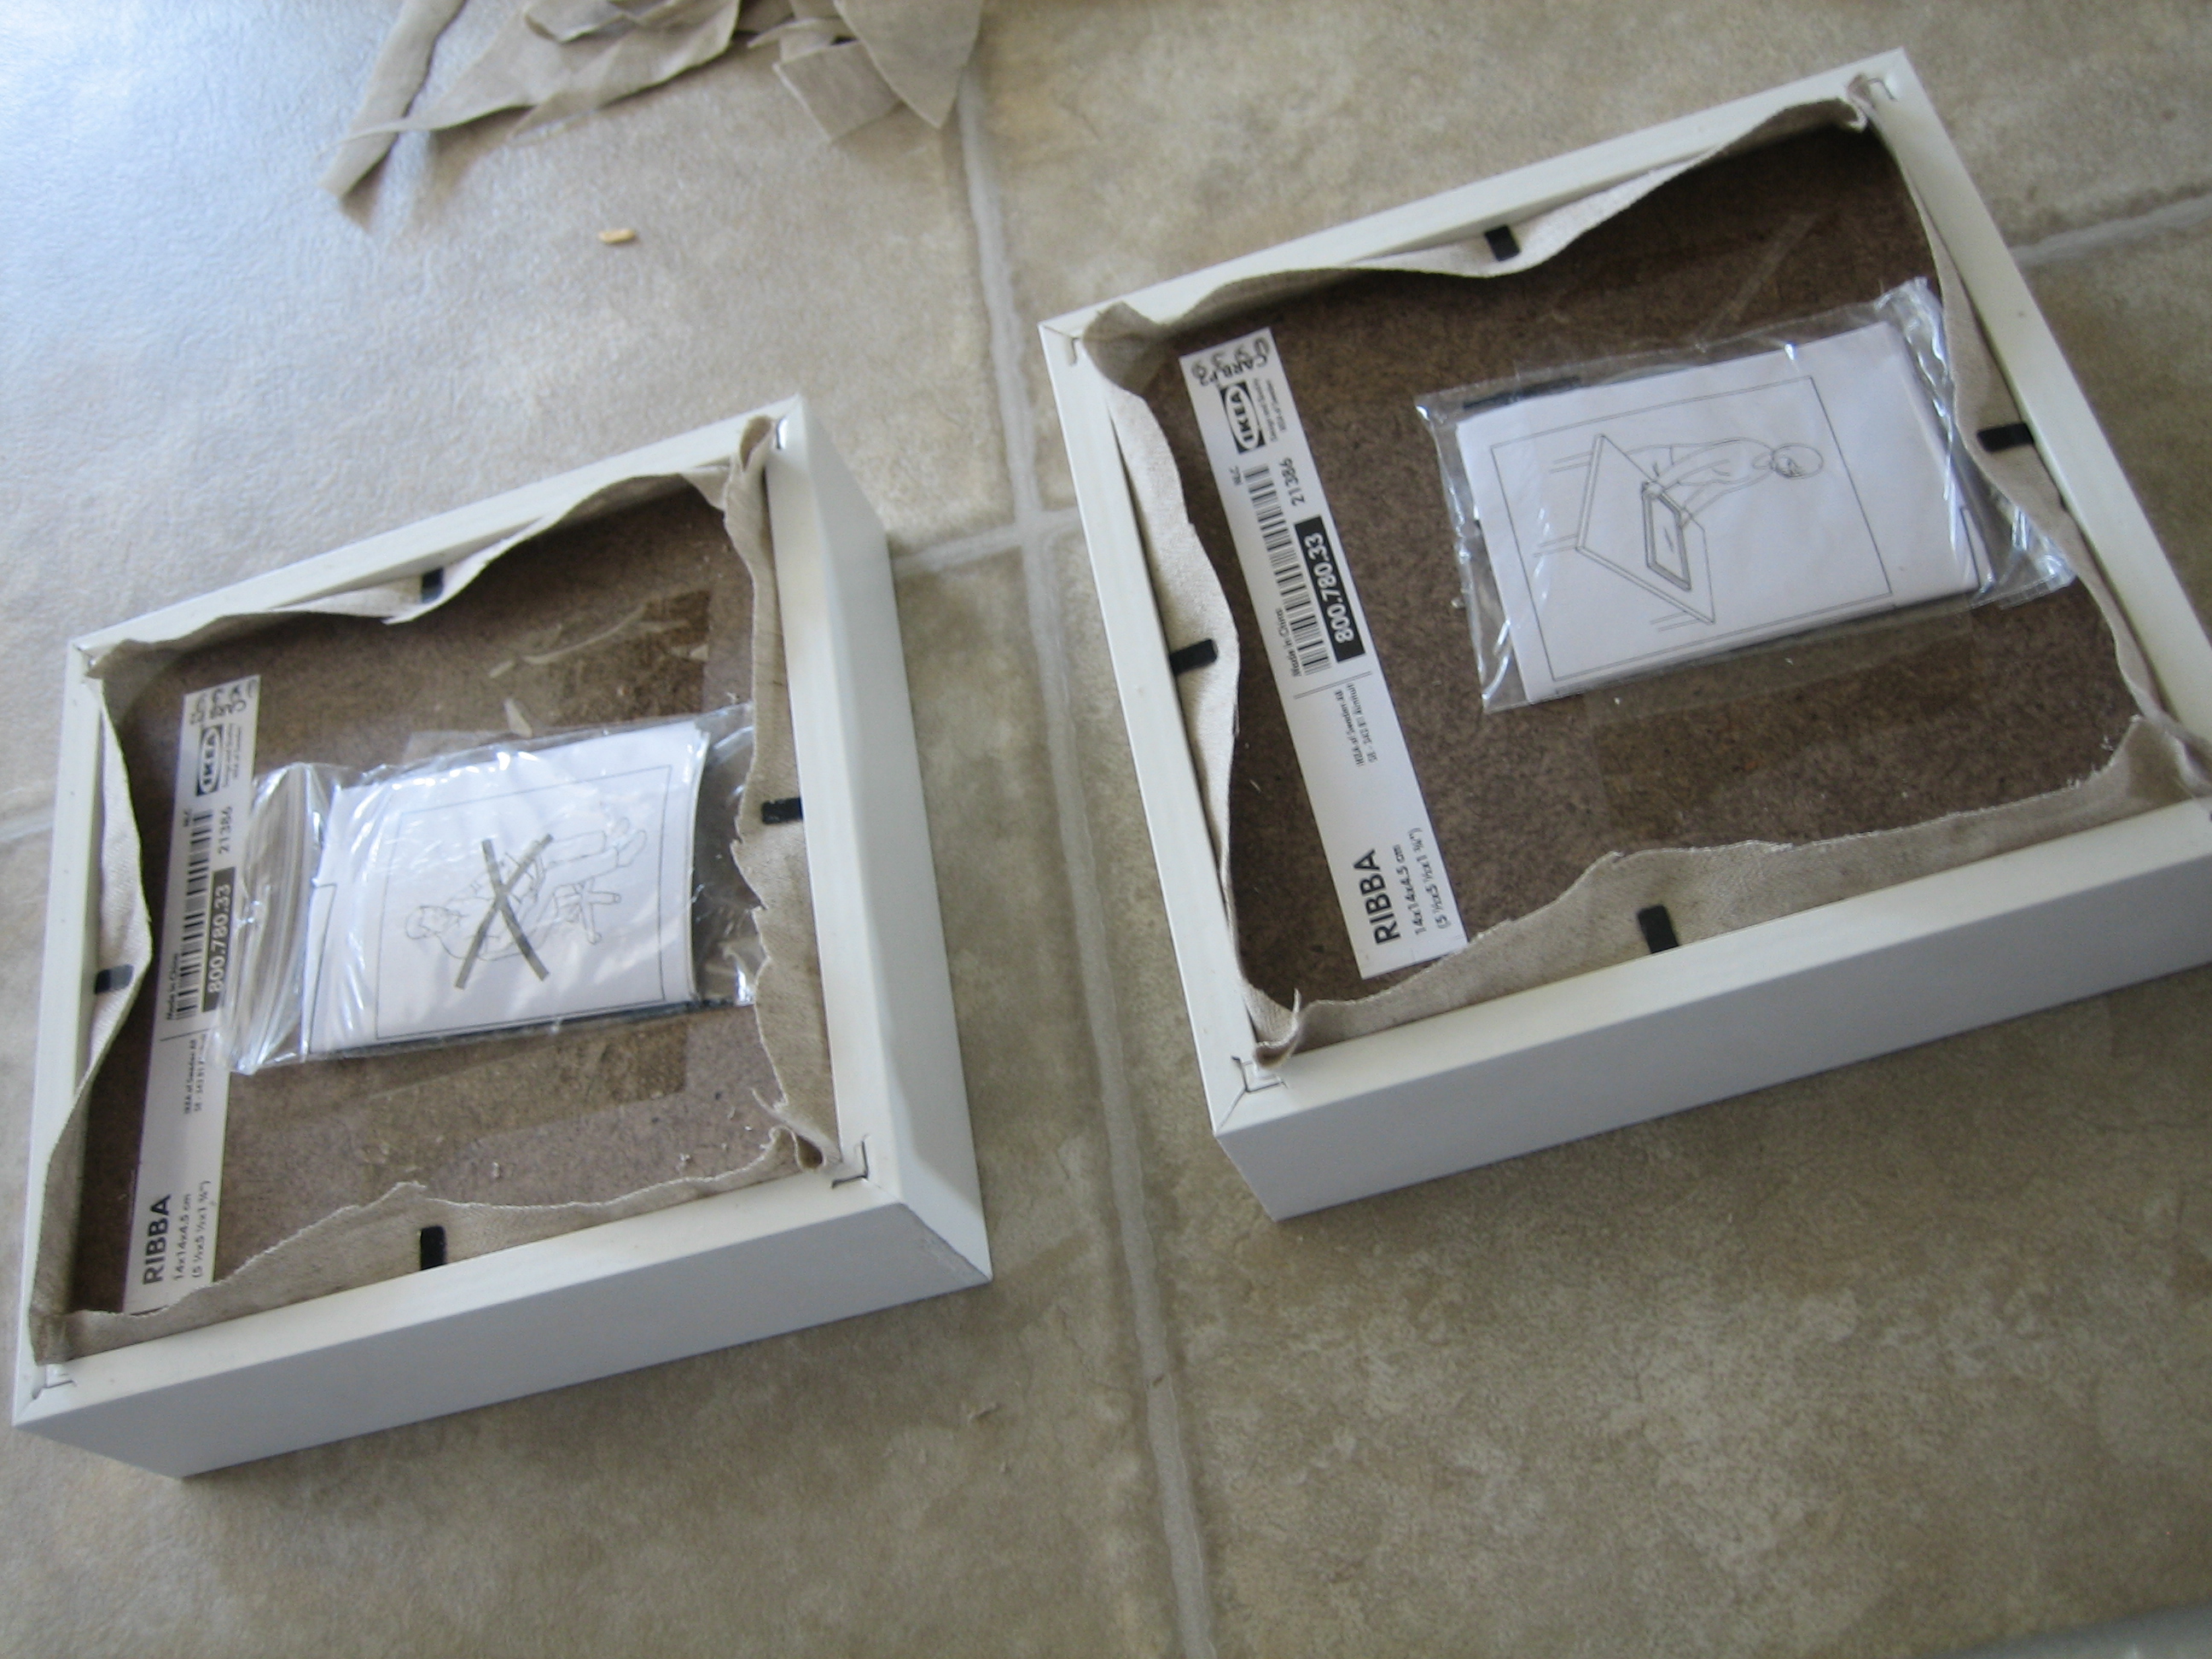
3 of the IKEA frames (the individual 5×7’s) I bought didn’t include hanging hardware. Boo. A minor setback. I found a box of picture hanging hardware at Hobby Lobby and Handy Hubby made it work, Project Runway style. Man, I love that guy.

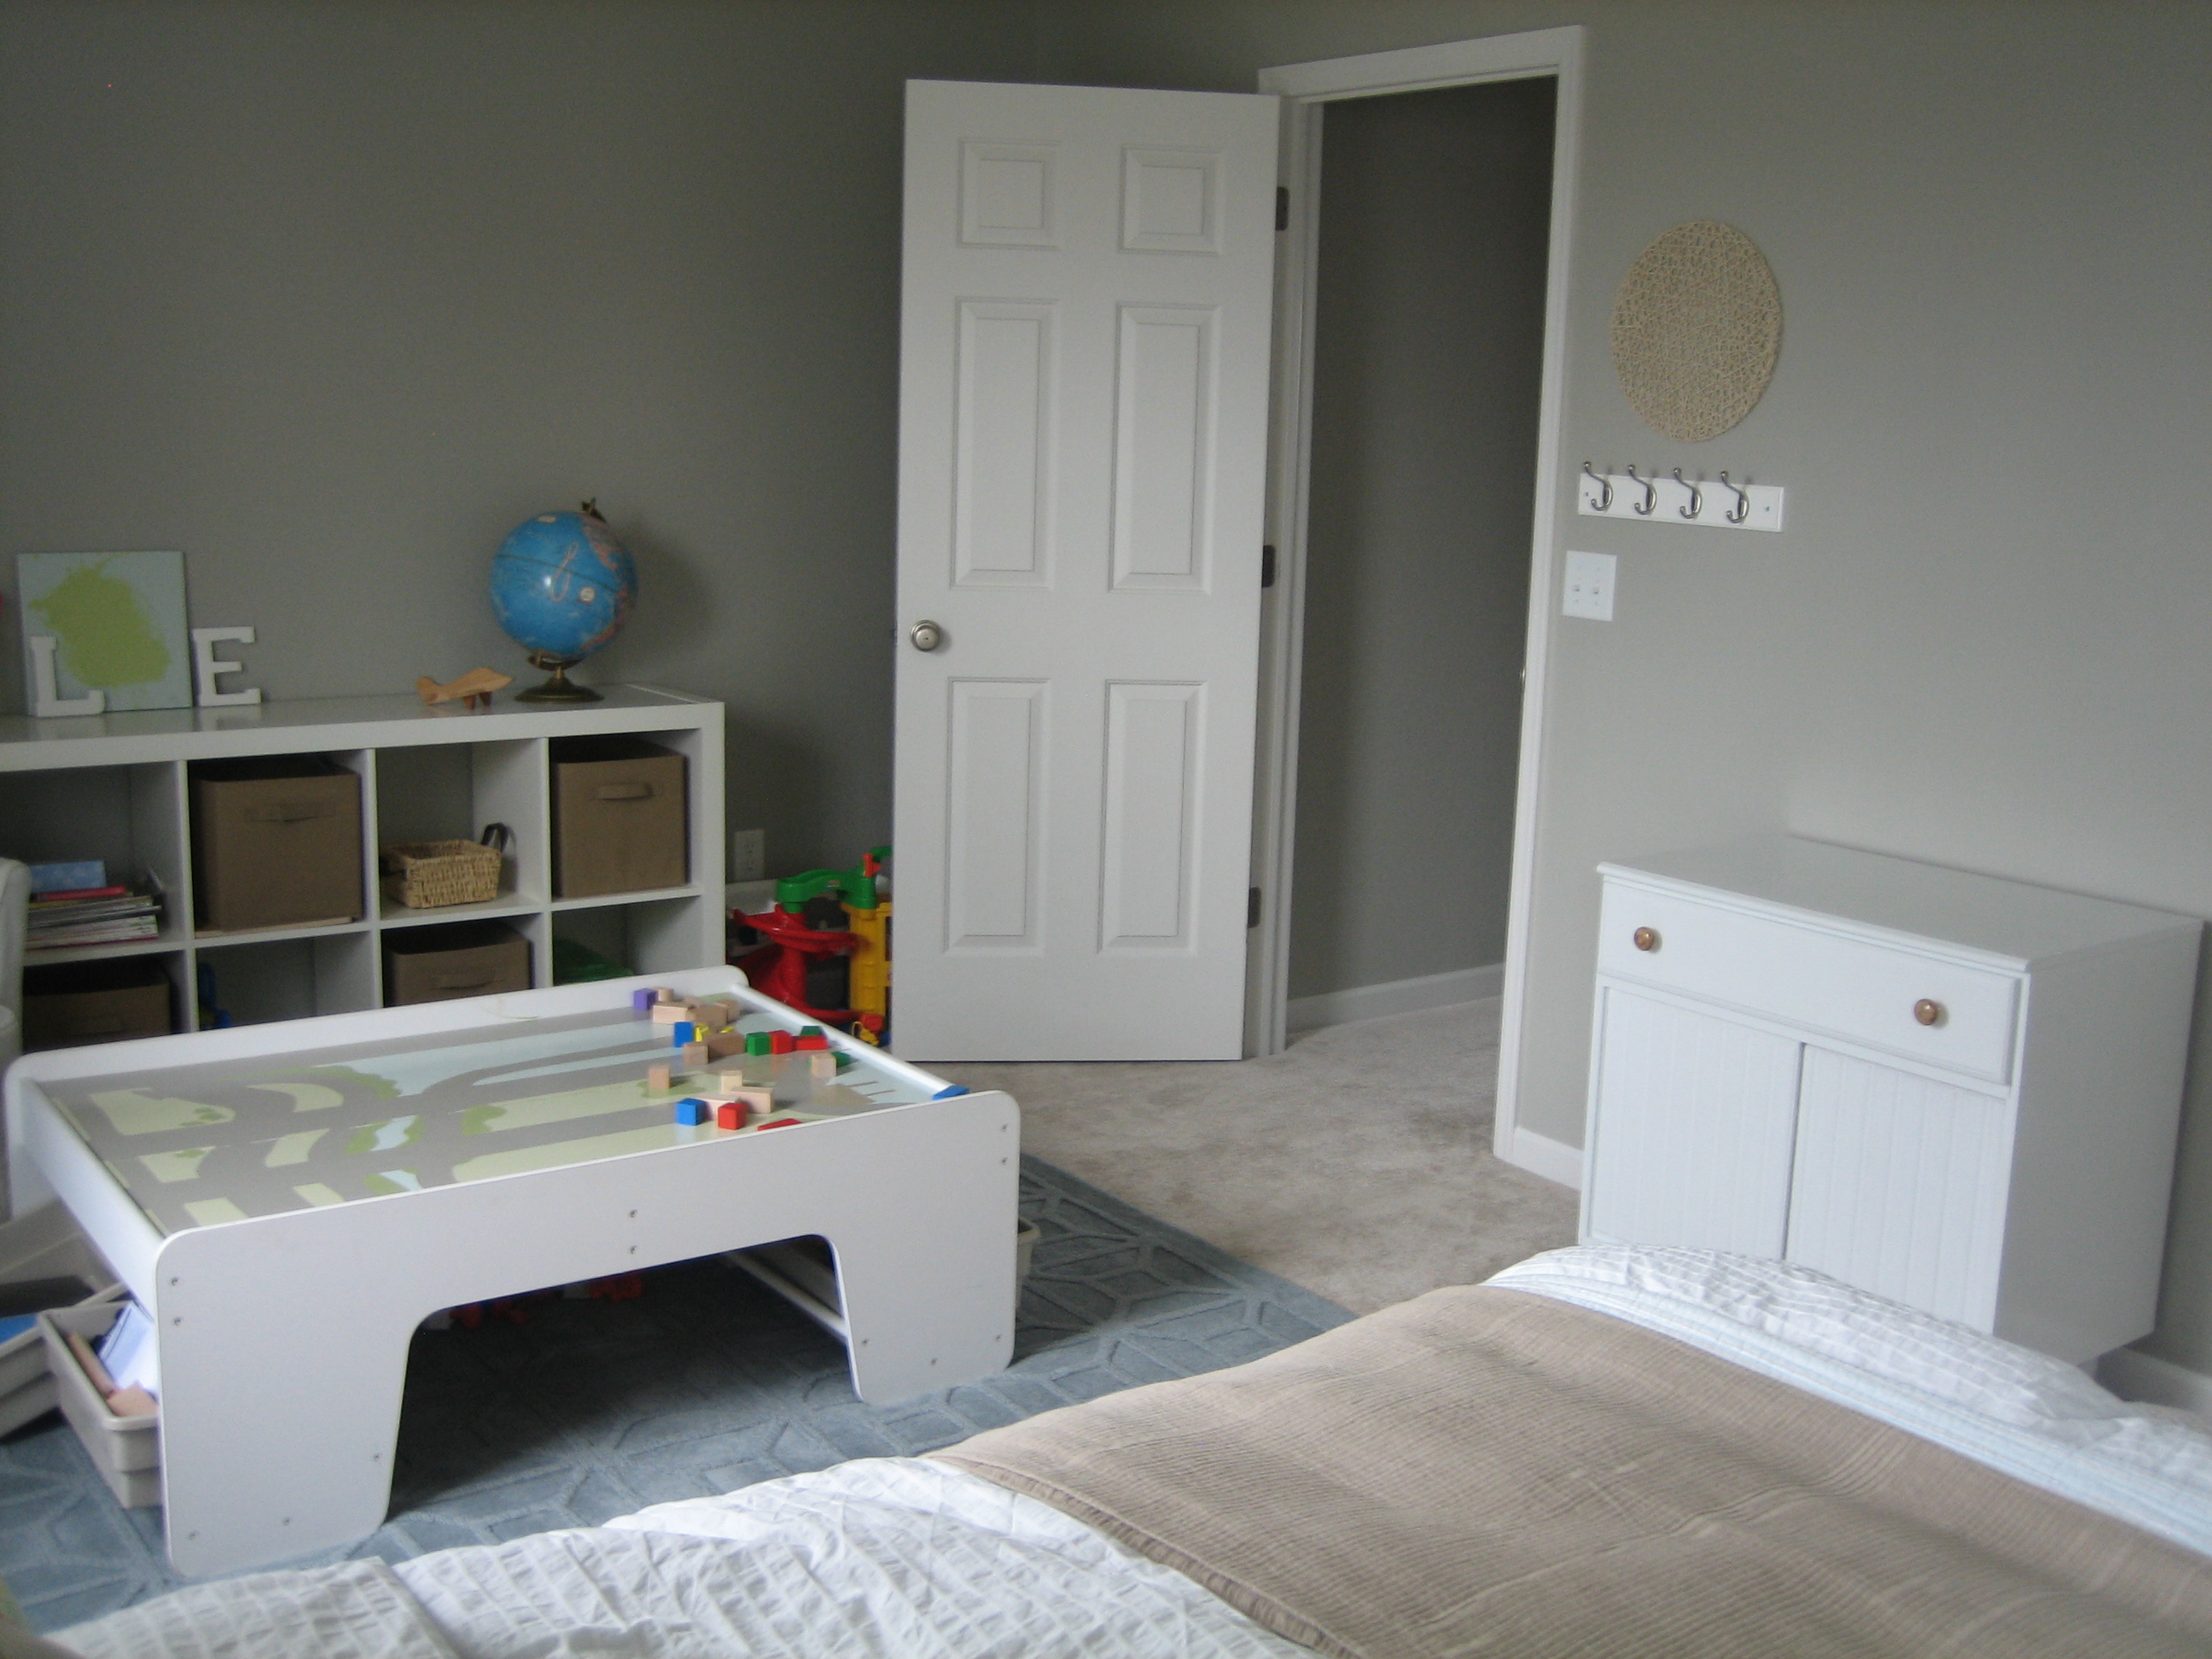
After all the frames were hung, we were left with this empty space around the thermostat.

It wasn’t a surprise. I had a little idea for personalization. A(nother) trip to Hobby Lobby and I found what I was looking for.

A few wooden characters and some blue tacky goo filled the spot nicely.

It says it all. Handy Hubby was relieved and said, “So, I guess that means we’re done having kids.” I warned him that it would be very easy to change up the “Me, U & 2” to “U, Me & 3.” “Oh,” was his reply. (It’s okay, Handy Hubby, I’m not ready for that.)
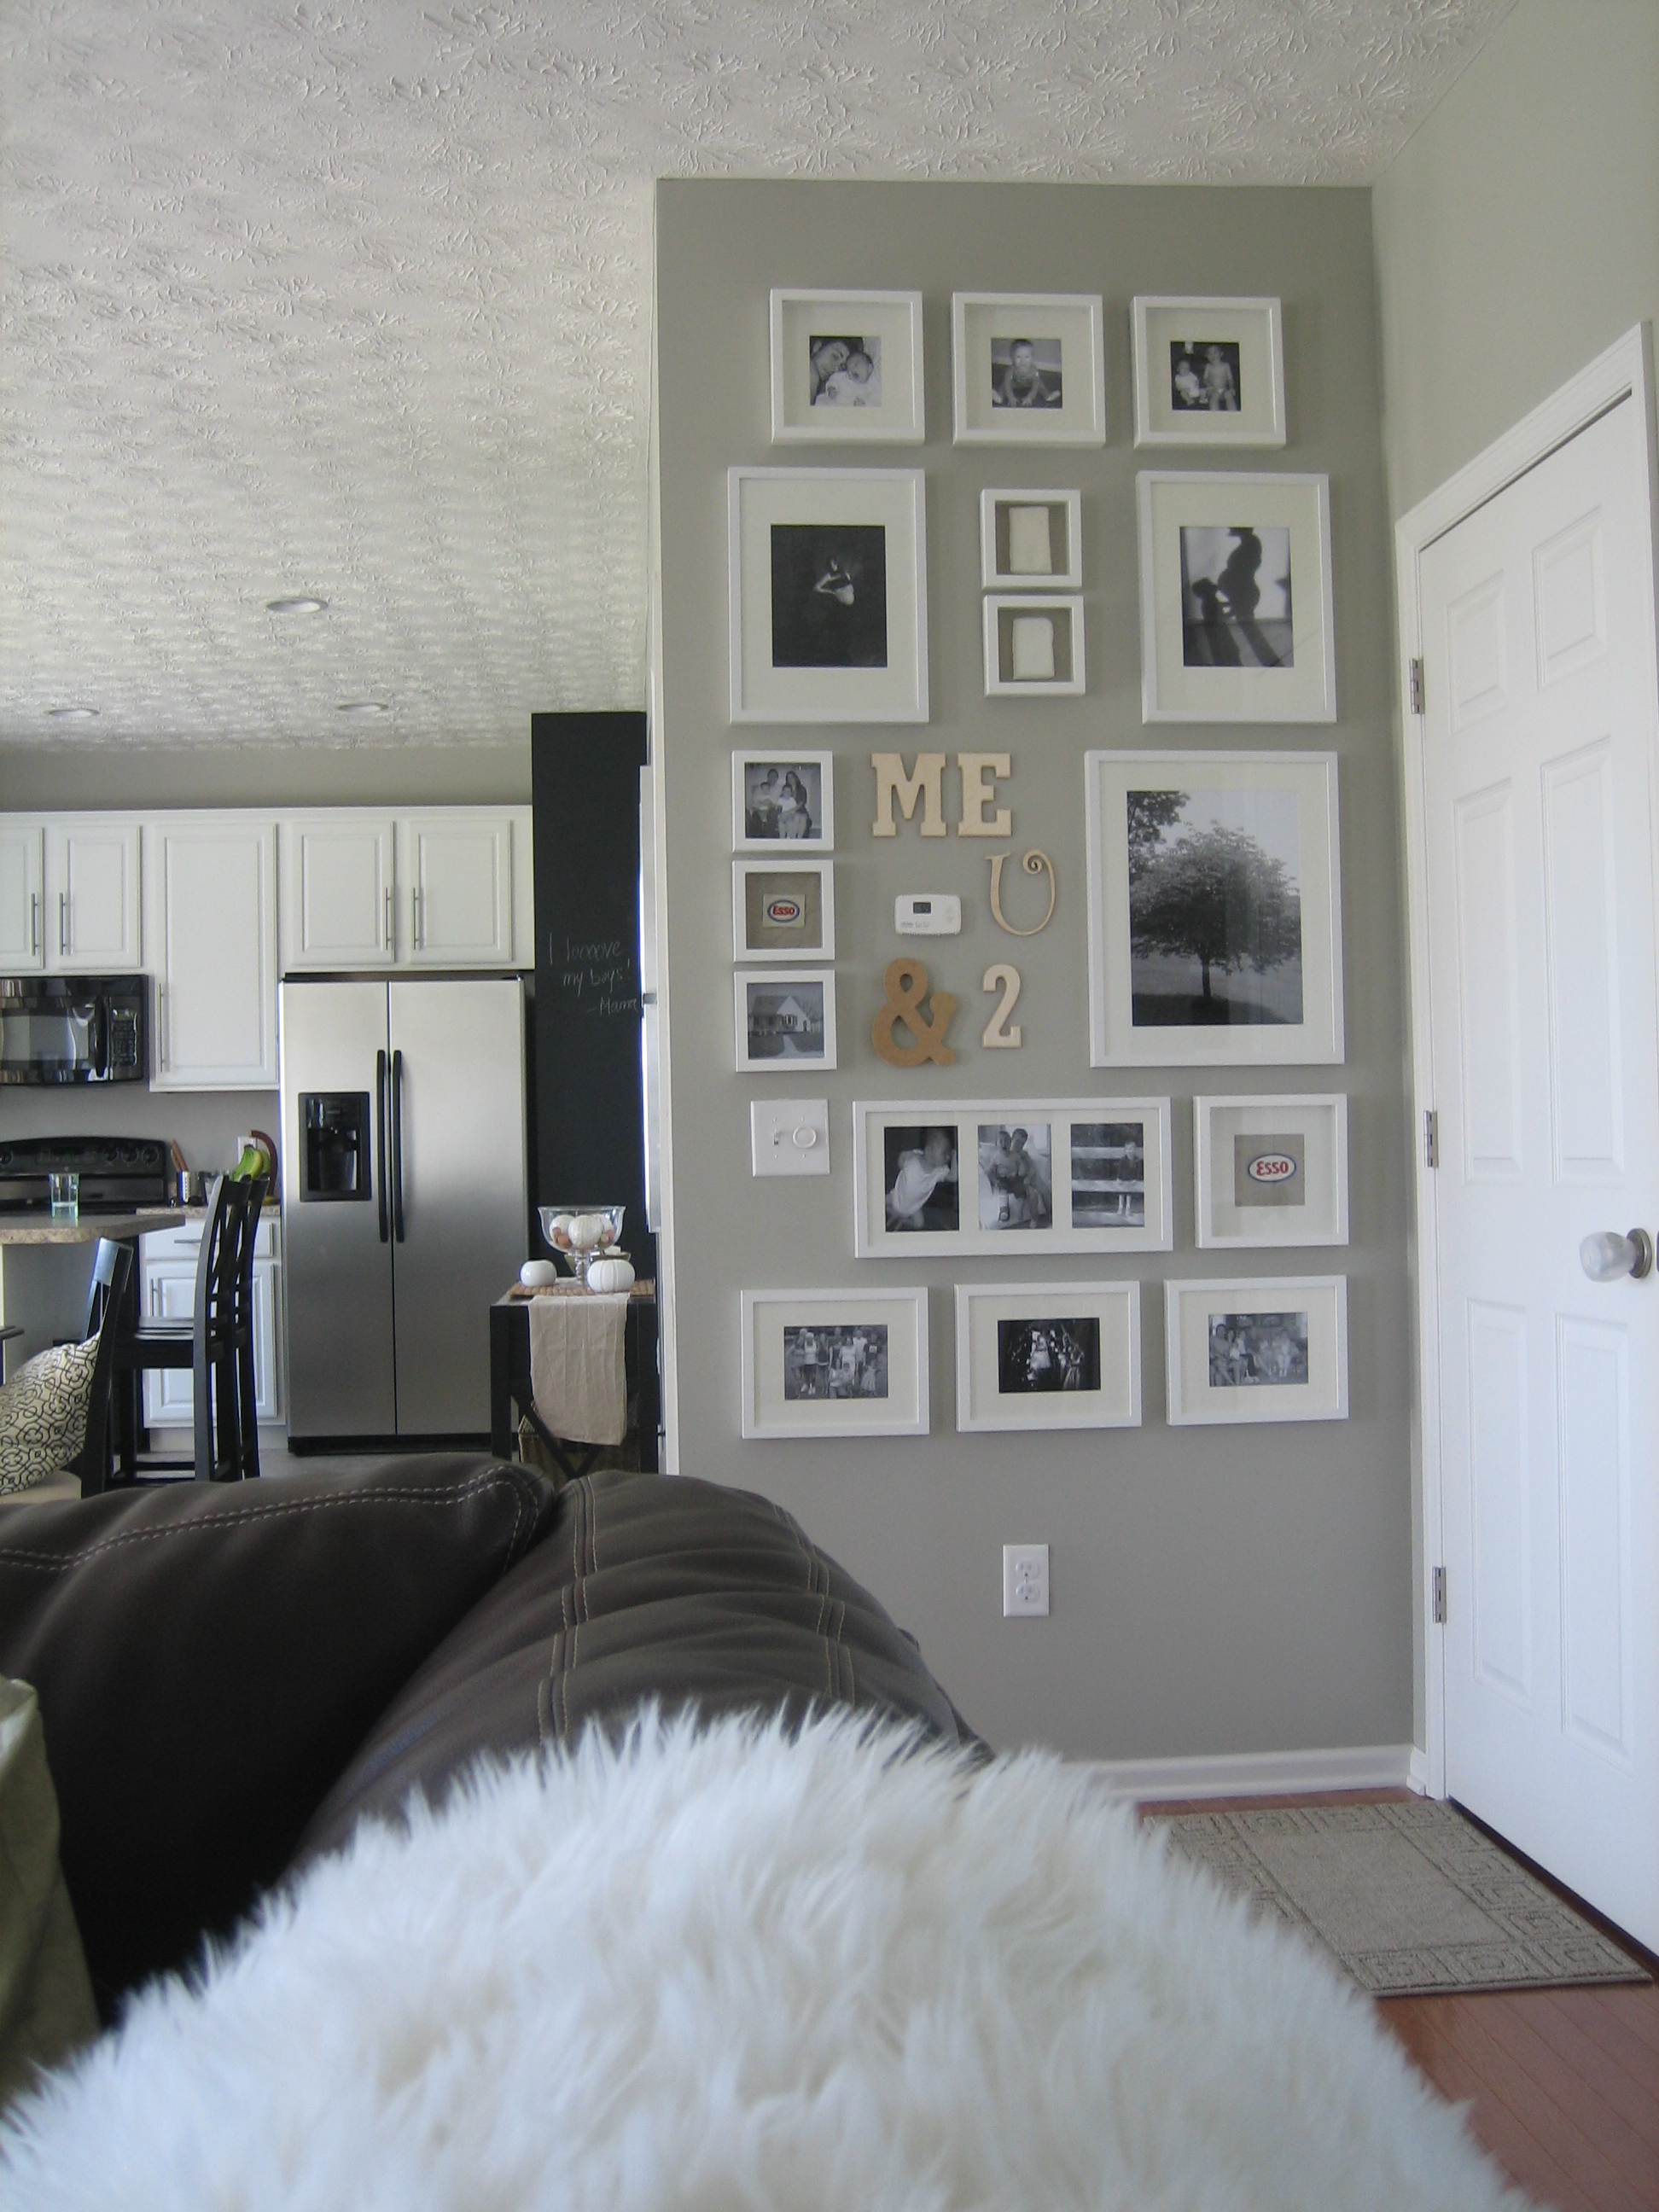
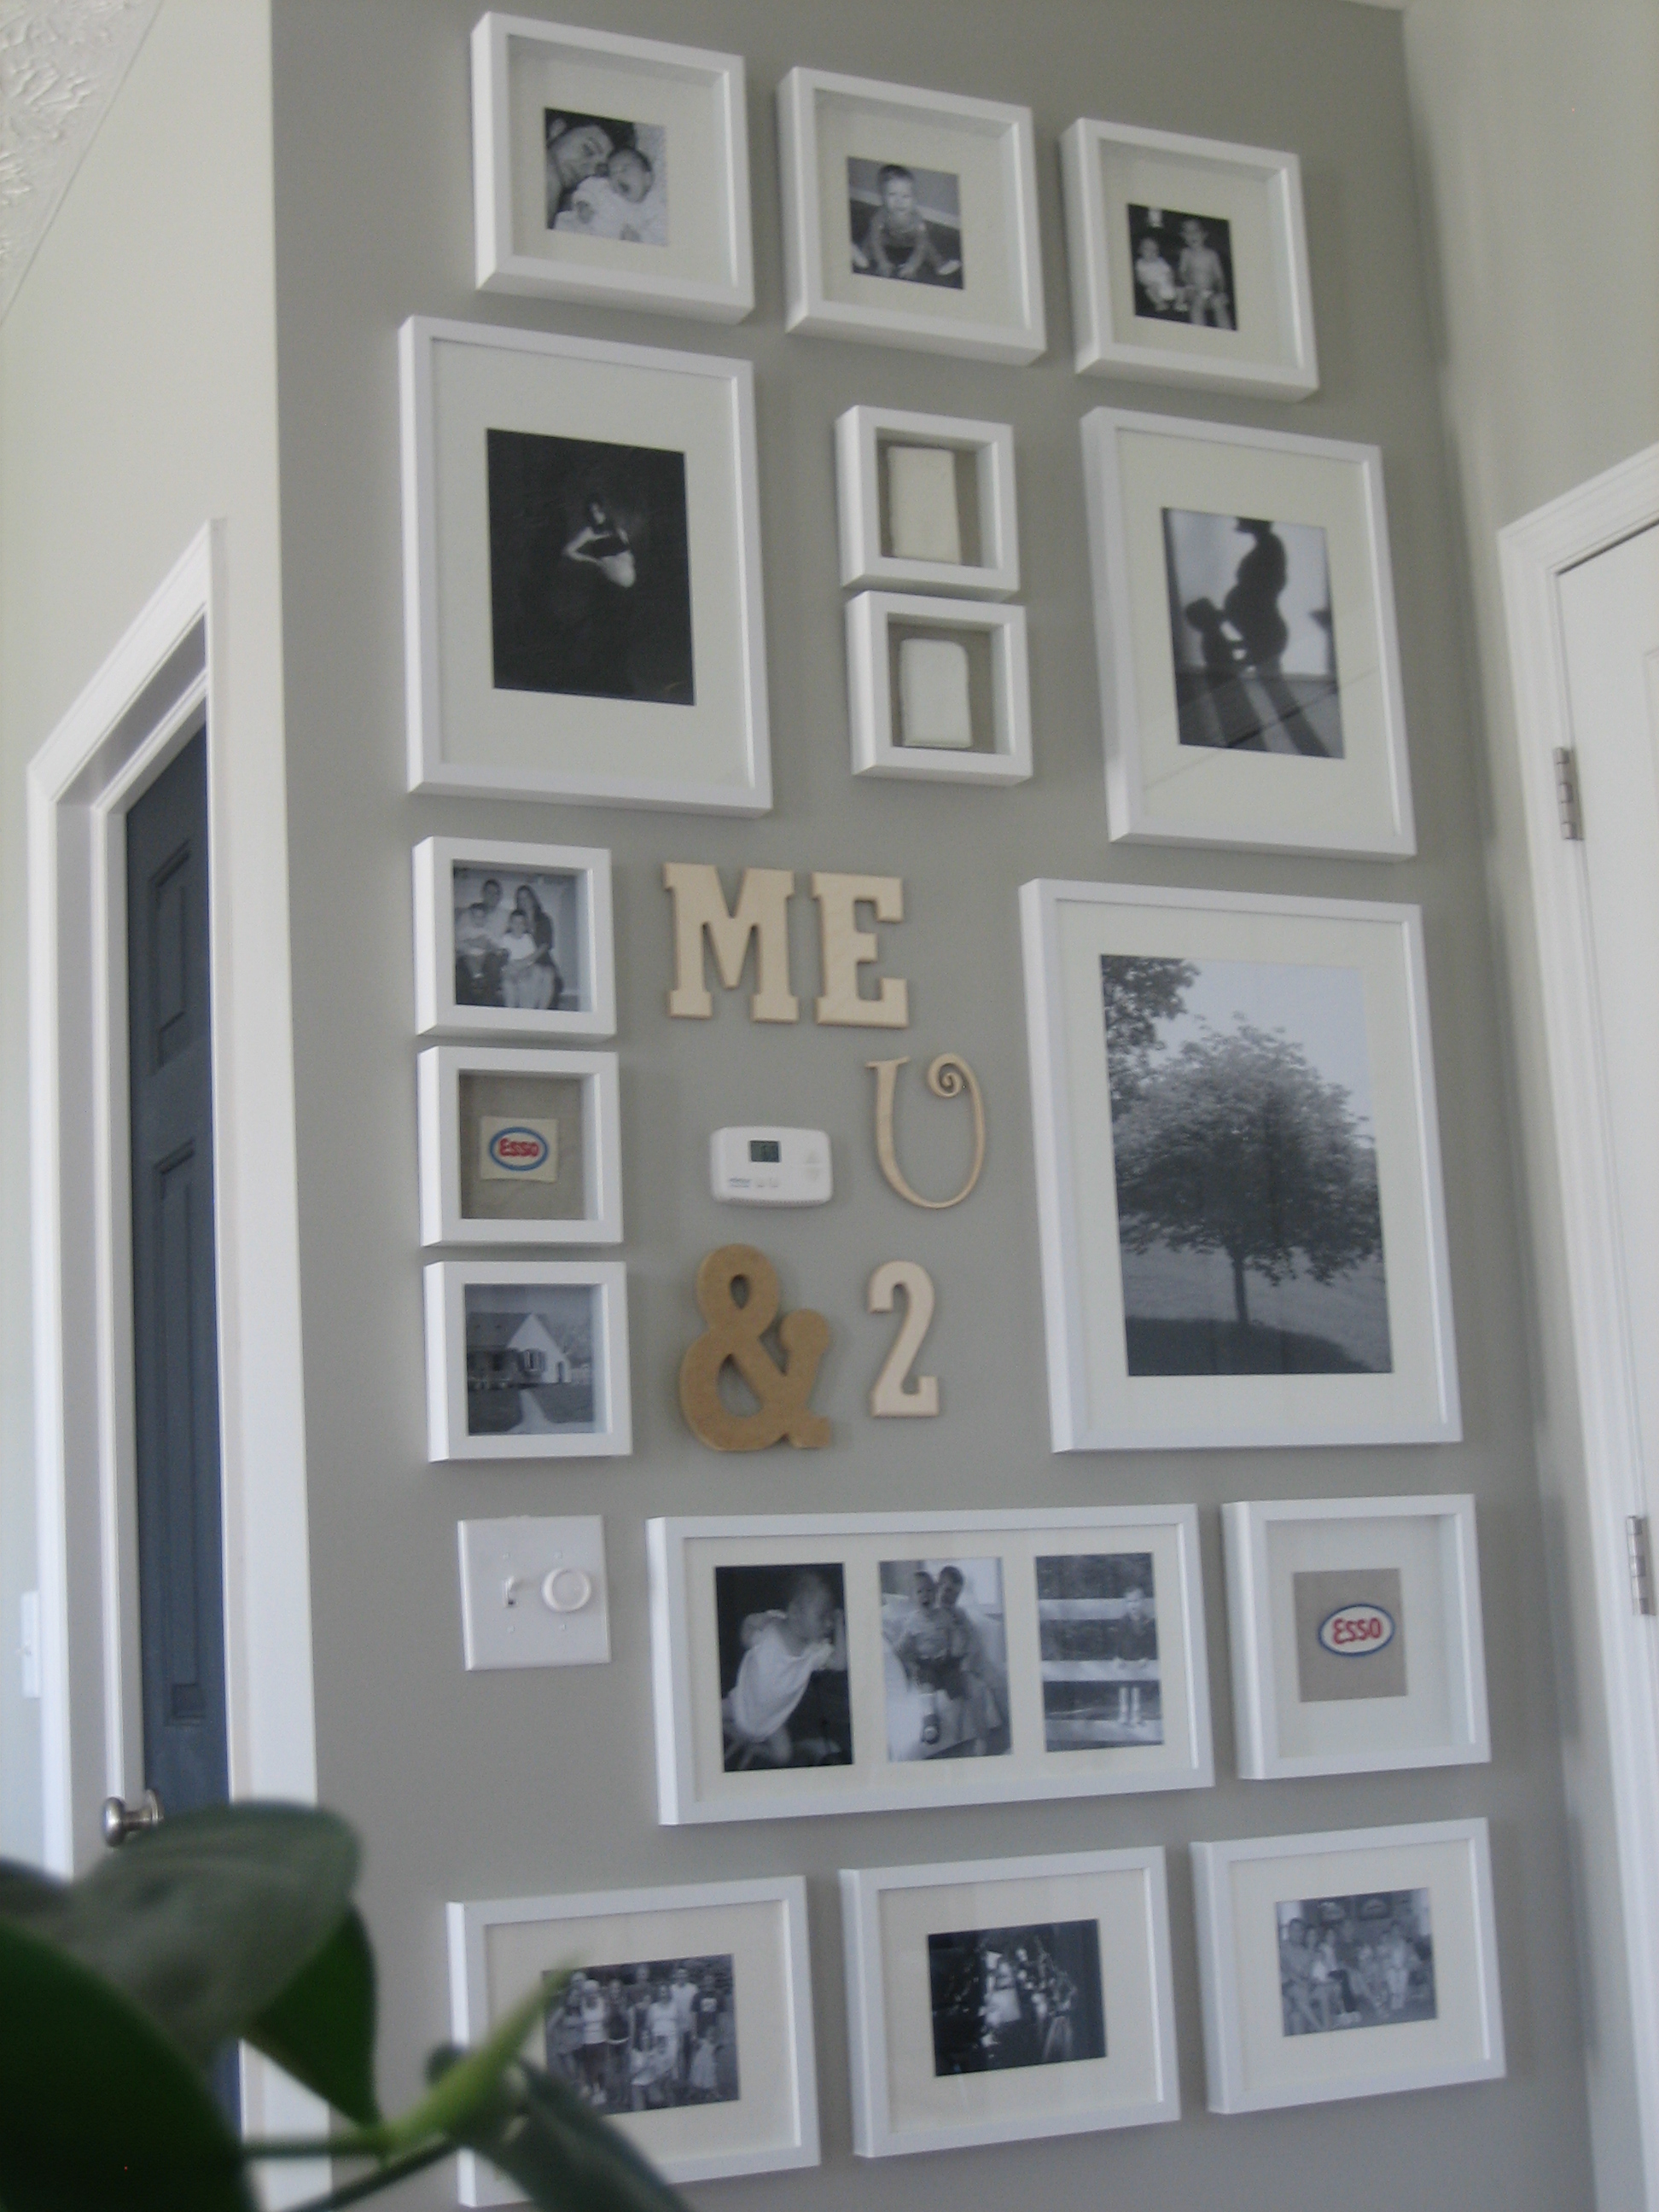
If you’ve made it this far into the post, you deserve a look at the finished product.

From the family room…

Some close-ups…


I am sooooo pleased with the way our family wall turned out. It’s organized but not a sterile all-the-same-size frame layout. It took way more planning than I thought but now that it’s finished I can’t help but stop and browse over the pics every time I pass by. Our boys even like looking at them and since the bottom frames are low on the wall, our 2-year-old can take part in the picture gushing. I was torn between color prints or all black-and-whites but I’m in love with the B&W. By far, the emotions and memories that this wall conjures up is what makes it special. And I’m so giddy to have our most meaningful family moments captured in a place for us and visitors to see. Thank you, thank you, THANK YOU Handy Hubby for all that you did! Another project I couldn’t have done without you. Literally. No family = no family wall.

Life is good.


DIY