The craft closet is D-O-N-E! (WARNING!: LOTS OF WAY TOO DETAILED PICTURES ARE INCLUDED IN THIS POST.) And not a moment too soon. We’ll have guests overnight this weekend who won’t have to trip over this mess…

Instead, they’ll get to use this closet…

Yep, you’ve gotta wait a little longer for the full ‘after’ shots (or just scroll down if you’re impatient)! I wanna talk function before I get into the nitty-gritty details. This closet is located in our guest room/playroom/craft room. Since the room serves a lot of different functions, the closet must also. It absolutely needs to store my sewing machine, sewing basket, fabric scraps, scrapbooking materials, cardmaking supplies and guests’ hanging clothes. That’s the minimum. However, once I started thinking about organizing the closet, I threw in a few other purposes as well: gift wrap station and home decor storage. I know what you’re thinking, “That’s a lot to ask for from a meager closet!” Luckily, the closet was a good size to begin with…you could probably consider it a small walk-in closet…but it needed organized storage to bring it to full working potential. Immediately, I designated each wall of the closet to a particular task(s). When I did that, it occurred to me that the closet door would have to be removed in order to use the right-hand wall. (See how the closet door opens into the closet in the first picture?) So, that was the first thing I did. I emptied the entire closet, unscrewed the door at its hinges and then painted the walls Benjamin Moore’s Wild Aster. (To save money, I took my Benjamin Moore paint swatch to Lowe’s and had them color match it.)

Then I set to work carrying up all my scrapbooking, sewing, cardmaking, gift wrapping and home decor supplies from the basement. That’s 2 flights of stairs each trip, people! And it took a million trips! And, no, Handy Hubby had no part in it. At one point the room looked like this…

That wasn’t even half of what I carried. I tediously went through each and every plastic bin and drawer in an effort to re-organize and downsize my creative arsenal. In the end, I had 6 empty storage bins and was finally ready to fill the closet. I reused my hard-working (yet slightly eyesore-ish) stackable plastic drawers for the scrapbooking and cardmaking supplies. I purchased a heavy duty 4-tier metal shelf from Lowe’s along with 3 metal storage bins and 2 cabinet organizing racks for home decor storage and a gift wrapping station . Here’s what my multi-purpose craft closet looks like now…

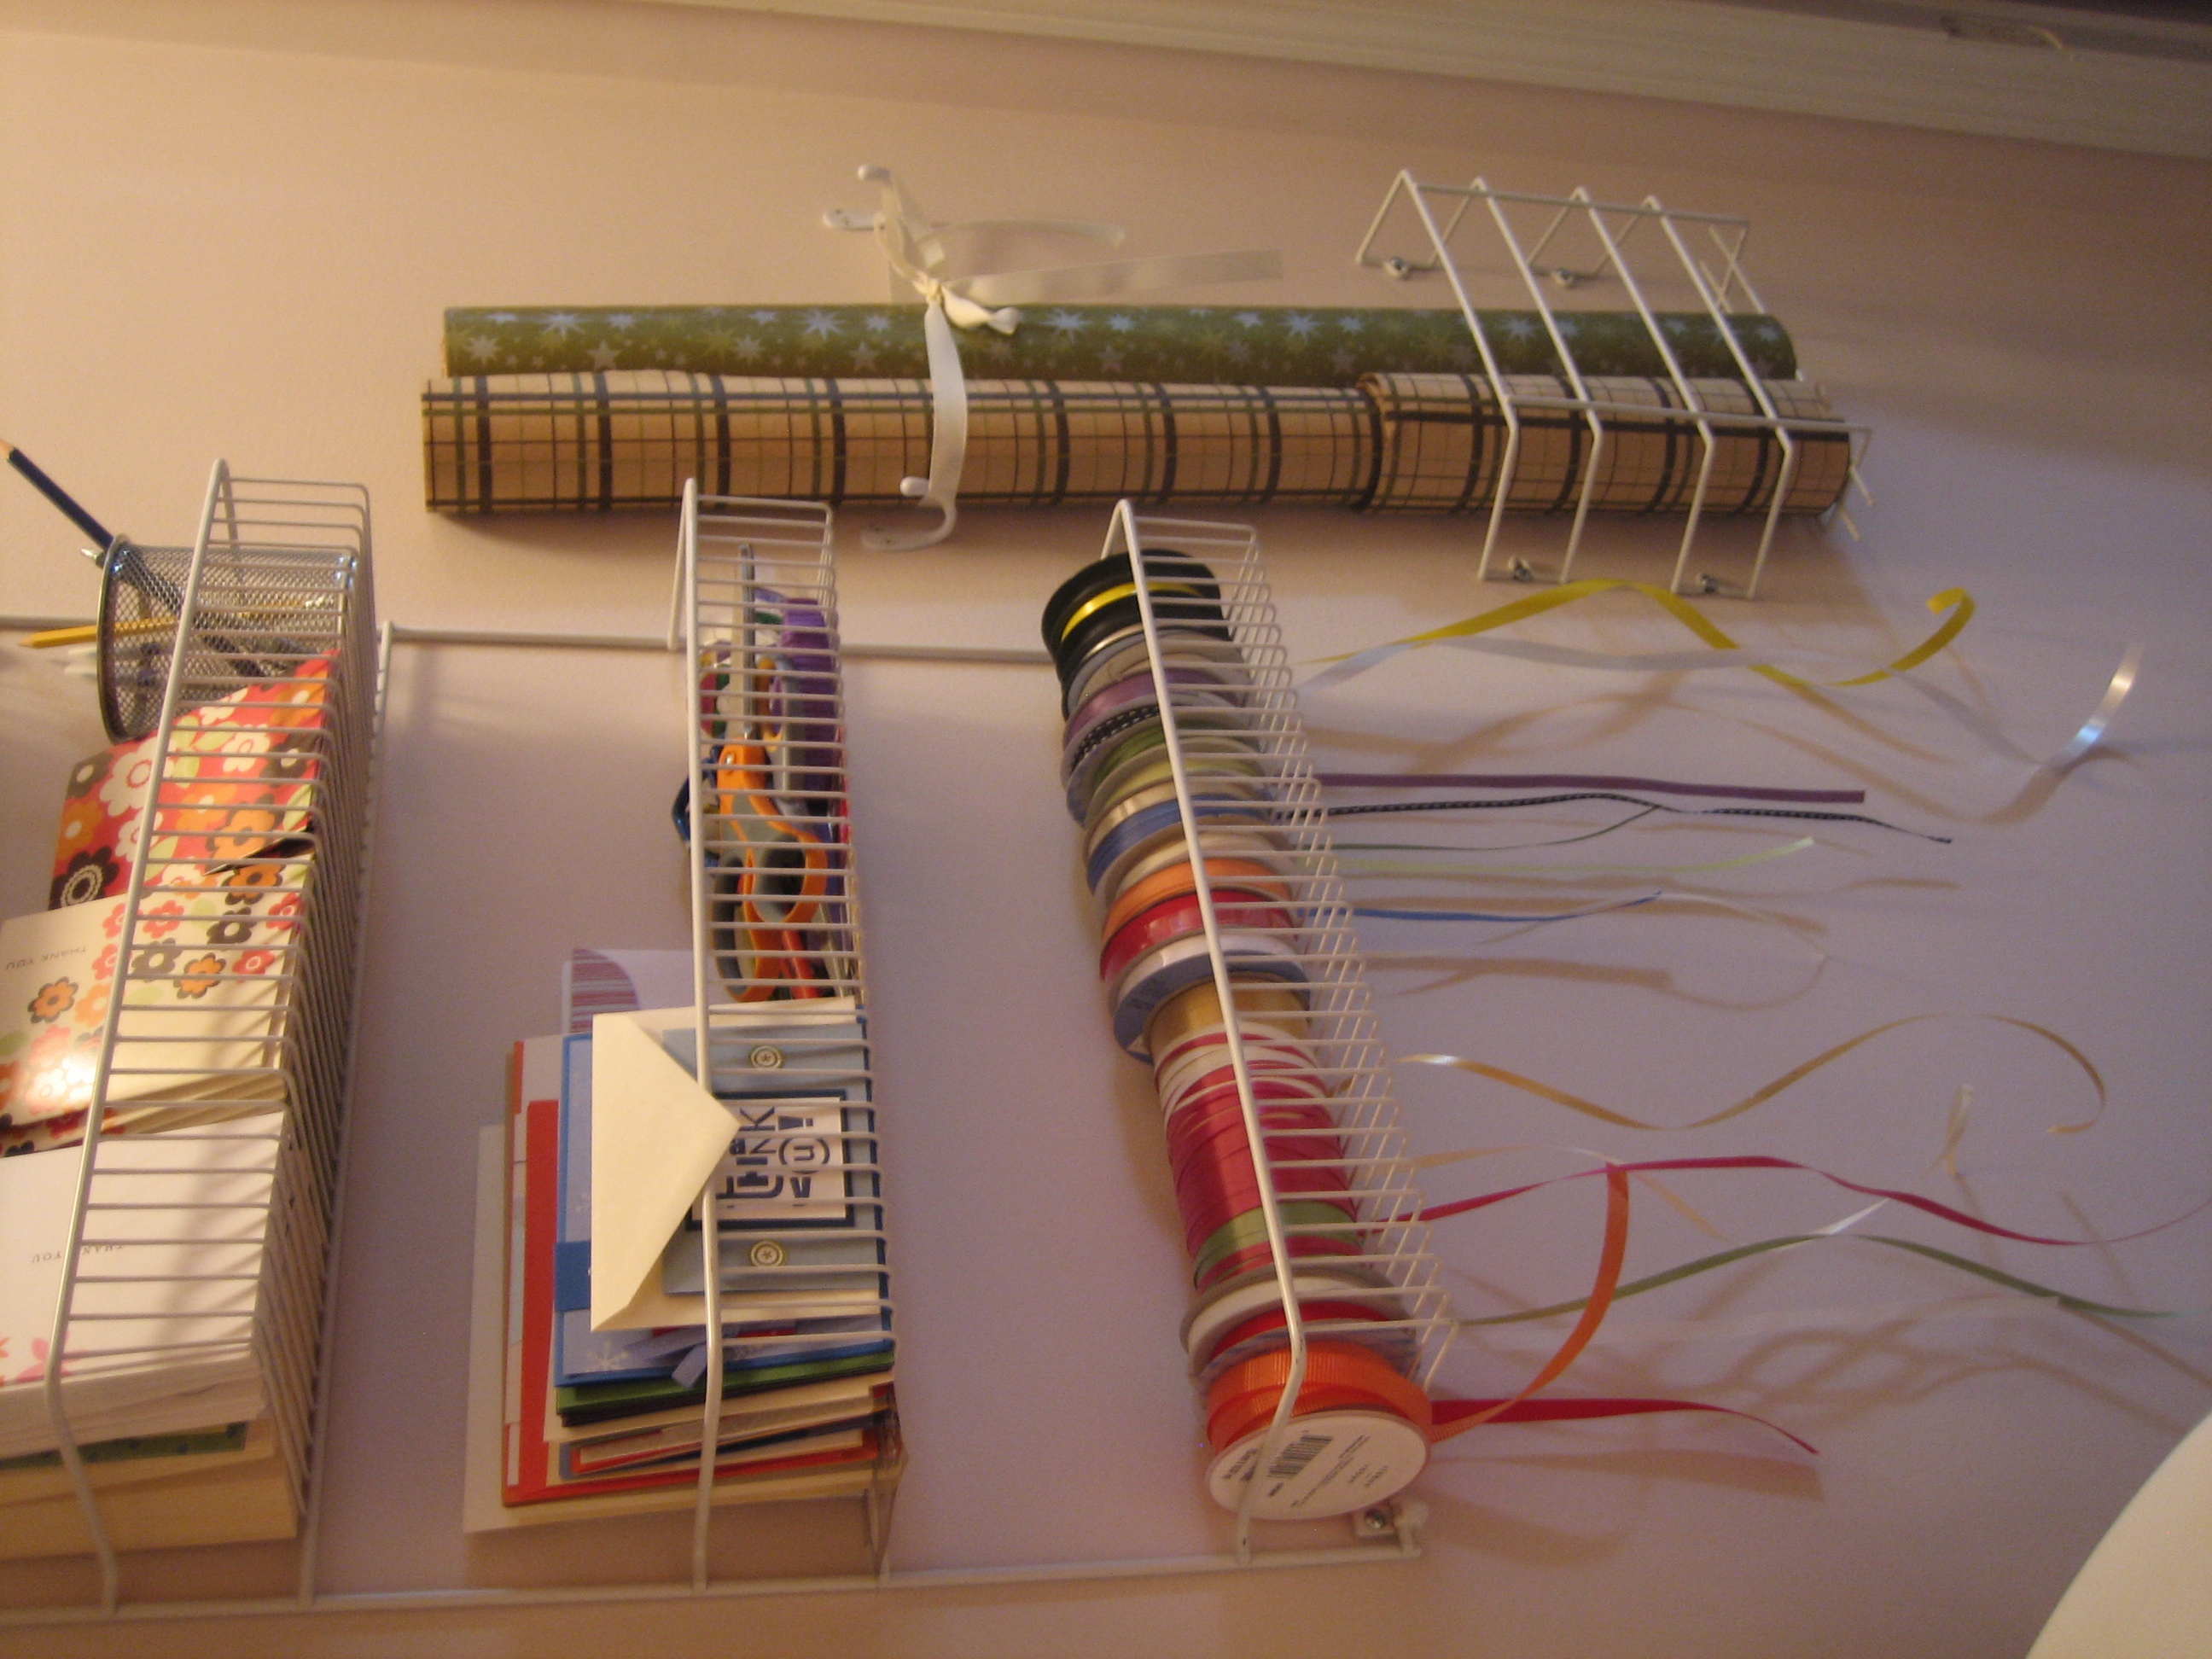
Let’s take a tour, shall we? Counter-clockwise (because I’m a lefty and we lefties like to do things bass ackwards), here we go. I hung the cabinet racks (originally meant to screw onto the inside of kitchen cabinet doors to hold spices, foil, wax paper, etc.) on the right-hand wall to serve as my gift wrapping station. (I was inspired by a recent Young House Love post.)

I pulled each individual ribbon through the rack to keep any tangling at bay.

The wrapping paper is held in place with 2 hooks and a piece of ribbon. No more fumbling around in my dark, dingy, unfinished basement to wrap a birthday gift. (Don’t I need to get some cute wrapping paper?! No wonder the presents I gift are hideous!)

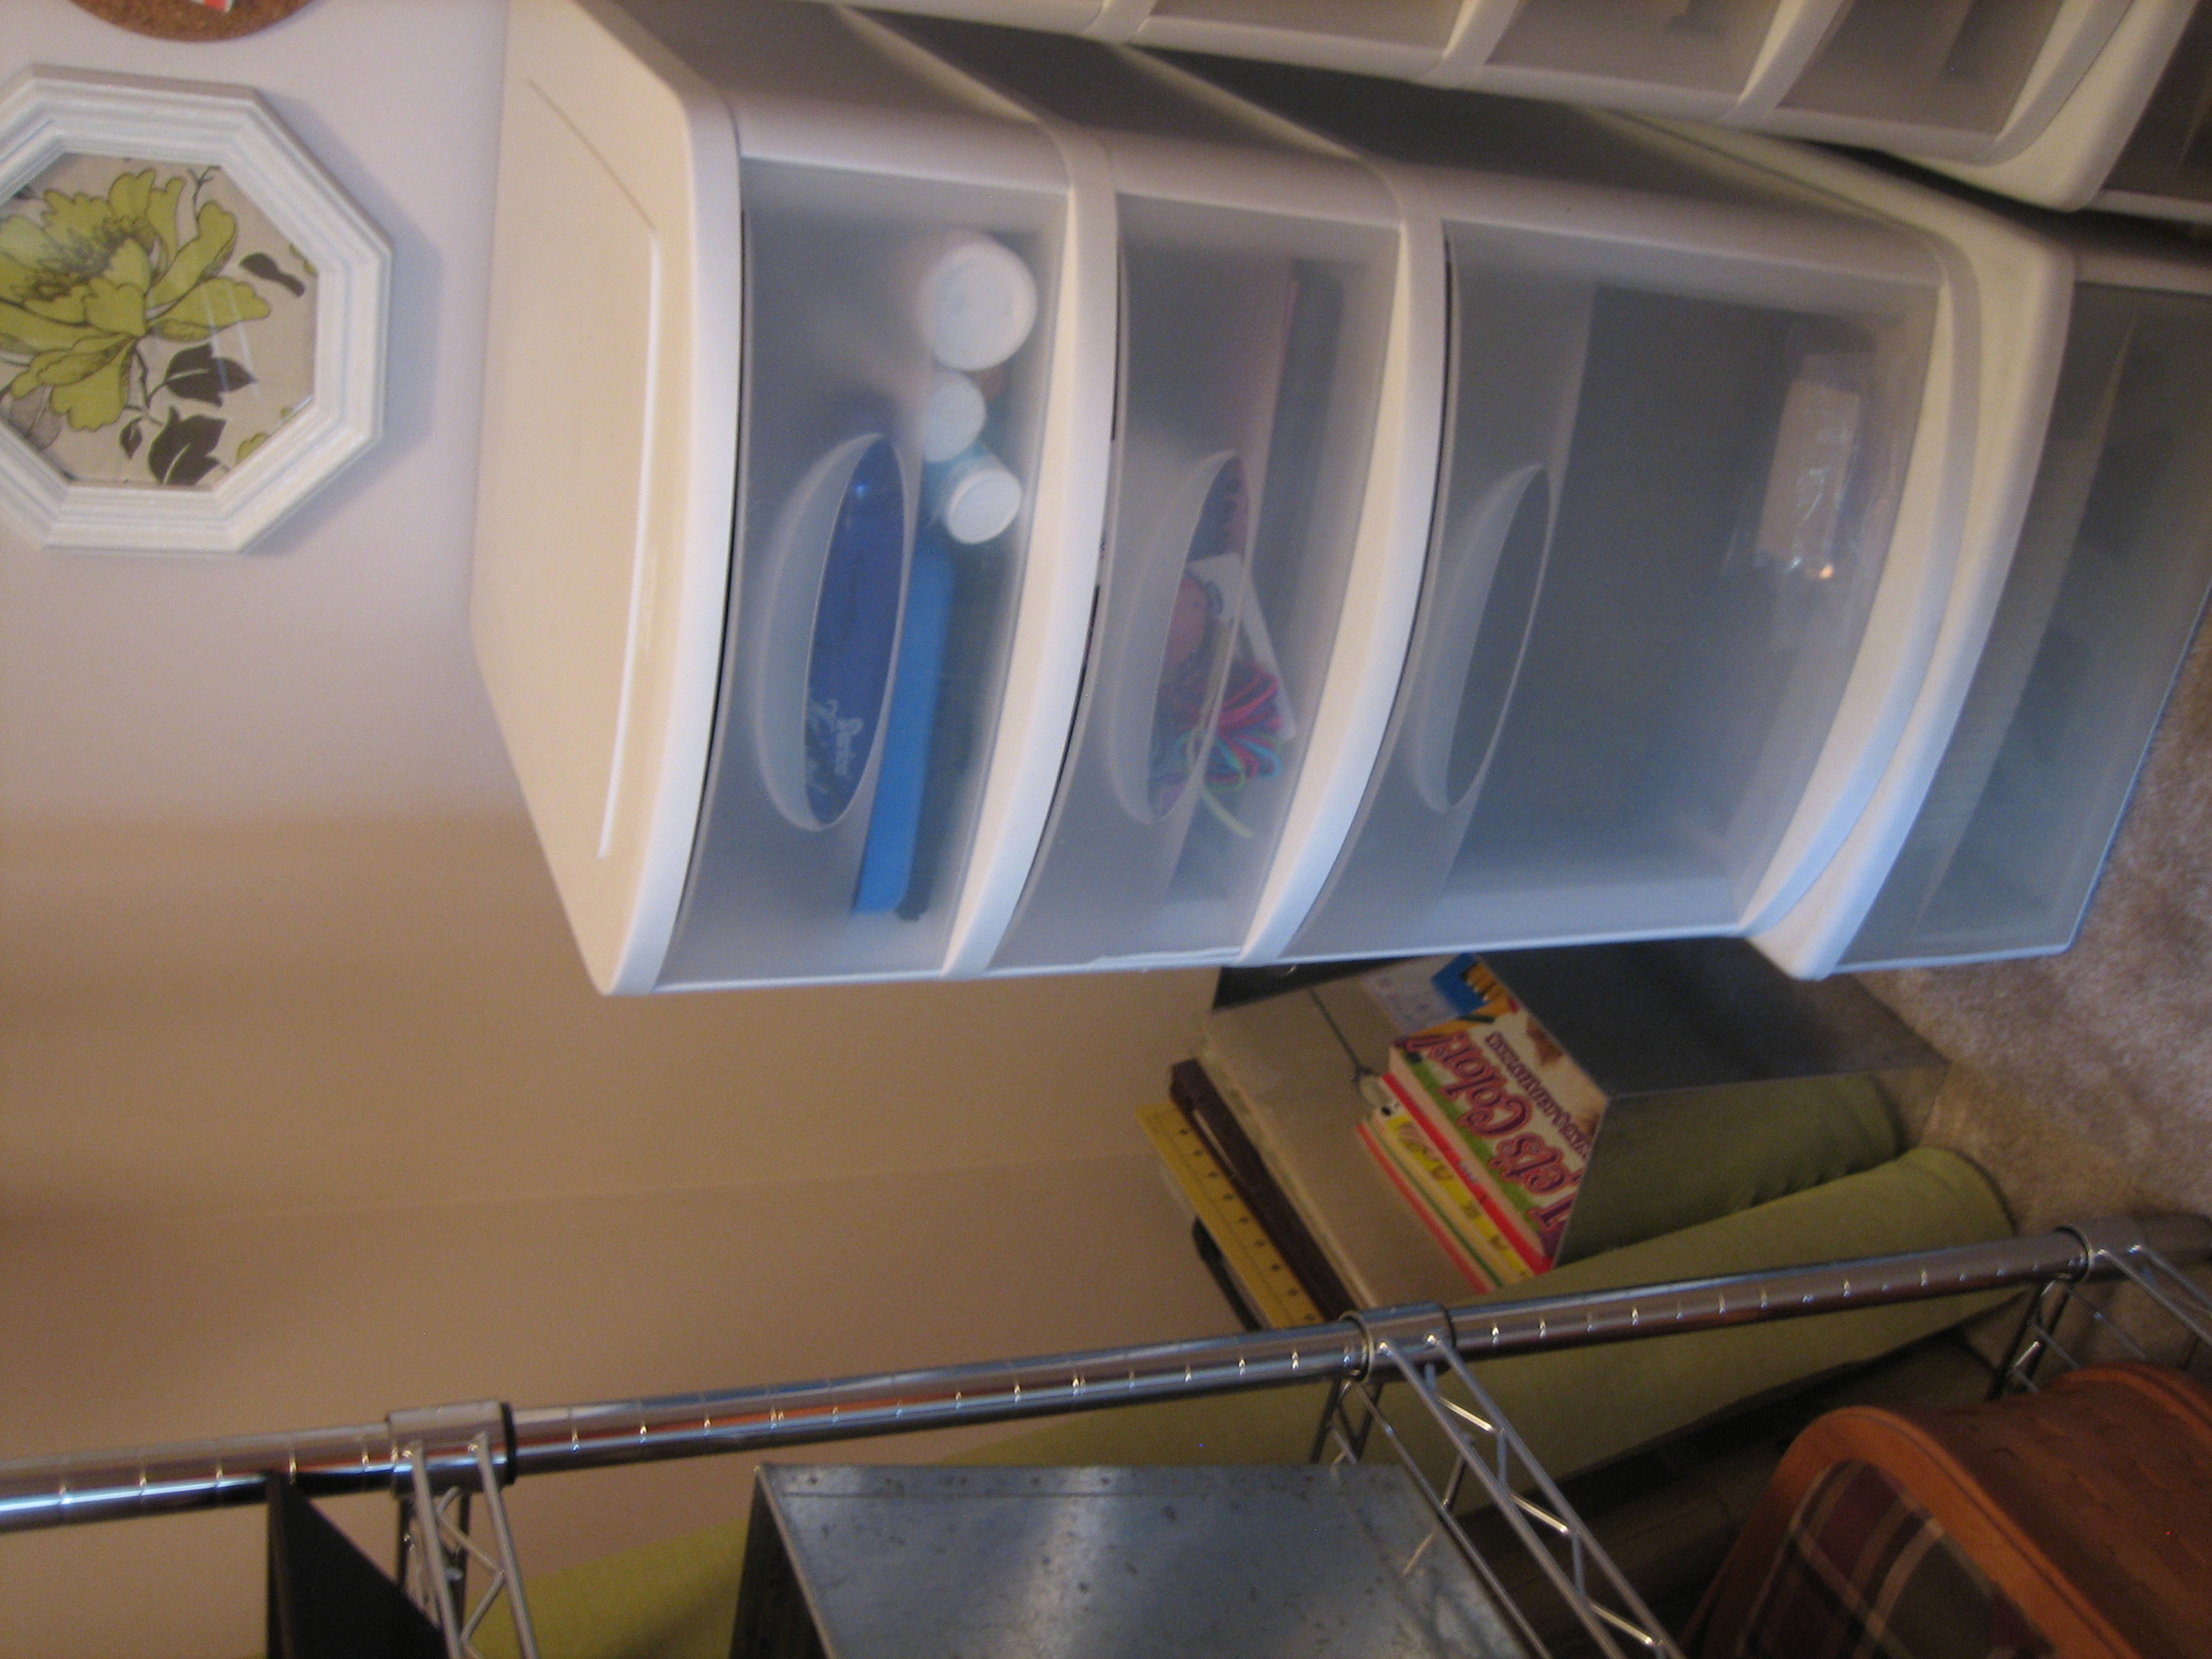
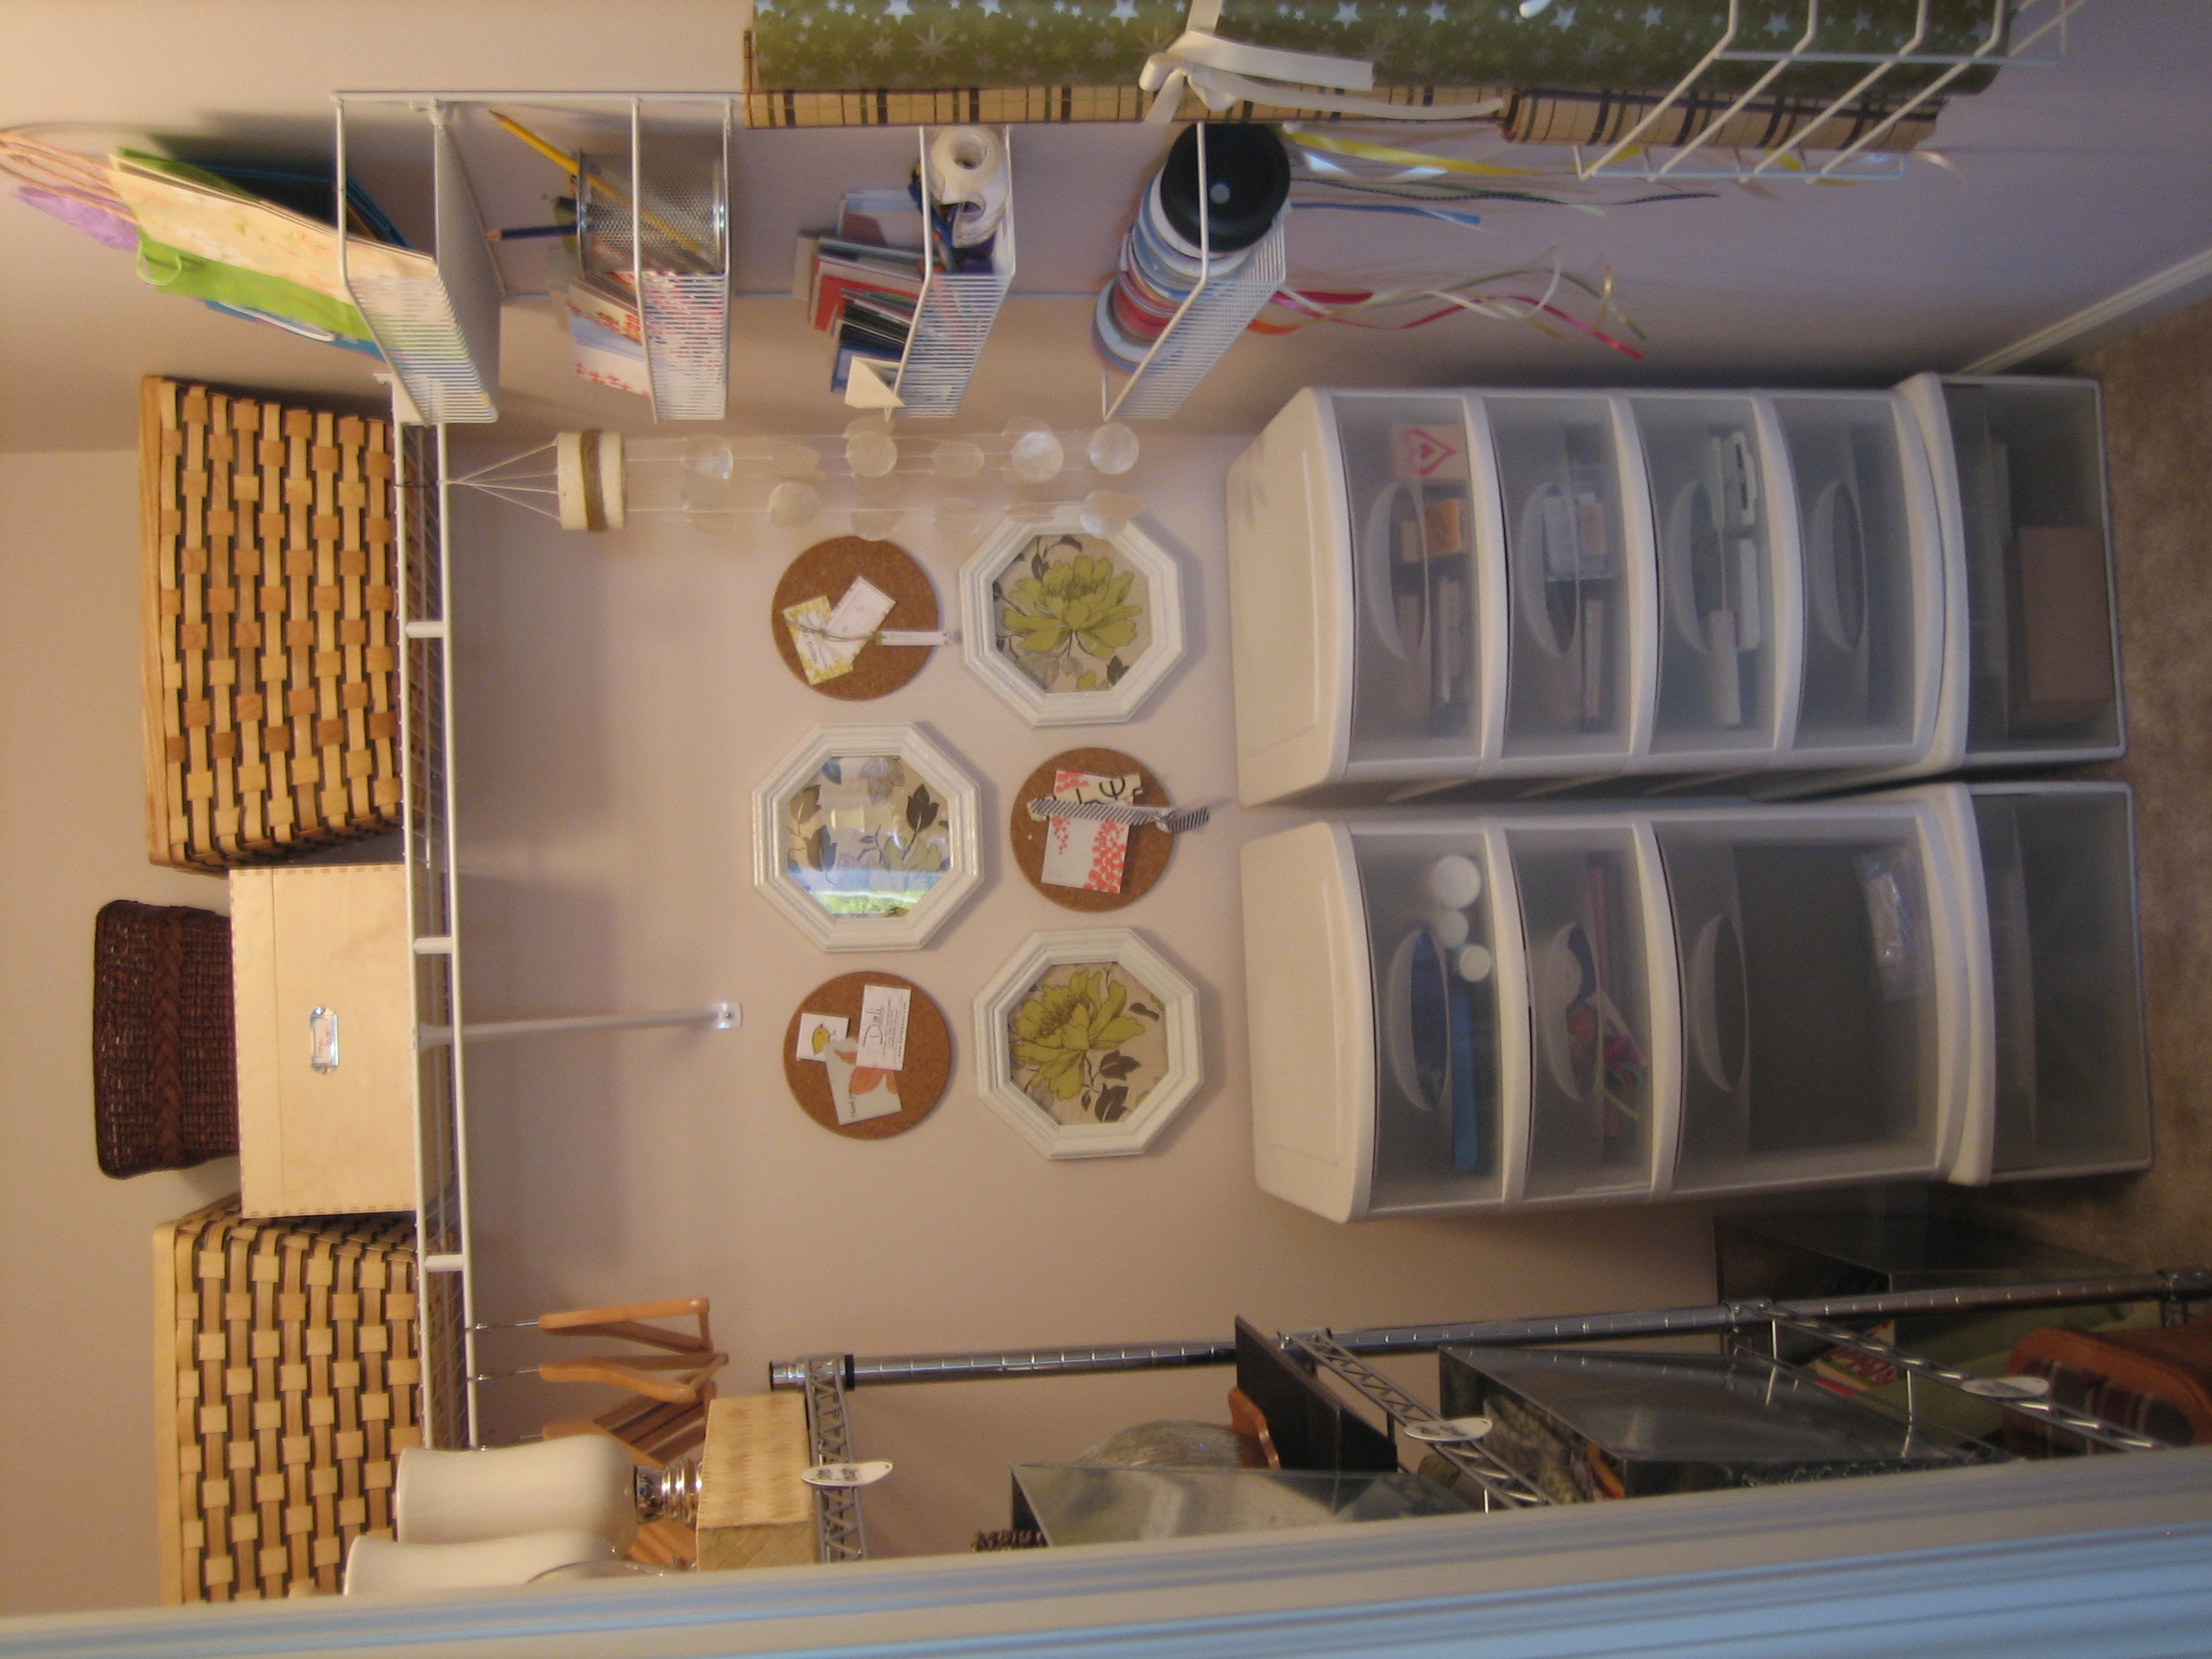
The back wall of the craft closet is home to my plastic drawers full of scrapbook paper, stamps, ink pads, custom cutters/hole punchers and other cardmaking doo-dads.

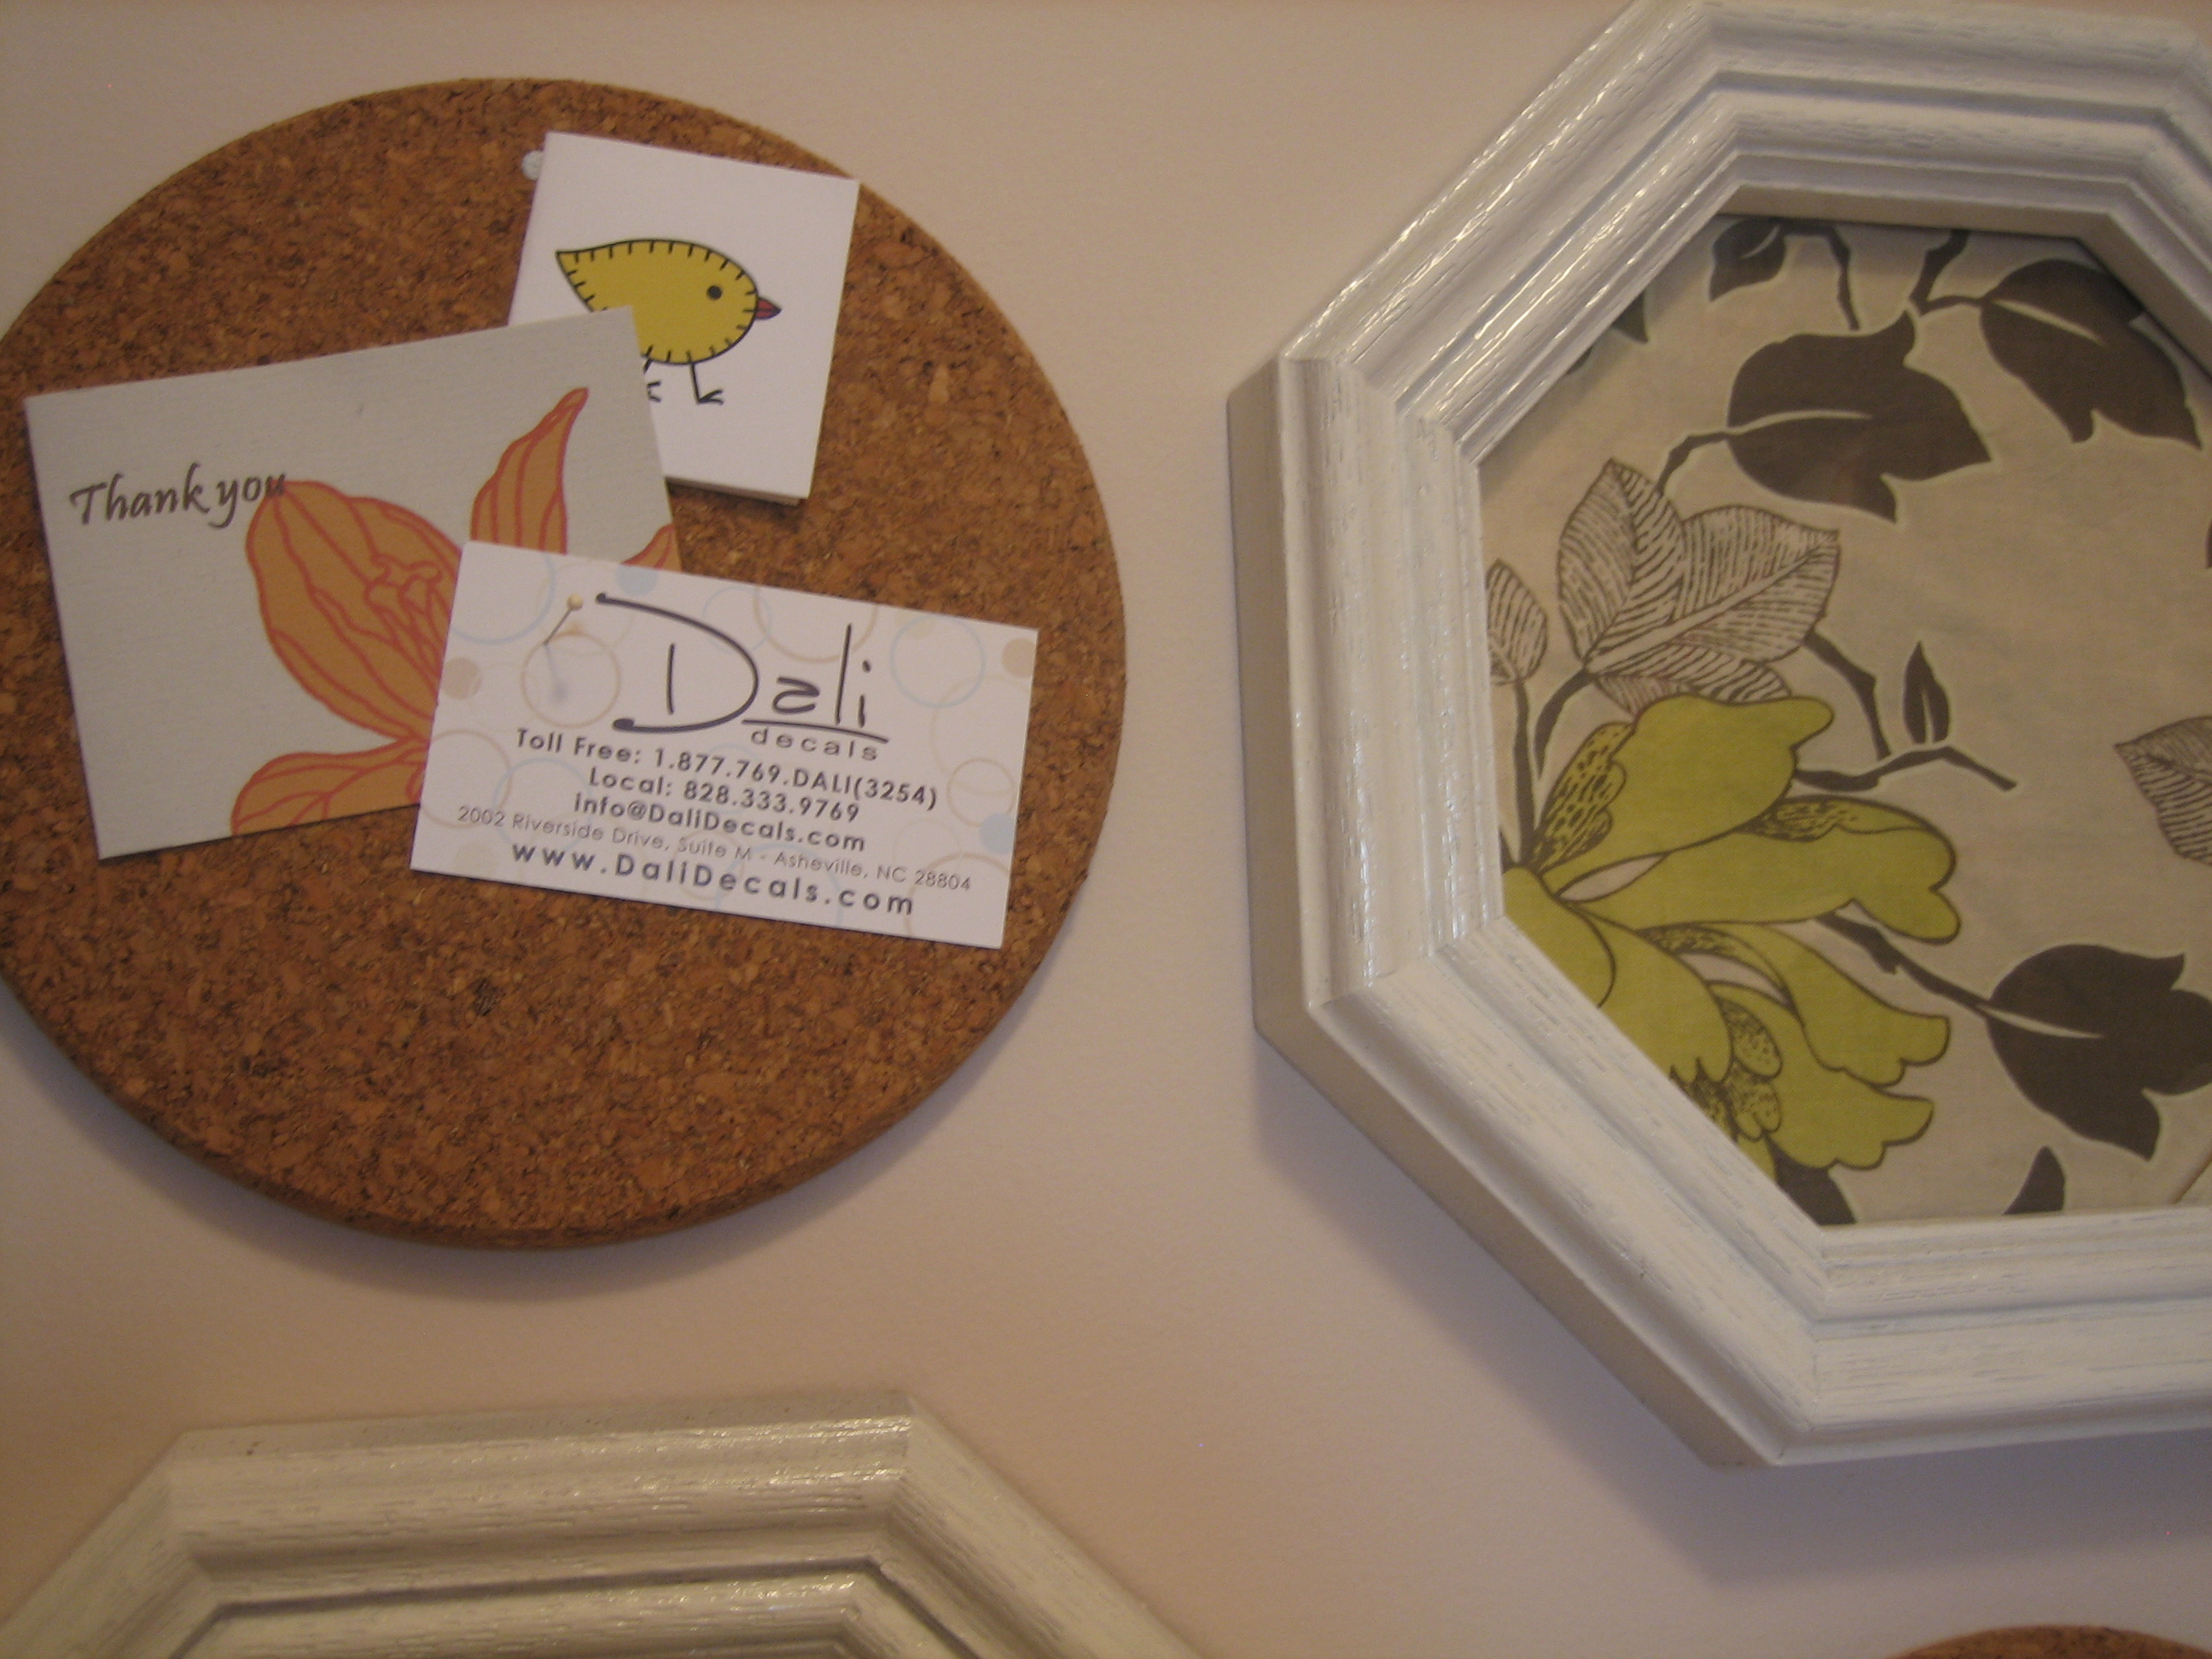
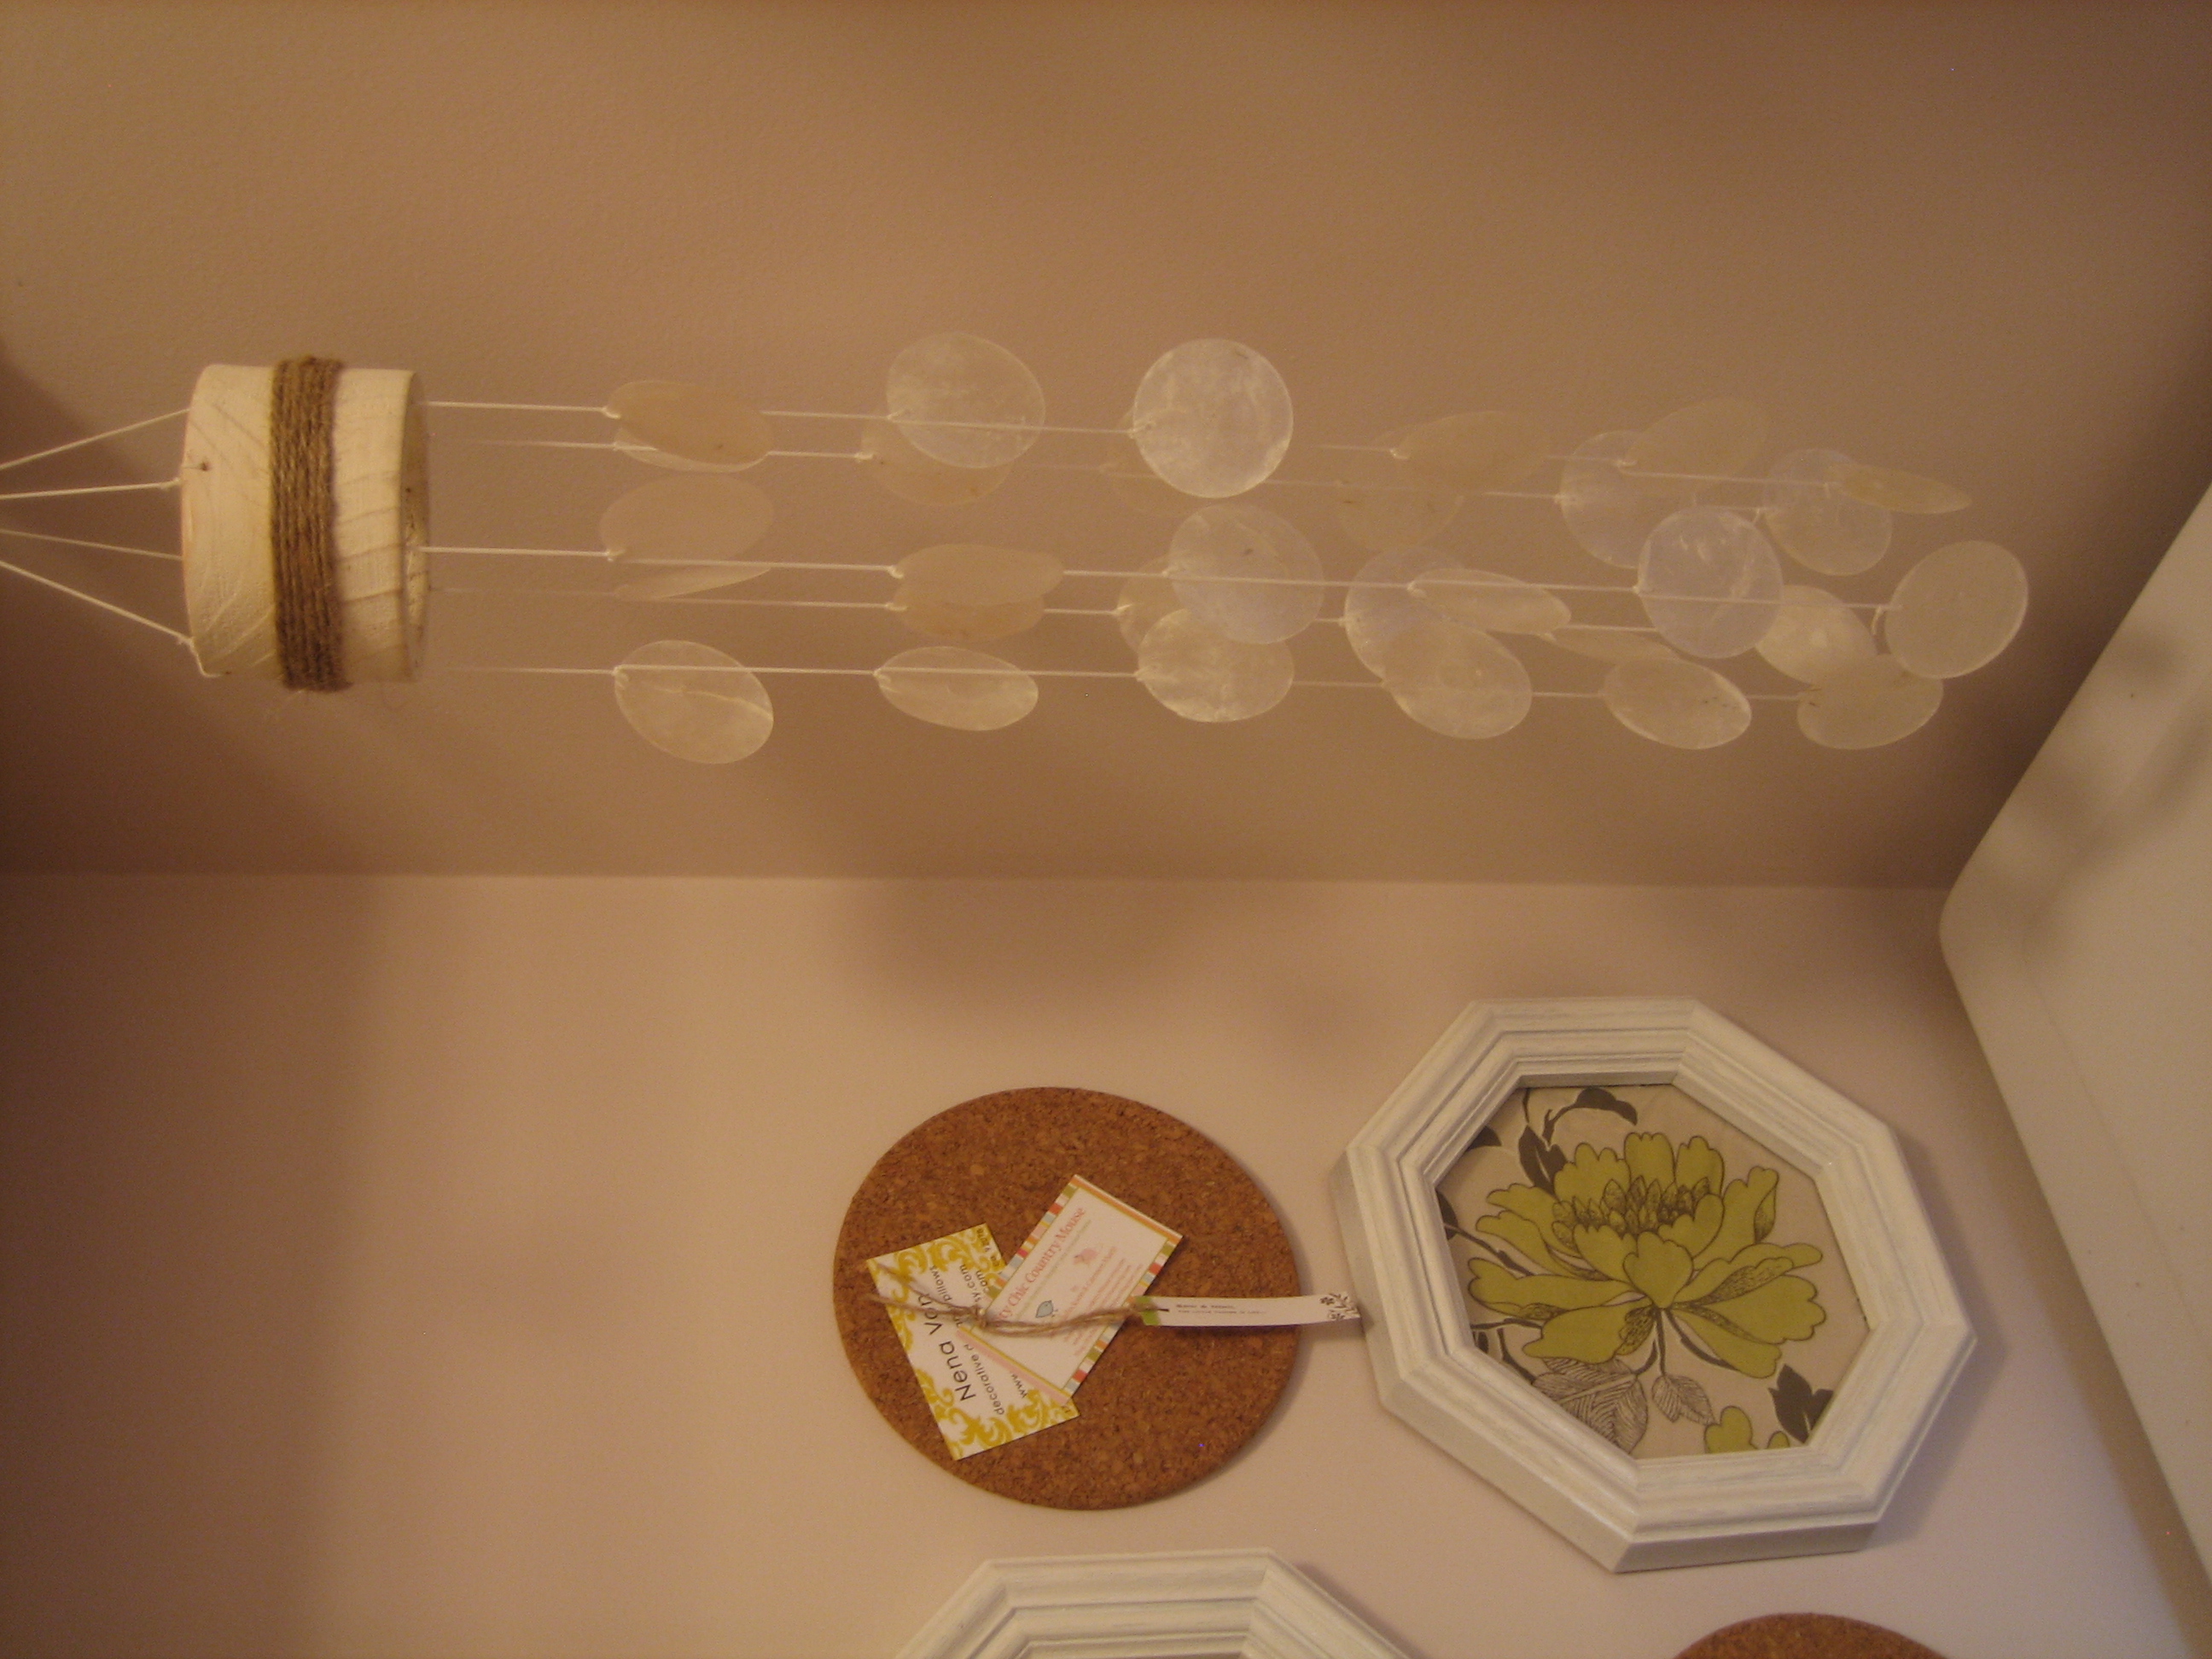
I added cheap (but fun!) artwork above the stacked drawers by way of spray painting 3 Goodwill frames gloss white then adding scrap fabric behind the glass. A trio of IKEA cork trivets holds business cards of my favorite Etsy sellers.

Yes! Artwork in a closet is totally acceptable.

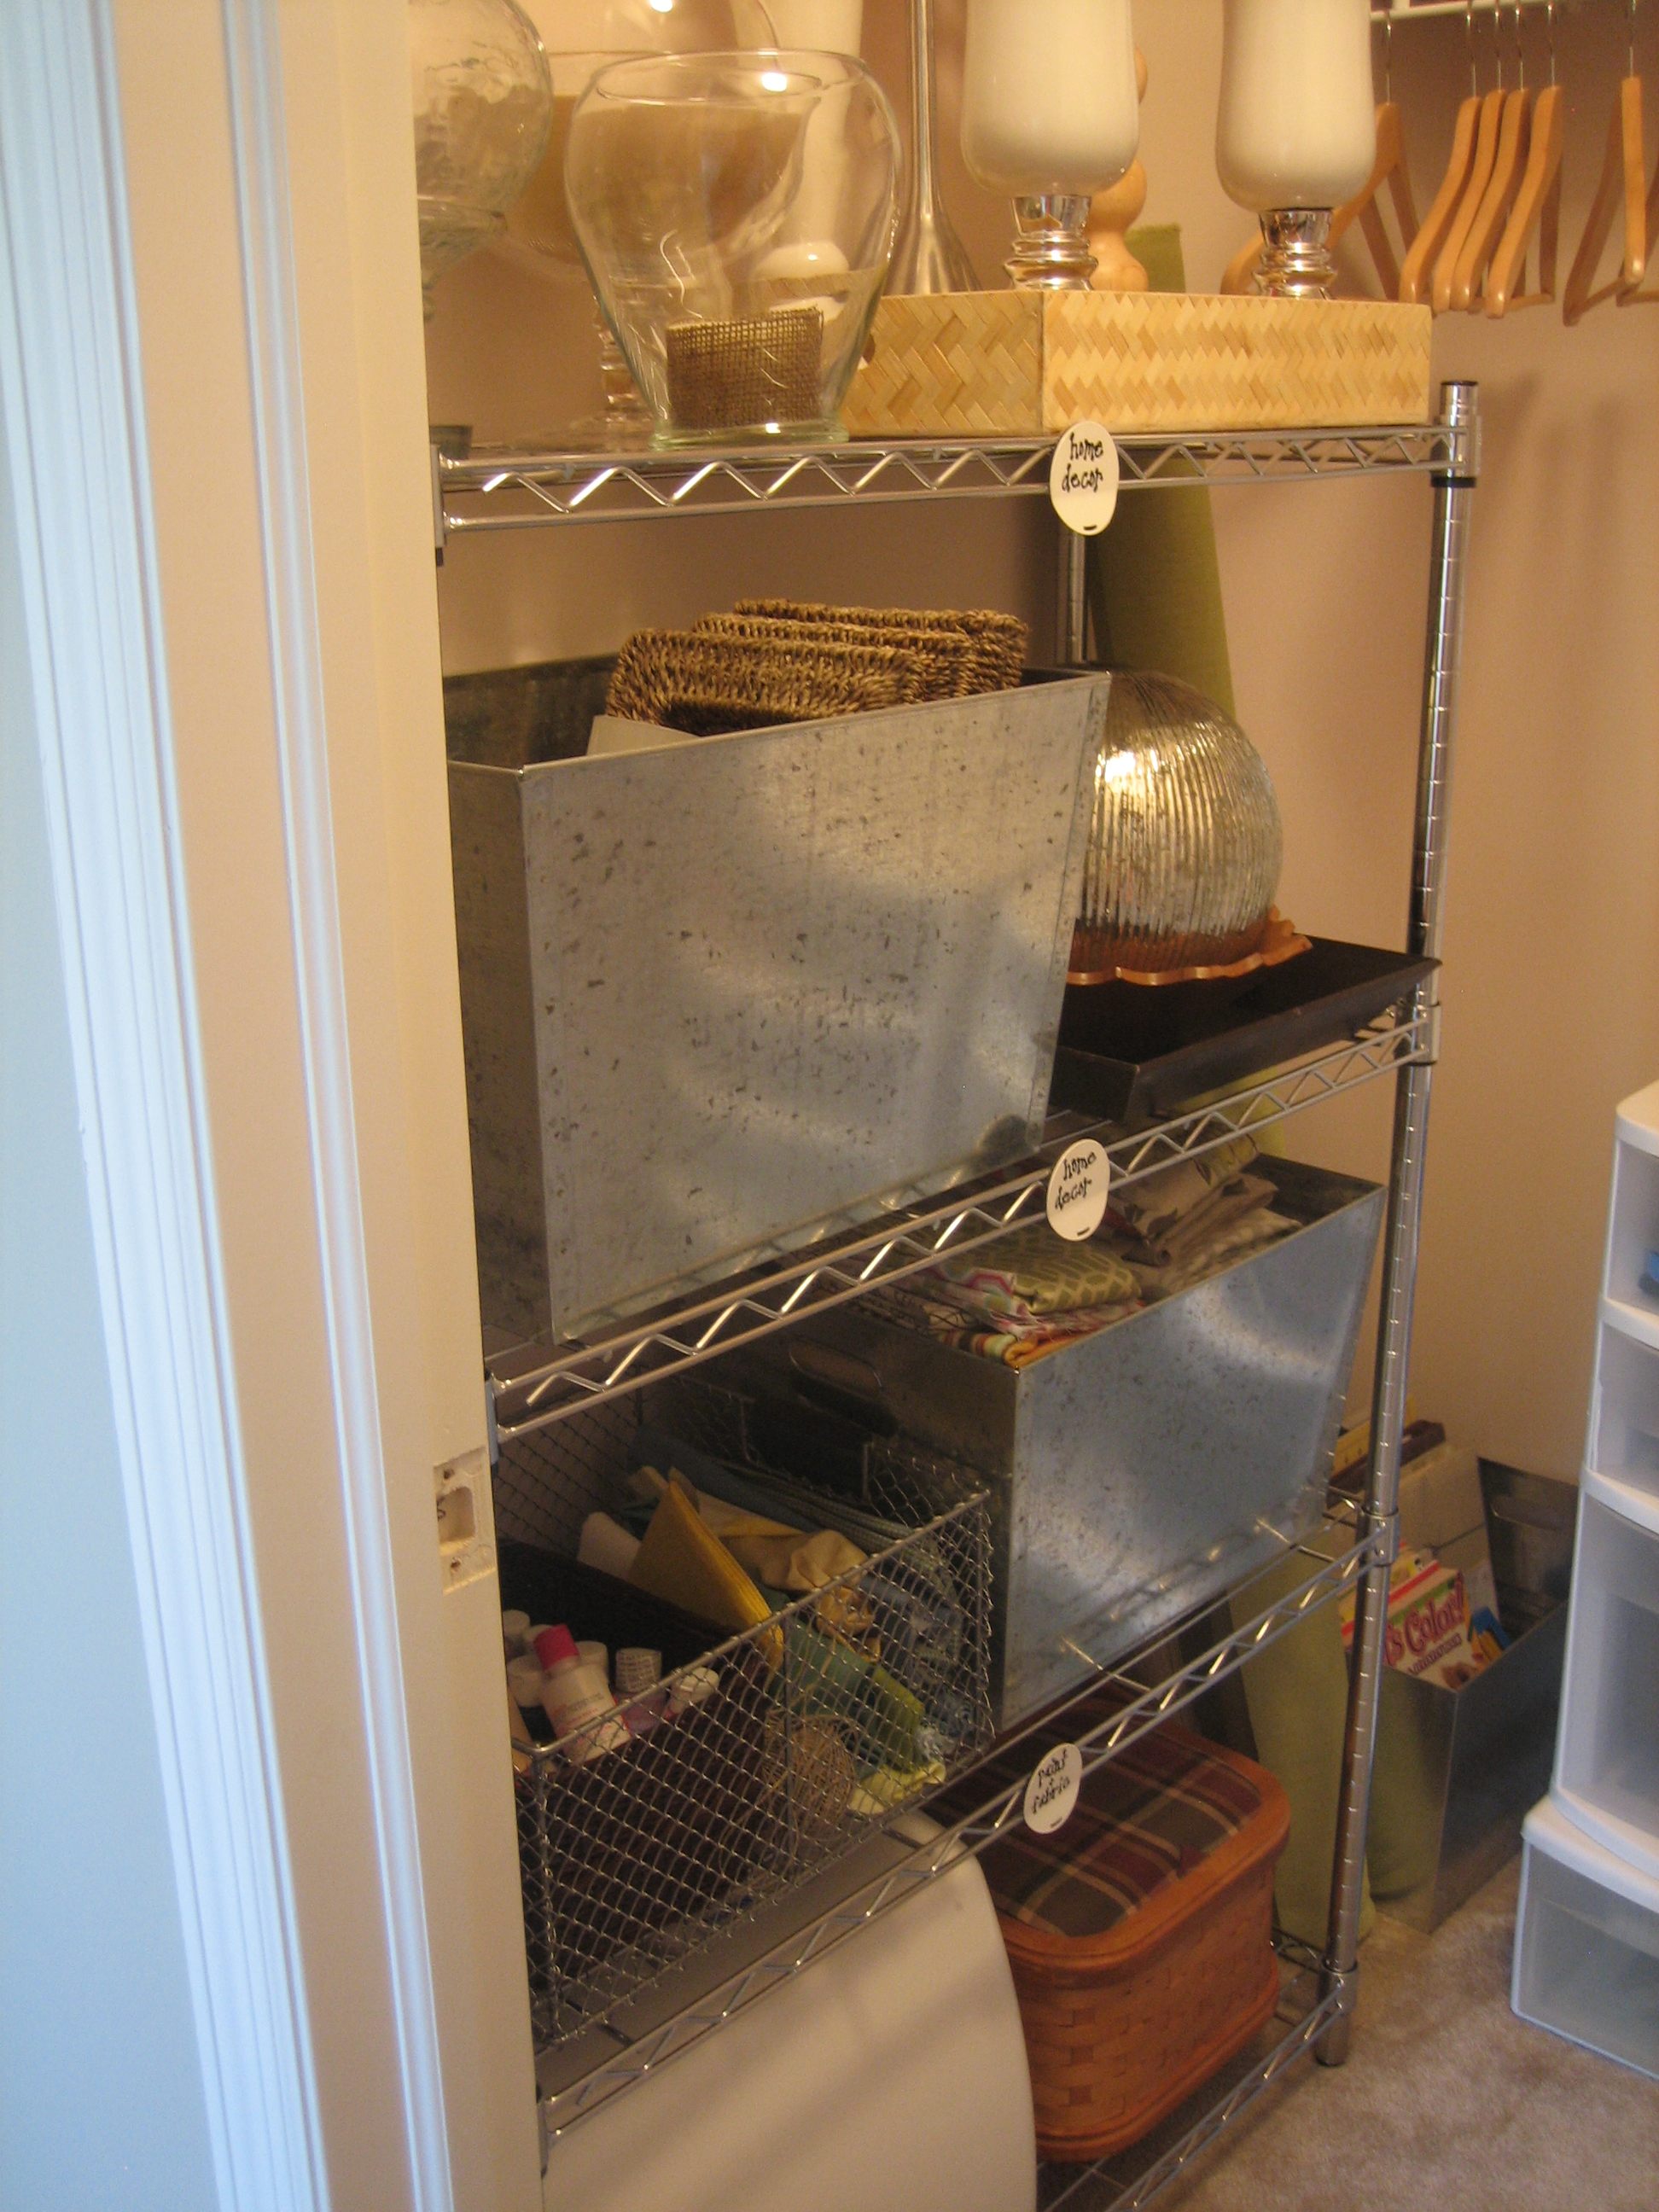
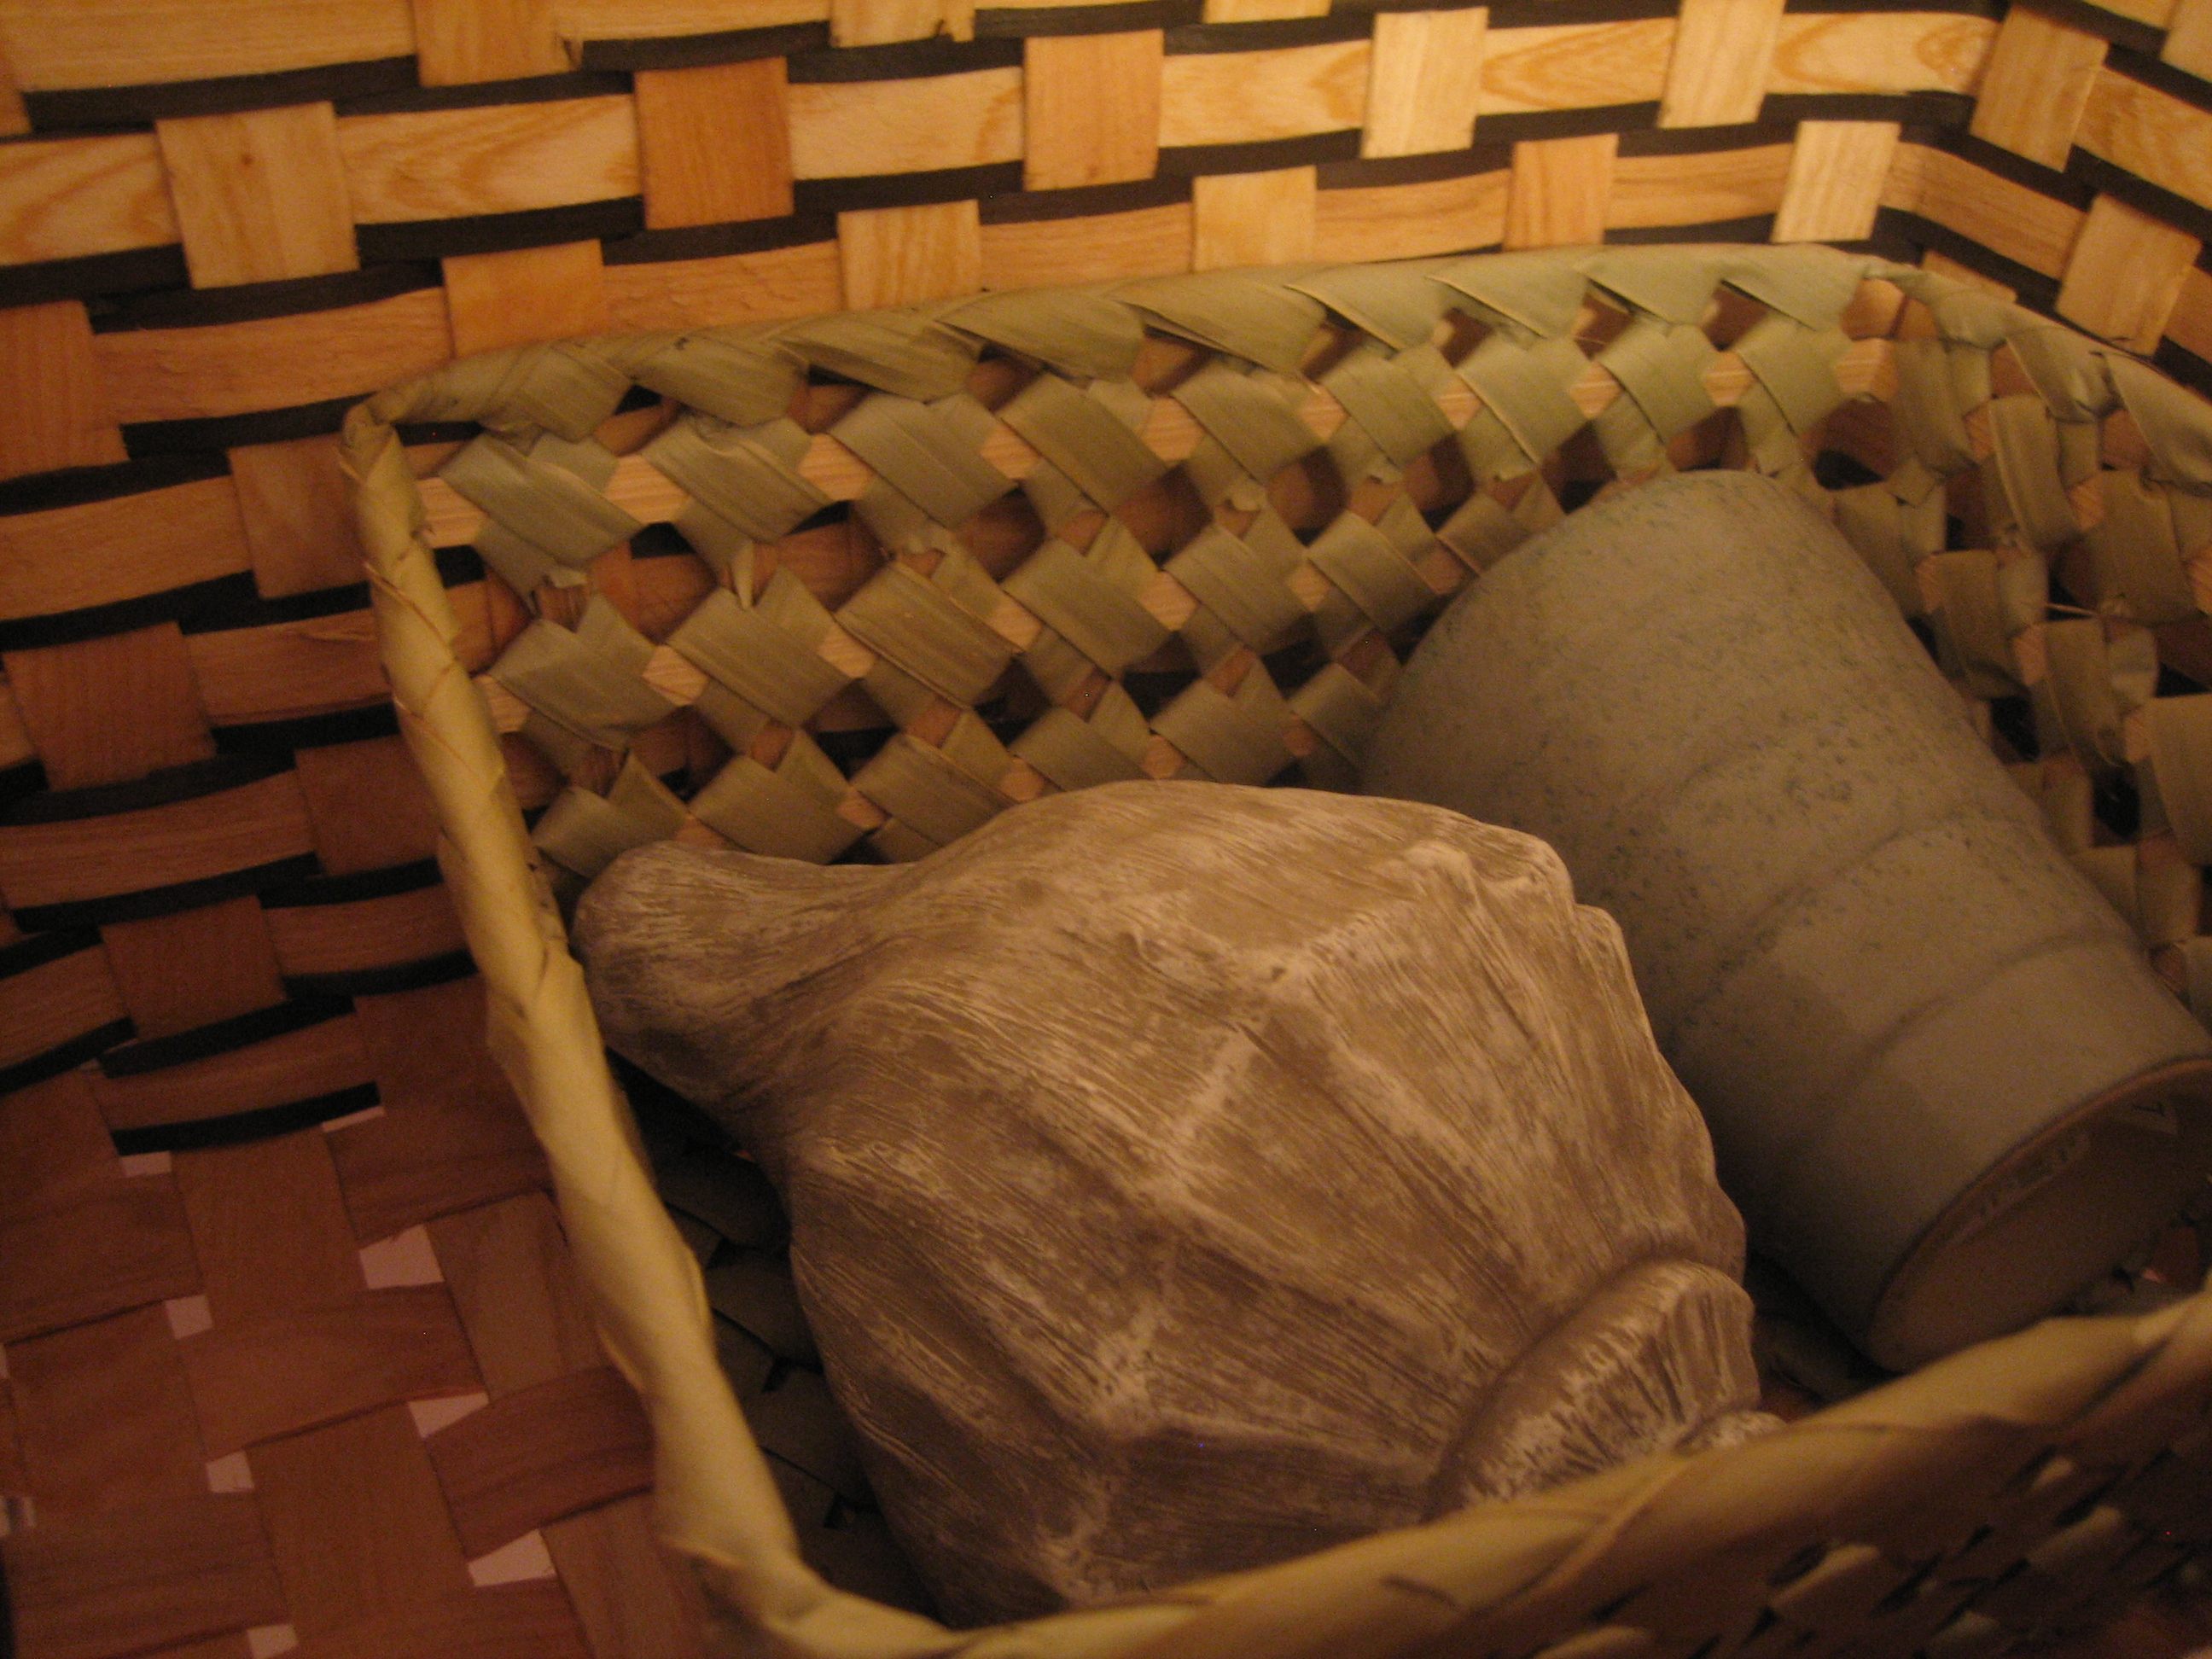
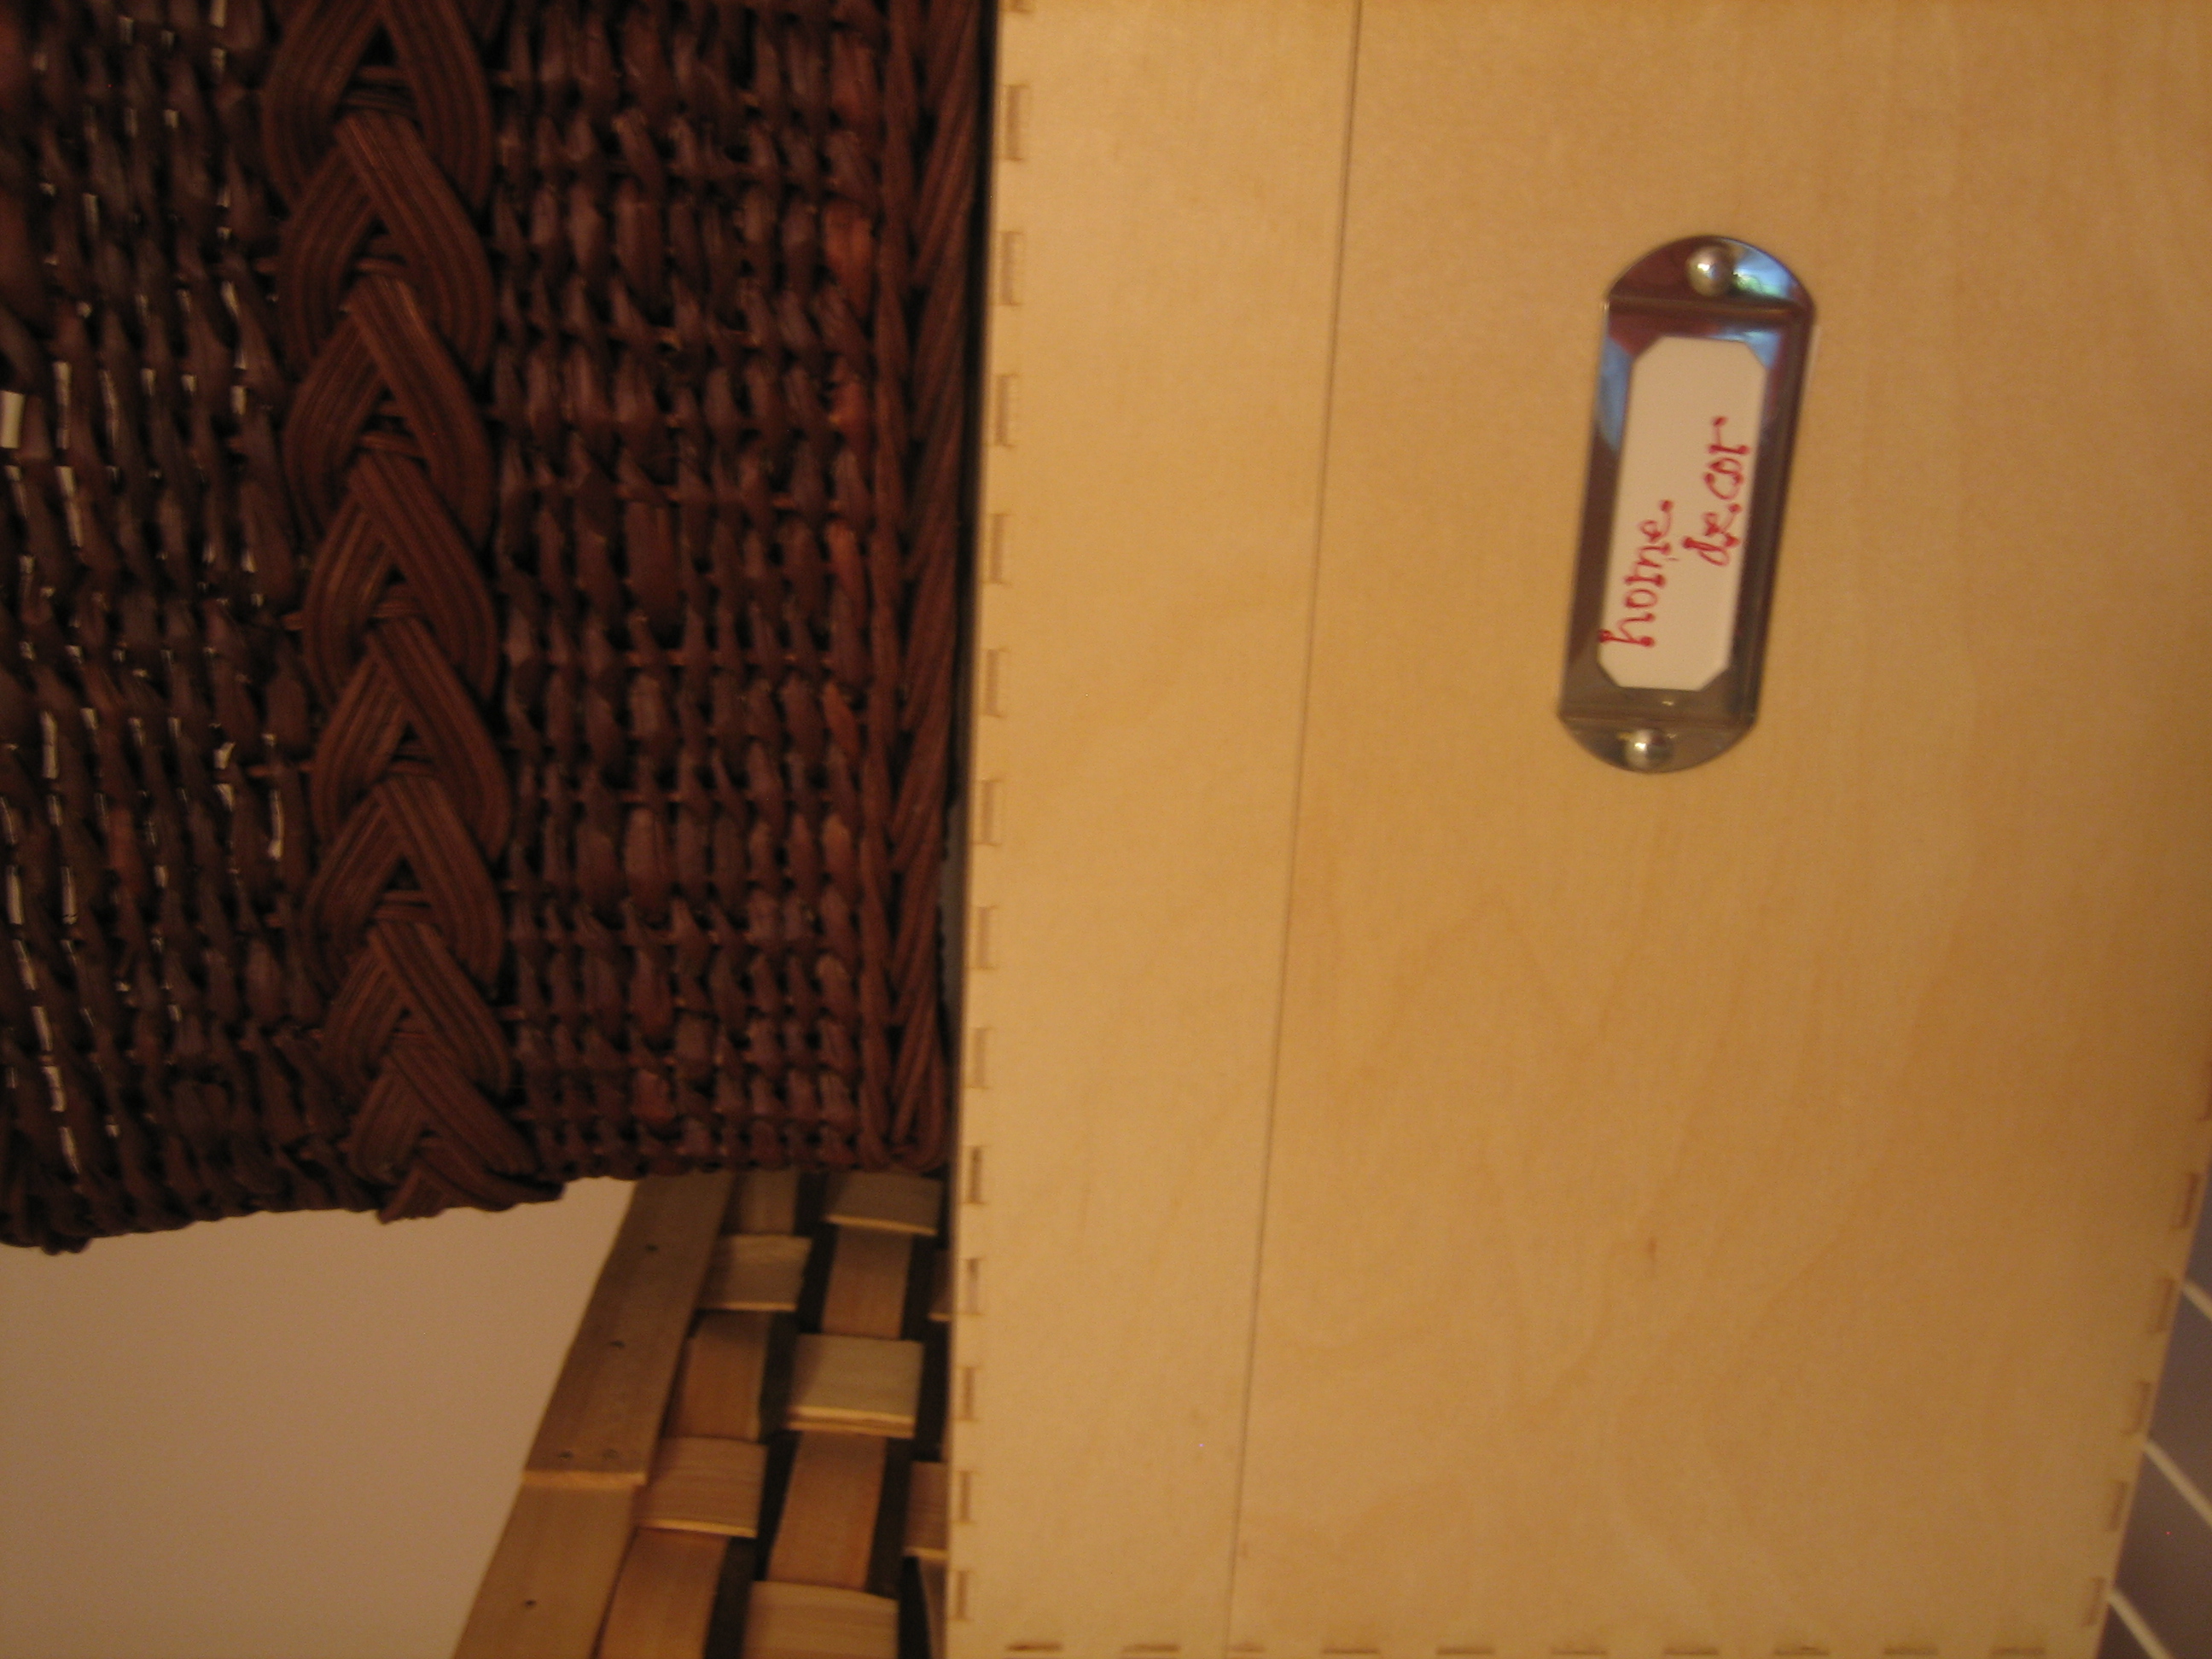
Just above the artwork is the original closet wire rack. It holds a few baskets of home decor items not being used at the moment.


Yep. That’s a lil’ basket-in-basket action goin’ on.


For more fun (really? are you having fun yet?), I hung a capiz wind chime from the wire rack.

IKEA wooden hangers hung in the corner provide a spot for guests to hang their clothes if needed.

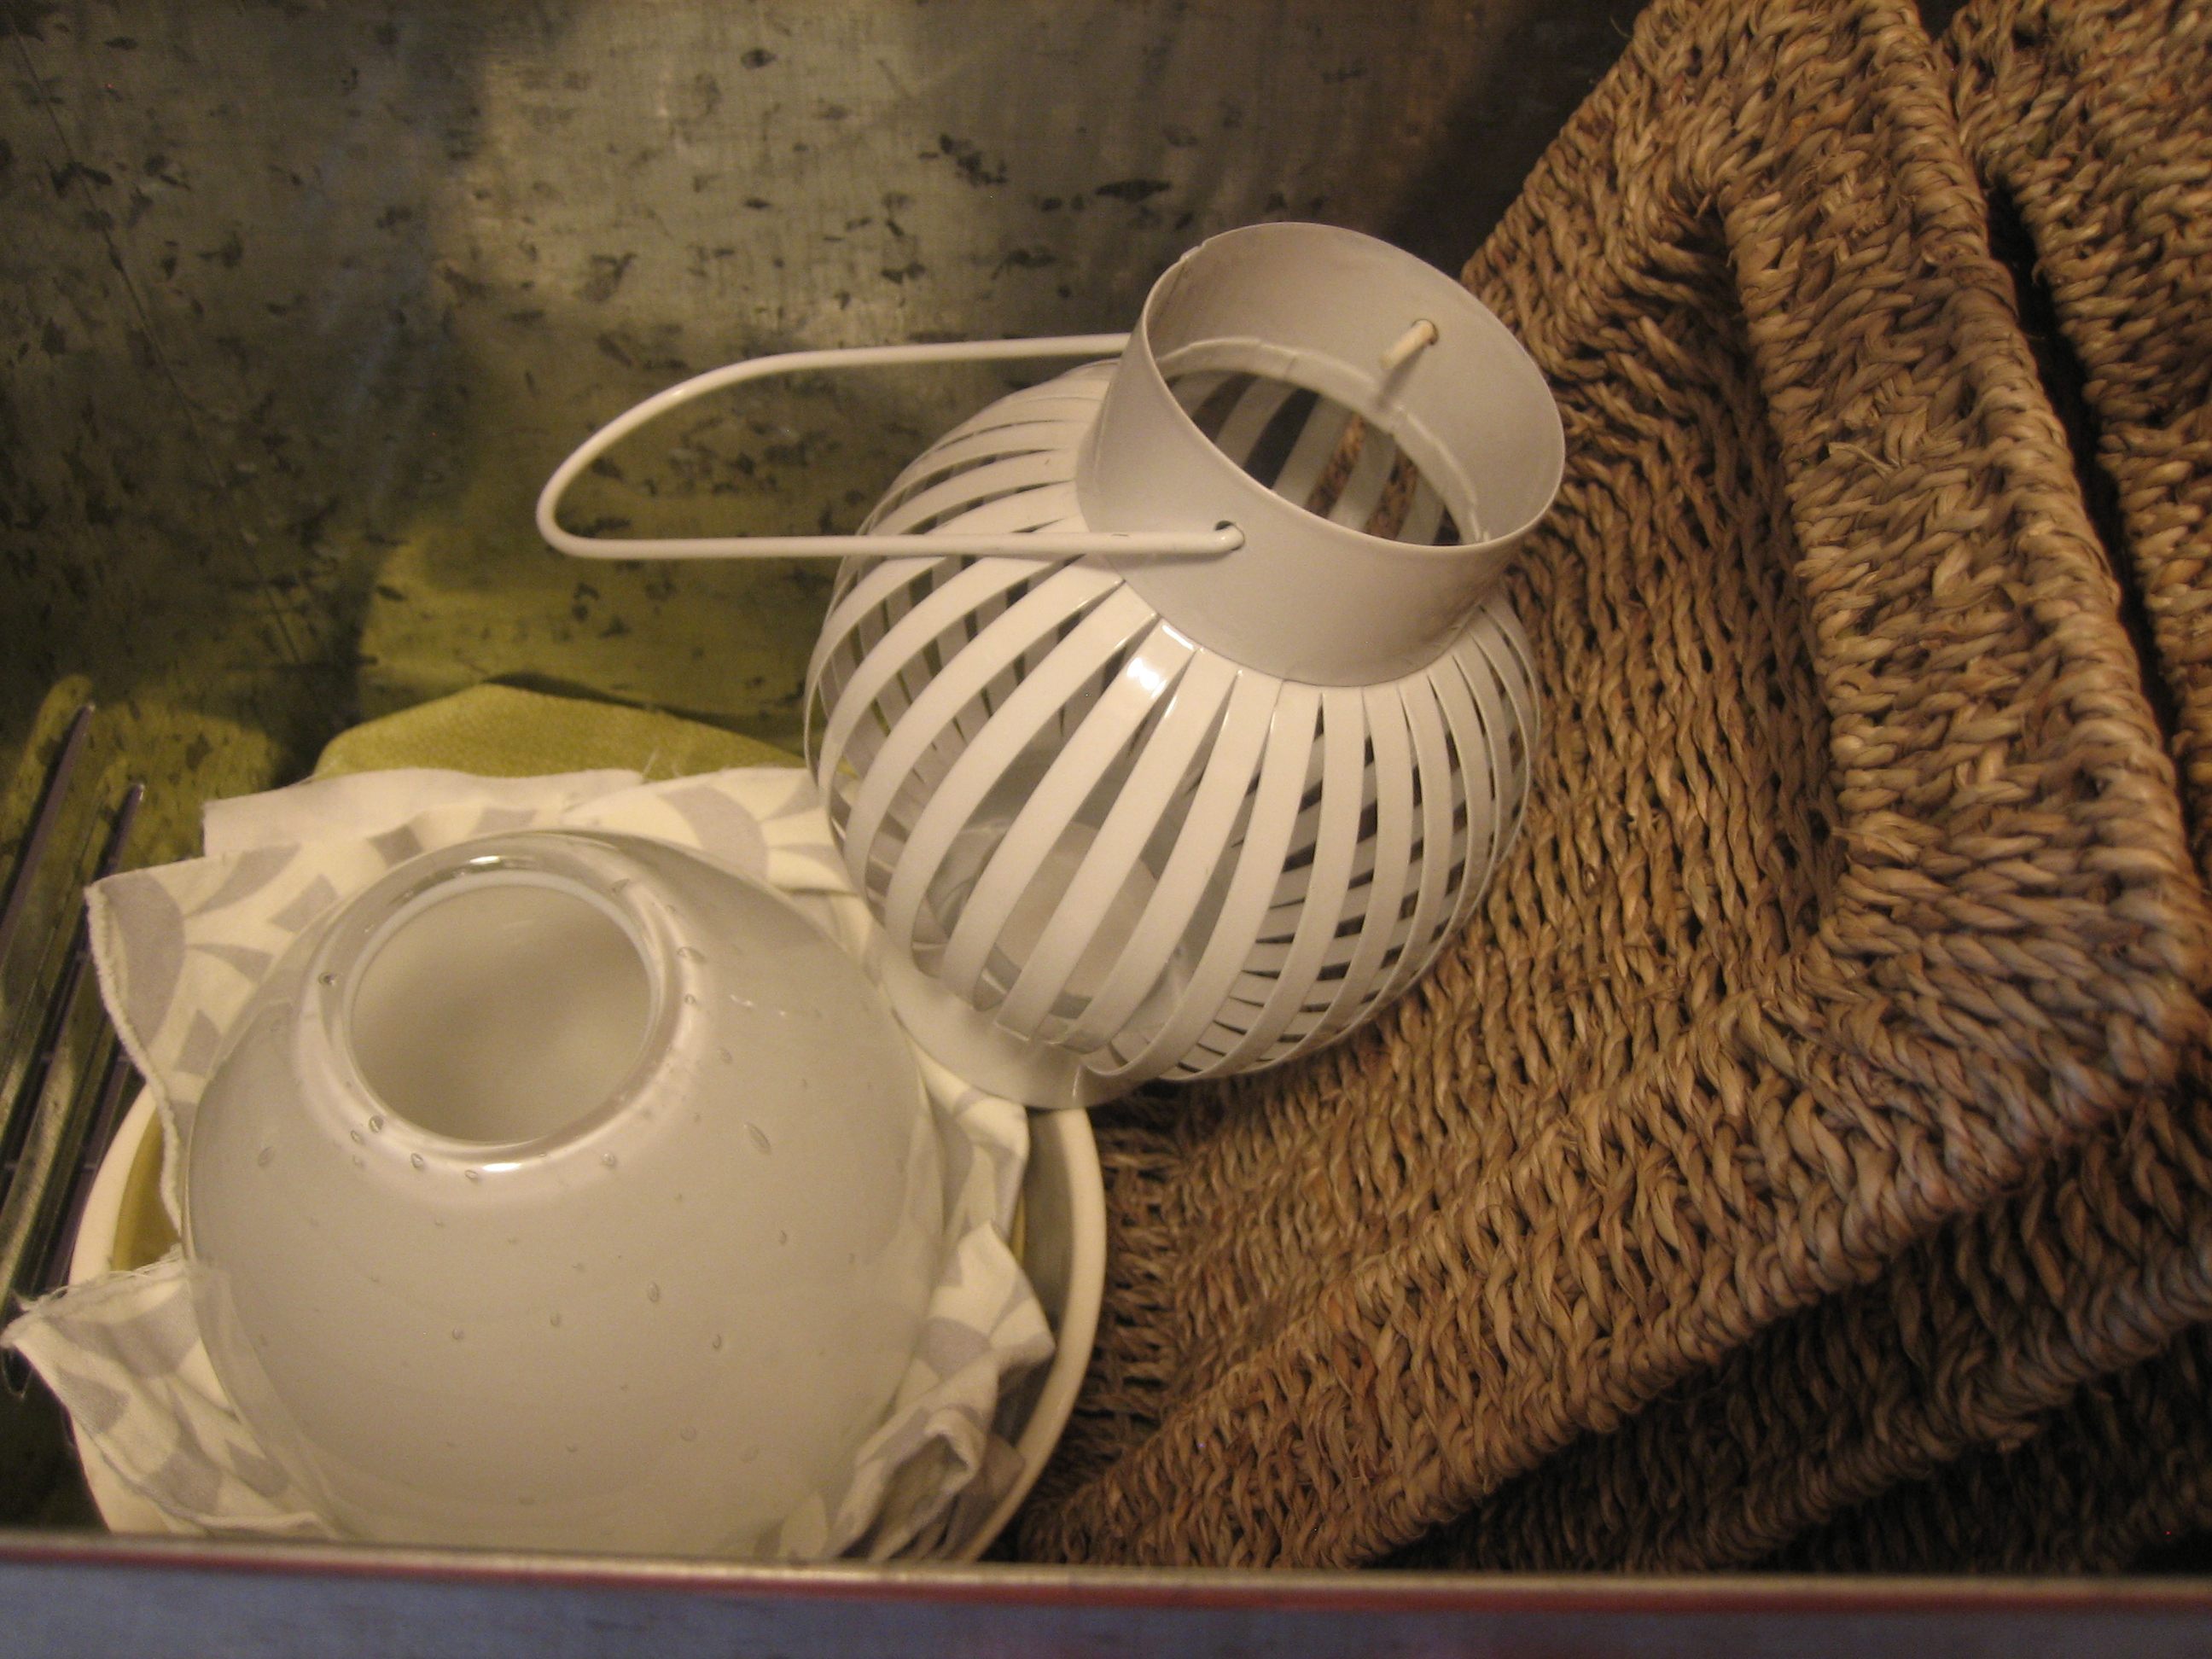
Below the hangers is one of the metal bins I purchased from Lowe’s. It holds oversized items that won’t fit in the plastic drawers. A bolt of fabric and a roll of grasscloth round out the corner.

The third (and final) wall of my craft closet is where the industrial metal shelving lives. This baby is tough! Each shelf can hold 350 pounds individually…I could hold tons of fabric for ransom!!

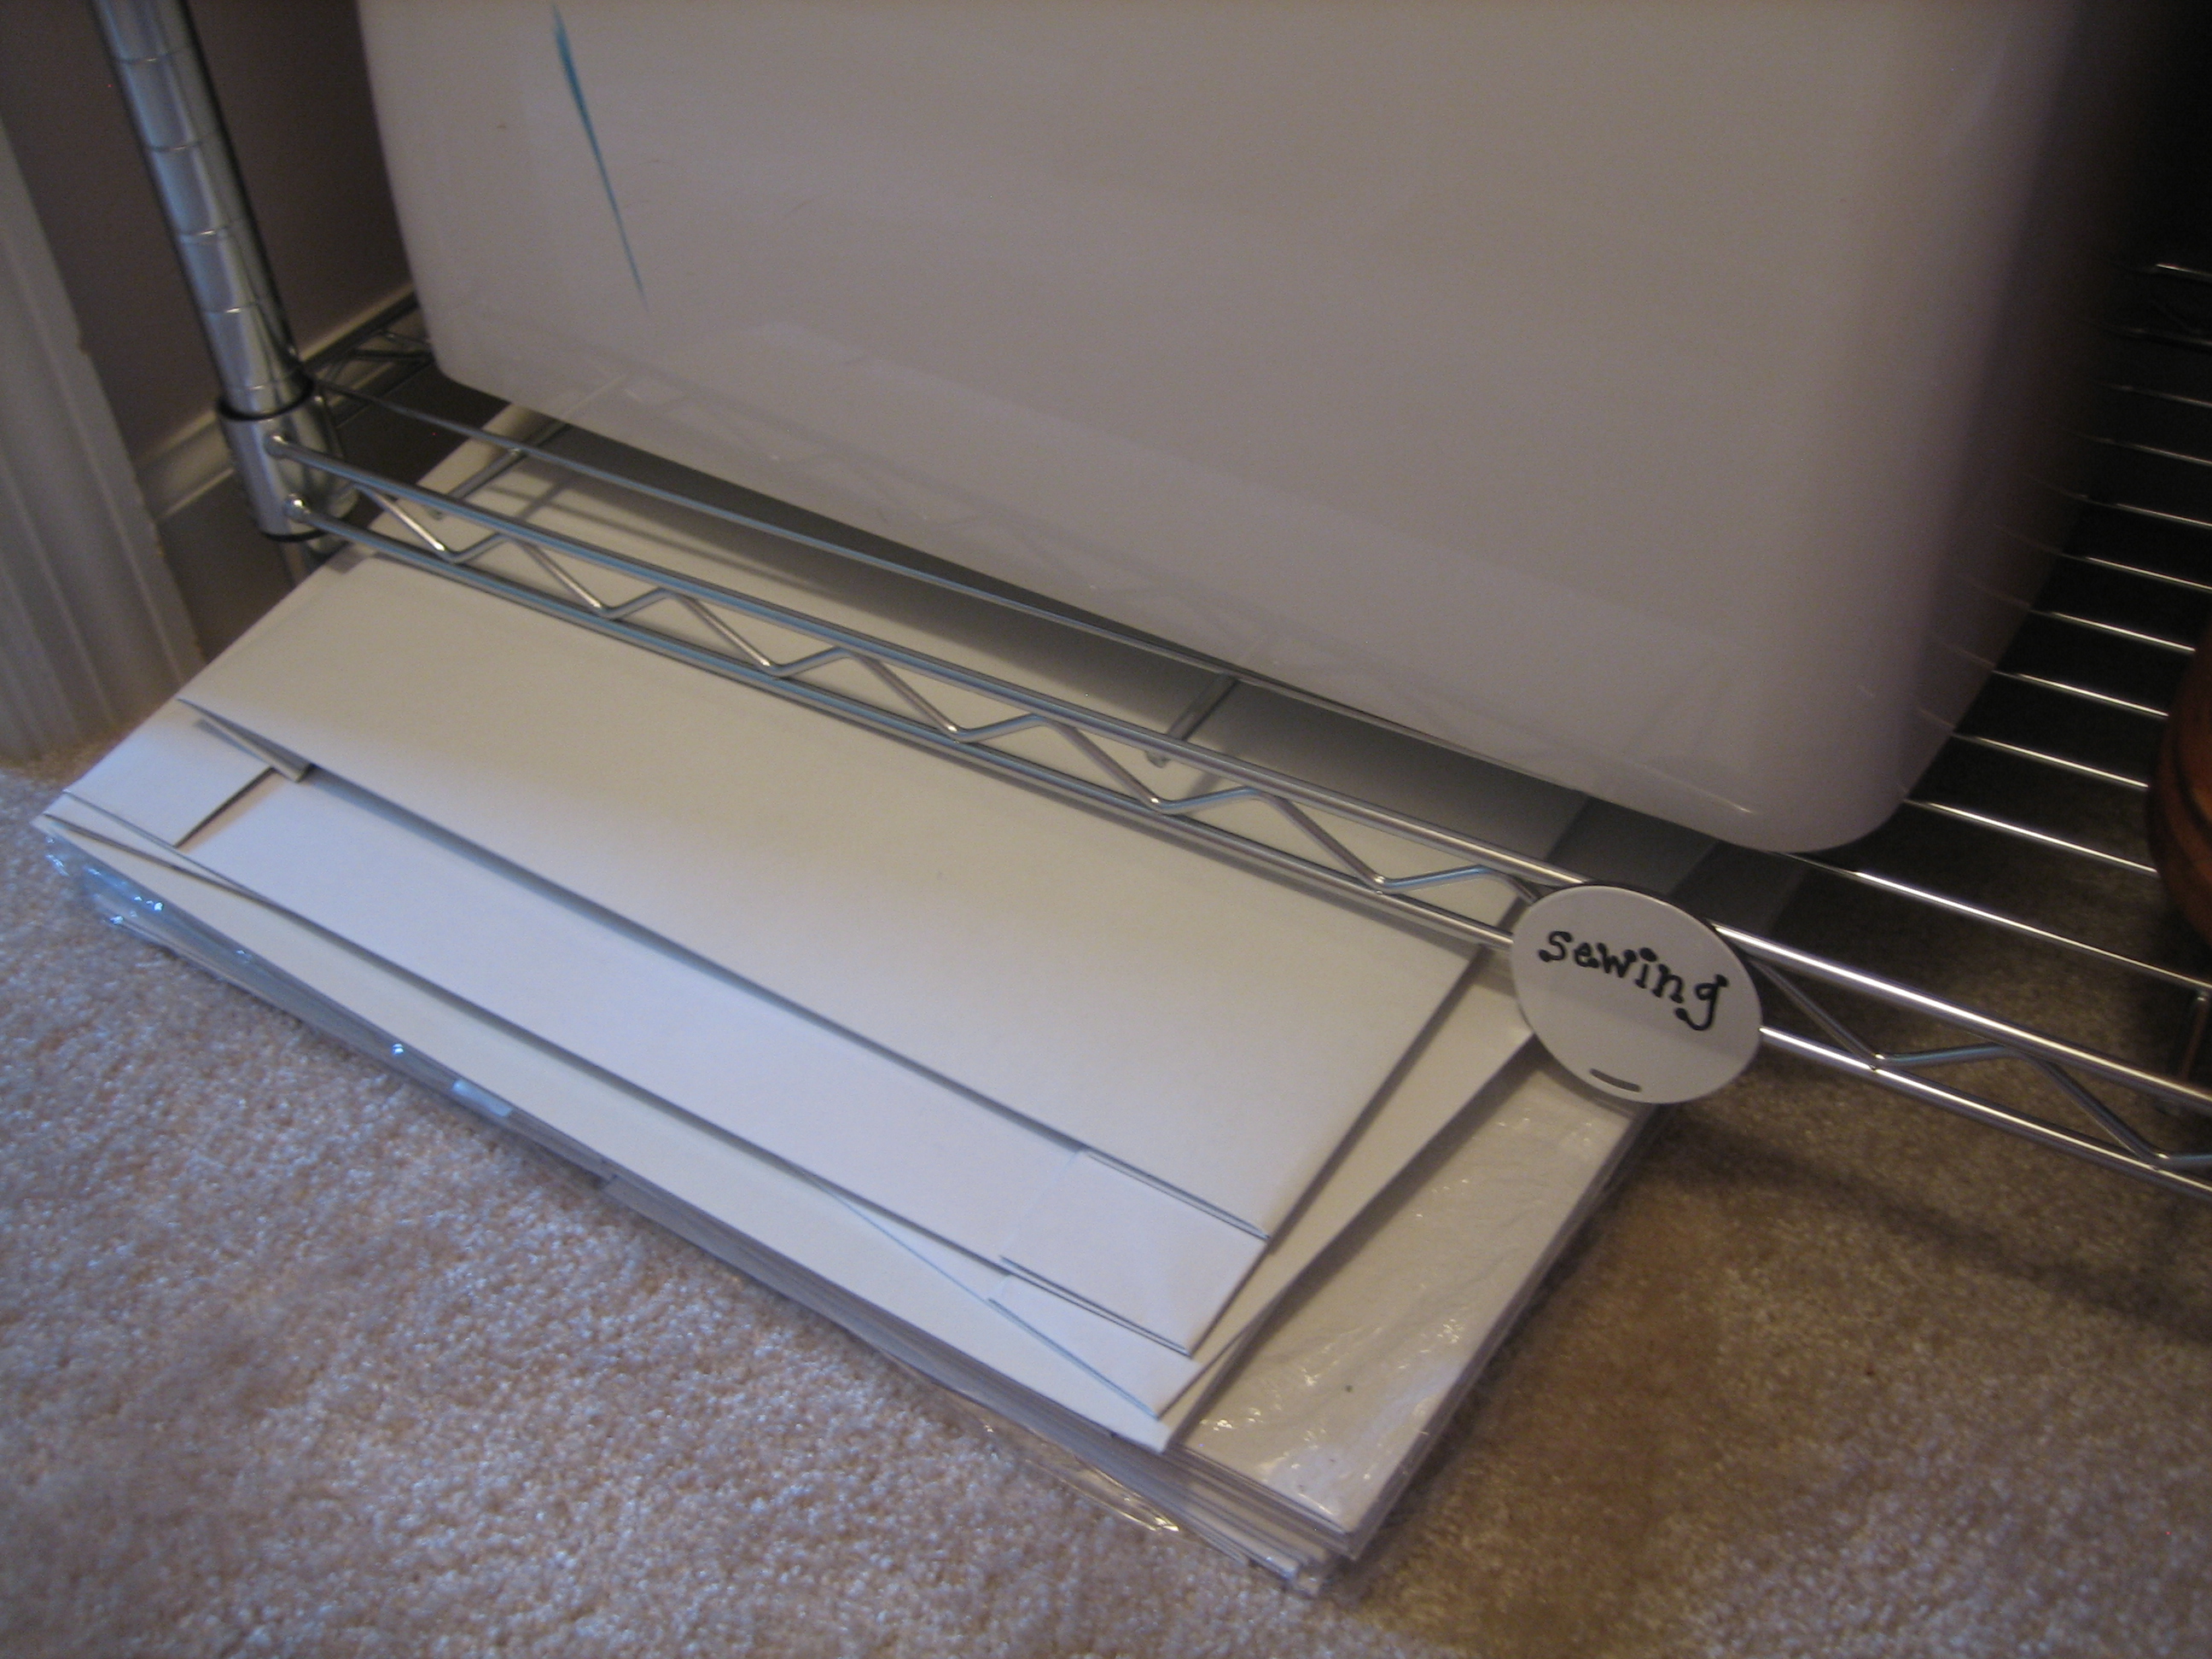
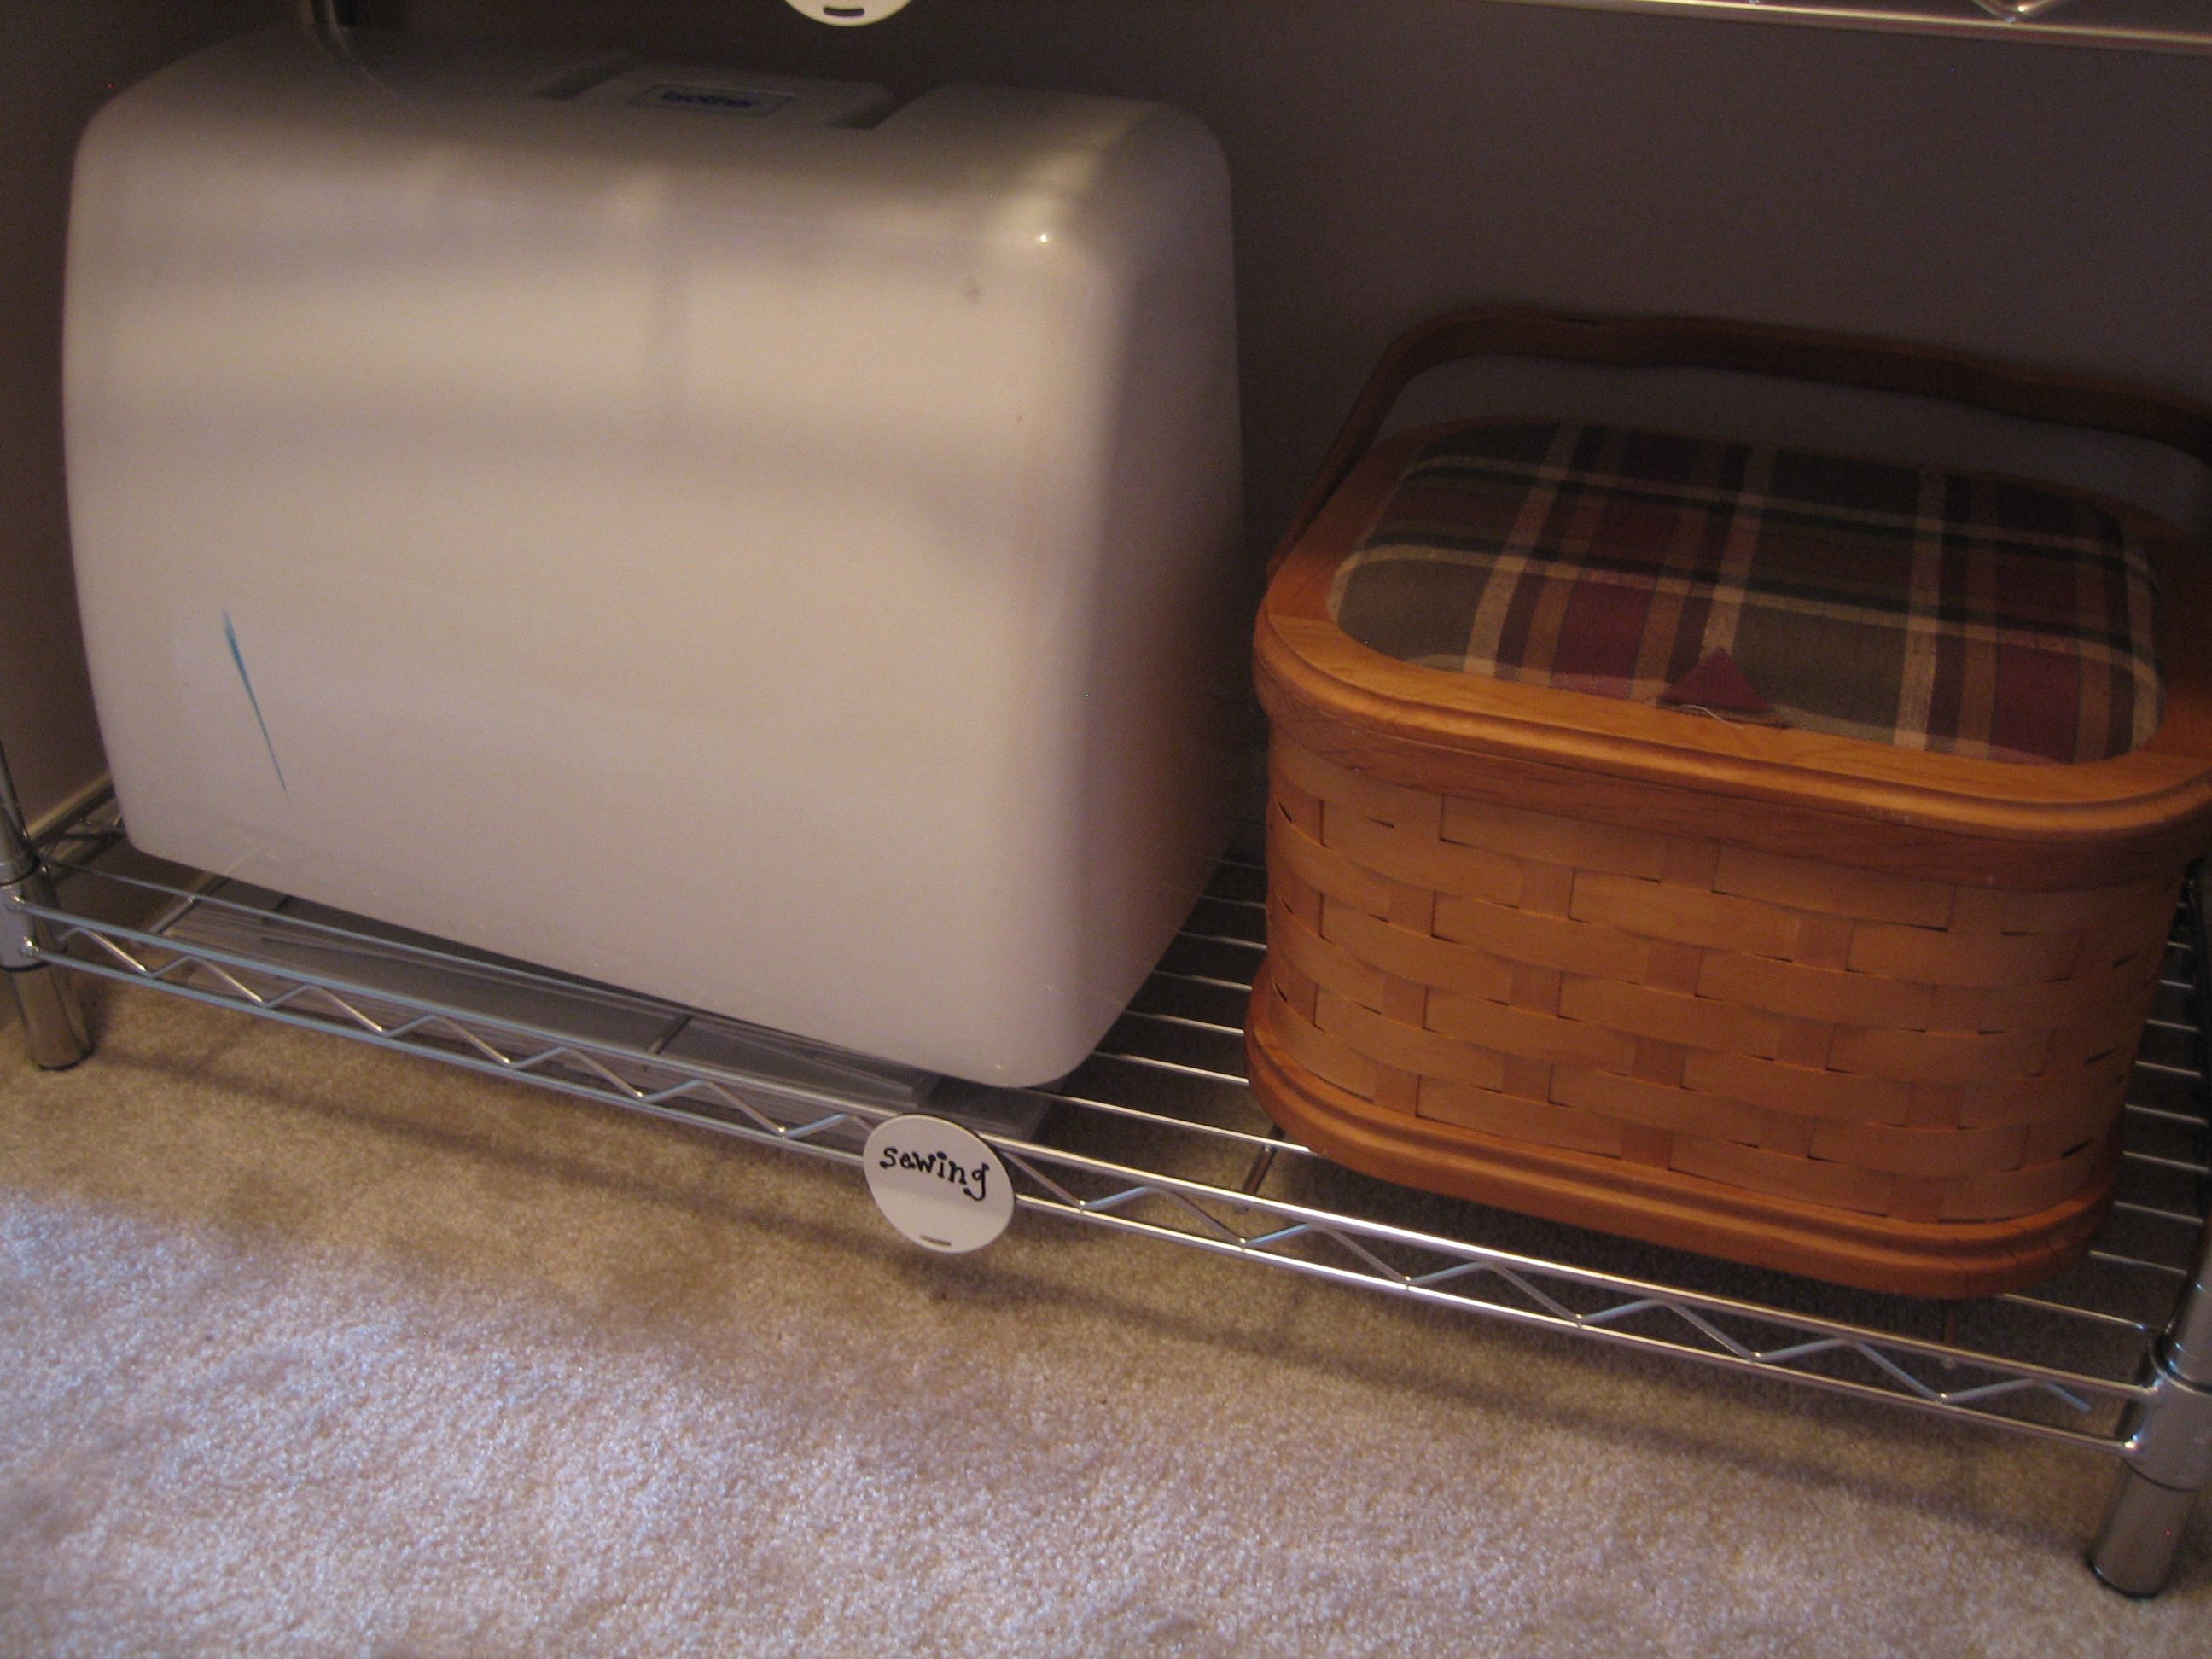
I slid a bunch of flattened shirt boxes under the bottom shelf.

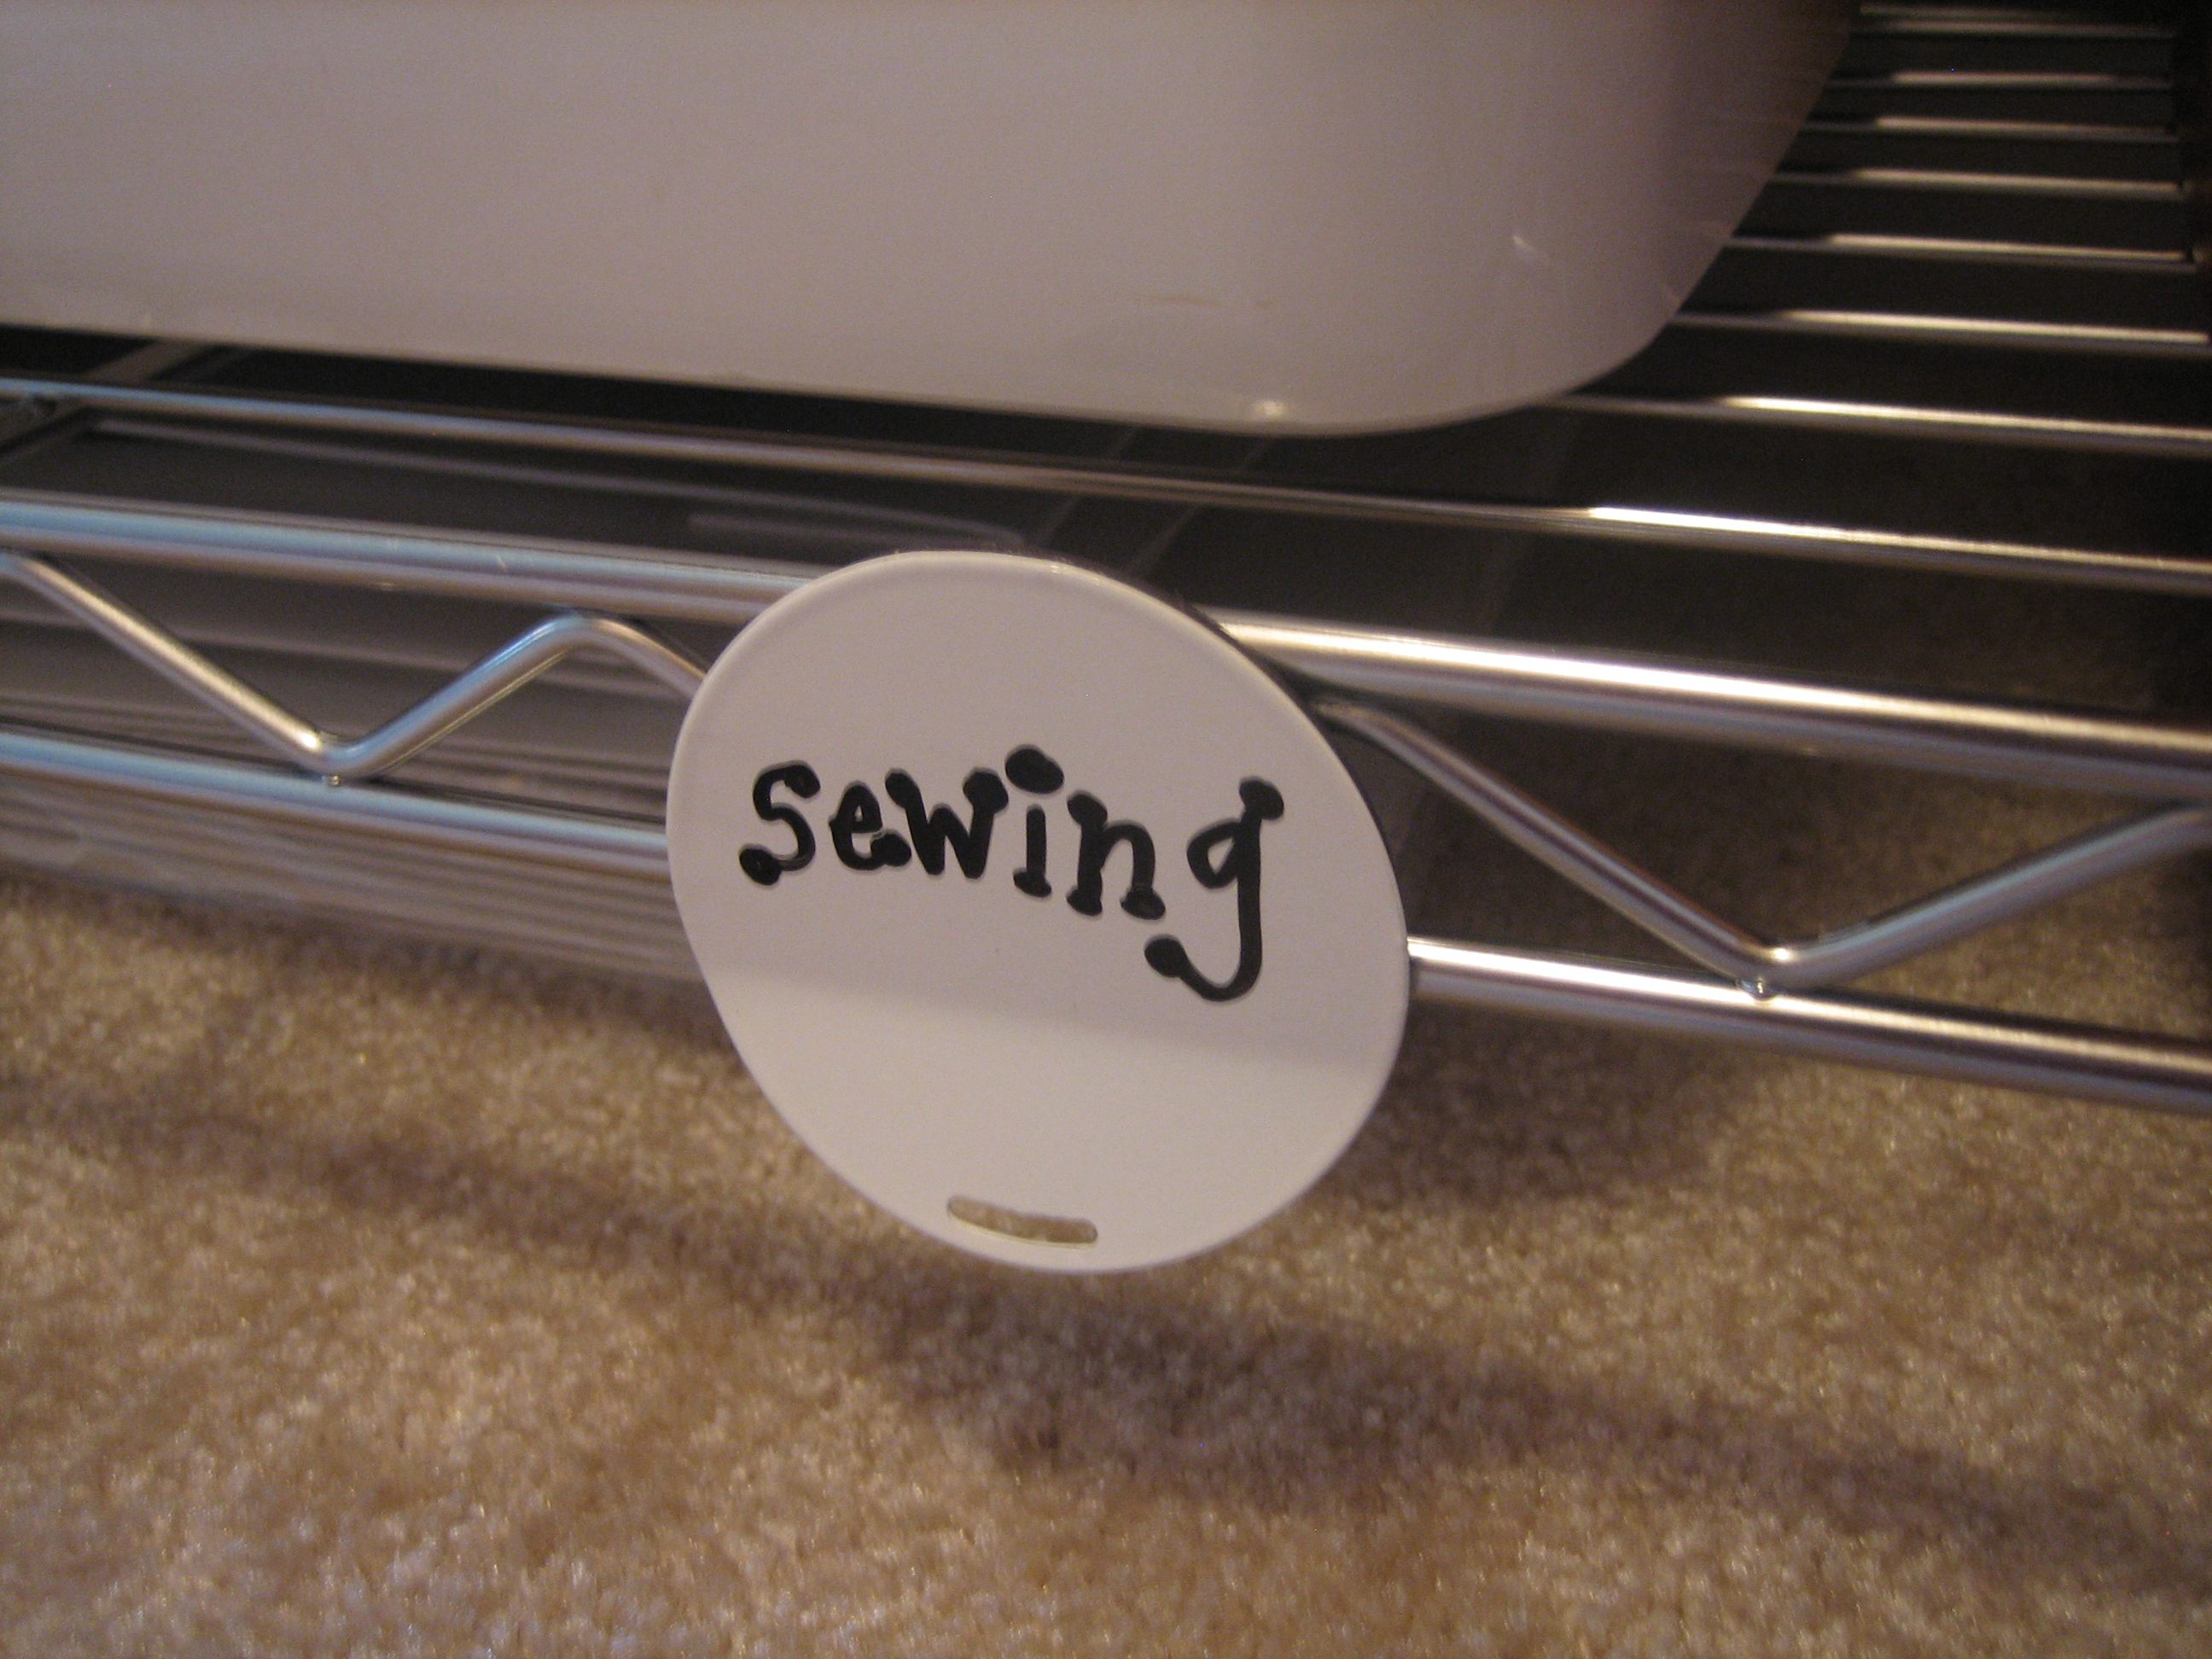
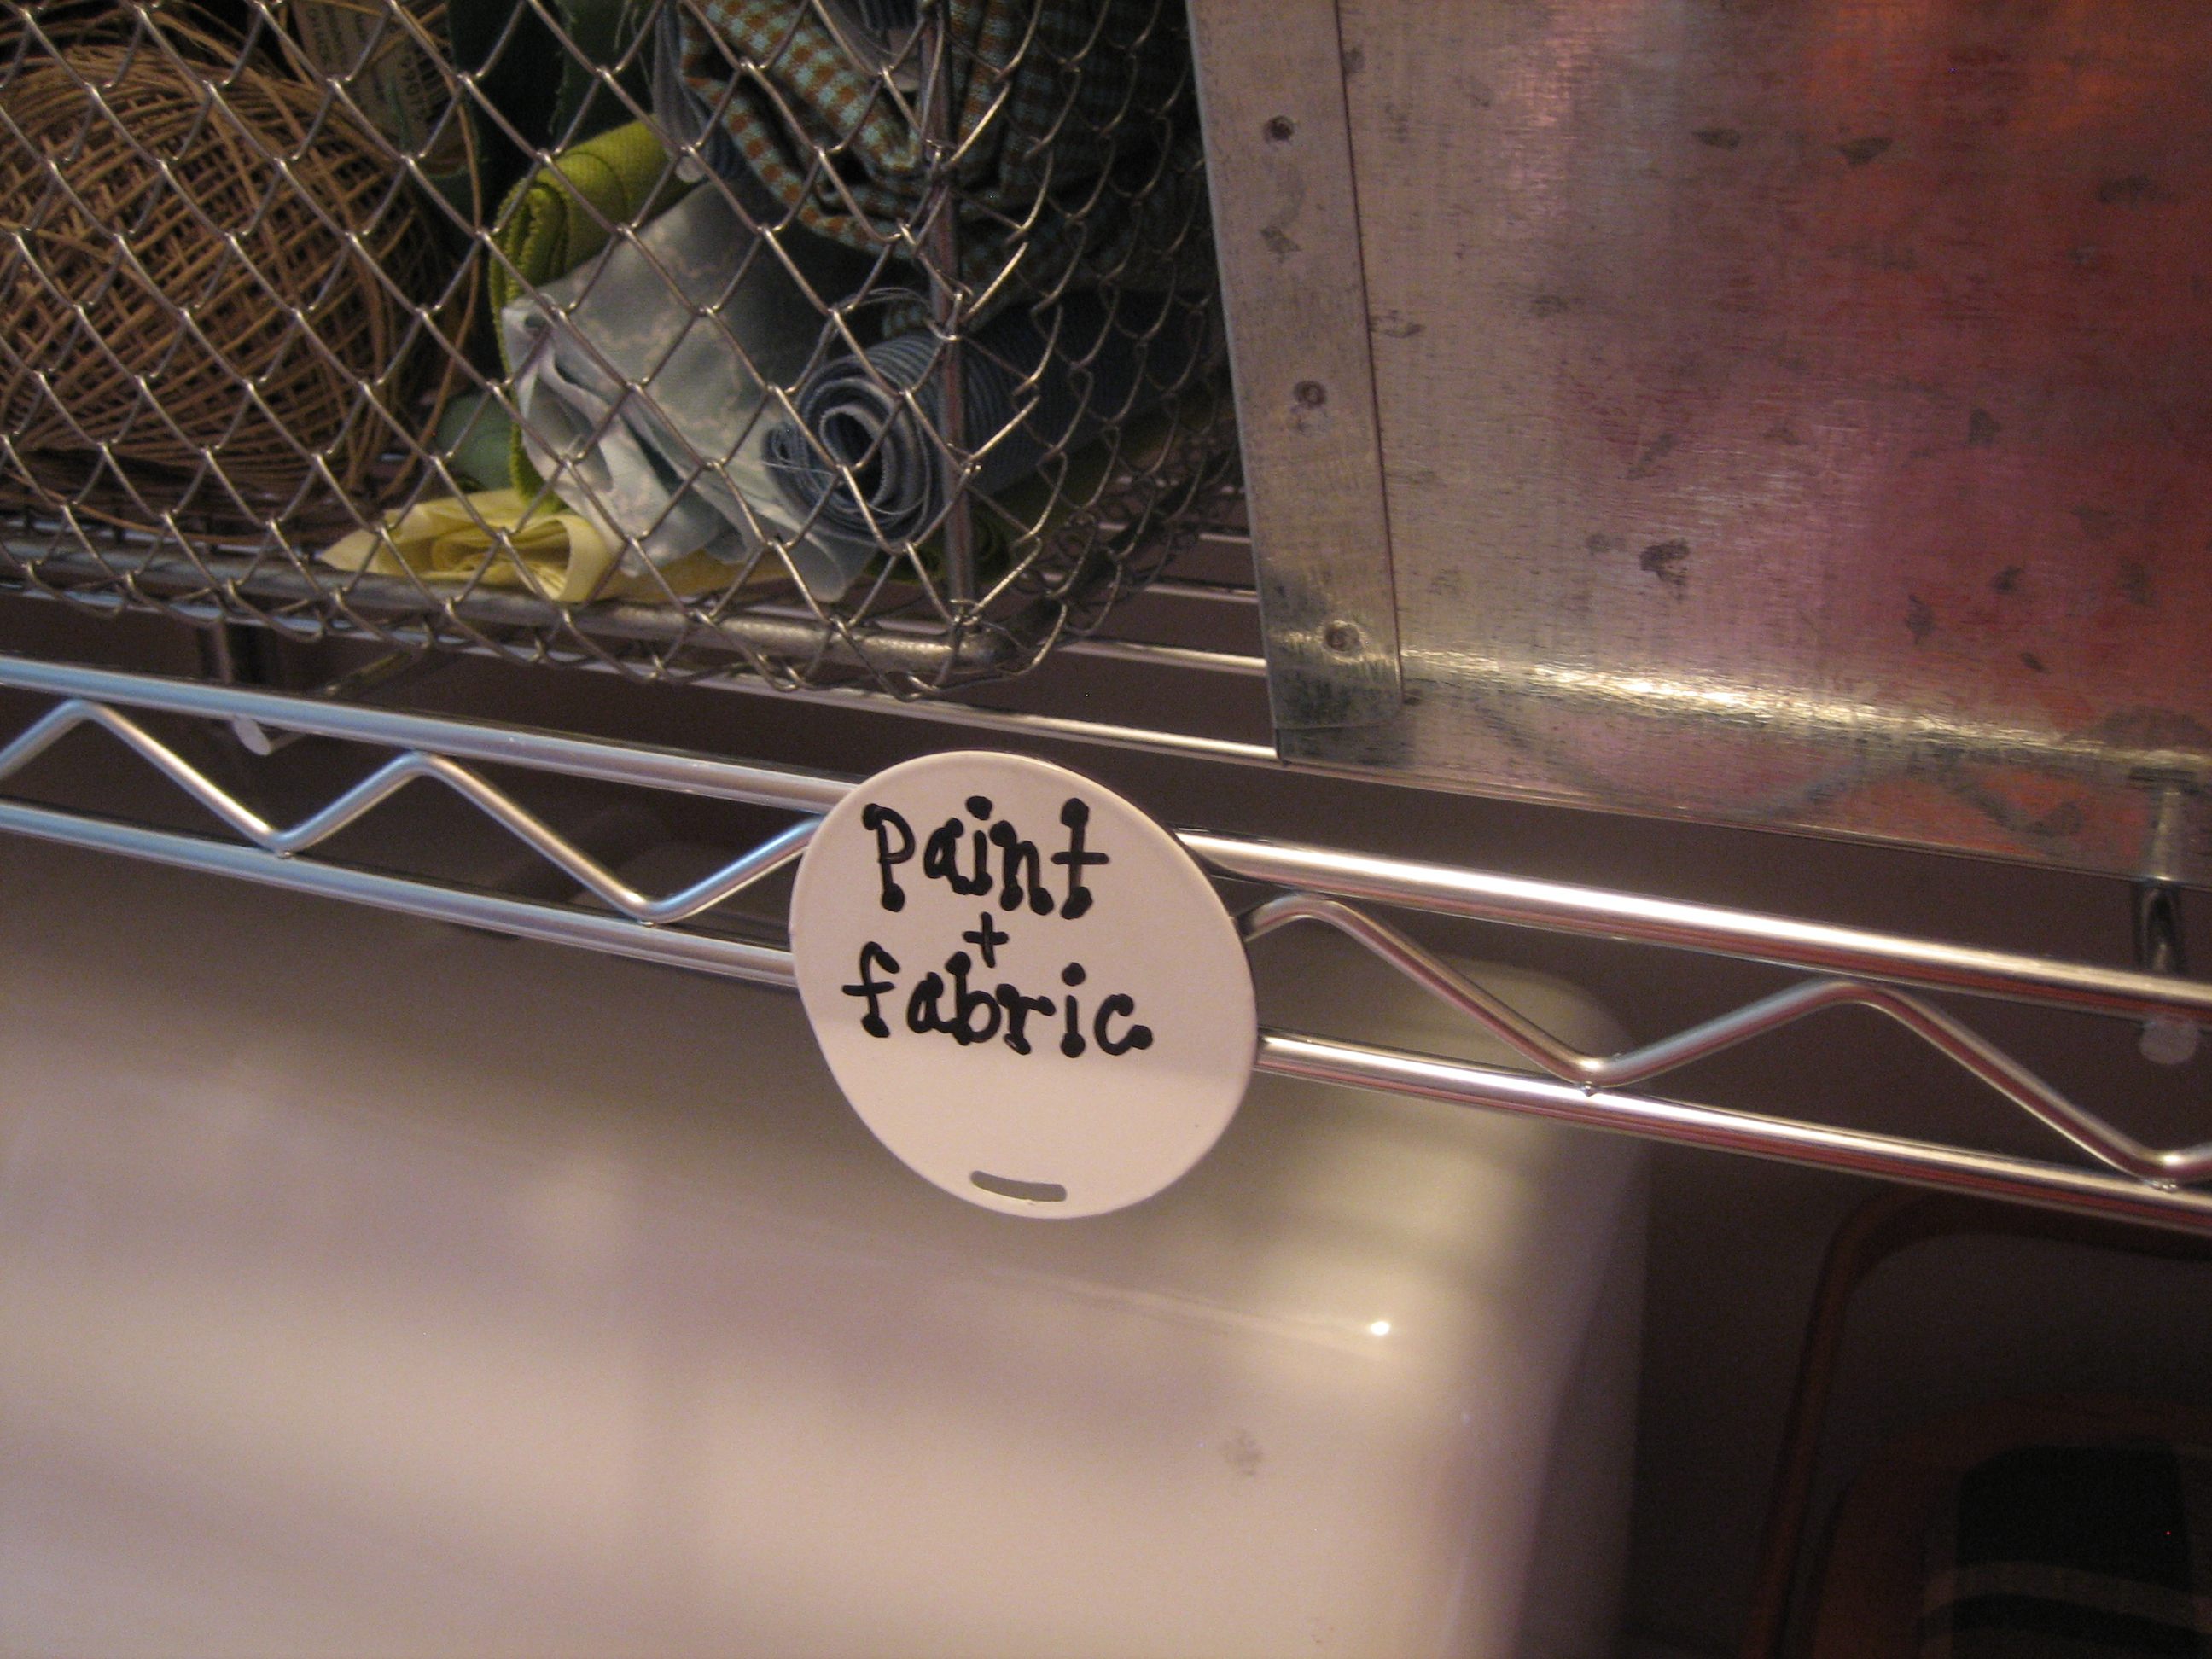
I found these circular magnets at IKEA to label each shelf. I simply used a dry erase marker to designate the contents. If I ever need to change it up, the marker just wipes right off! The bottom shelf holds my sewing machine and sewer’s basket.


Next up are my paints and fabrics.


The top 2 shelves are devoted to home decor items.

I used some fabric scraps to cushion breakables set inside one another.


I can go shopping in my own home now! Whenever I feel the (ever-present) need to tweak the mantle or a tablescape, I can just run up to my craft closet and easily switch things out. I’m also holding myself to a strict new rule: NO MORE GLASSWARE UNLESS IT FITS ON THE SHELF. I think that means no new glassware. Period.

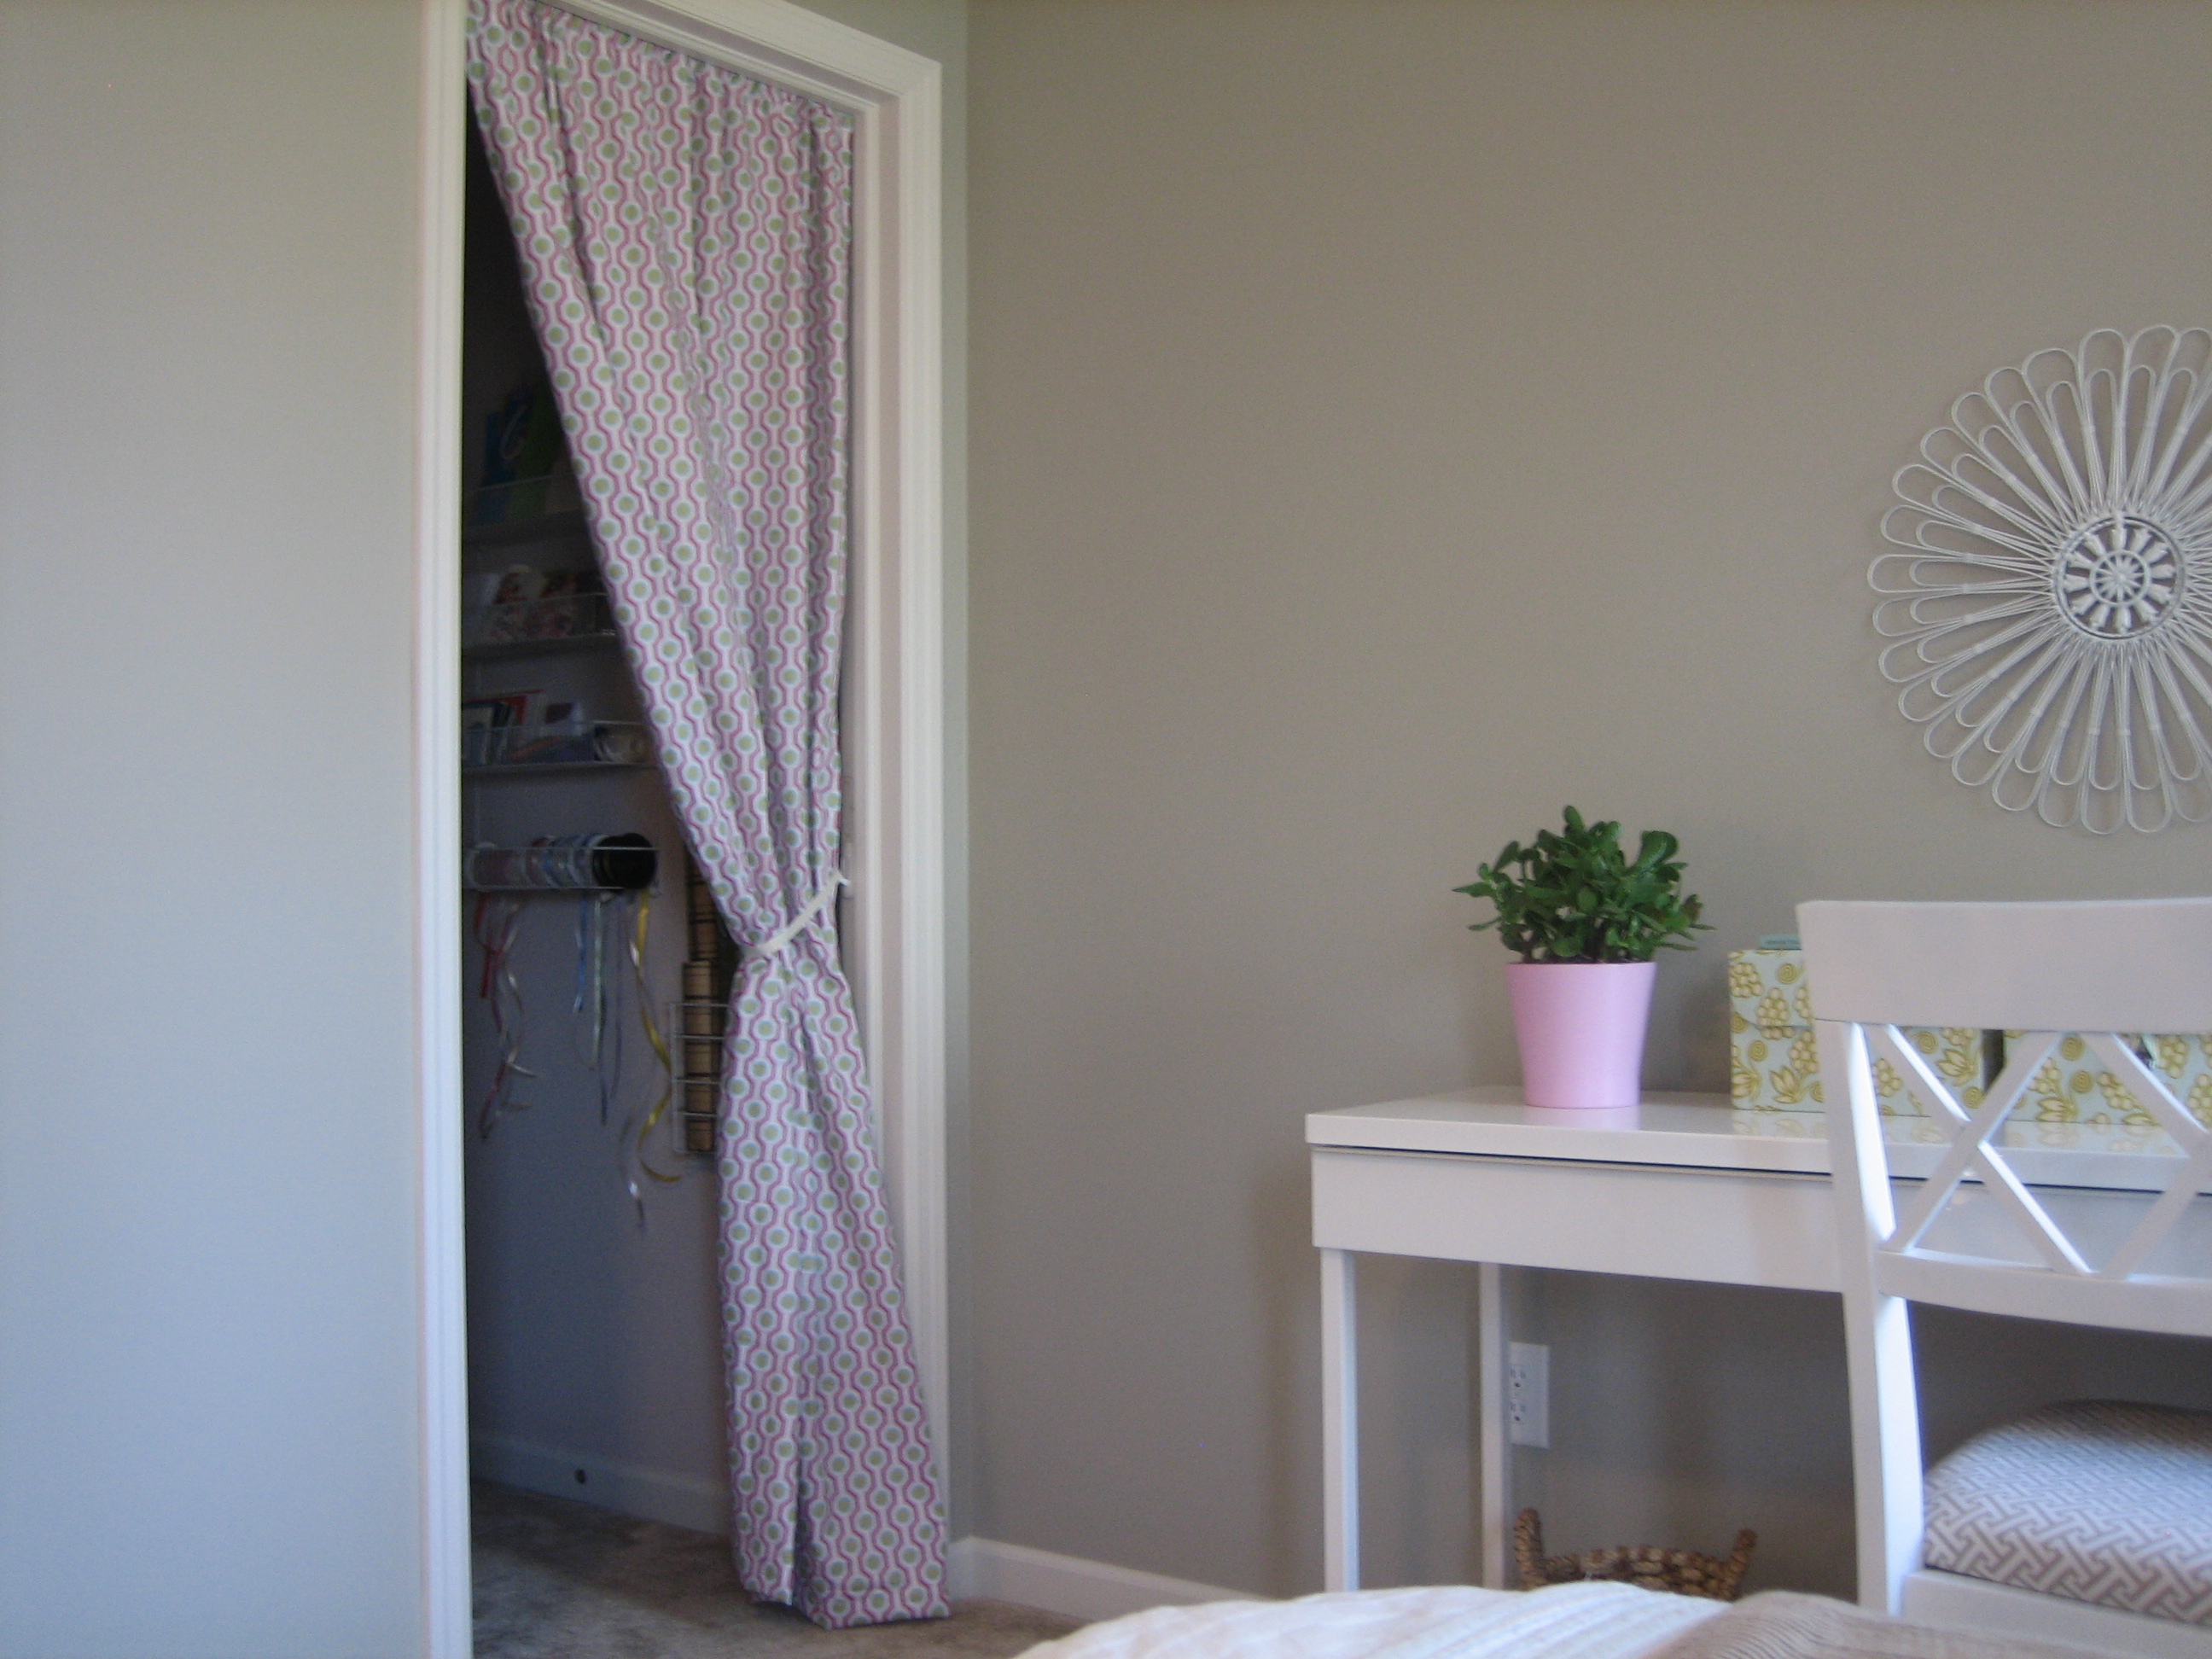
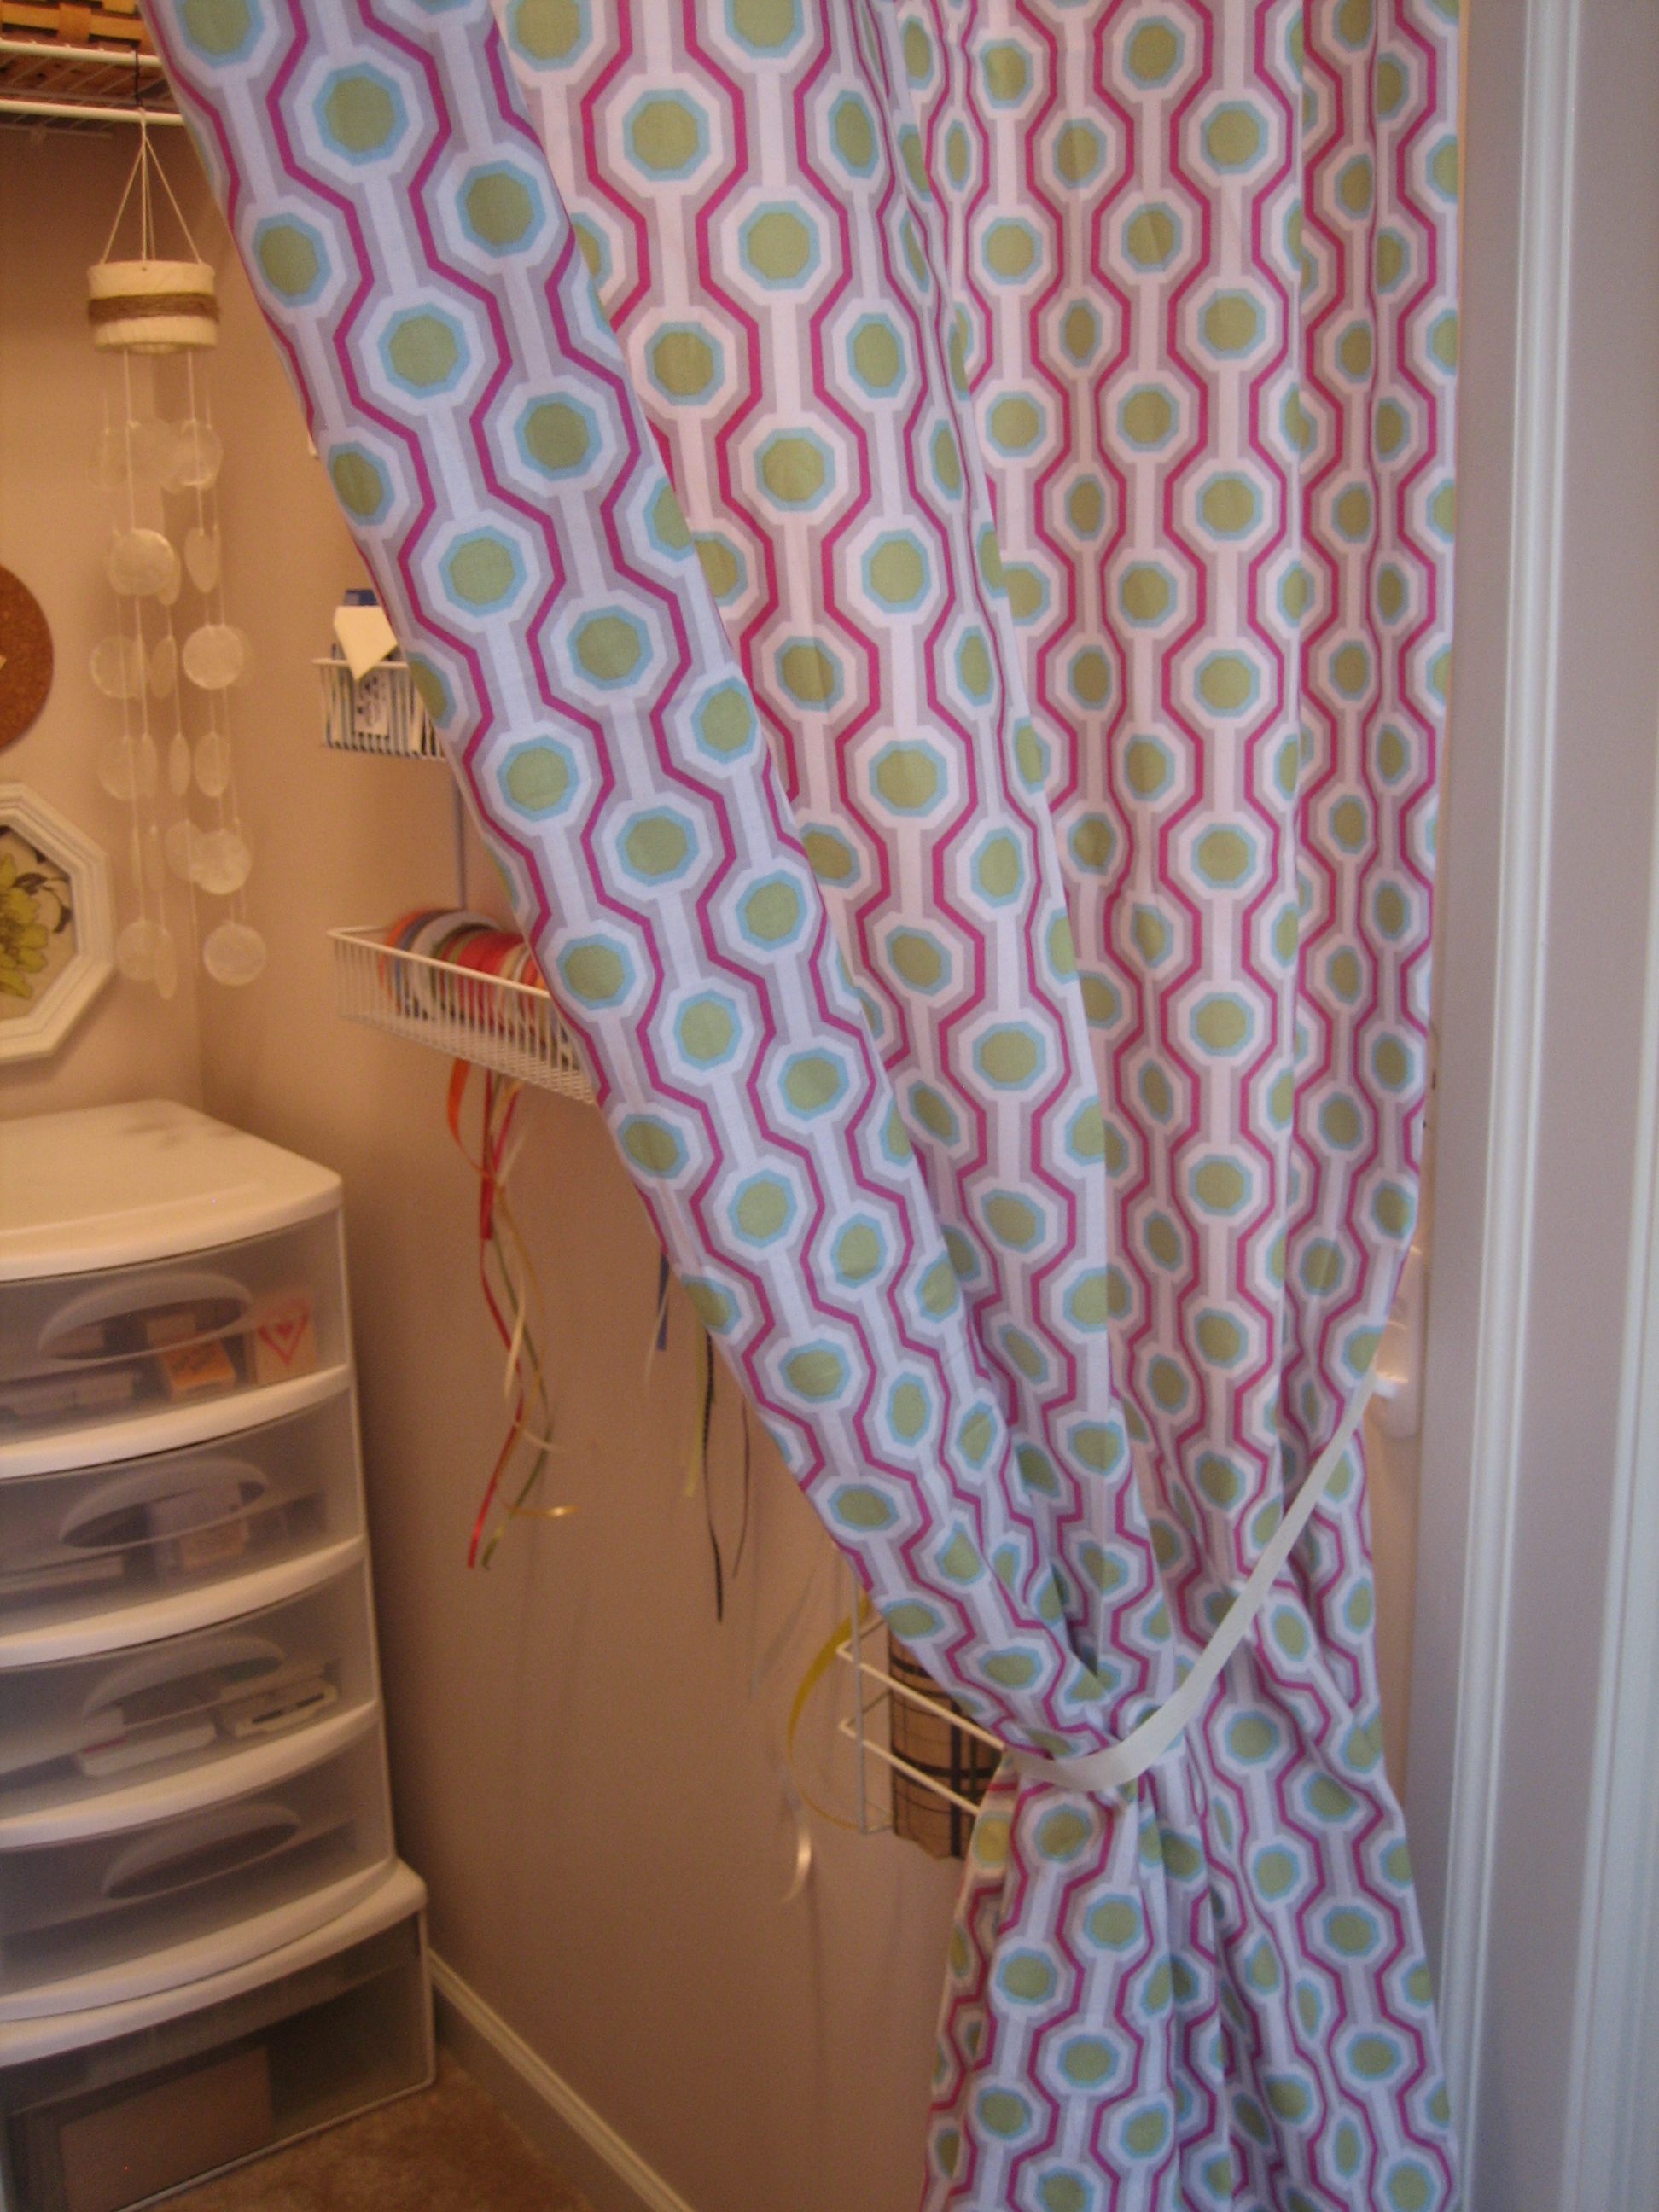
Finally, I closed off the doorless closet with a printed fabric curtain hung from a tension rod. A 3M hook and some ribbon act as a makeshift tie-back.

With the closet in order, I was able to organize my craft desk drawer too. I repurposed boxes that once held thank-you notes. (Now those cards live in my gift wrapping station.)


My friends, you have seen every nook, niche and cranny of my craft closet…and then some. It feels soooo good to have that space organized! (Yes, I was the girl in elementary school who organized and re-organized her schoolbox over and over until each item fit perfectly.) I still need to putty and paint the spots on the door frame where the closet door use to hang, but I met my self-proclaimed deadline. I just may find our house guests up late at night making cards or sewing pillow covers!


DIY, organization