...because home doesn't happen overnight.
04.20.10 / Lamp Shade Facelift

I bought 2 of these floor lamps last year from Target.com.

At $60 a piece (along with free shipping), the price wasn’t bad.  Upon arrival, I was happy with the quality of the metal base (more black than bronze…which is what I was going for anyways) and the fabric shade.  But something was missing.  I decided to give the beige cotton shade a little facelift.  I bought some black 1″ ribbon from JoAnn’s, brought out my fabric scissors/hot glue gun and added a ribbon detail to each lamp shade.

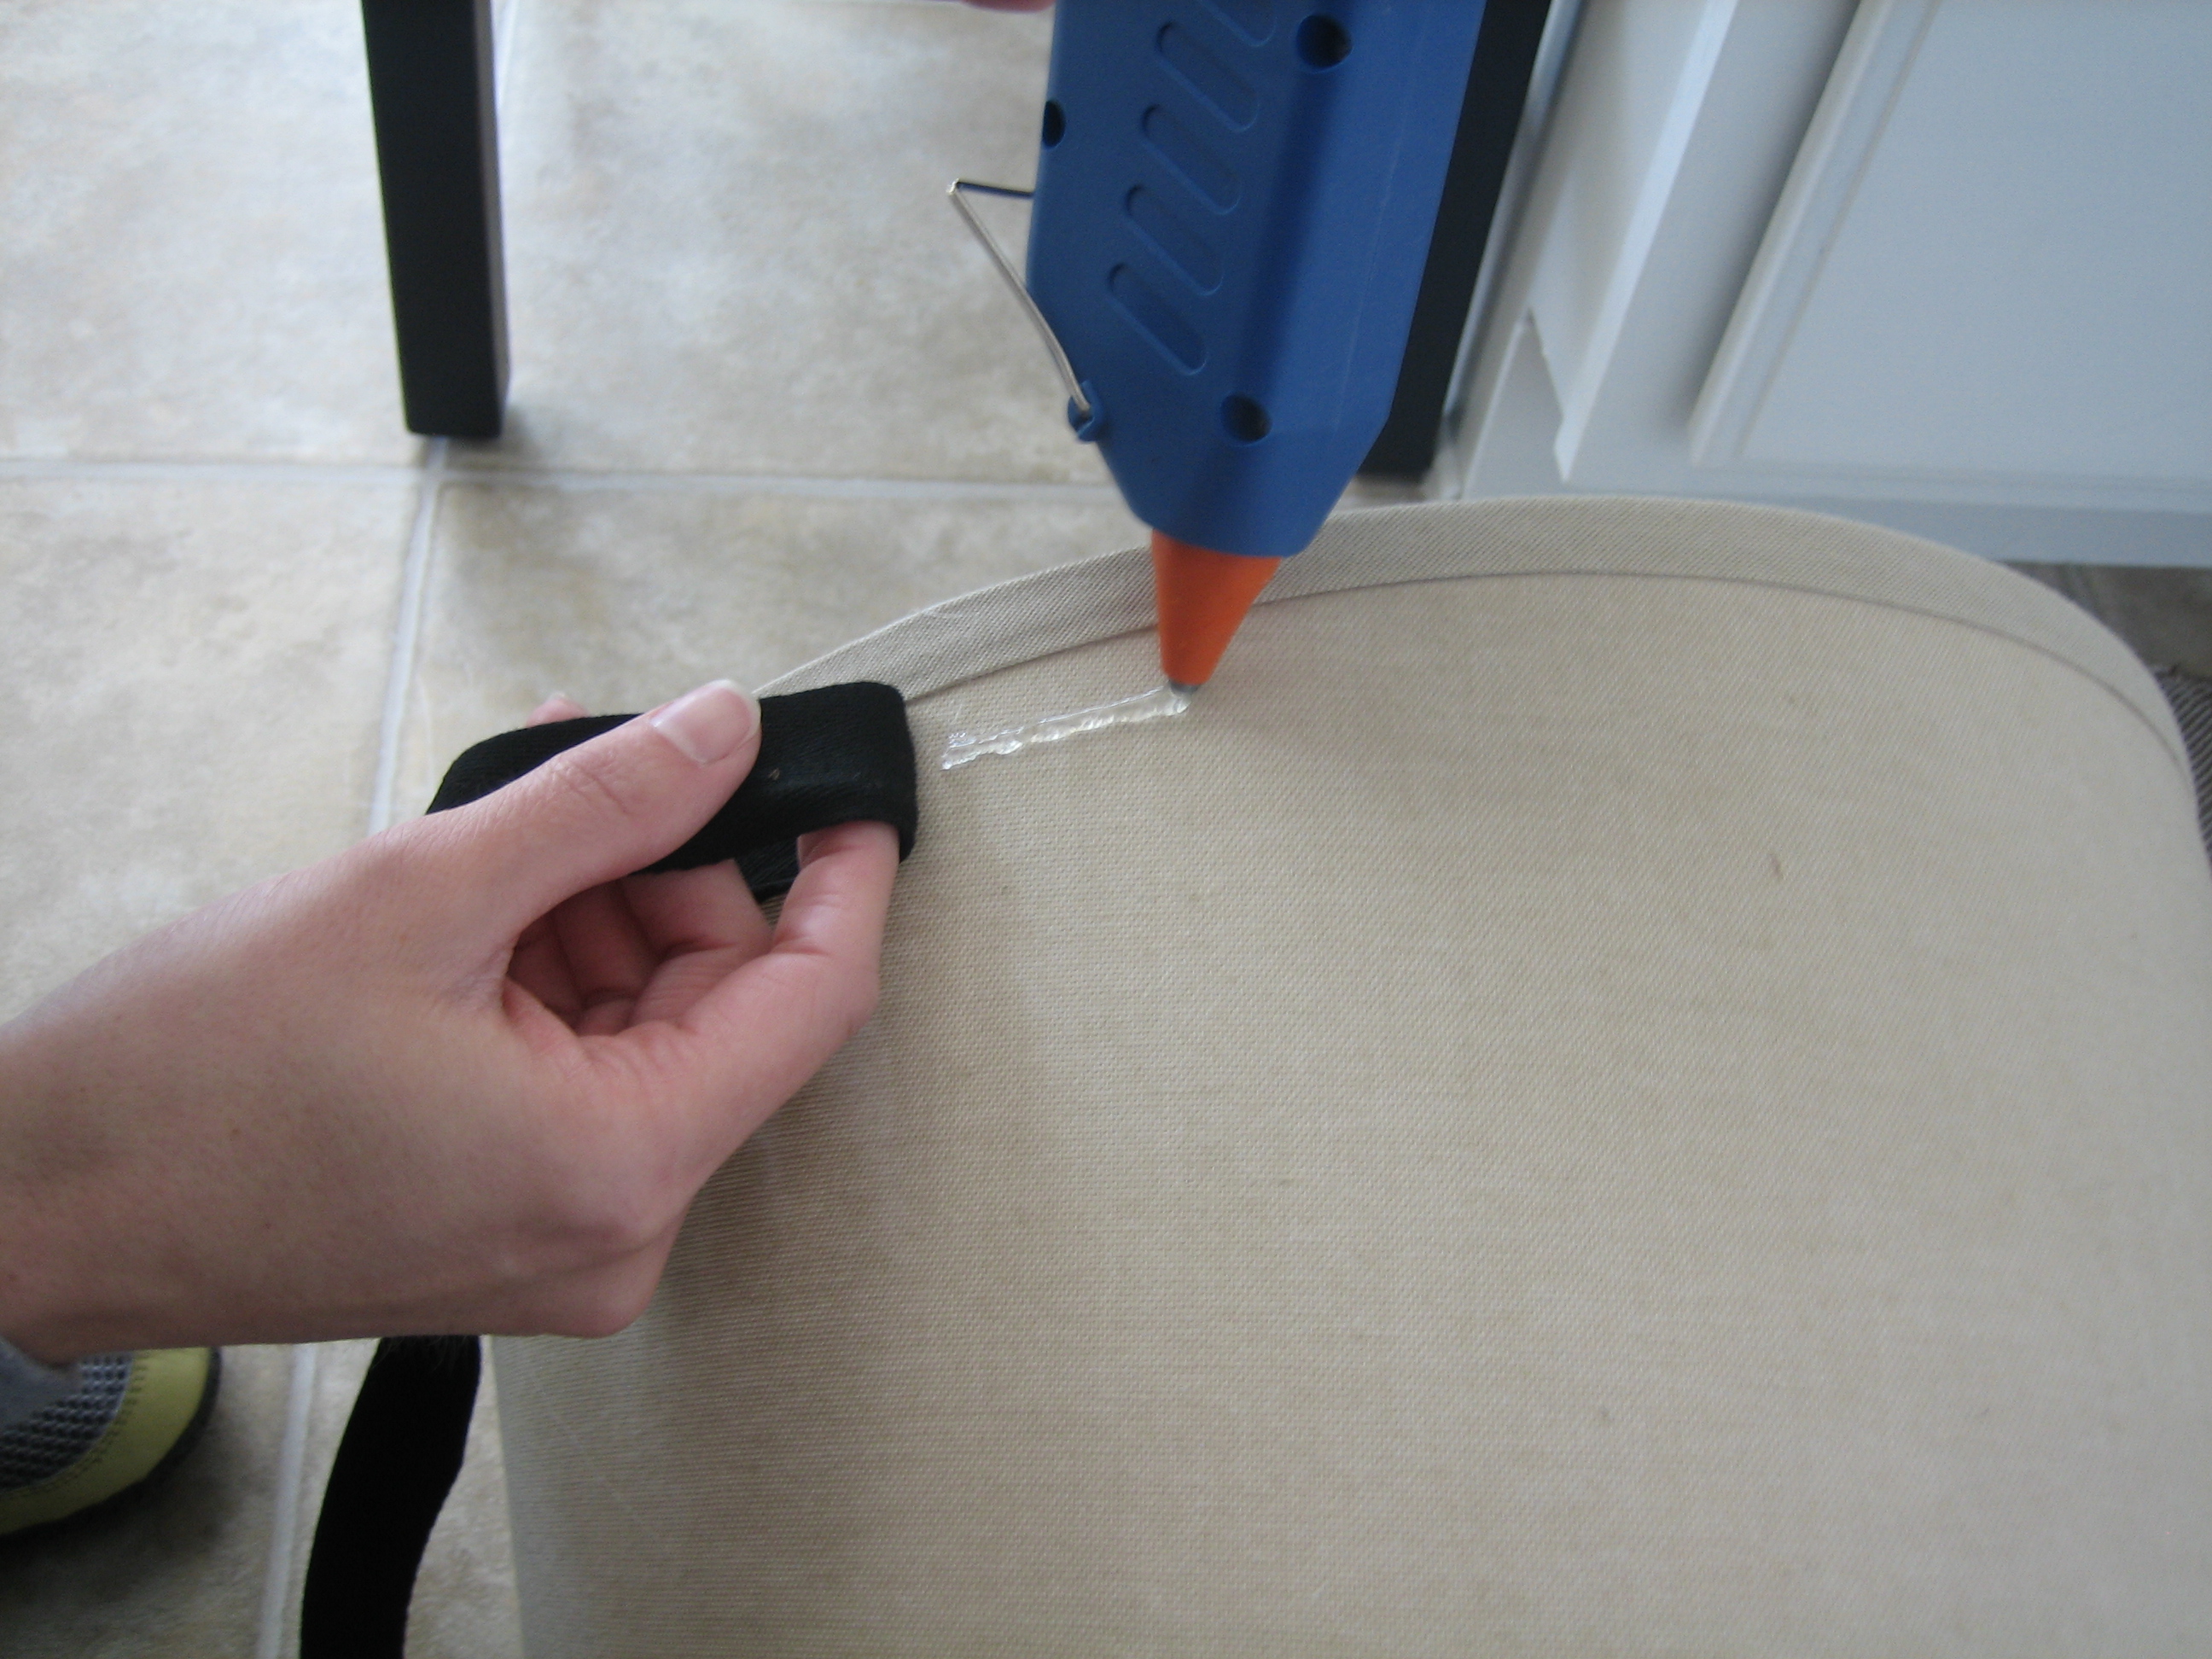
I loosely wrapped the ribbon around the shade and allowed roughly 3″ extra for foldover seams then cut to length.  (Because my shades were slightly tapered at the top, I did this for both the top and bottom of each shade.)  With 4 strips of ribbon cut (2 for the slightly tapered tops of each shade and 2 for the wider bottoms of each shade), I hot glued the ribbon right on top of the fabric shade.  I wanted my ribbon seams to match up with the shades’ original fabric seams, so I started gluing at the seam in order to end there also.  The key was to glue only 2″-3″ of ribbon down at a time.  (Hot glue sets pretty quickly!)  I just followed the finished border of the shade to keep my ribbon straight.

Once I had glued all the way around (back to the shade’s original seam), I simply folded the ribbon end under and glued it to itself to hide the unfinished edge.  Then I glued the folded end on top of the unfinished end (where I had first glued the start of the ribbon).

Voila!  No unfinished ribbon edges showing and all the seams fell at the same place.

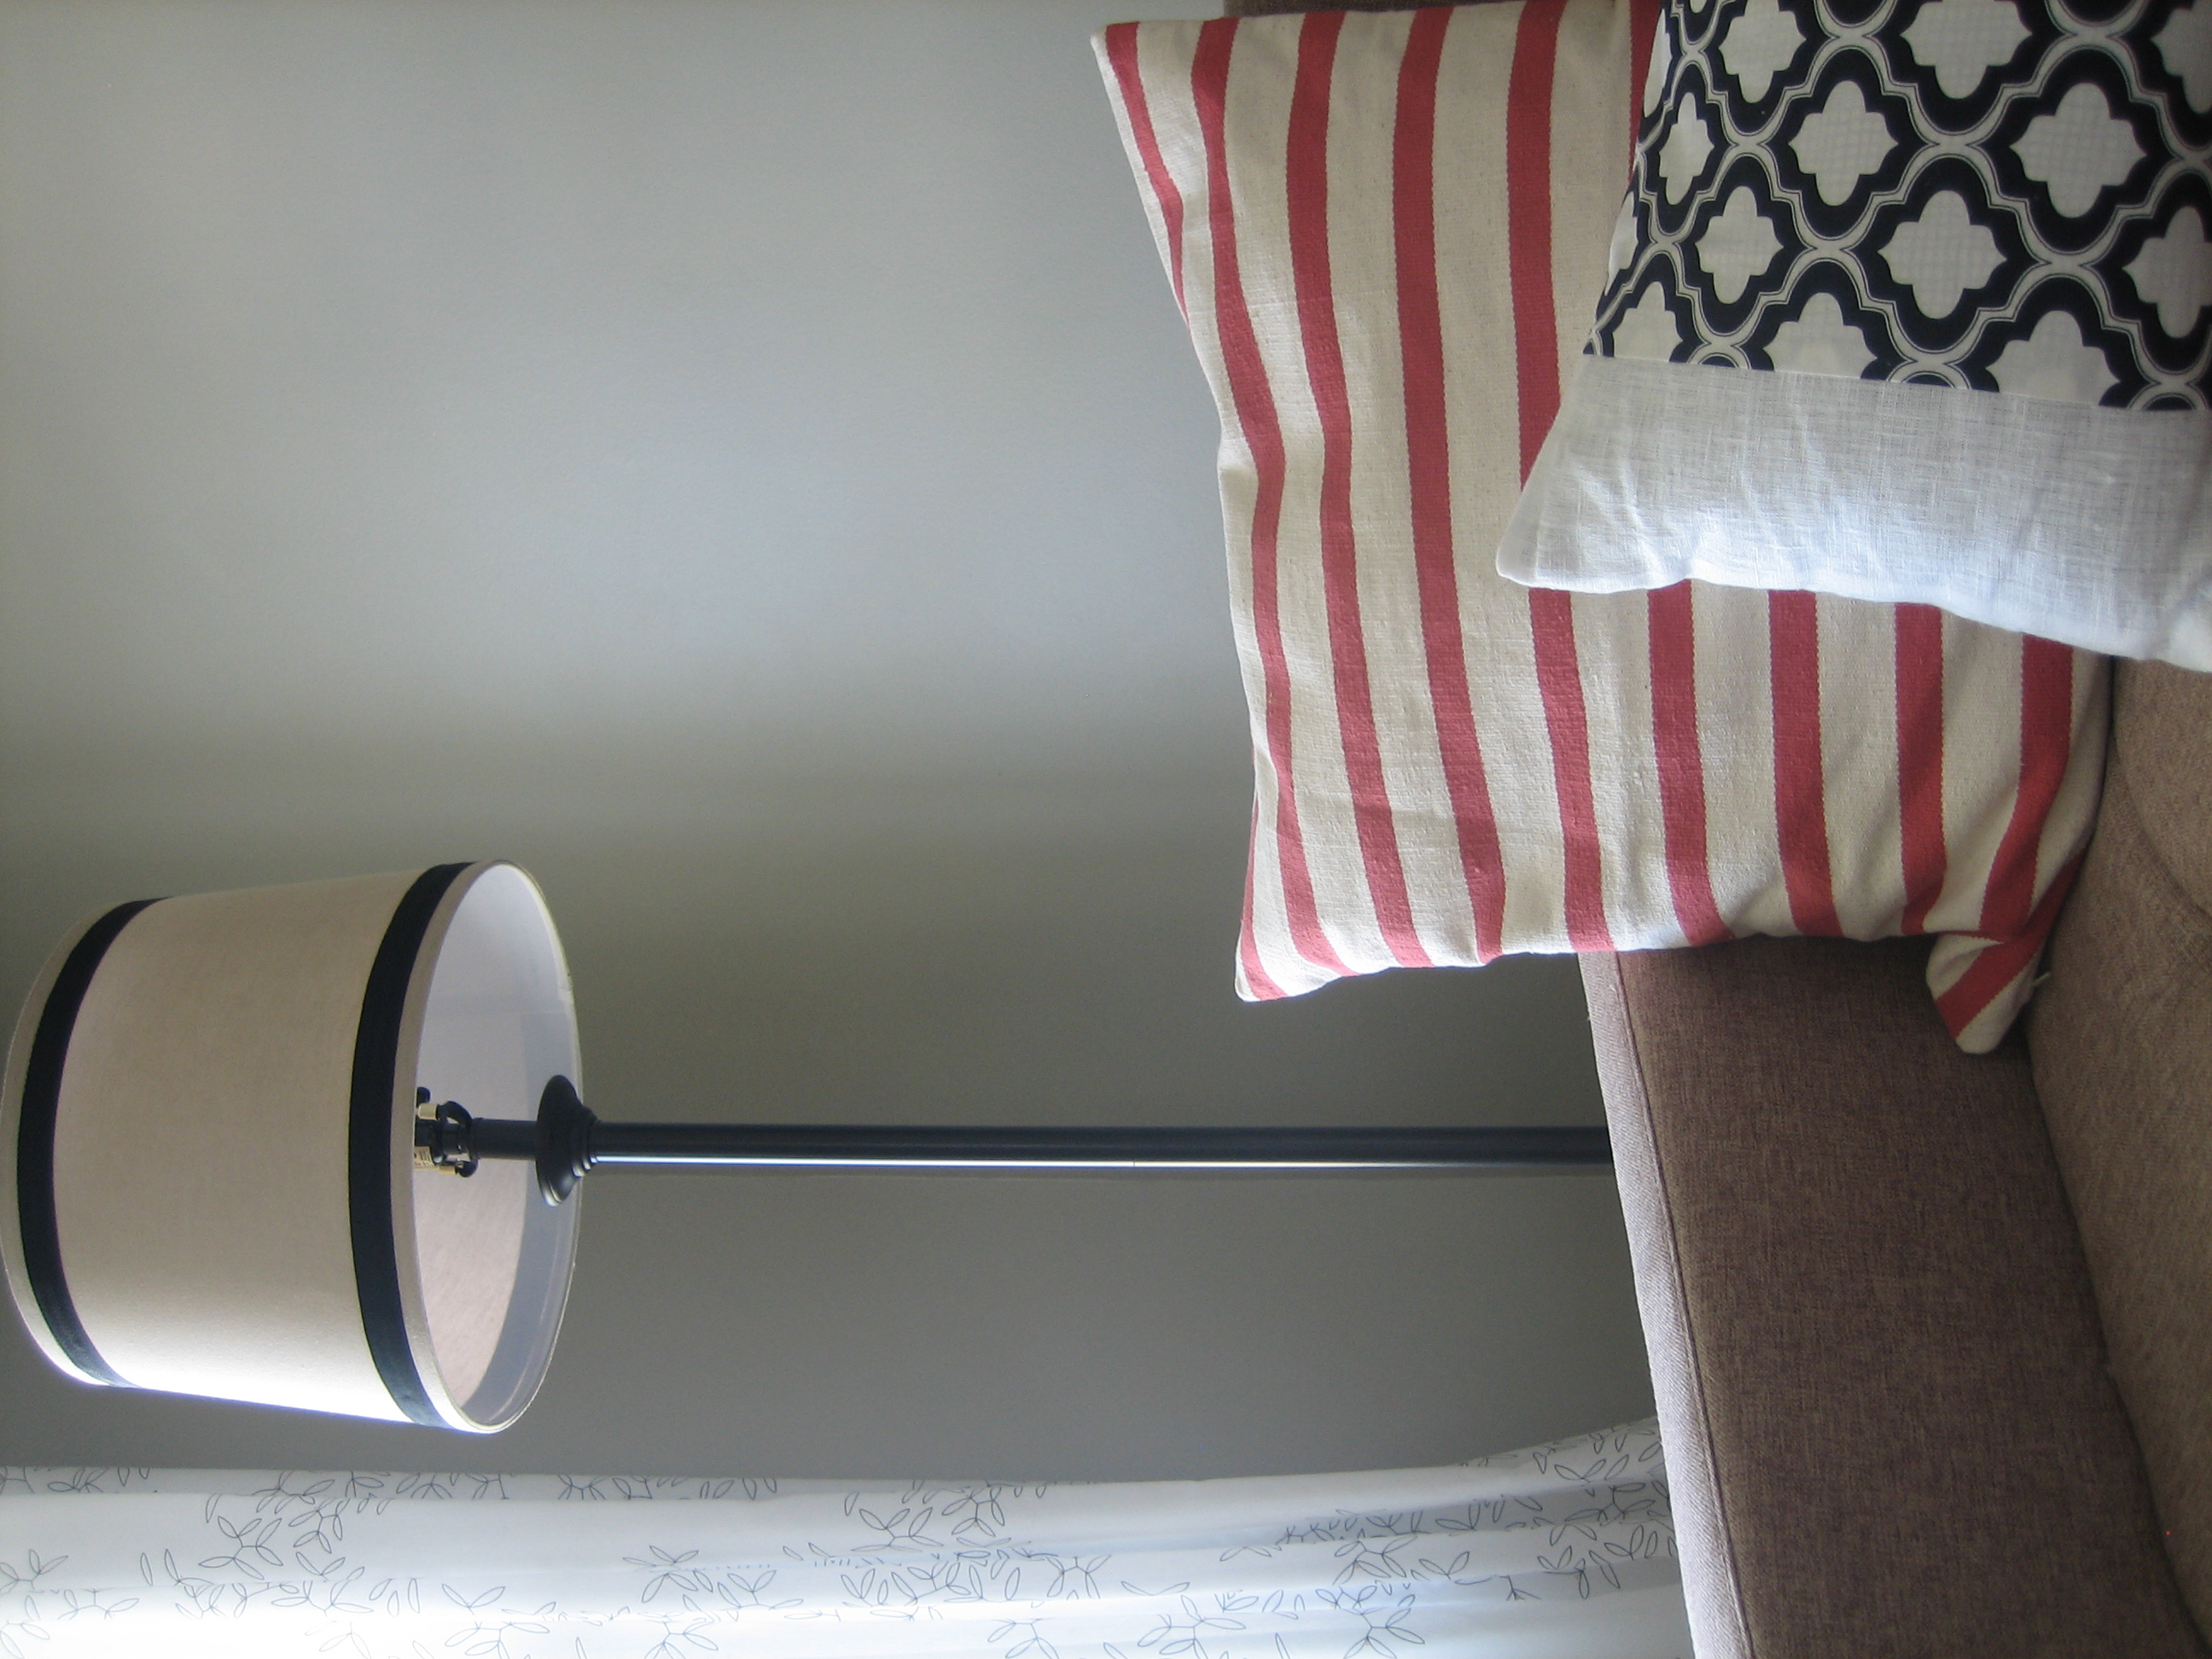
Here’s a look at the opposite side of the shade where no seams are…

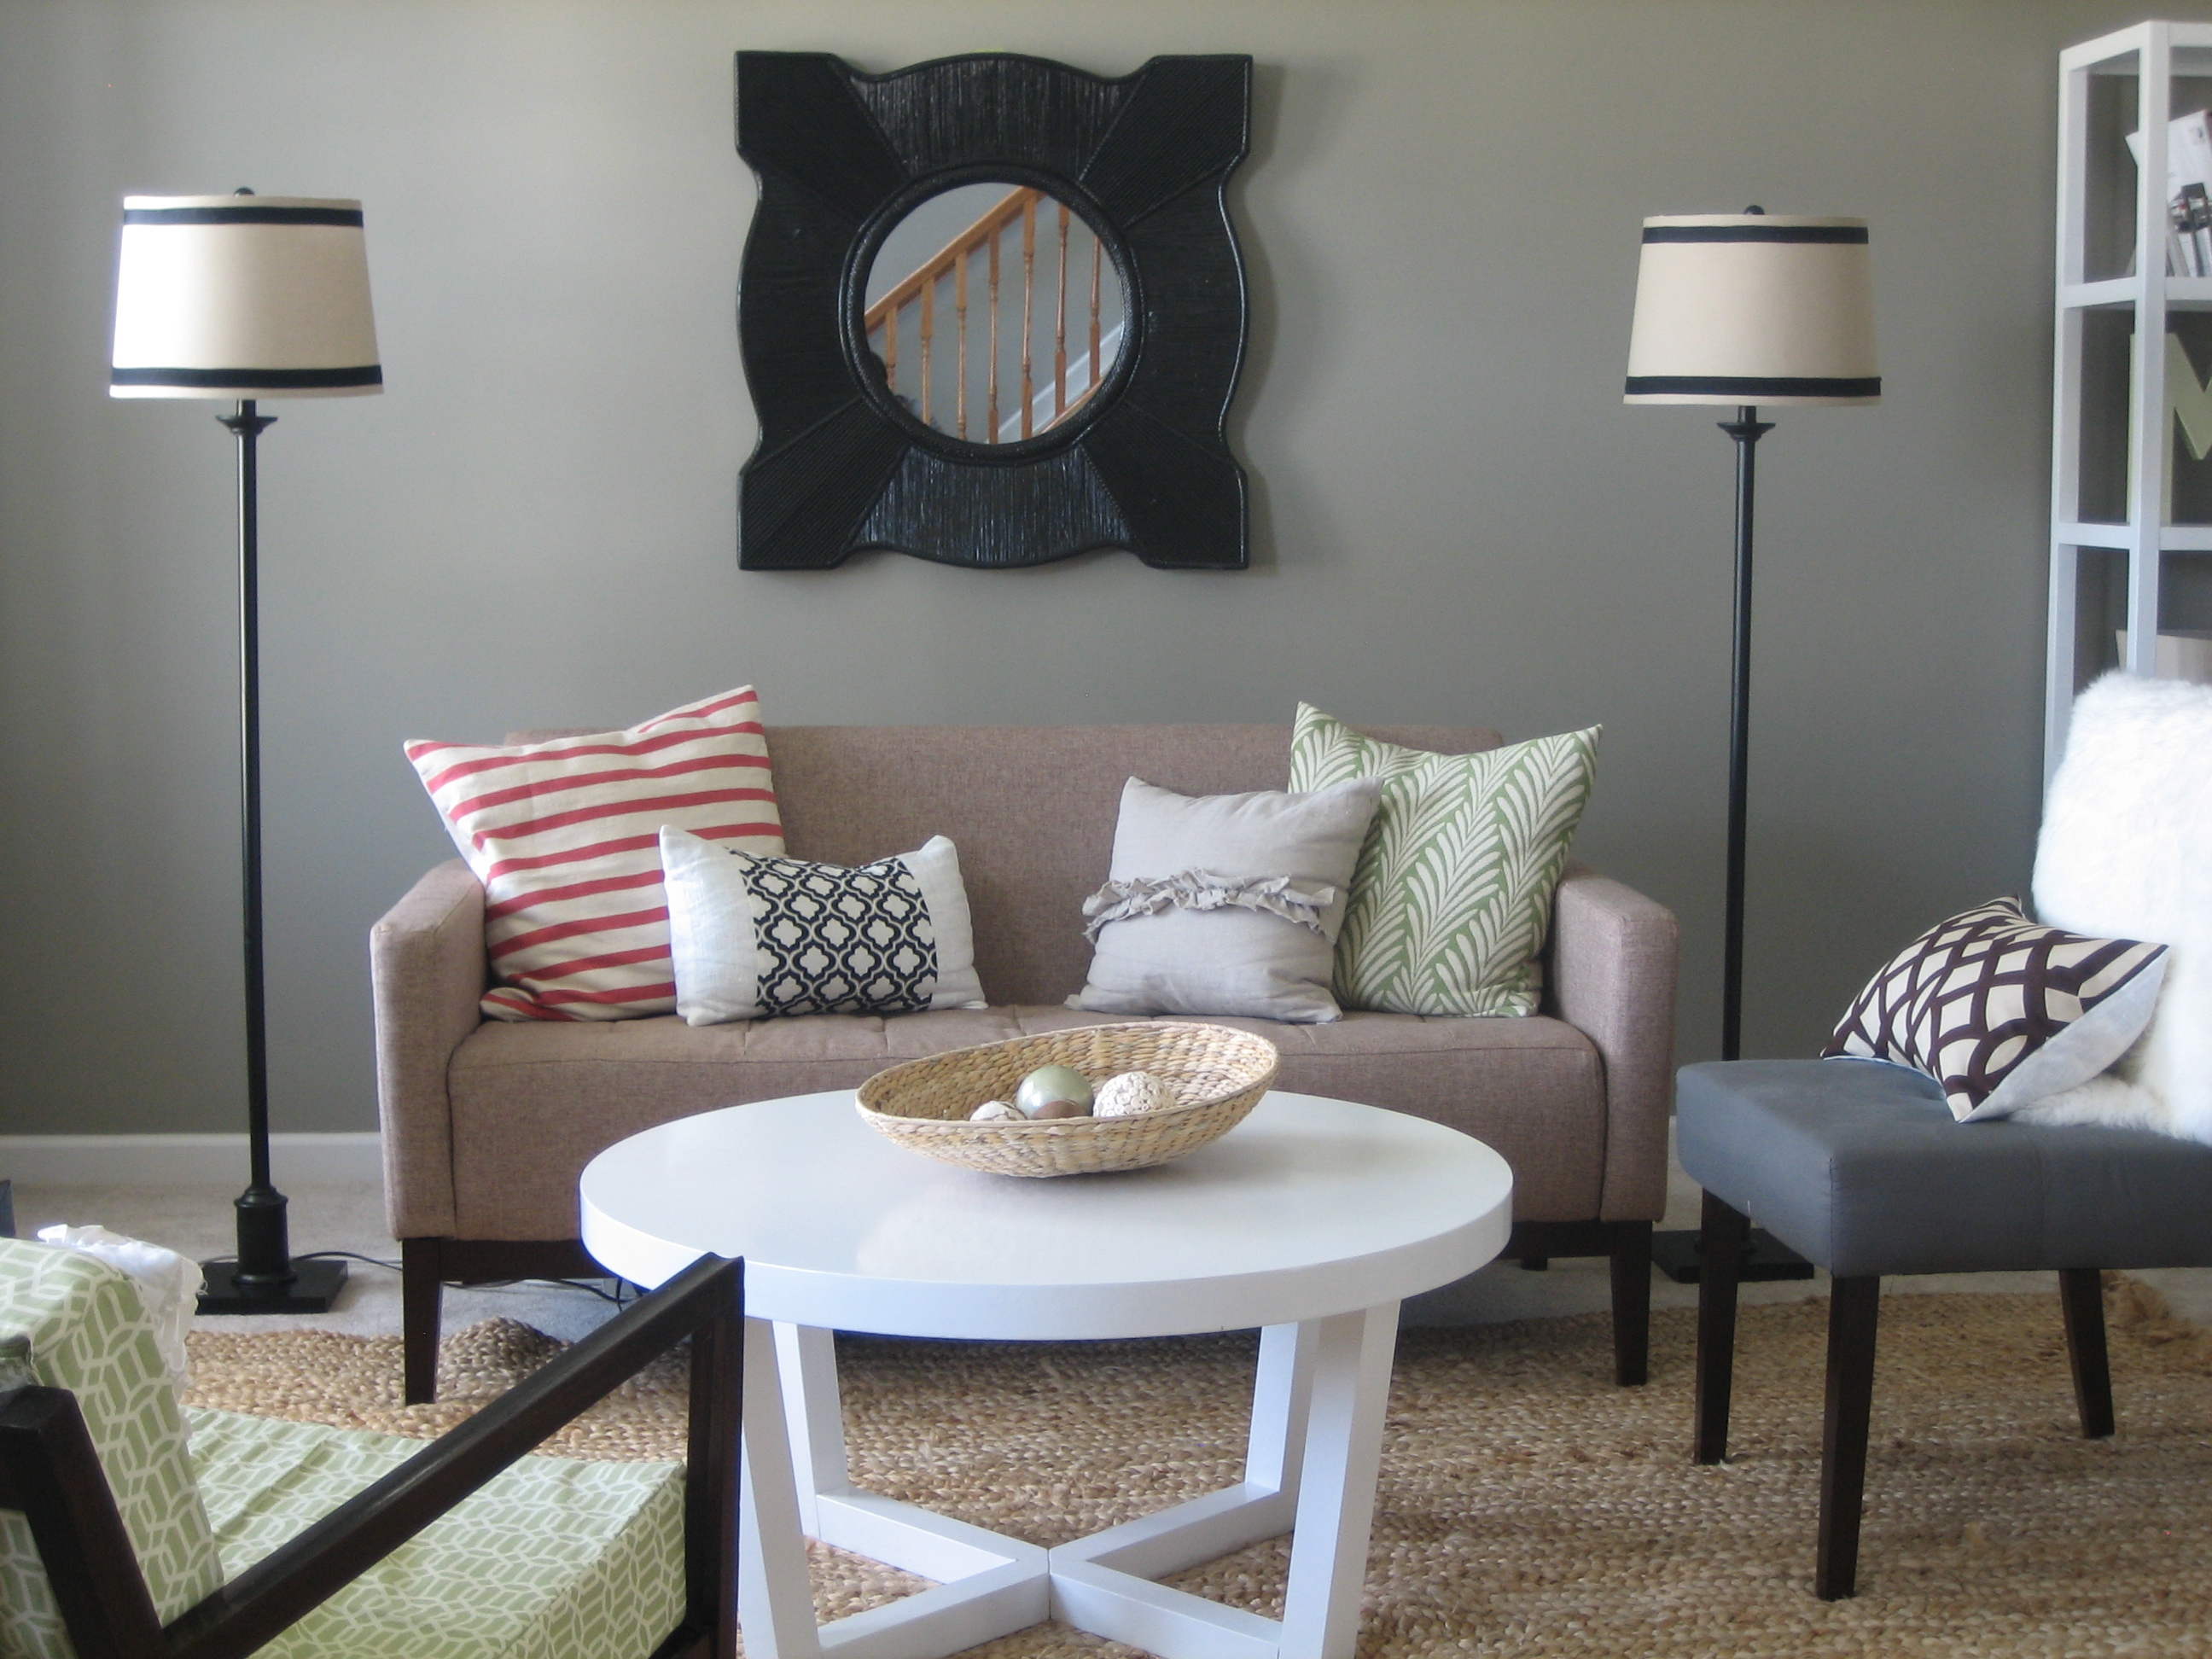
And here are the freshly ribboned floor lamps flanking the petite sofa in our living room (with the shades turned so that the seams face the wall)…

Adding a ribbon accent to the lamp shades provides a small dose of sophistication…especially in black.  It’s the difference between simply coloring a picture and tracing a picture first then coloring it.  The sharp outline gives a crispness lacking otherwise.  Sort of like eyeliner.  But not as heavy or smudged as Adam Lambert’s.

Coming in under $8, this project injects a pricier feel.  Have you ever updated a plain lamp shade?  After tackling this easy lamp shade facelift, I’m itching to recover another blah lamp with fun fabric!  Keep your eyes peeled.

11 Comments

20.April.2010

These are awesome! I am looking to update some old lights in our house and this is a great idea. Thanks!

20.April.2010

That looks great! I’m anxious to see the recovering project as well. I’ve been itching to change up my lamp shades as well. They are nice tan silk shades, but extremely boring and although I’m dying for some color it’s a little hard to imagine committing to an actual color with something like lampshades. They tend to be kind of expensive. Maybe I should just recover them in white linen or something and use a colored ribbon that I could change out from time to time.

In fact, I’ll committ right now (yes, here in public!) to following your instructions if you post a recovering tutorial. I’ve got to stop procrastinating and just make a decision! :)

ps. I just found your blog last week and have finally read through all of your archives! Thanks for all the inspiration and motivation!

20.April.2010

I like the added ribbon a lot! A very sophisticated look. Very nice! :)

20.April.2010

Danaaaaaaaaaaa!

I love reading all your posts! We’re so much alike.. but I’m way to broke to do anything to my house right now. :(
It has SO much potential too!
If you ever need a house ‘guinea pig’, you’re more than welcome to come over and do your thing! Haha
By the way, I’m back to work. (Not fun for me, but atleast you’ll get to see me again!)

-Patty

20.April.2010

The shades turned out cute. : )
I love your coffee table! Can I ask where you found it?

20.April.2010

Marissa – The coffee table is actually a Pottery Barn/West Elm Outlet find. It was originally a rusty red color but all scratched up. I got it for $42 then primed and painted it white! A true diamond in the rough.

22.April.2010

Very nice, the lamps look perfect in your room.

09.May.2010

I have slightly more tapered shades that I would love to put ribbon around (top and bottom of shades) but am wondering if you have any tips to help keep the ribbon as flat as possible when gluing on. Thanks~

10.May.2010

Heidi – Maybe you could try ironing the ribbon before gluing it onto the shade to keep it tidy. I detest ironing but sometimes it’s really helpful! Also, gluing down small sections (2-3 inches) at a time and pulling the ribbon firmly across the shade as you go should help keep it flat. Hope it helps!

10.May.2010

Thanks for your quick response! I really appreciate it and love all these ideas on this site :)

23.October.2010

I’m definitely giving this a try on some lamp shades in my master bedroom! I featured your tutorial here. So clever!