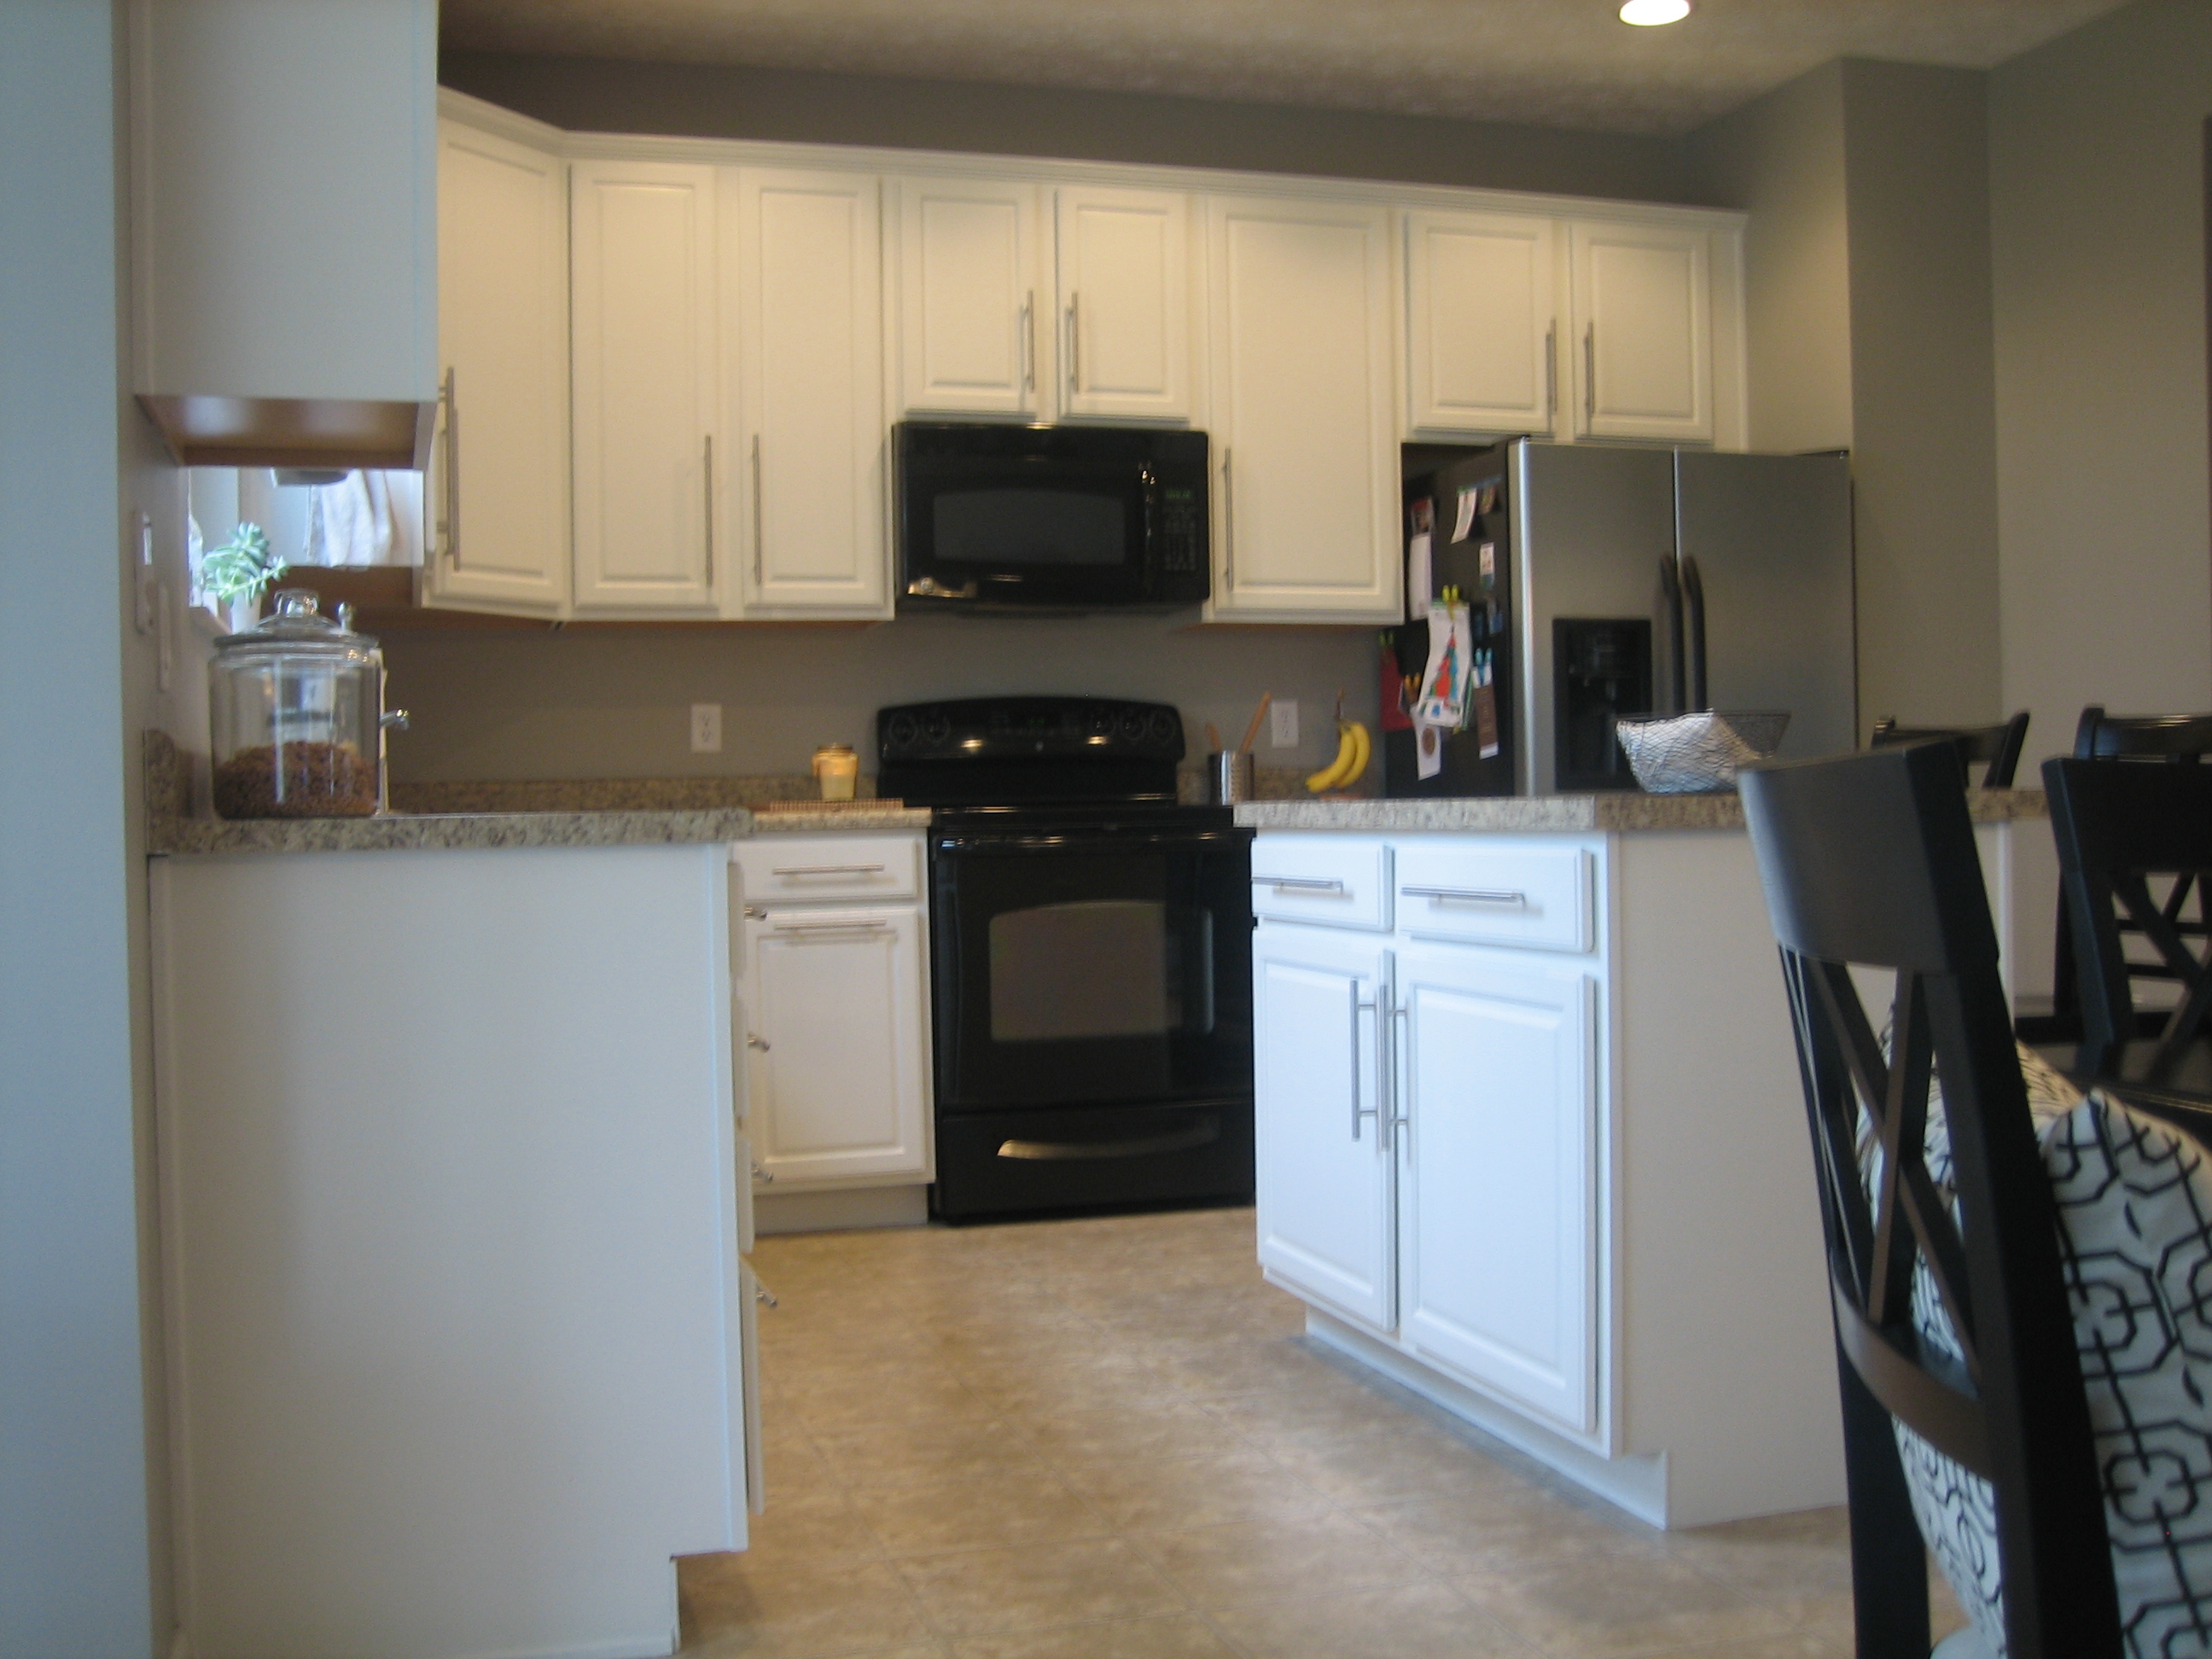
During winter, we painted our builder oak kitchen cabinets white.

Then we started stashing cash to upgrade the countertops. Then…I hit a road block. Then…once we finally had enough money saved for new counters…I froze. I couldn’t make a decision. Granite? If so, honed or polished? Concrete? If so, try to DIY it? Soapstone? Oh, wait, we don’t have enough money for soapstone. So, what did I do? I waited it out. I perused images of all my favorite kitchens searching for inspiration. Hoping a common thread would jump out at me. It took a while (I have plenty of dream kitchen pics to inspire confuse me) but I finally made a decision. Finally.


Notice a trend? Yup. Butcher block islands with natural stone perimeter countertops. Eureka! Handy Hubby and I decided on a granite perimeter with a wood-topped island. It seems as though I have a thing for mixing materials in the kitchen. We’re going with the polished granite after drooling over the honed finish but disliking its porous nature. We put down a 50% deposit on the granite last week and still need to choose our slab. But by June, we should have new countertops! The even better news is that since we saved up enough cash we were able to “bargain” and get a great deal.
We’re thinking the butcher block island top will come from IKEA. They have killer prices on their wood counters.

In the meantime, Handy Hubby and his woodworking friend are whipping up a small, inexpensive extension for the island. Can’t wait? Me neither.
Photo credits: 1) Rachel @ girl learning along the way 2) Decor Pad 3) AZCentral 4) HGTV‘s Style Sheet
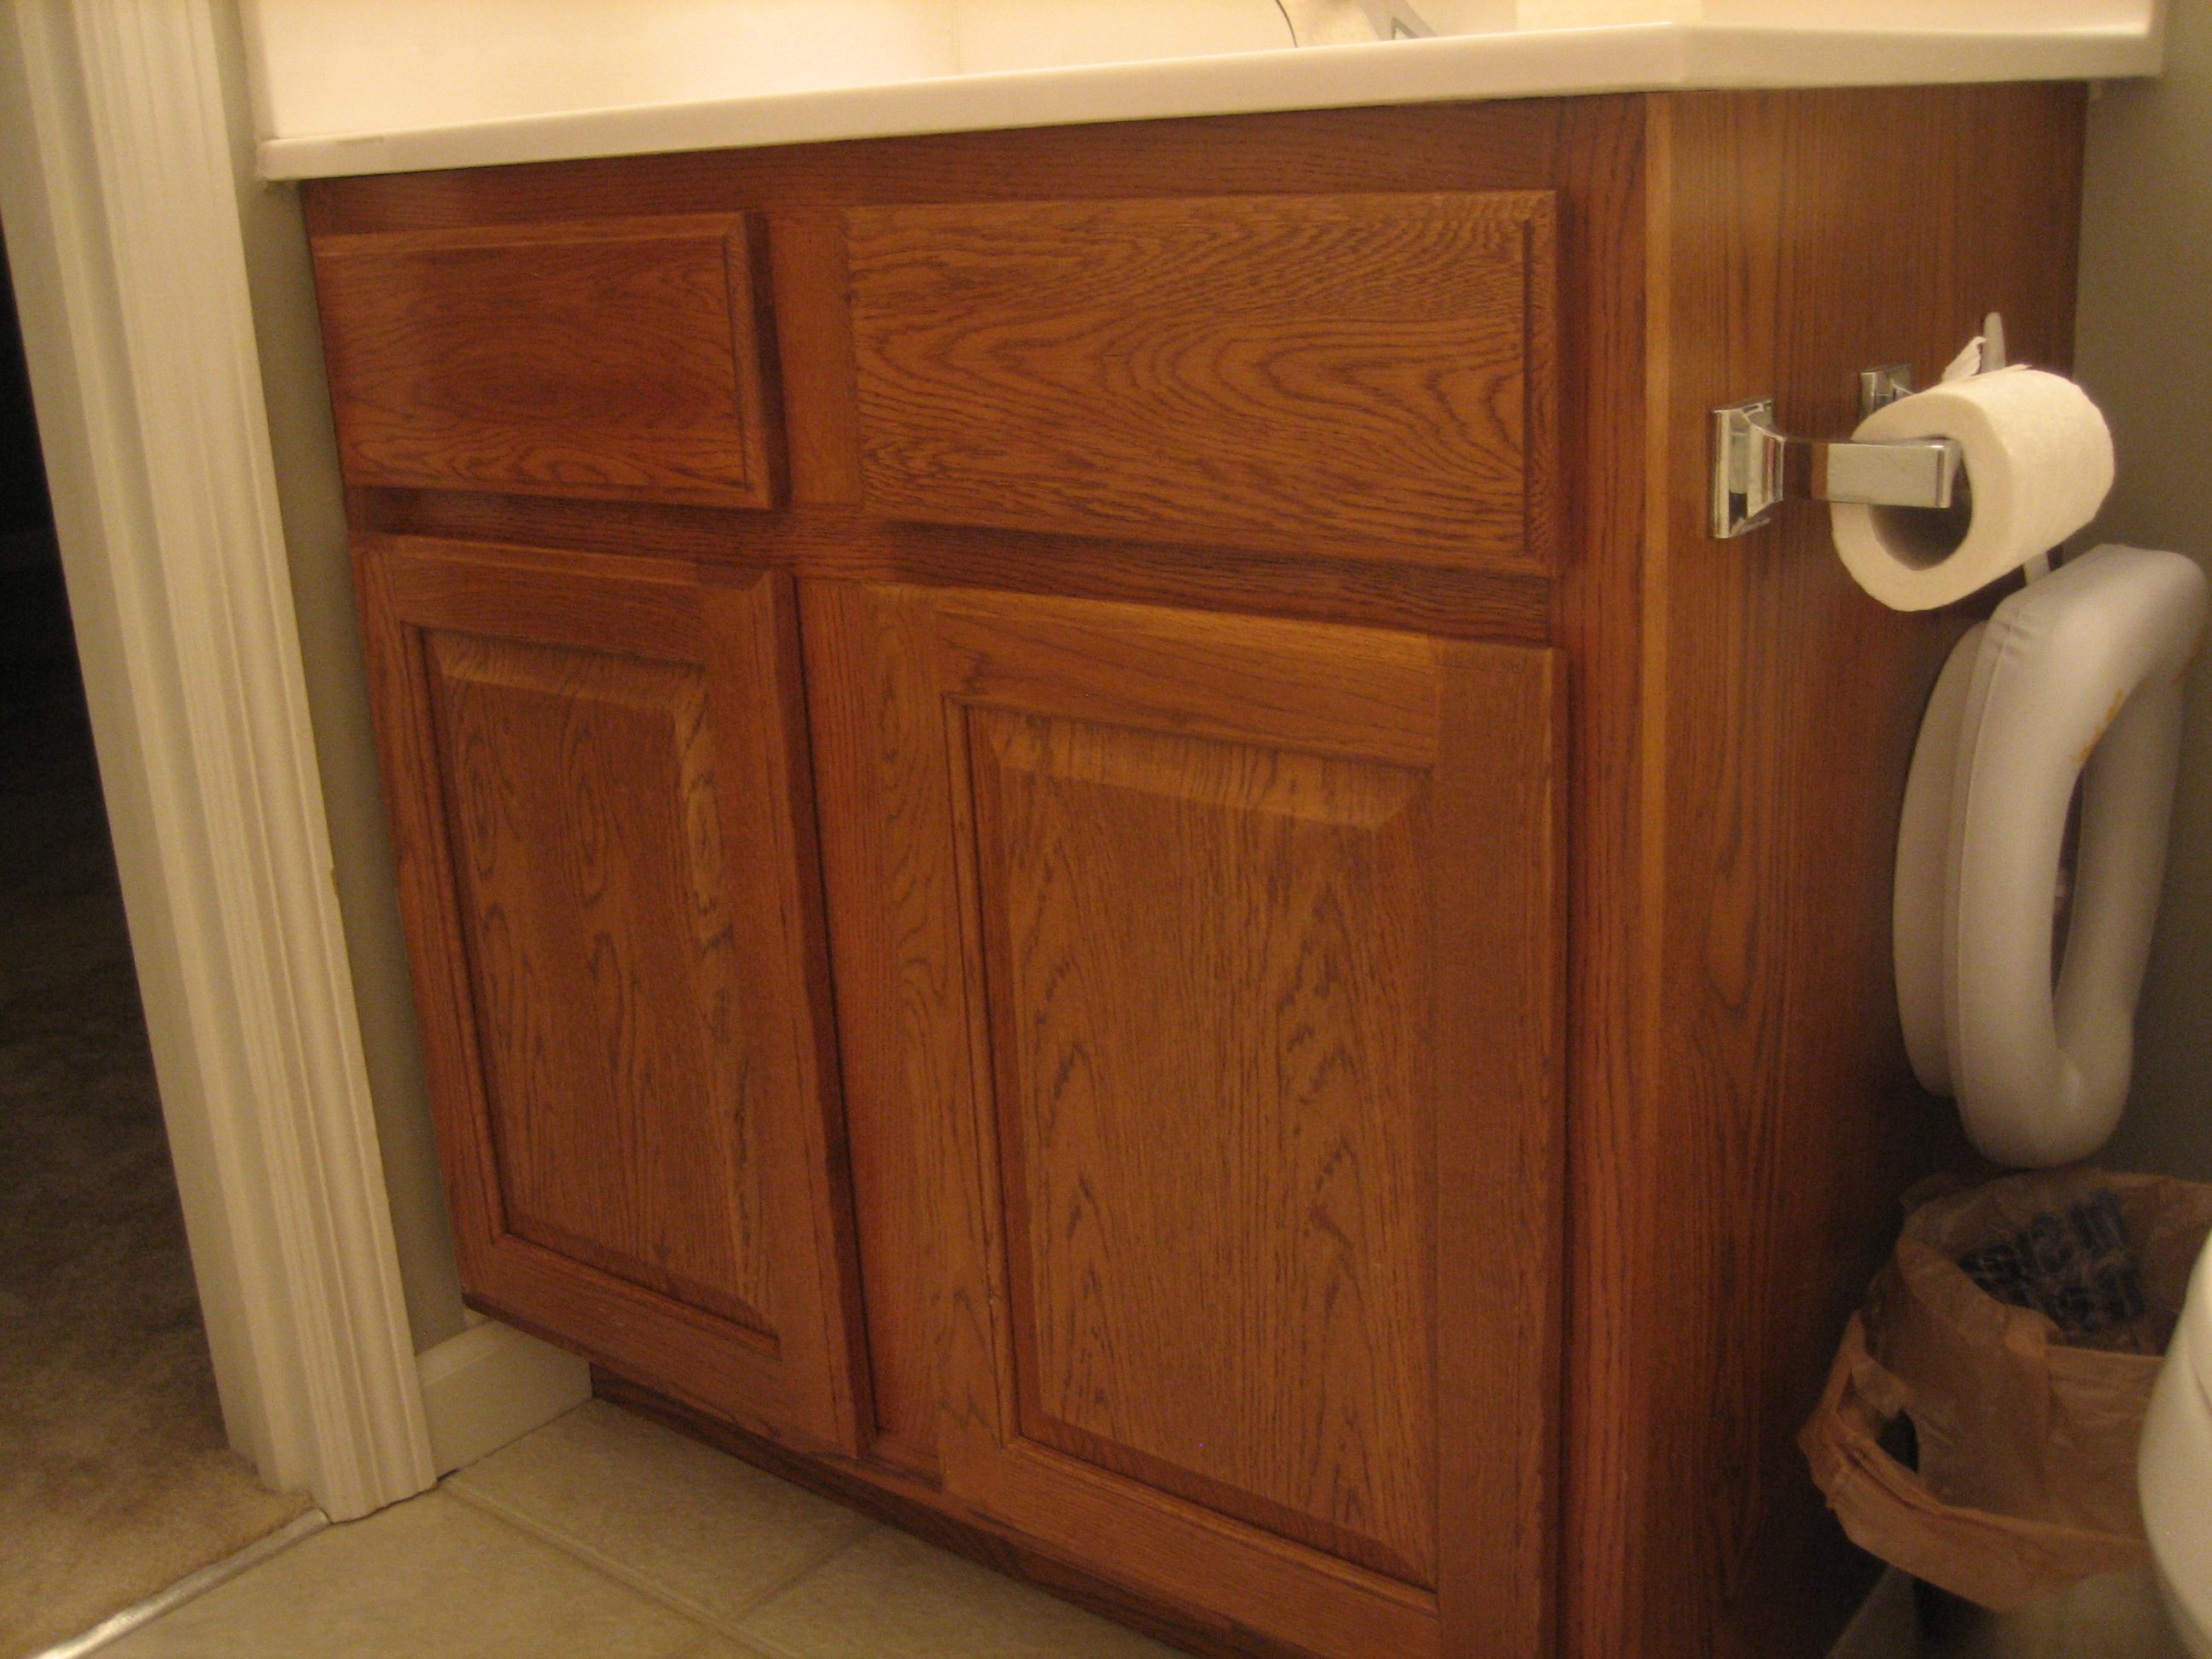
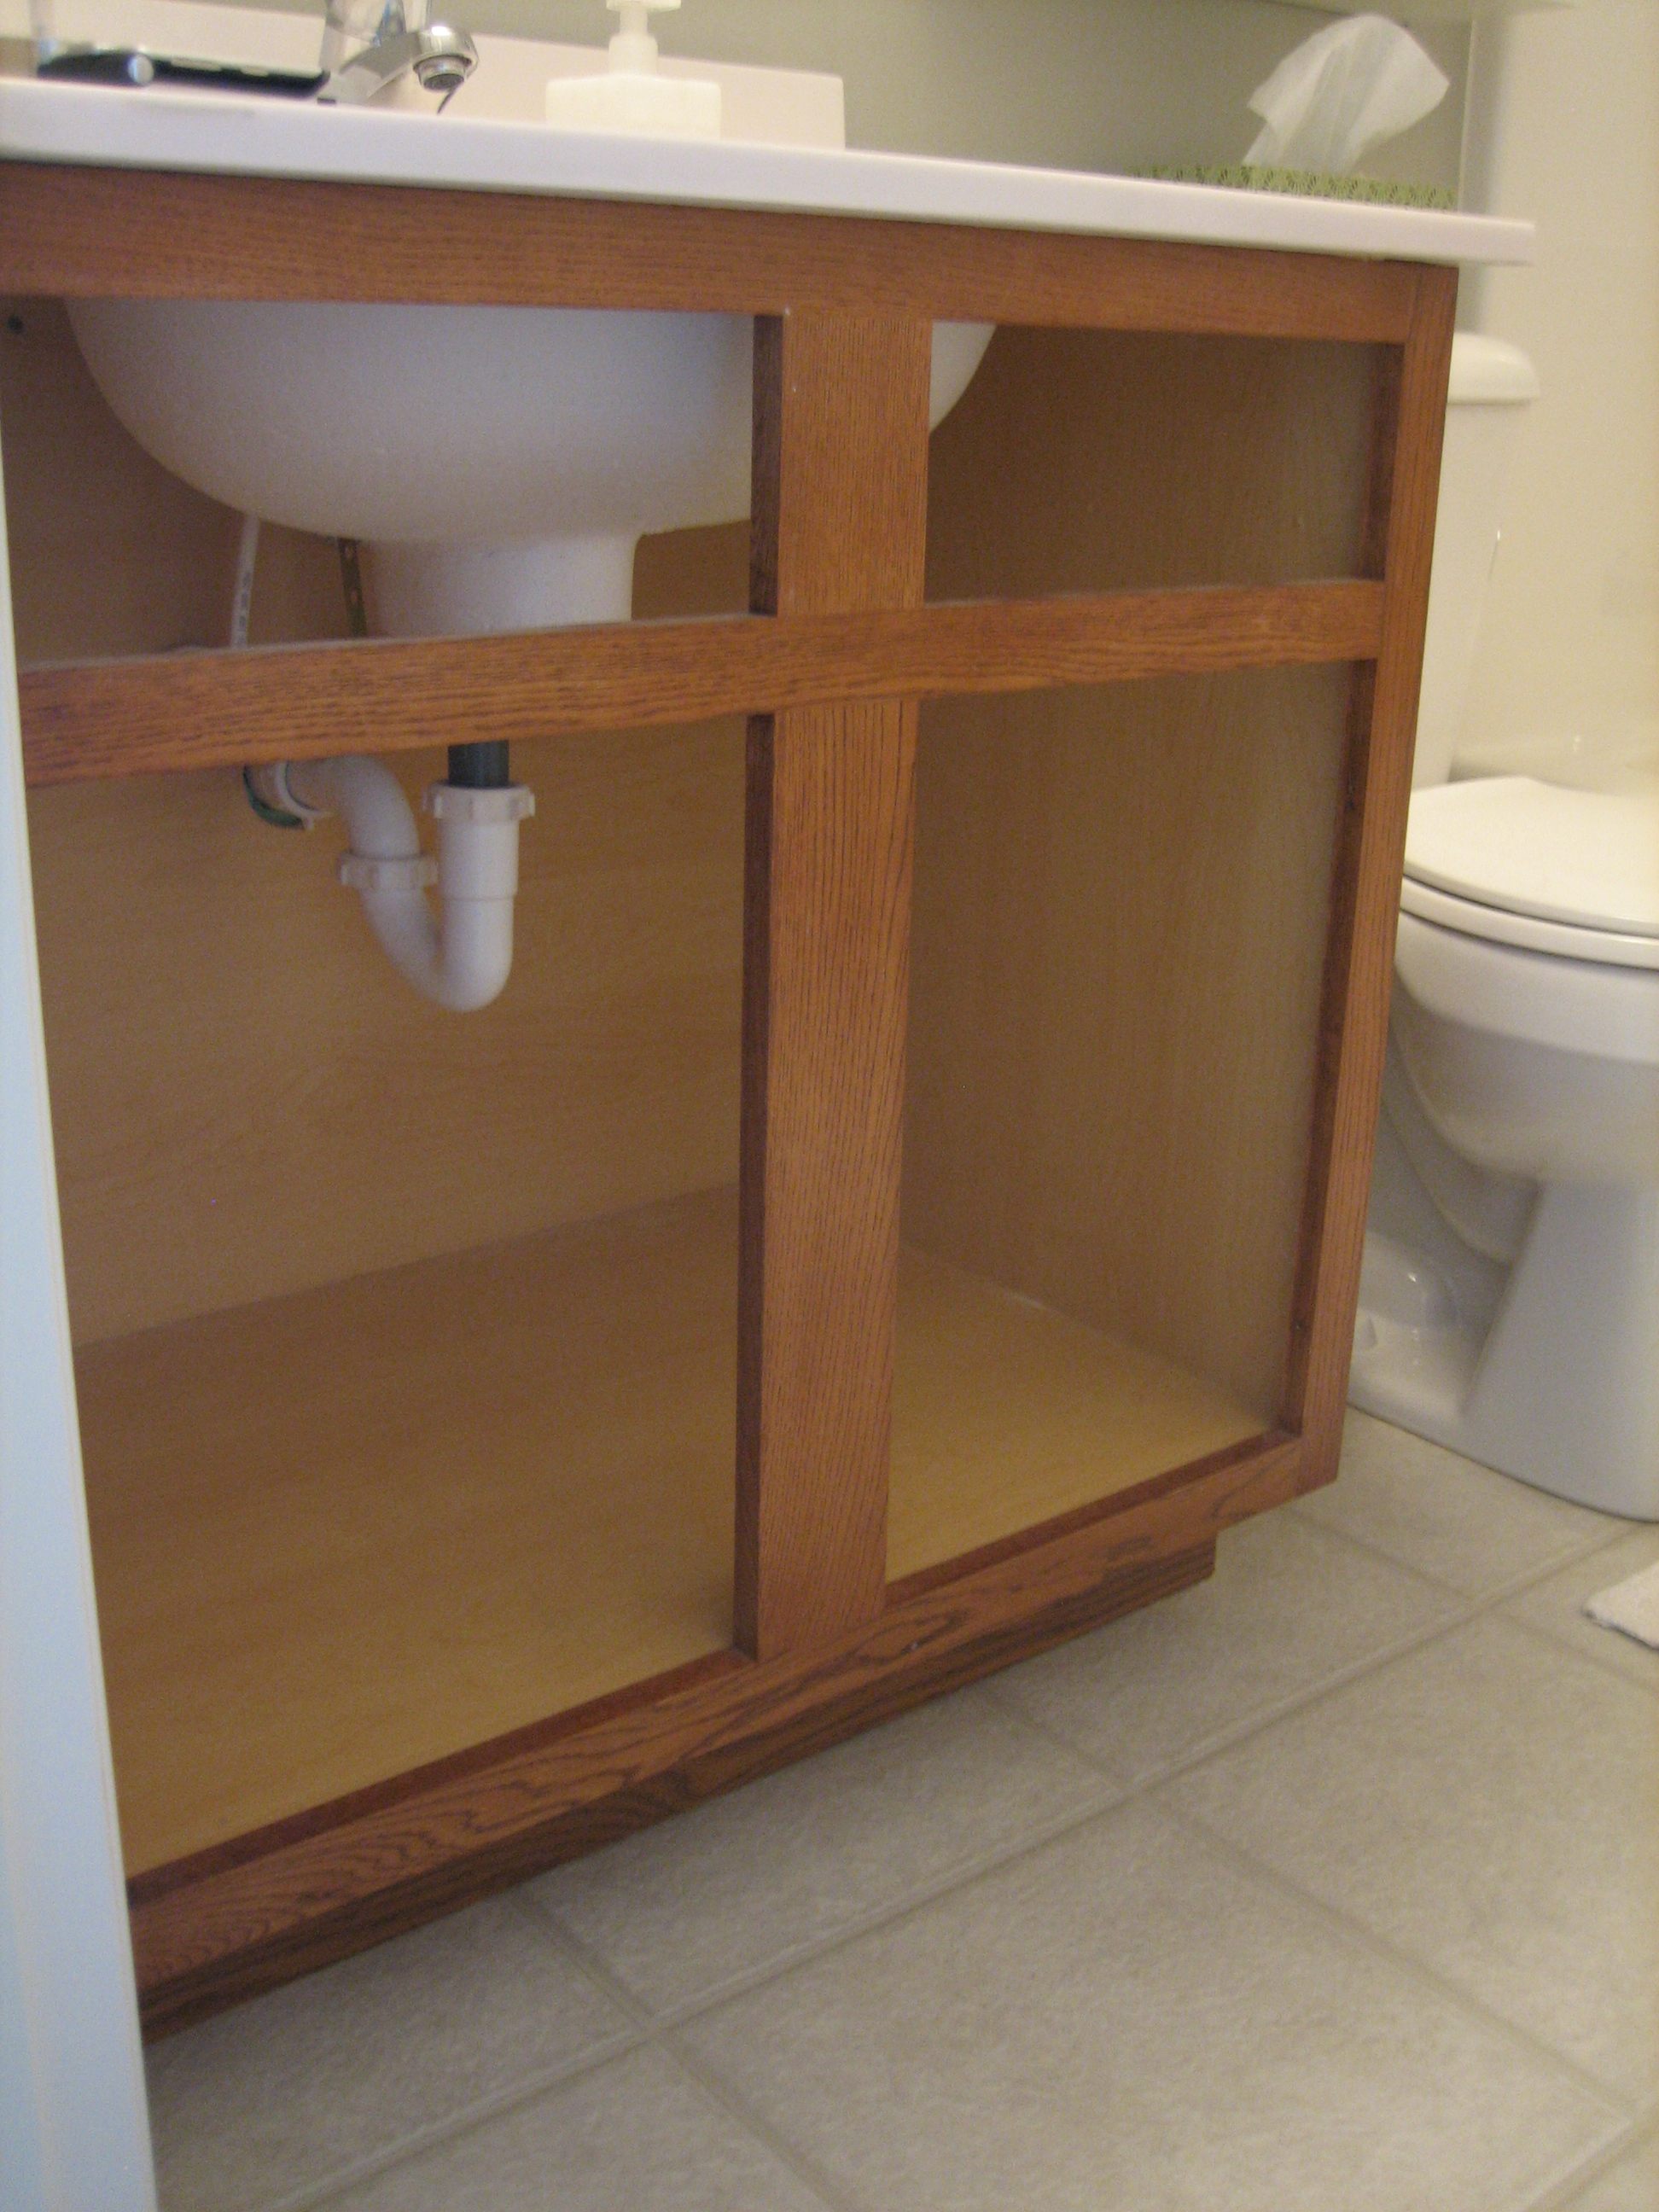
This is the boring builder vanity in the kid/guest bathroom that came with our house.

I’d always wanted to change the look and function of it. (See how the doors open? One opens into the bathroom doorway while the other opens into the toilet area.)

95% of the time, the bathroom is for our 2 little boys but it serves guests too. It needs to be practical for day-to-day kid living but not so childish that my kids can’t grow with it, or worse yet, our guests feel like they’re in a kiddie bathroom. The following images inspired me to freshen up our vanity.

This master bathroom comes from HGTV’s Dream Home 2010 (which I briefly toured here). I like the vanity’s color and modern hardware.

This sweet DIY vanity makeover hails from none other than Desire to Inspire‘s Kim. I like the way she removed the old vanity doors and added a fabric curtain. Cute and simple.
I devised a plan to remove the vanity doors then paint and add hardware along with a fun curtain in place of the cumbersome doors.

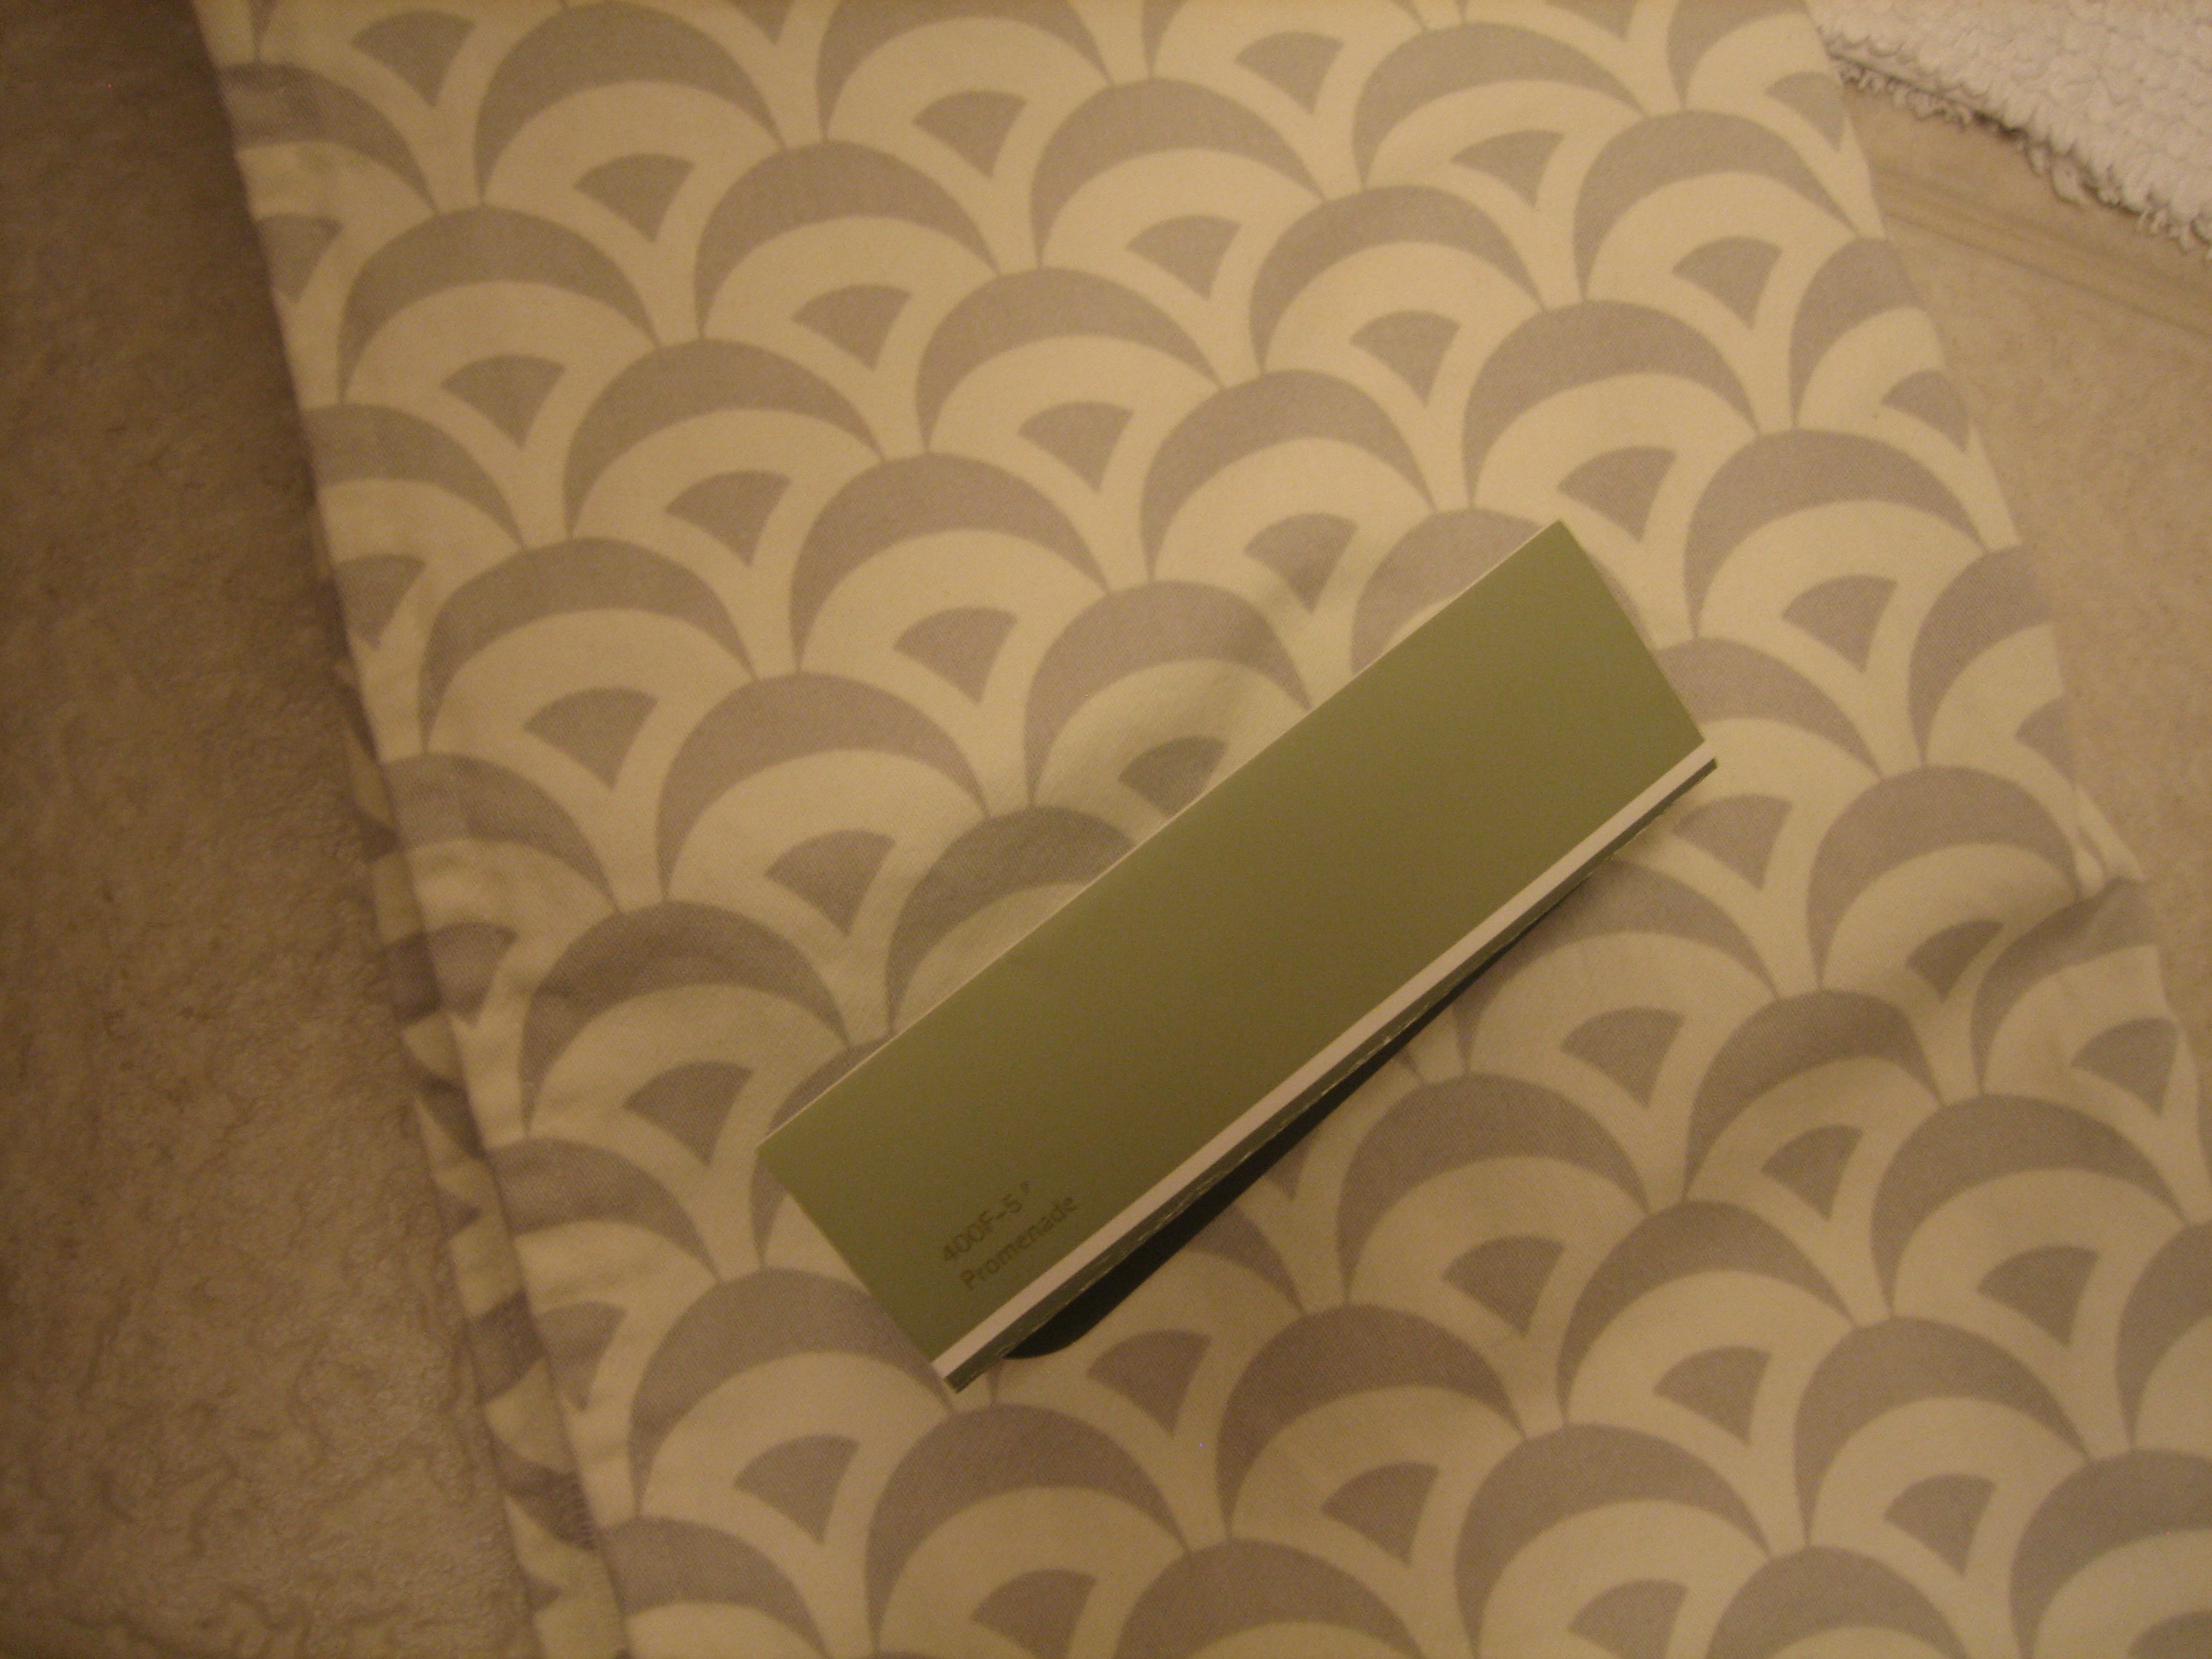
After finding scrap (i.e. FREE) fabric in my finally organized craft closet, I decided on Behr’s Promenade (mixed in Lowe’s Olympic no-VOC semigloss) for the paint color. Next, I emptied the vanity and removed the doors and false drawers.

Then I wooed Handy Hubby into helping me cut out the small board that previously stopped the vanity doors from swinging in. (I wasn’t having much luck with my hammer and crowbar.) Not sure that a circular saw was the most appropriate tool for the job but it worked!

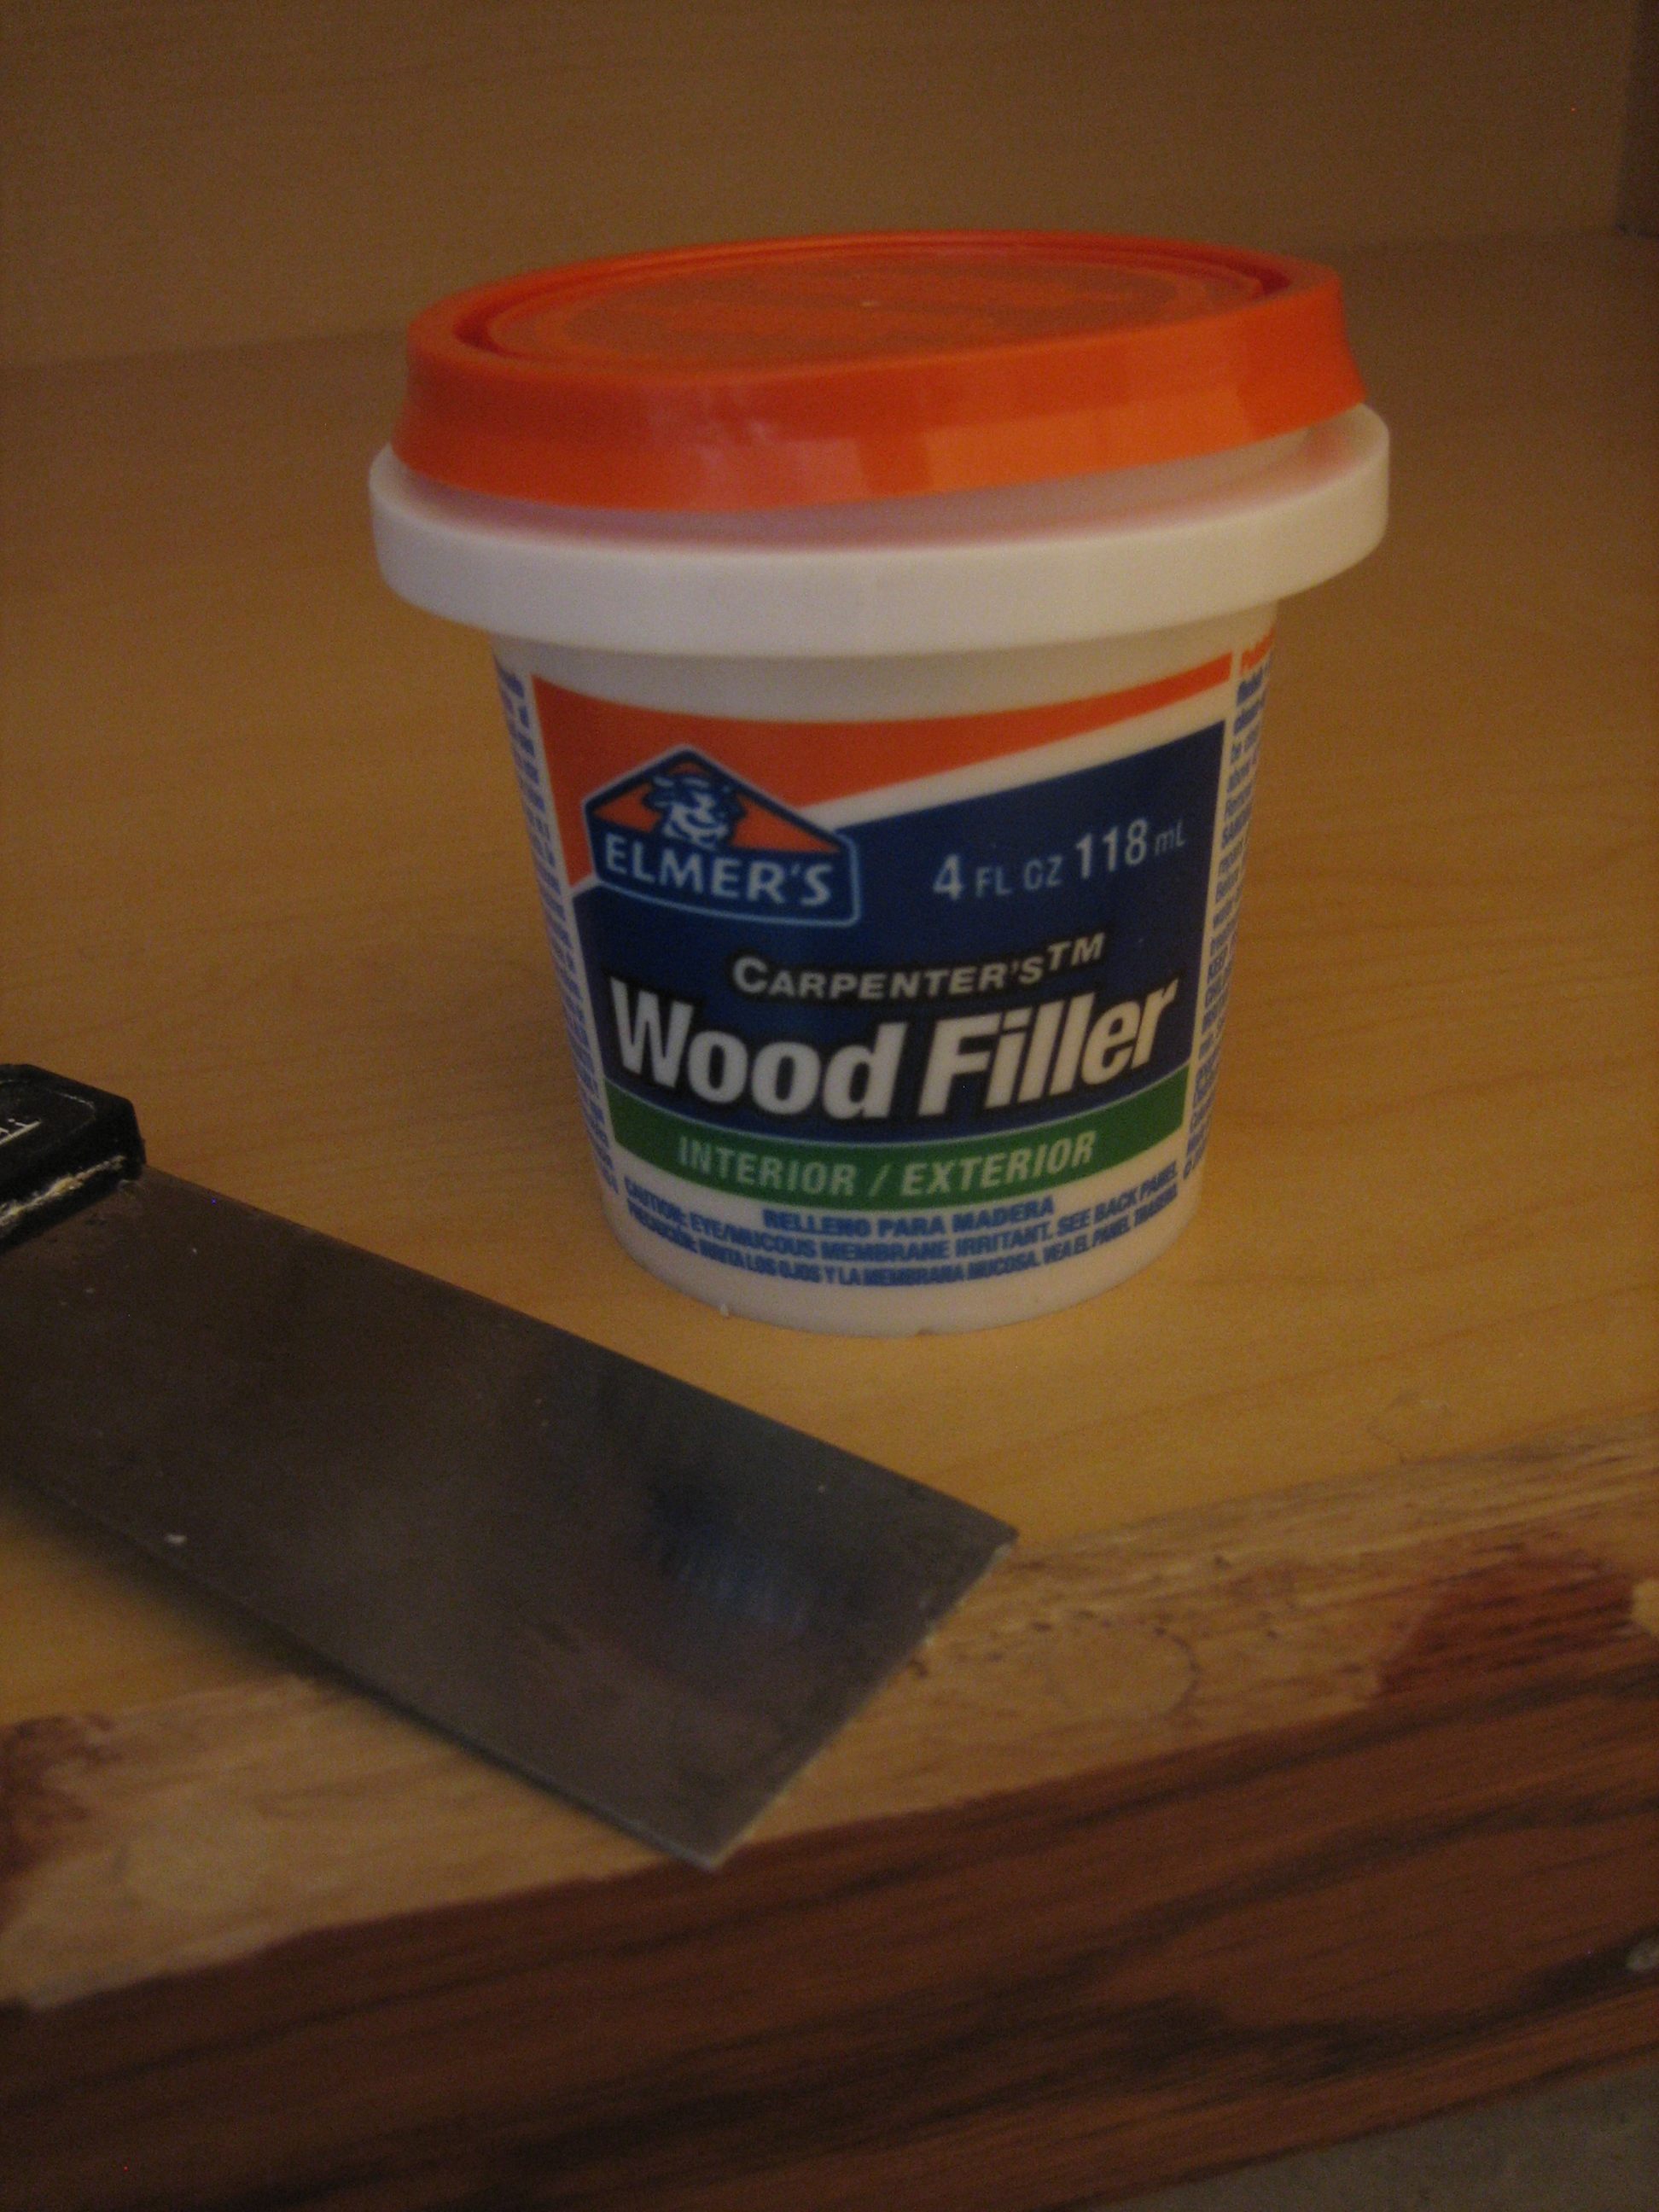
I used some wood putty to fill in the screw holes where the doors had been attached and also to touch up some scuffs left by the circular saw.

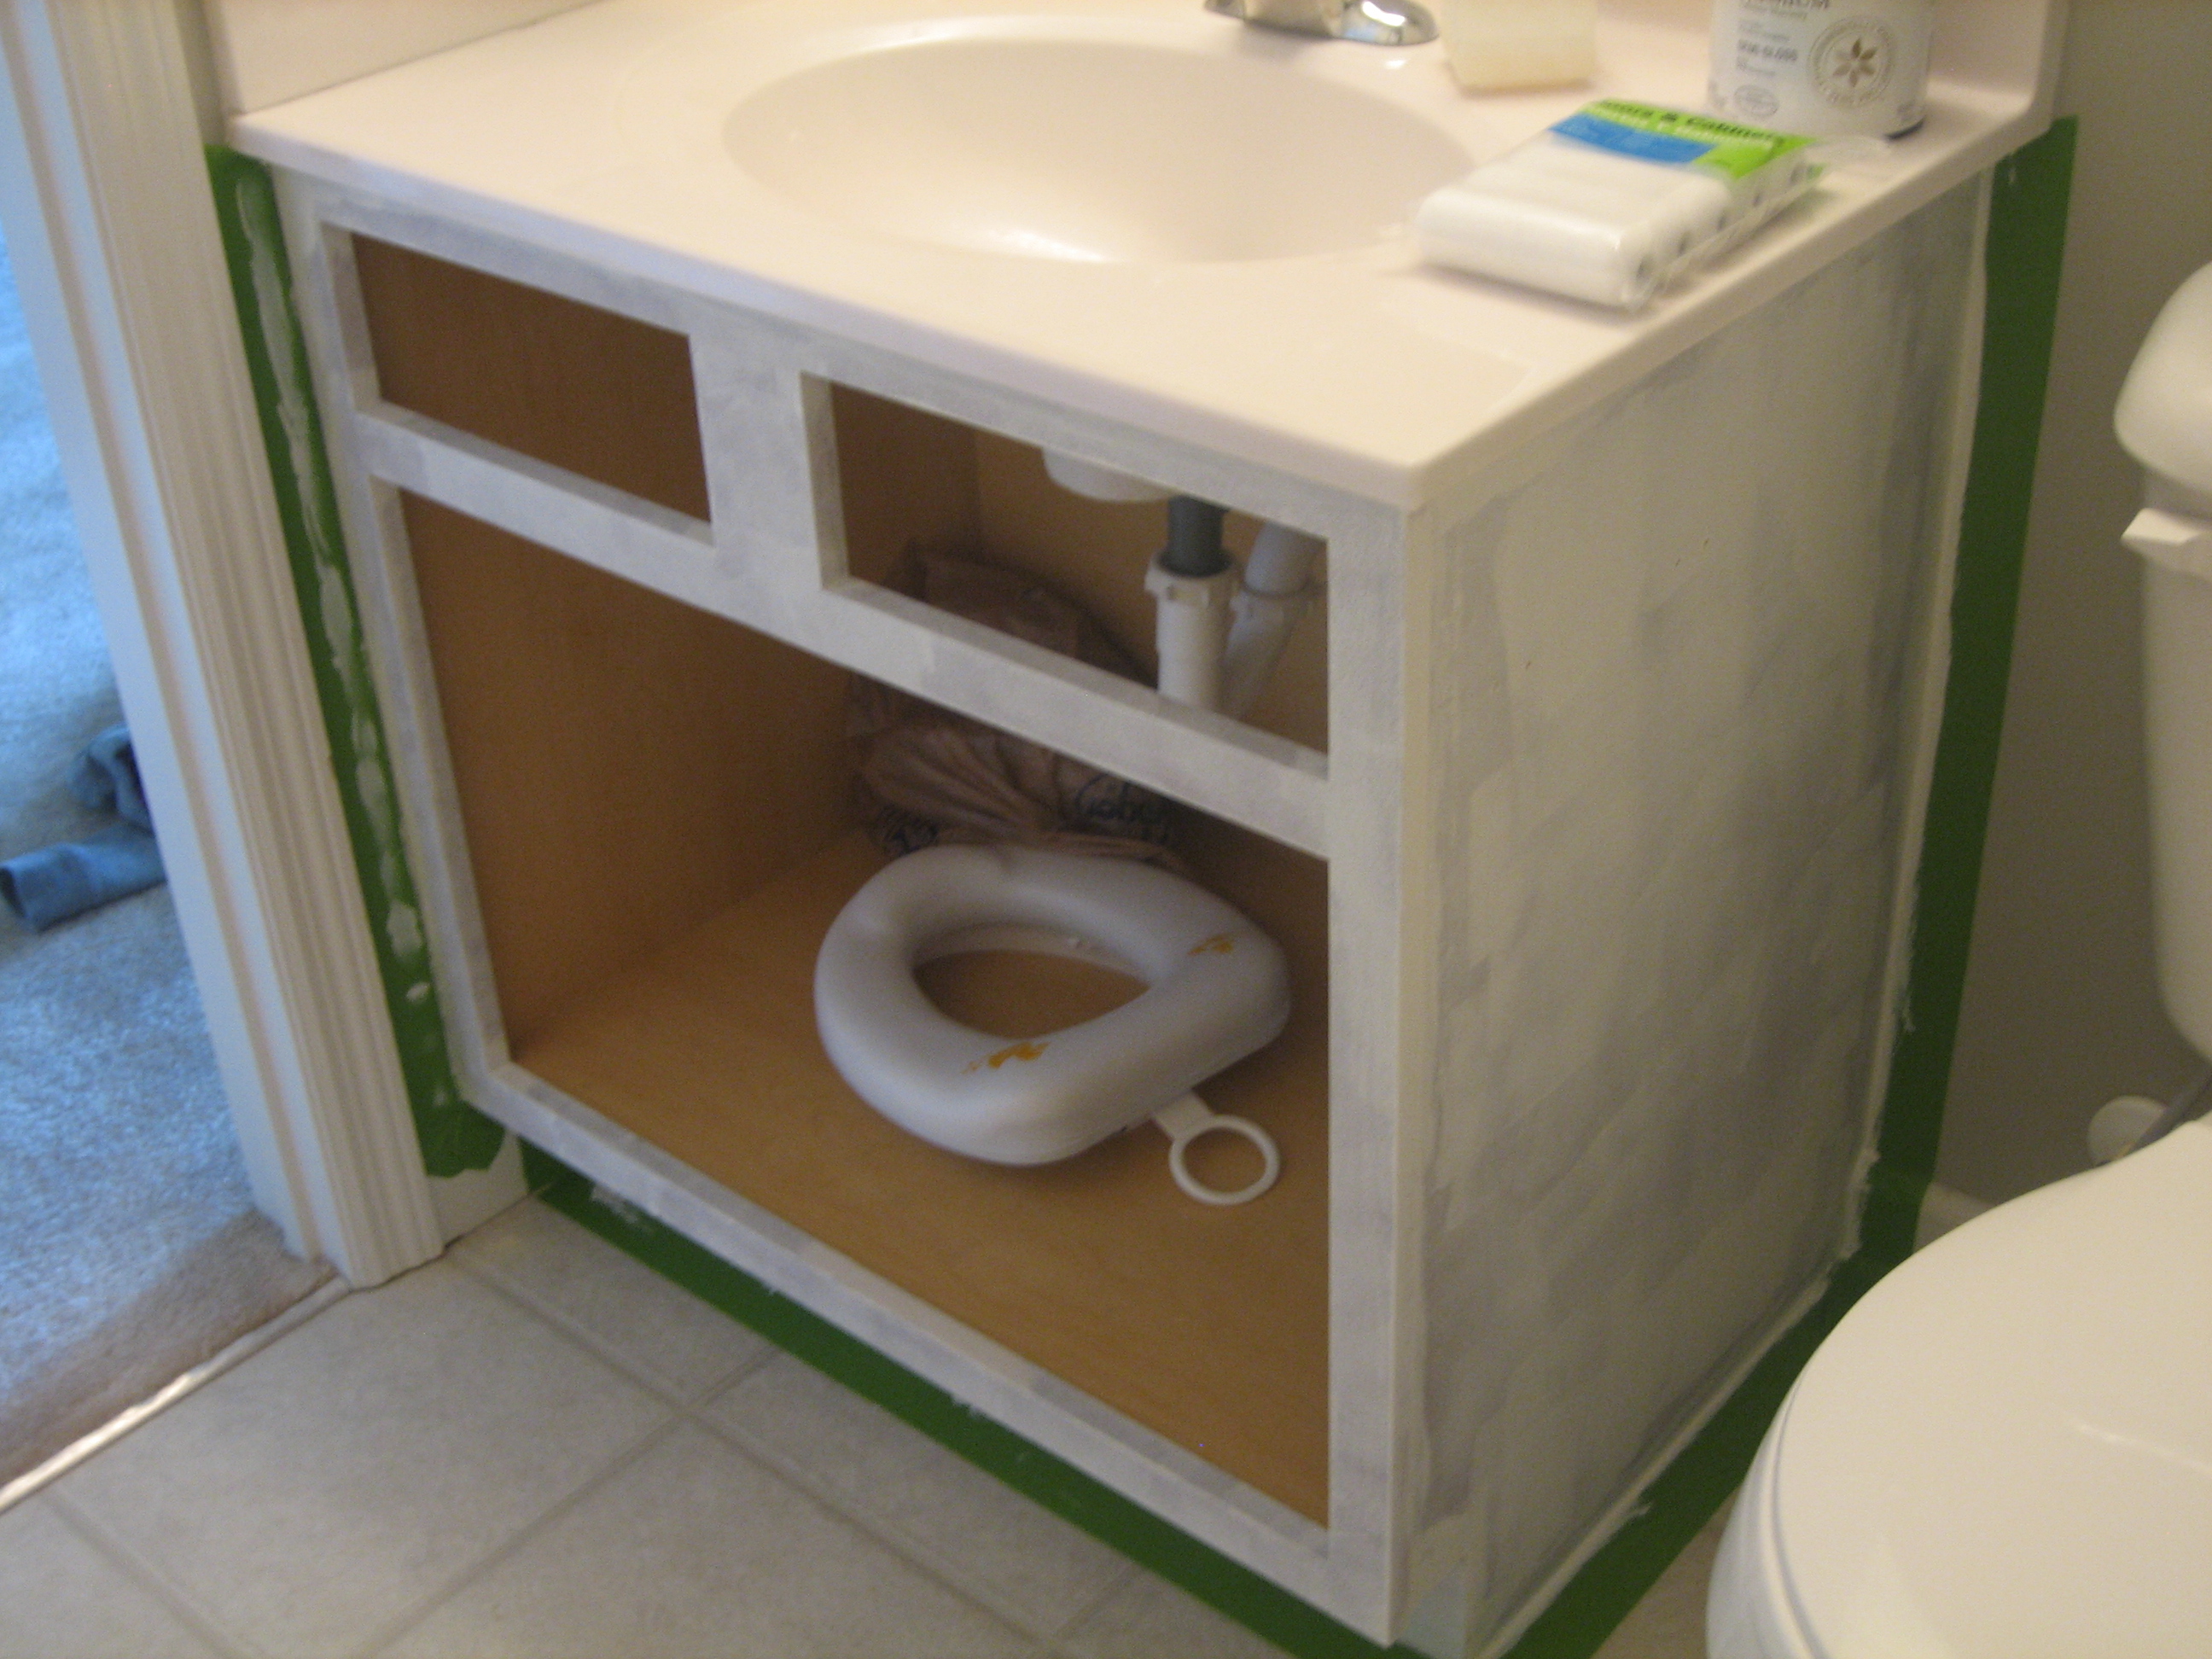
Then it was Prime Time. I taped off the vanity to keep the walls and floor relatively safe from my paint job. We still had plenty of oil-based primer left over from painting our kitchen cabinets. I just brought it up from the basement and rolled on 1 coat.

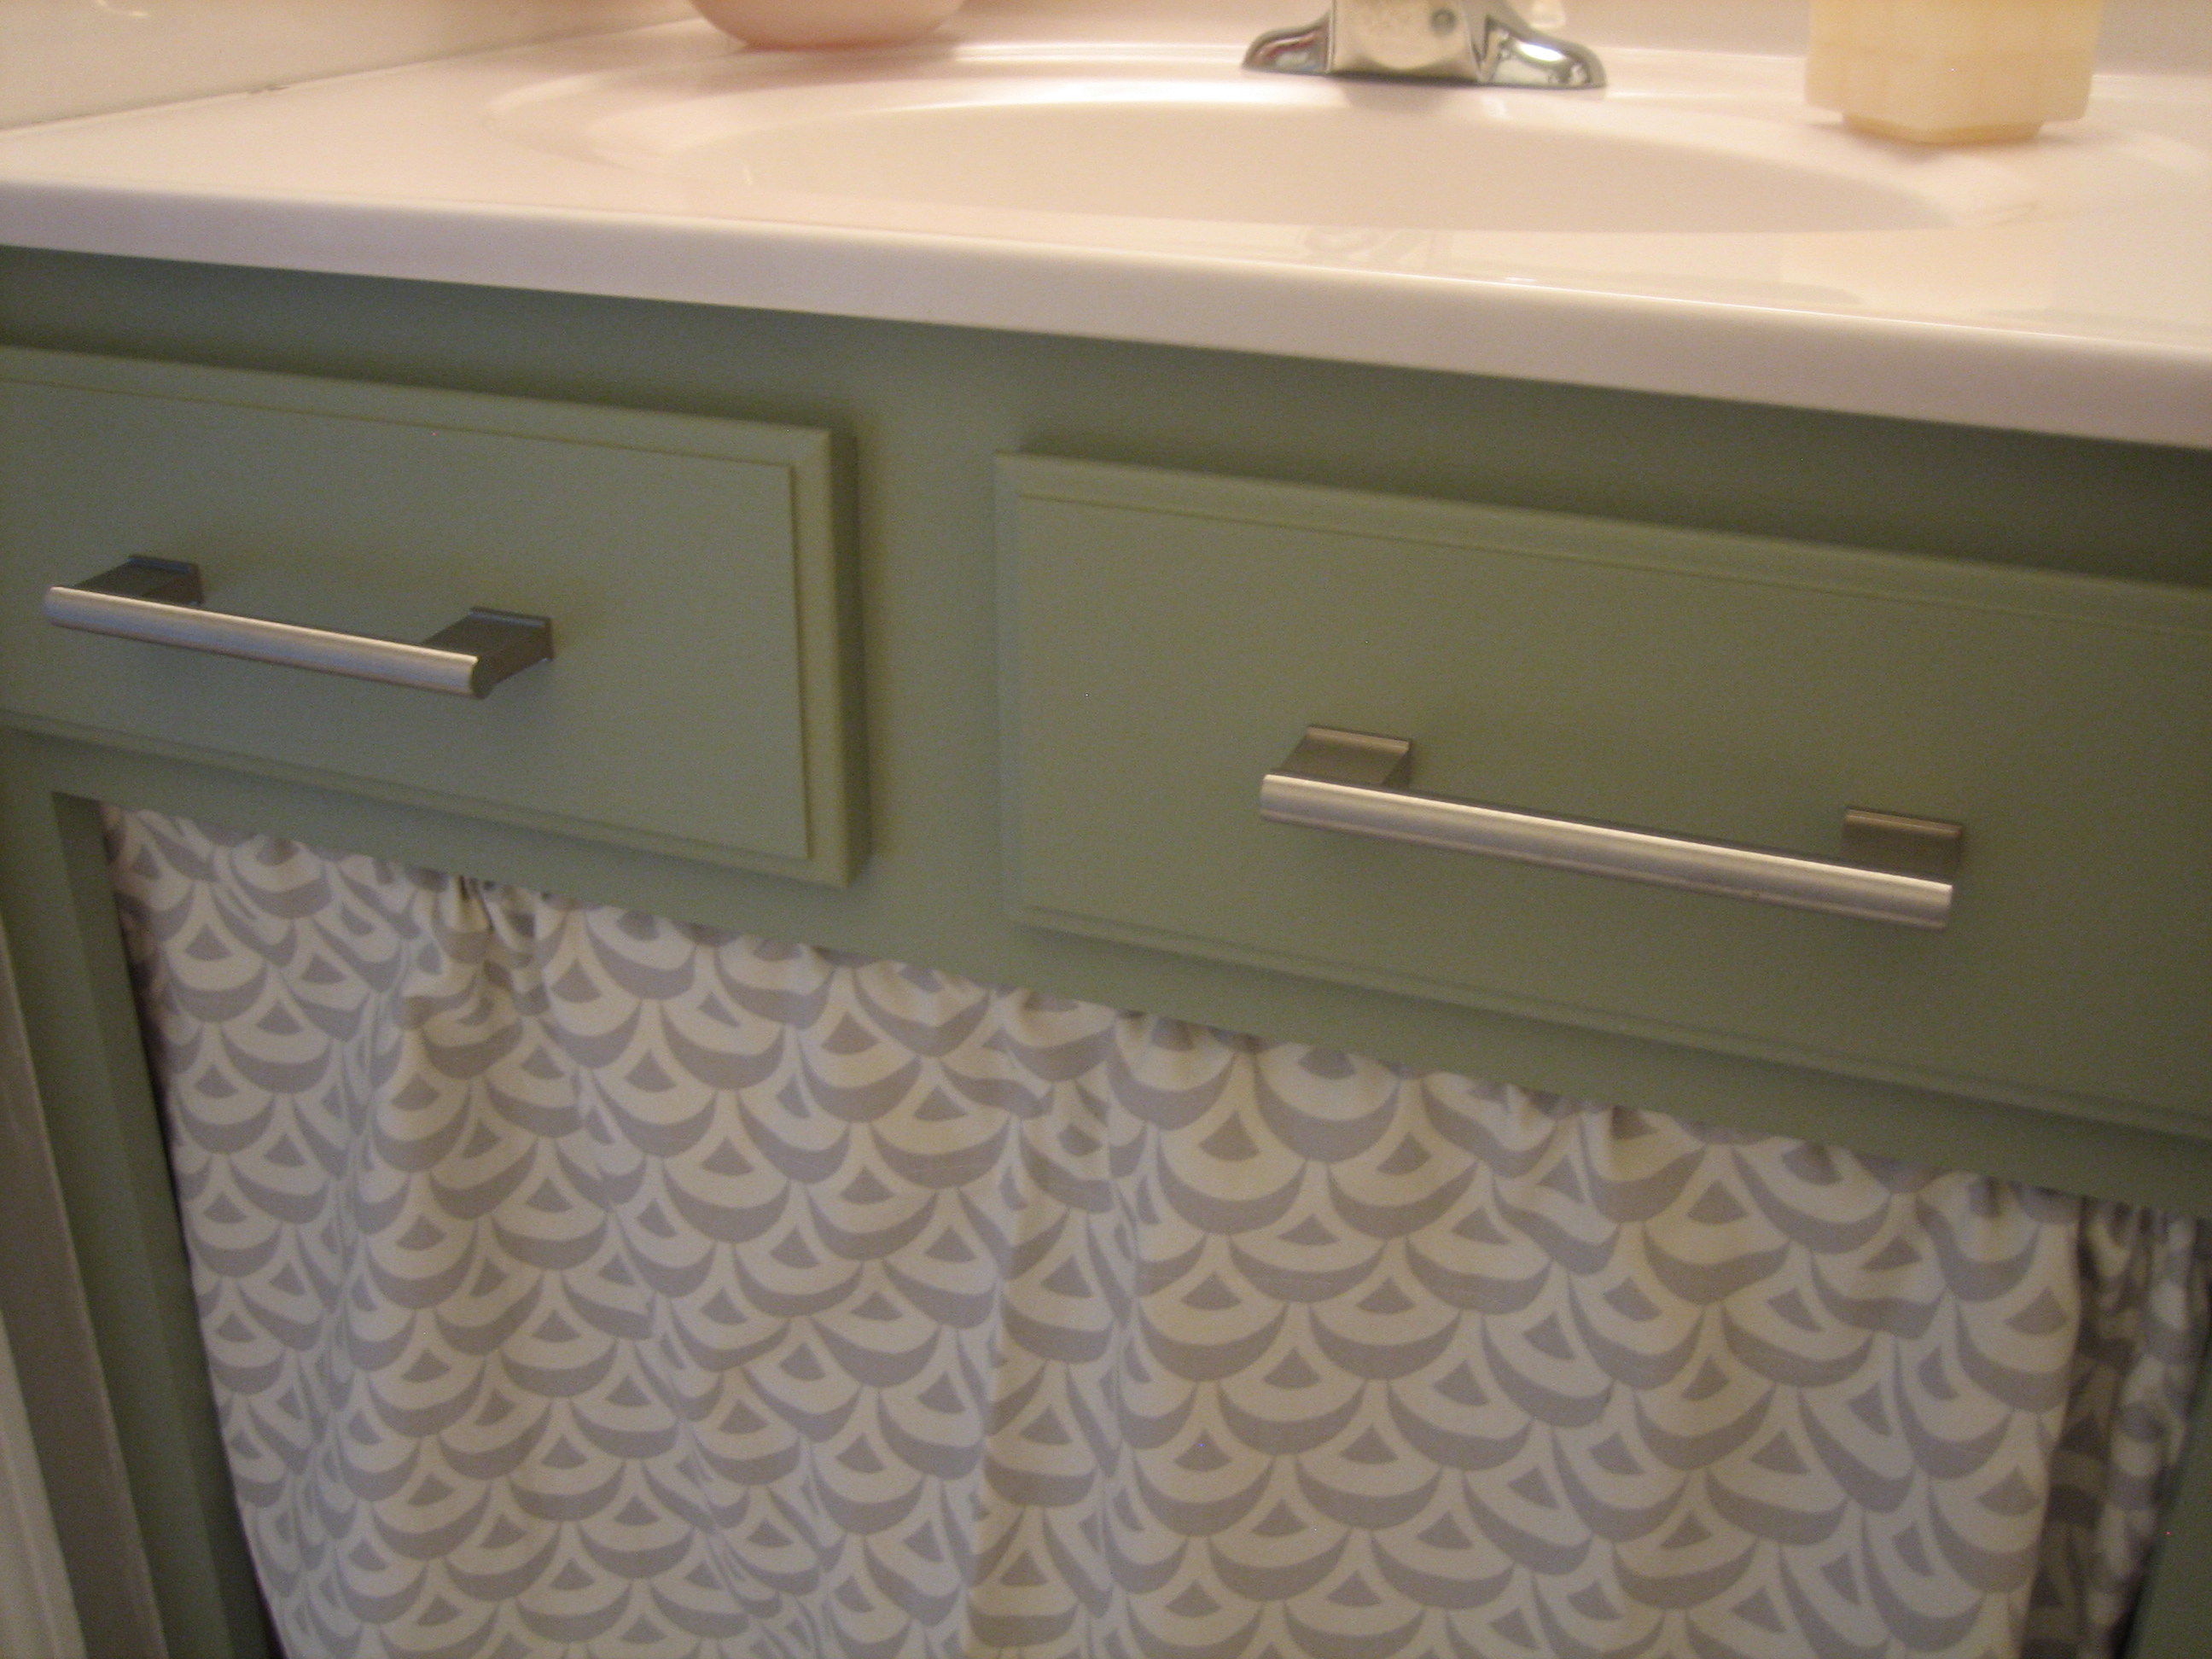
After 2 coats of paint and the addition of 2 5″ IKEA VINNA handles, the vanity was really shaping up. I made a simple fabric curtain and hung it from a tension rod. (Here’s how I made a similar curtain for my laundry room.)

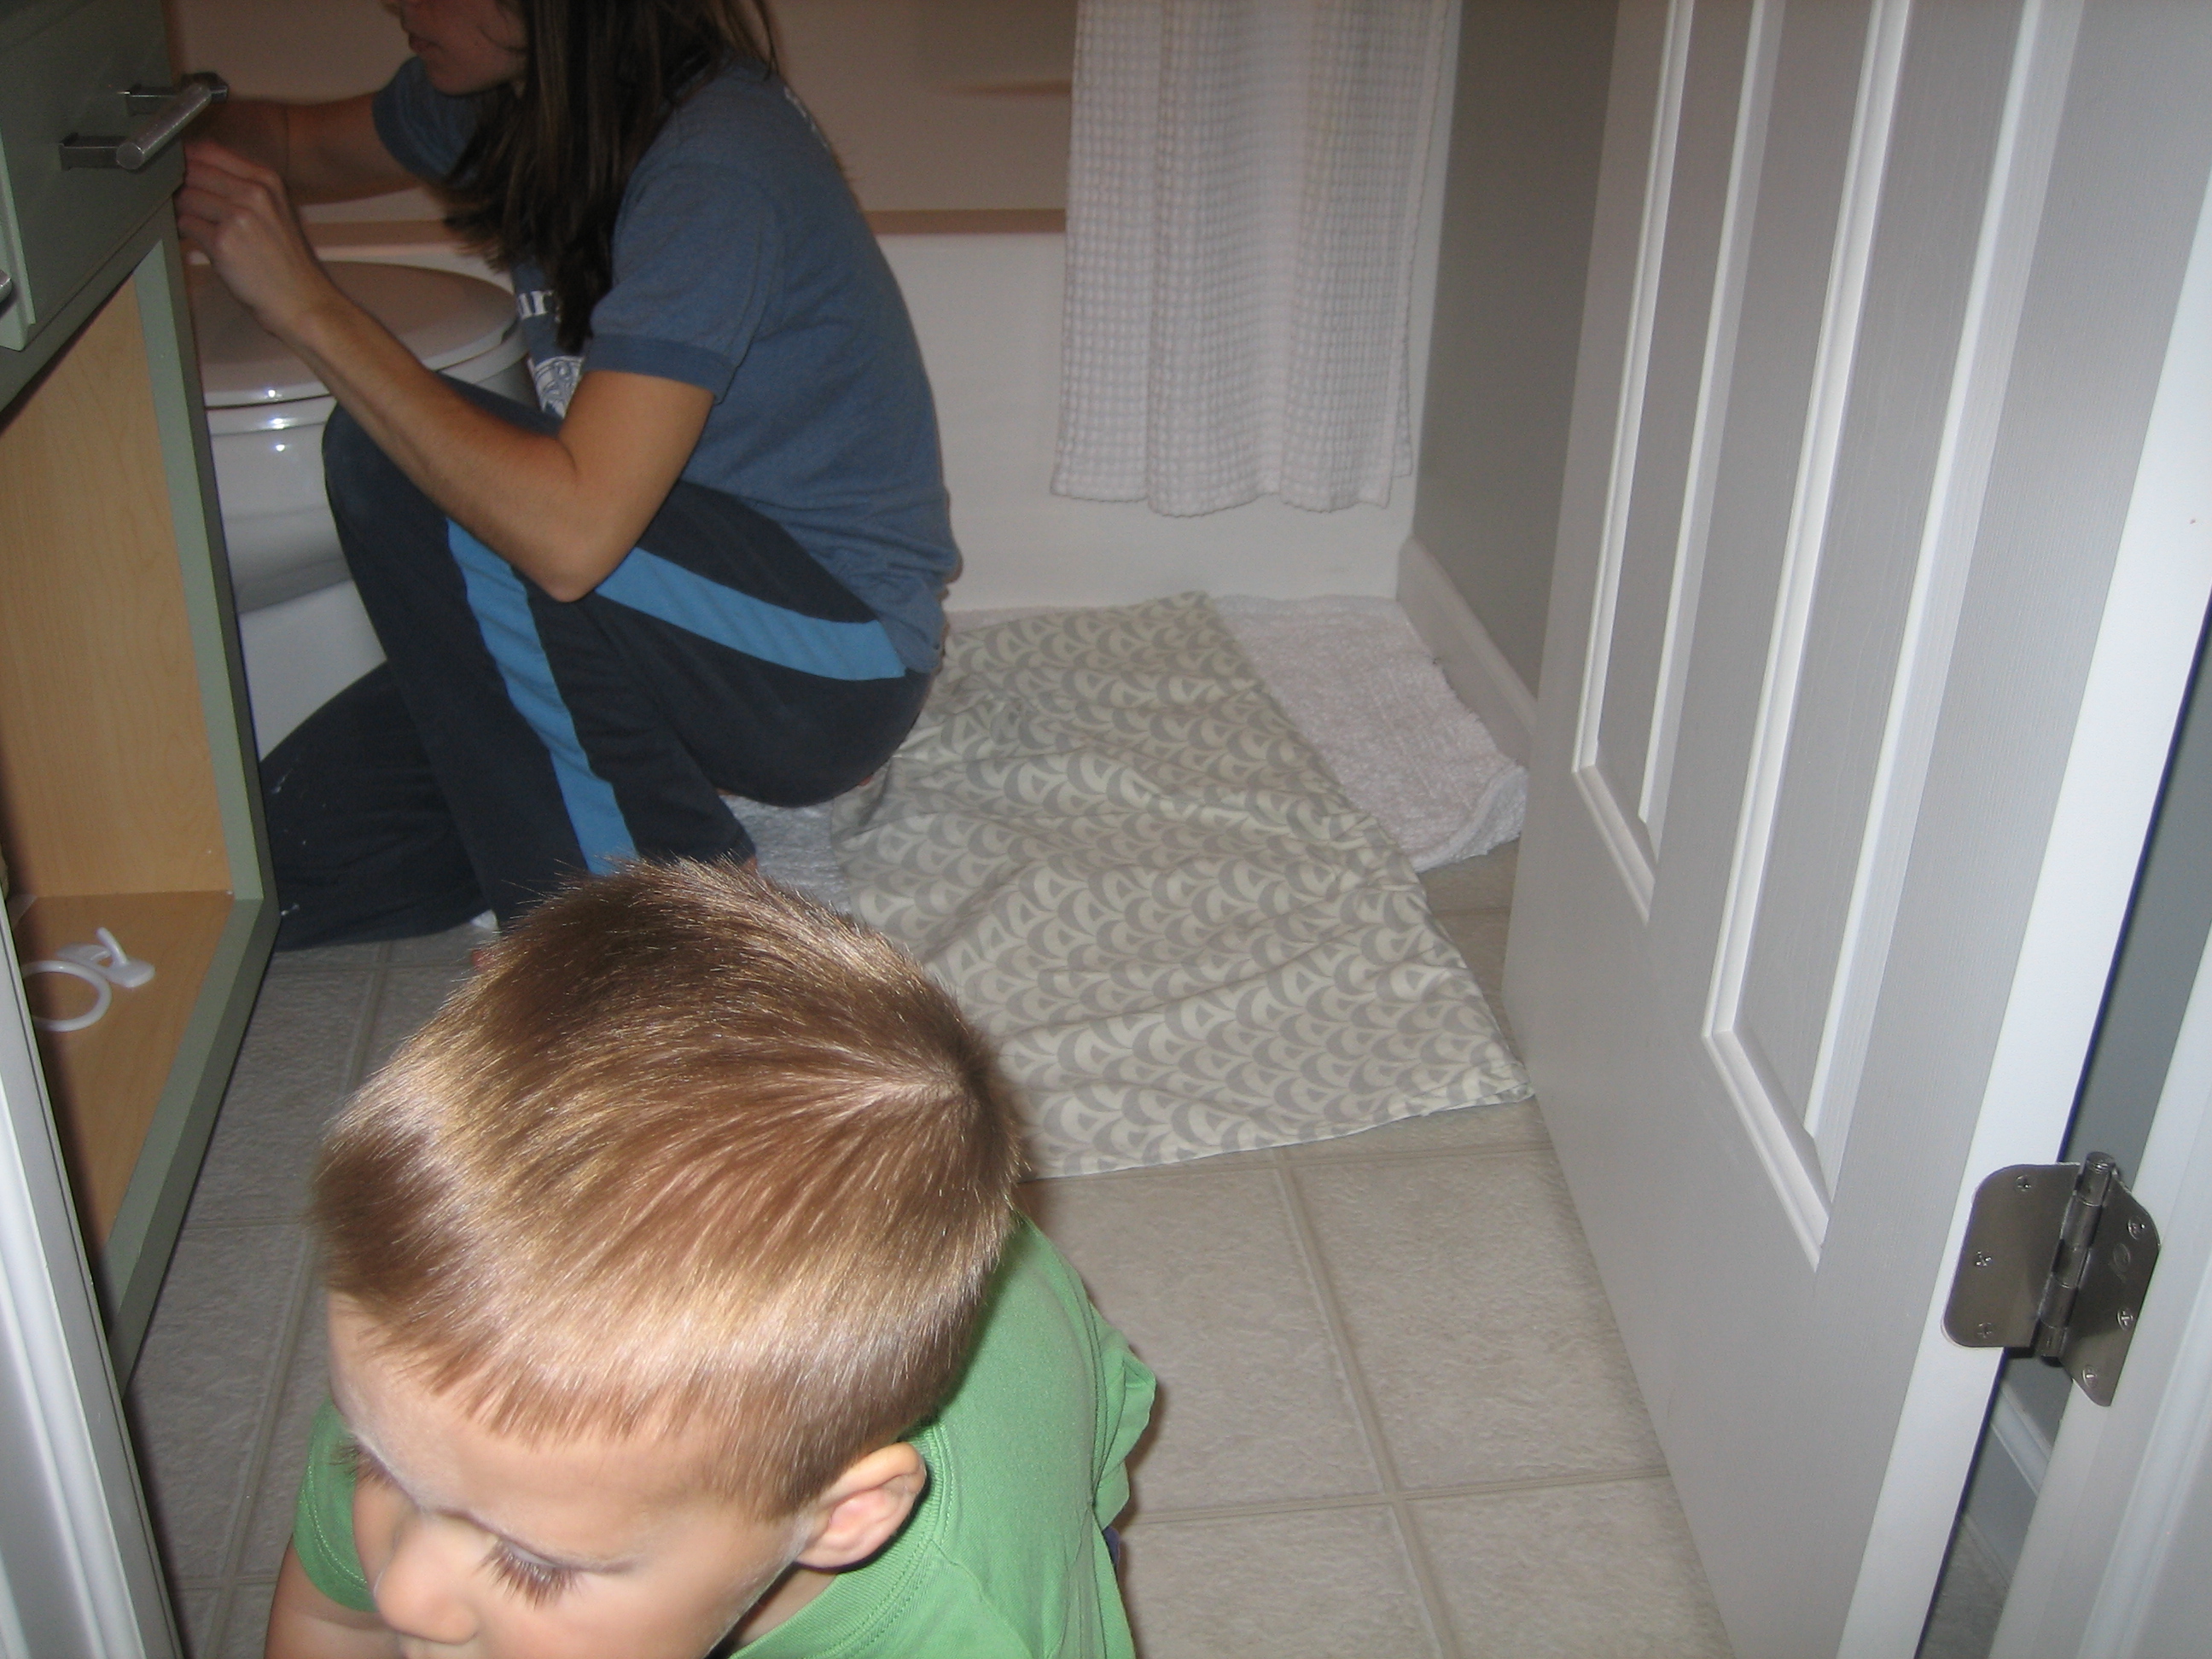
And just to prove that I do work with my boys around, here’s a pic Layne took of me re-attaching the toilet paper holder to the side of the vanity.

But now for some prettier pictures. This is the builder vanity’s after shot…


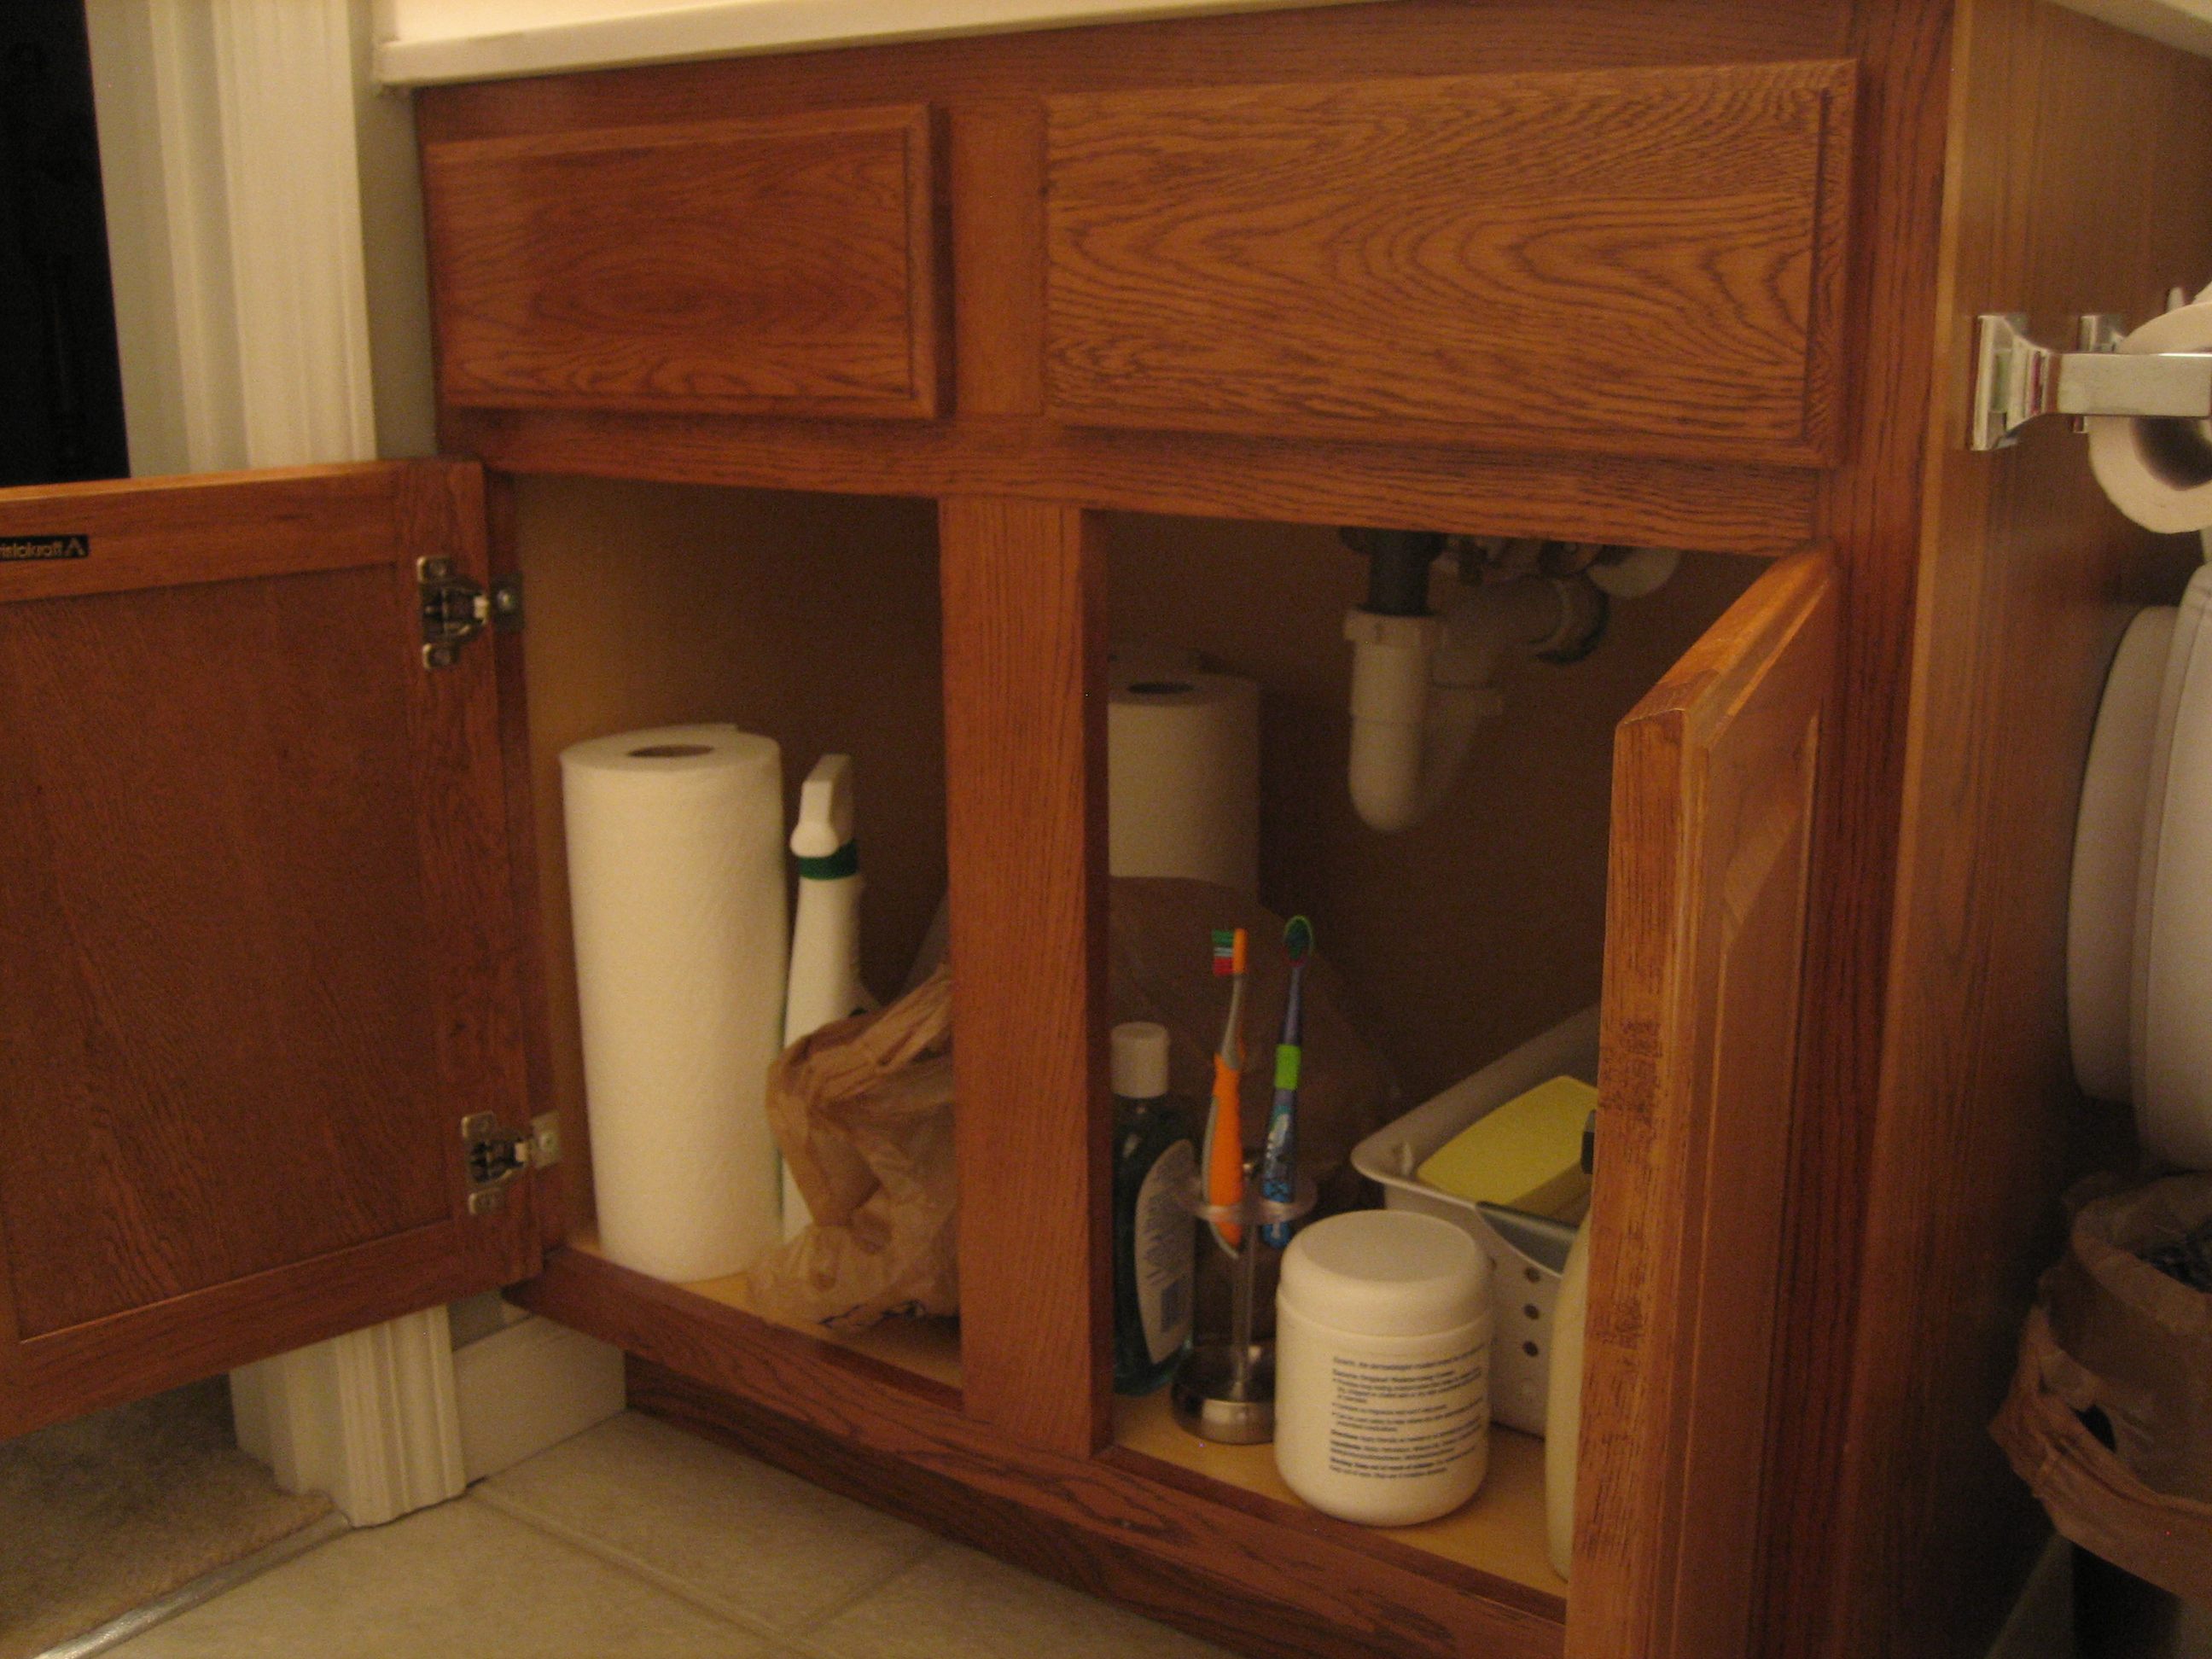
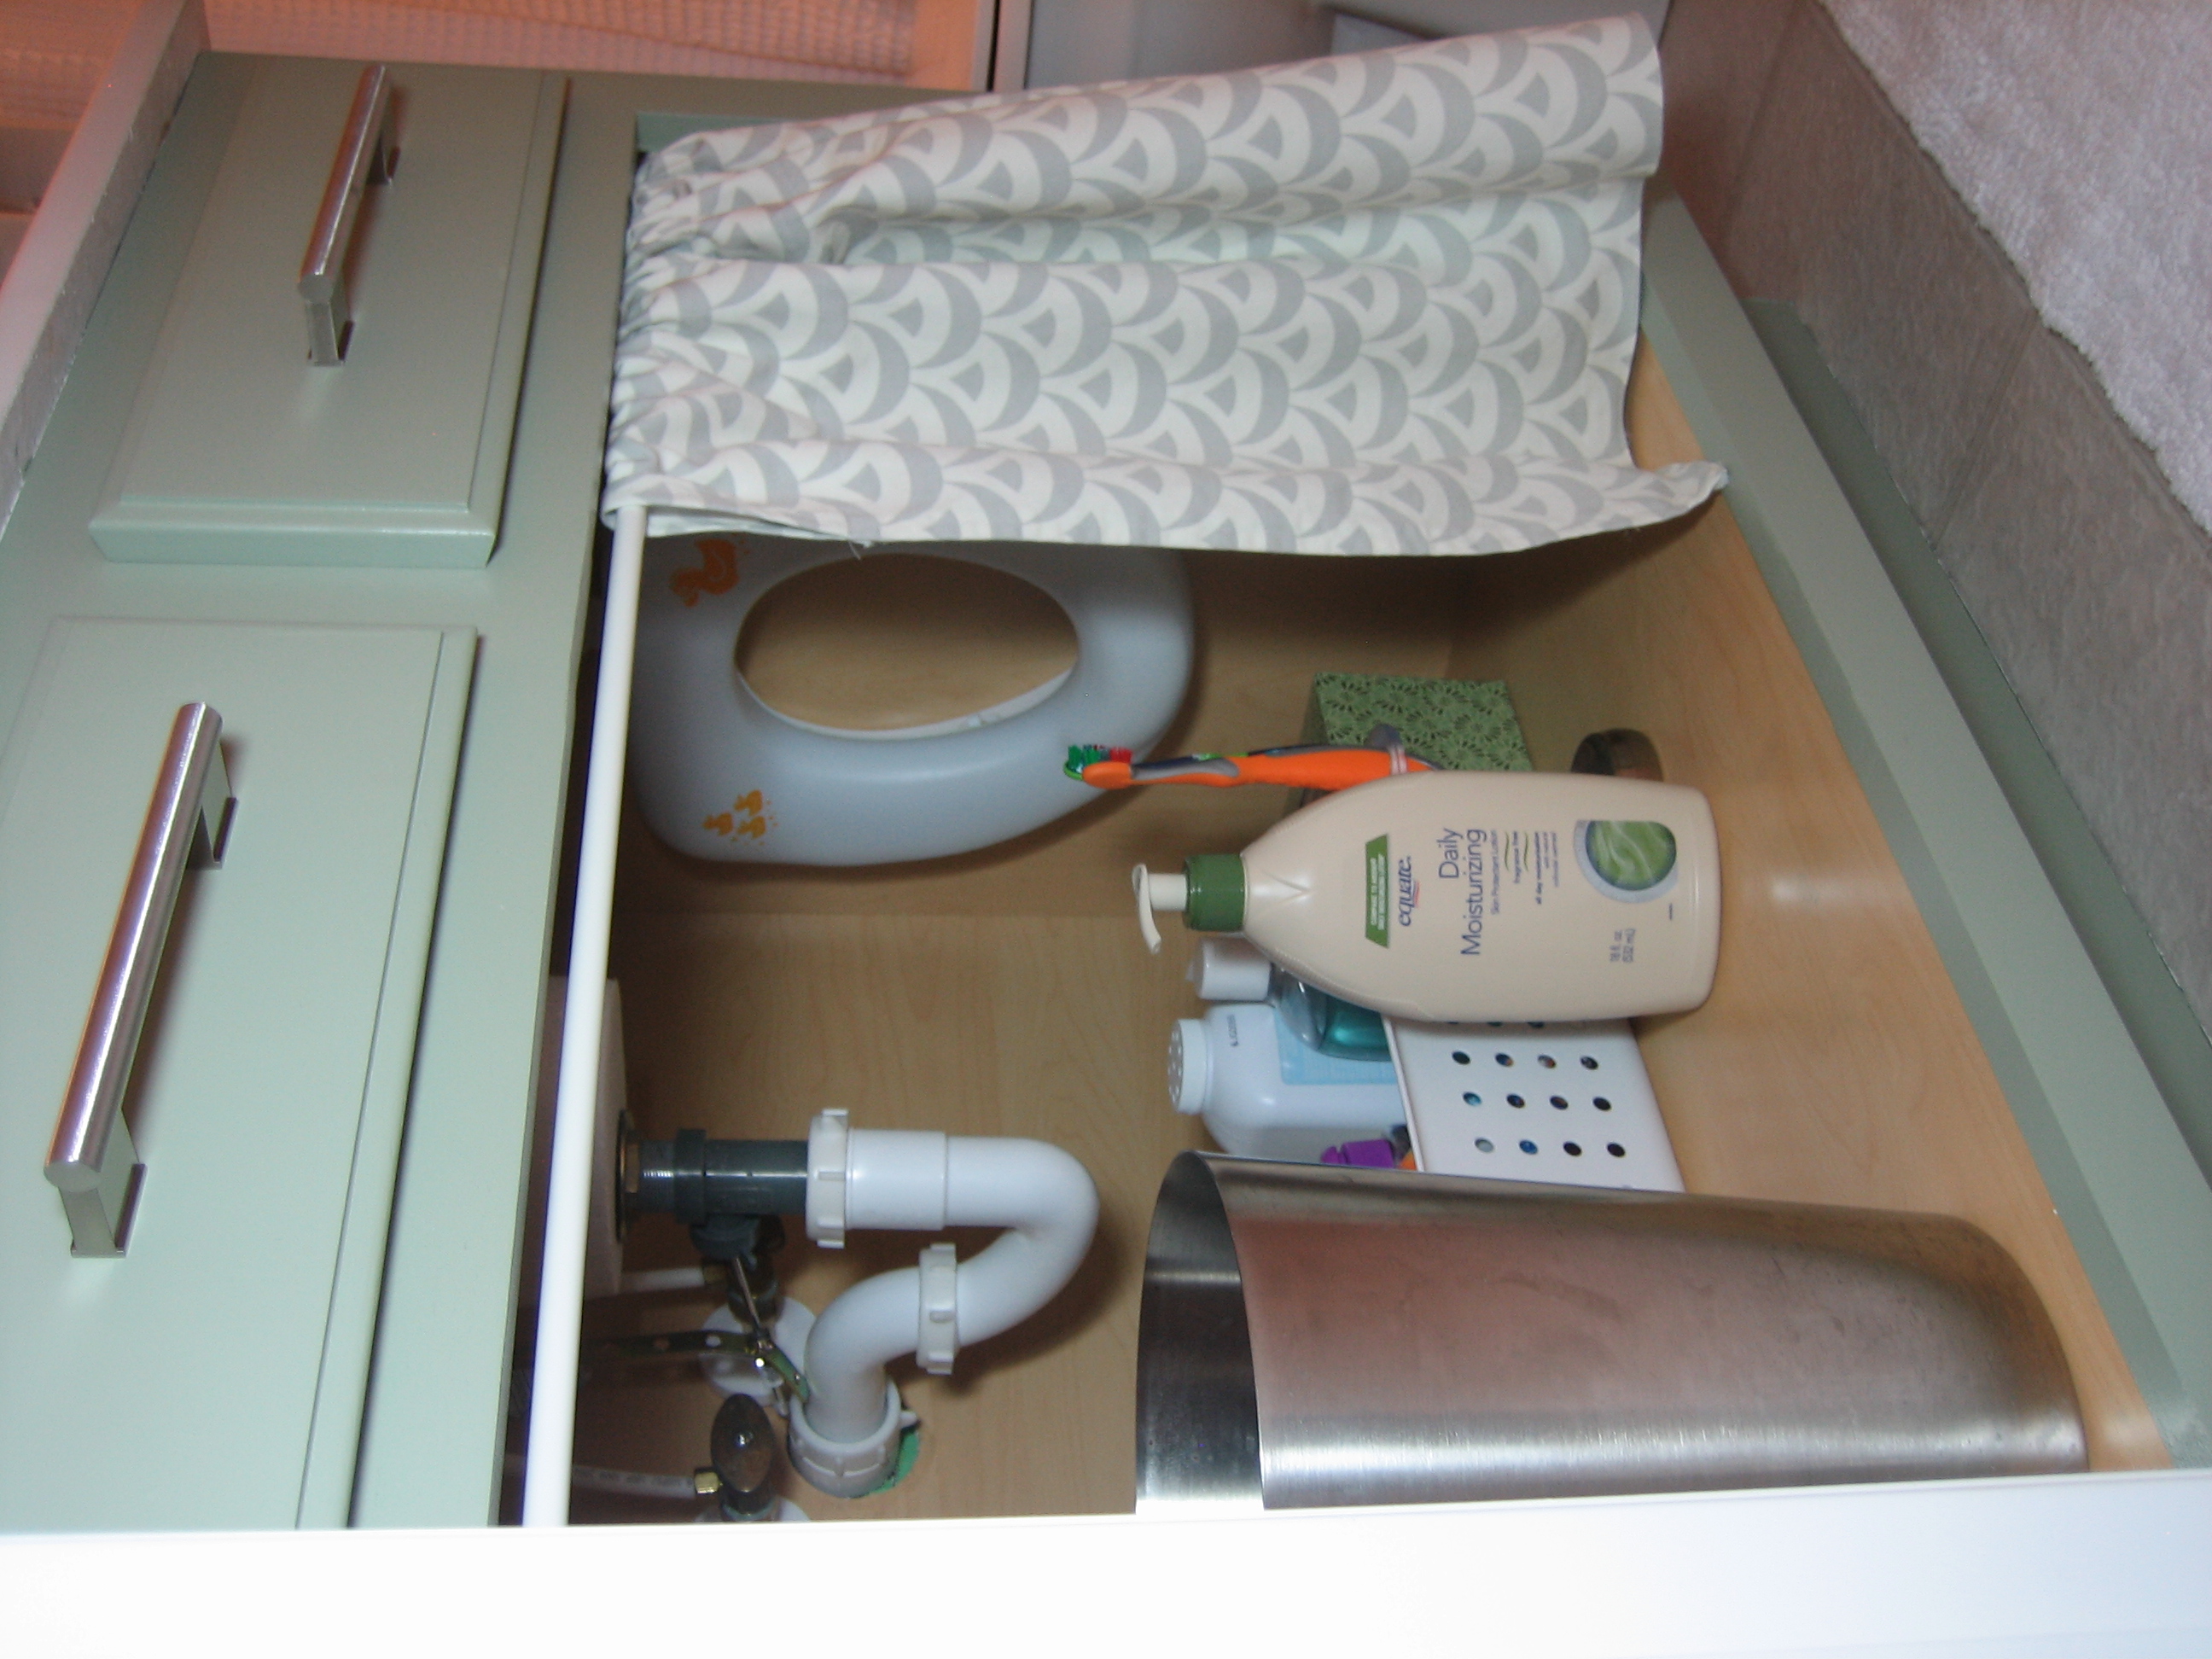
Even though the drawers don’t open (yeah, they’re those fake ones that you pull, pull, PULL on but never get open), the sleek metal handles were necessary in giving the vanity a more polished look. Emptying out the vanity for its makeover was an excuse to organize it too. I was able to make room for the trash can and toddler toilet seat under the sink. The toilet seat hangs from a 3M hook on the inside of the vanity. (Previously, it hung on the outside of the vanity next to the toilet.)

Fortunately, our boys aren’t long soakers. They’re usually all business in the bathroom. That means we don’t have a slew of bath toys. Other than lotion, toothbrushes, toothpaste and a few other toiletries, the bathroom vanity is pretty sparse. Which I like. I did add a wooden step stool to aid our newly pottying 2-year-old in washing his hands. I can easily relocate it to the tub at bathtime to save my back.


And for the sake of a good ol’ before-and-after…
This tweak was so inexpensive. All I had to buy was a quart of no-VOC paint ($10) and 2 drawer handles ($8). That set me back less than $20!!! Not bad. Not bad at all.


inspiration