You saw my house number pillows a few days ago. I bought ready-made outdoor pillows and simply painted them. Here’s how I did it.

I gathered the following supplies: pencil, ruler, fabric paint, fabric brush, small cheap-o paintbrush (not shown), cardboard (not shown) and pillow cover.

First, I washed and air-dryed each pillow cover. Always prewash any fabric that will be painted. Next, I slid a square of cardboard into my pillow cover to catch any paint that might bleed through.

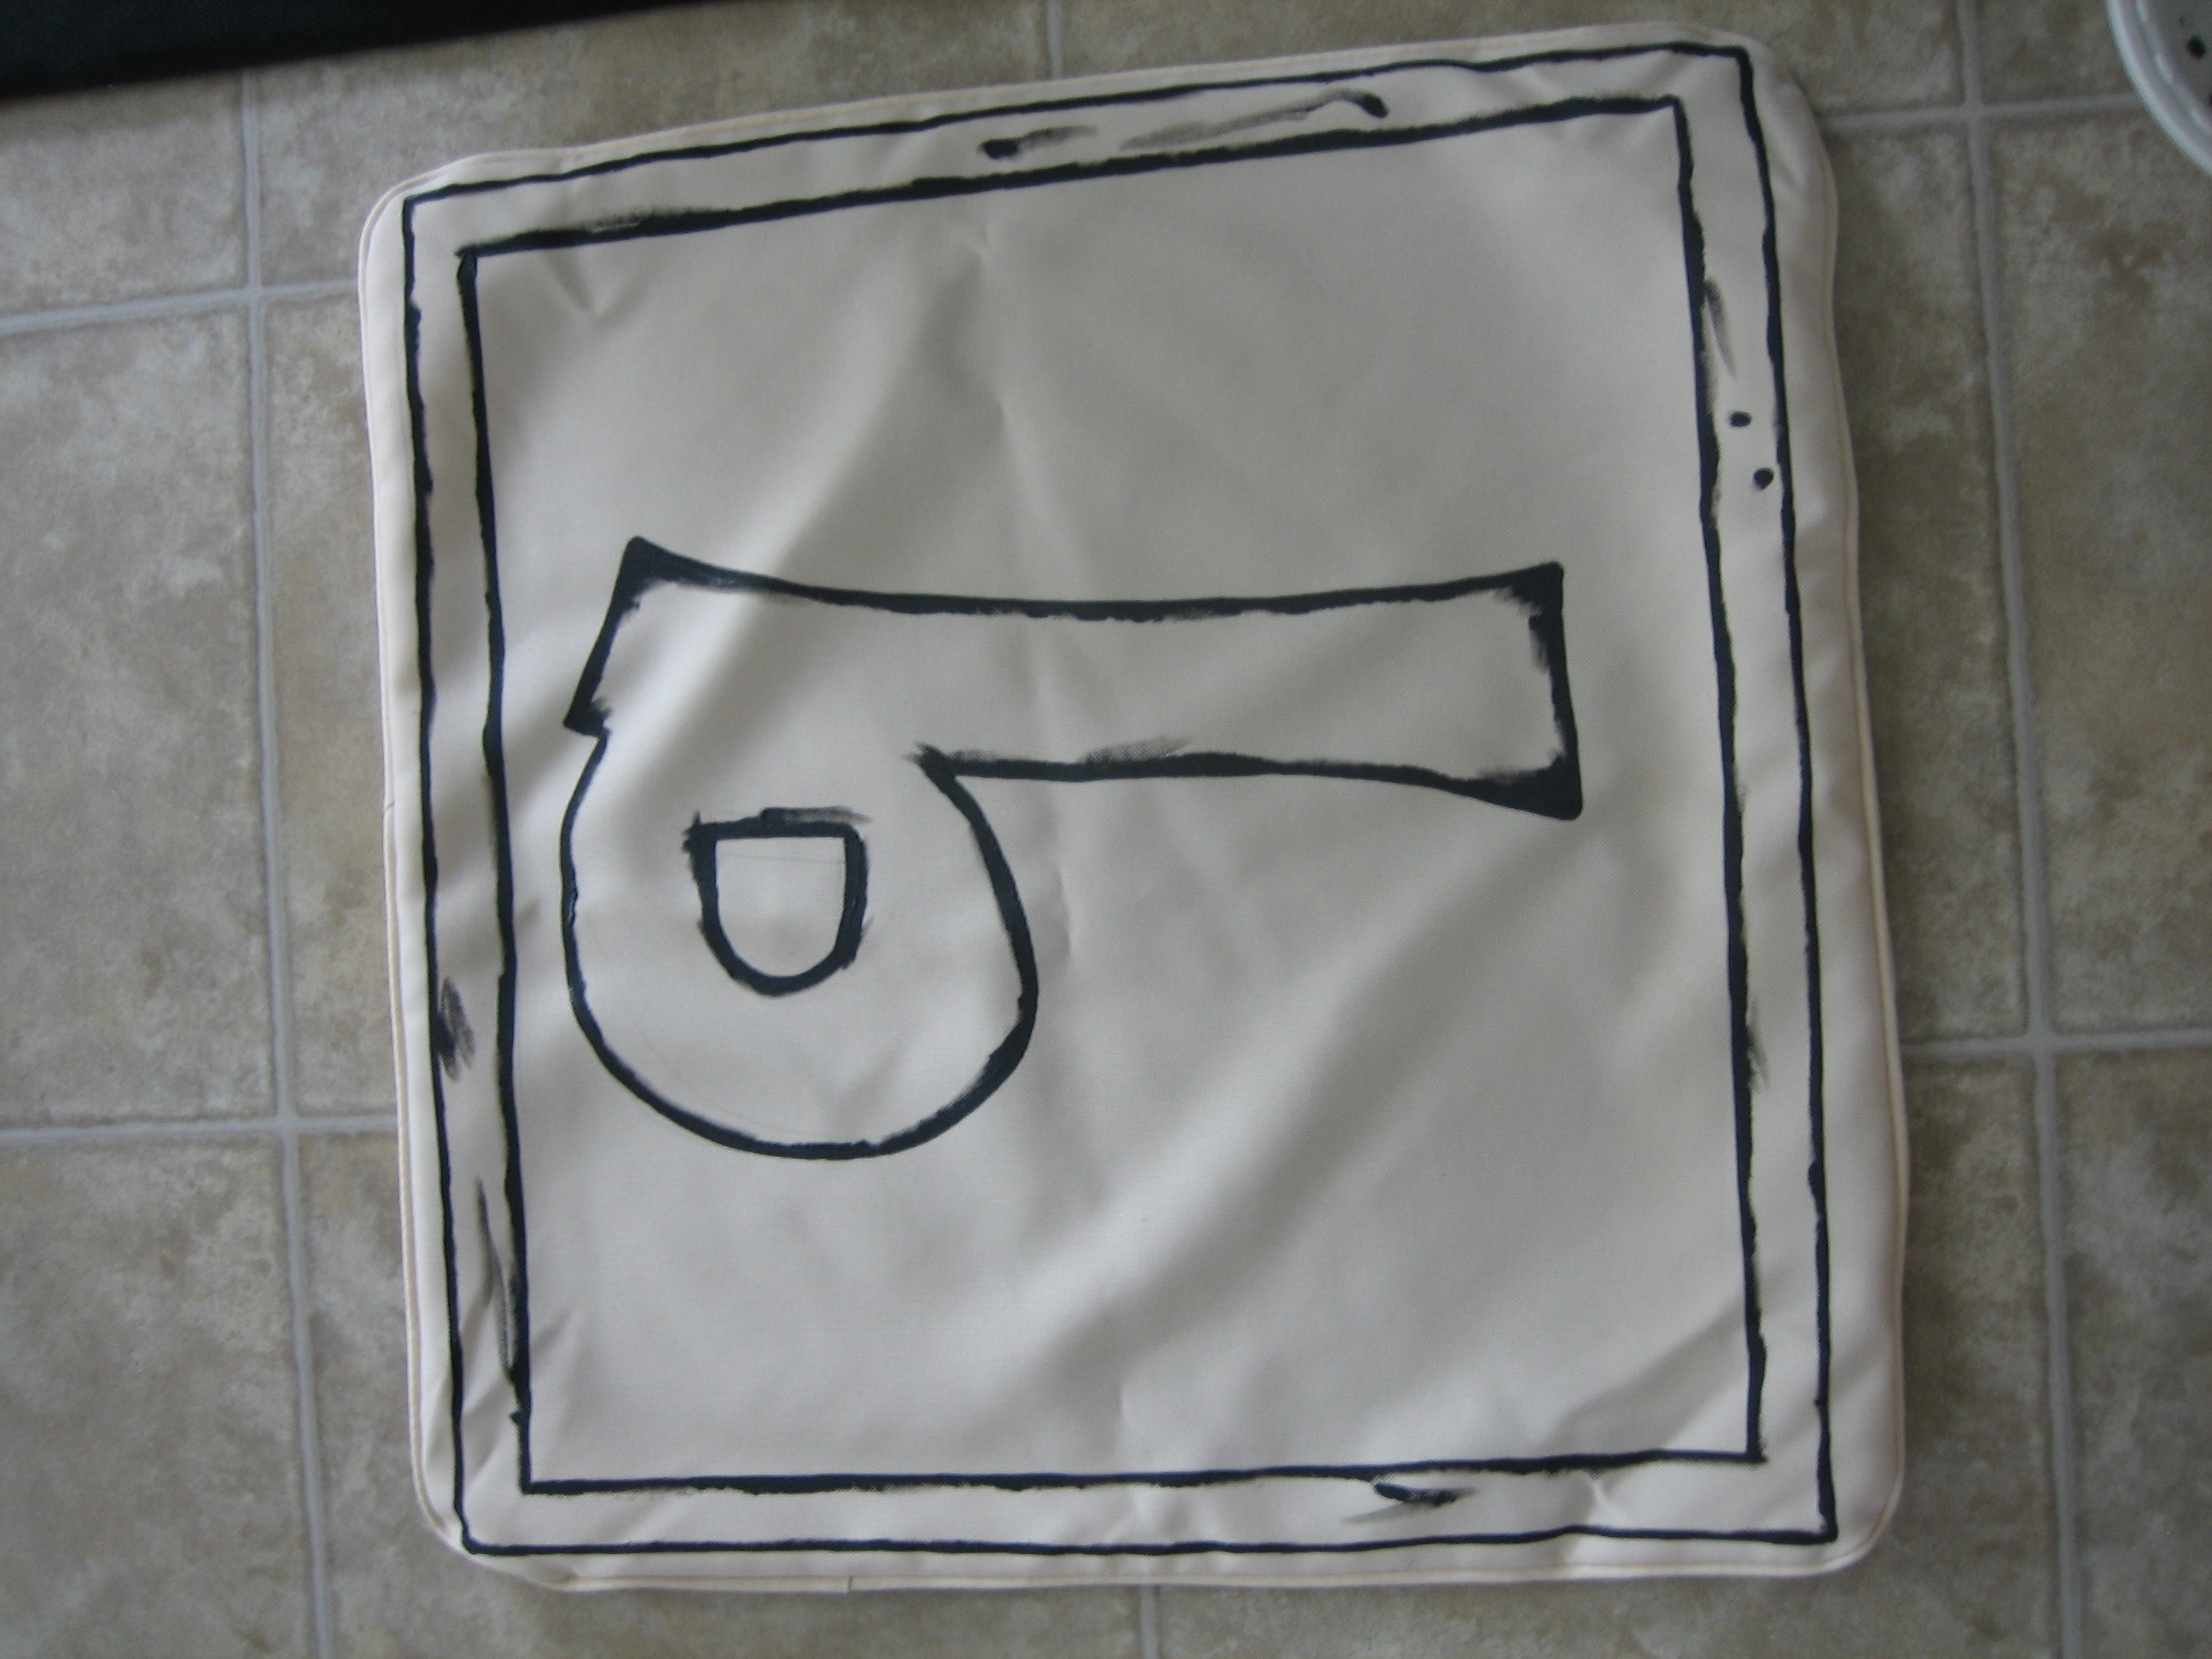
Then I traced a border around the front of my pillow cover using a pencil and ruler. This was a very rough sketch. I figured since the pillows would mostly be seen from the road, perfection wasn’t necessary. (Plus, I’ve given up on perfection since having 2 boys.) Once my border was established, I free-handed a number inside it. Again, the number sketch was loose. If I thought it needed beefed up in a spot, I just drew another line…no erasing…the pencil lines will wash out the next time I throw it in the washer.

I used a fabric paintbrush to trace all outlines of the border and number with black fabric paint. Fabric paintbrushes have firm and stiff bristles, so you can get a good clean edge.

I purposefully drew large, beefy numbers to enhance their visibility from afar since they’d be outside.

I filled in the traced outline with one of my kids’ cheap-o paint brushes. (Yes, the ones they use in those pseudo-watercolor activity books.) Any small brush with a flat,wide head would work fine.

I followed the instructions on my fabric paint label and allowed each cover to dry for 4 hours. I repeated all steps to make 4 separate pillows. (It actually took me about 3 days to get ’em all done and dried. I just worked when I could…usually when my boys were napping.) Once again, the final product…along with a cutie pie…

According to the fabric paint label, I could wash the painted covers after 3 days. I haven’t done that yet. There are a few stray pencil marks that didn’t get painted over but you’d never know just looking at them from the road…or even up close. They should wash away easily in the first wash, so I’m not fretting about ’em. I’m glad I made the numbers BIG and dark. They’re easily seen from the street. Handy Hubby was the one to suggest painting a border. I’m happy I took his advice; it gives the pillows a more polished look.
So, there you go. Easy house number pillows. In total, this project cost me $45…the cost of the pillows themselves and the fabric paint. Everything else I already had on hand. Although we own our home, this would be a great *temporary* house number idea for renters.
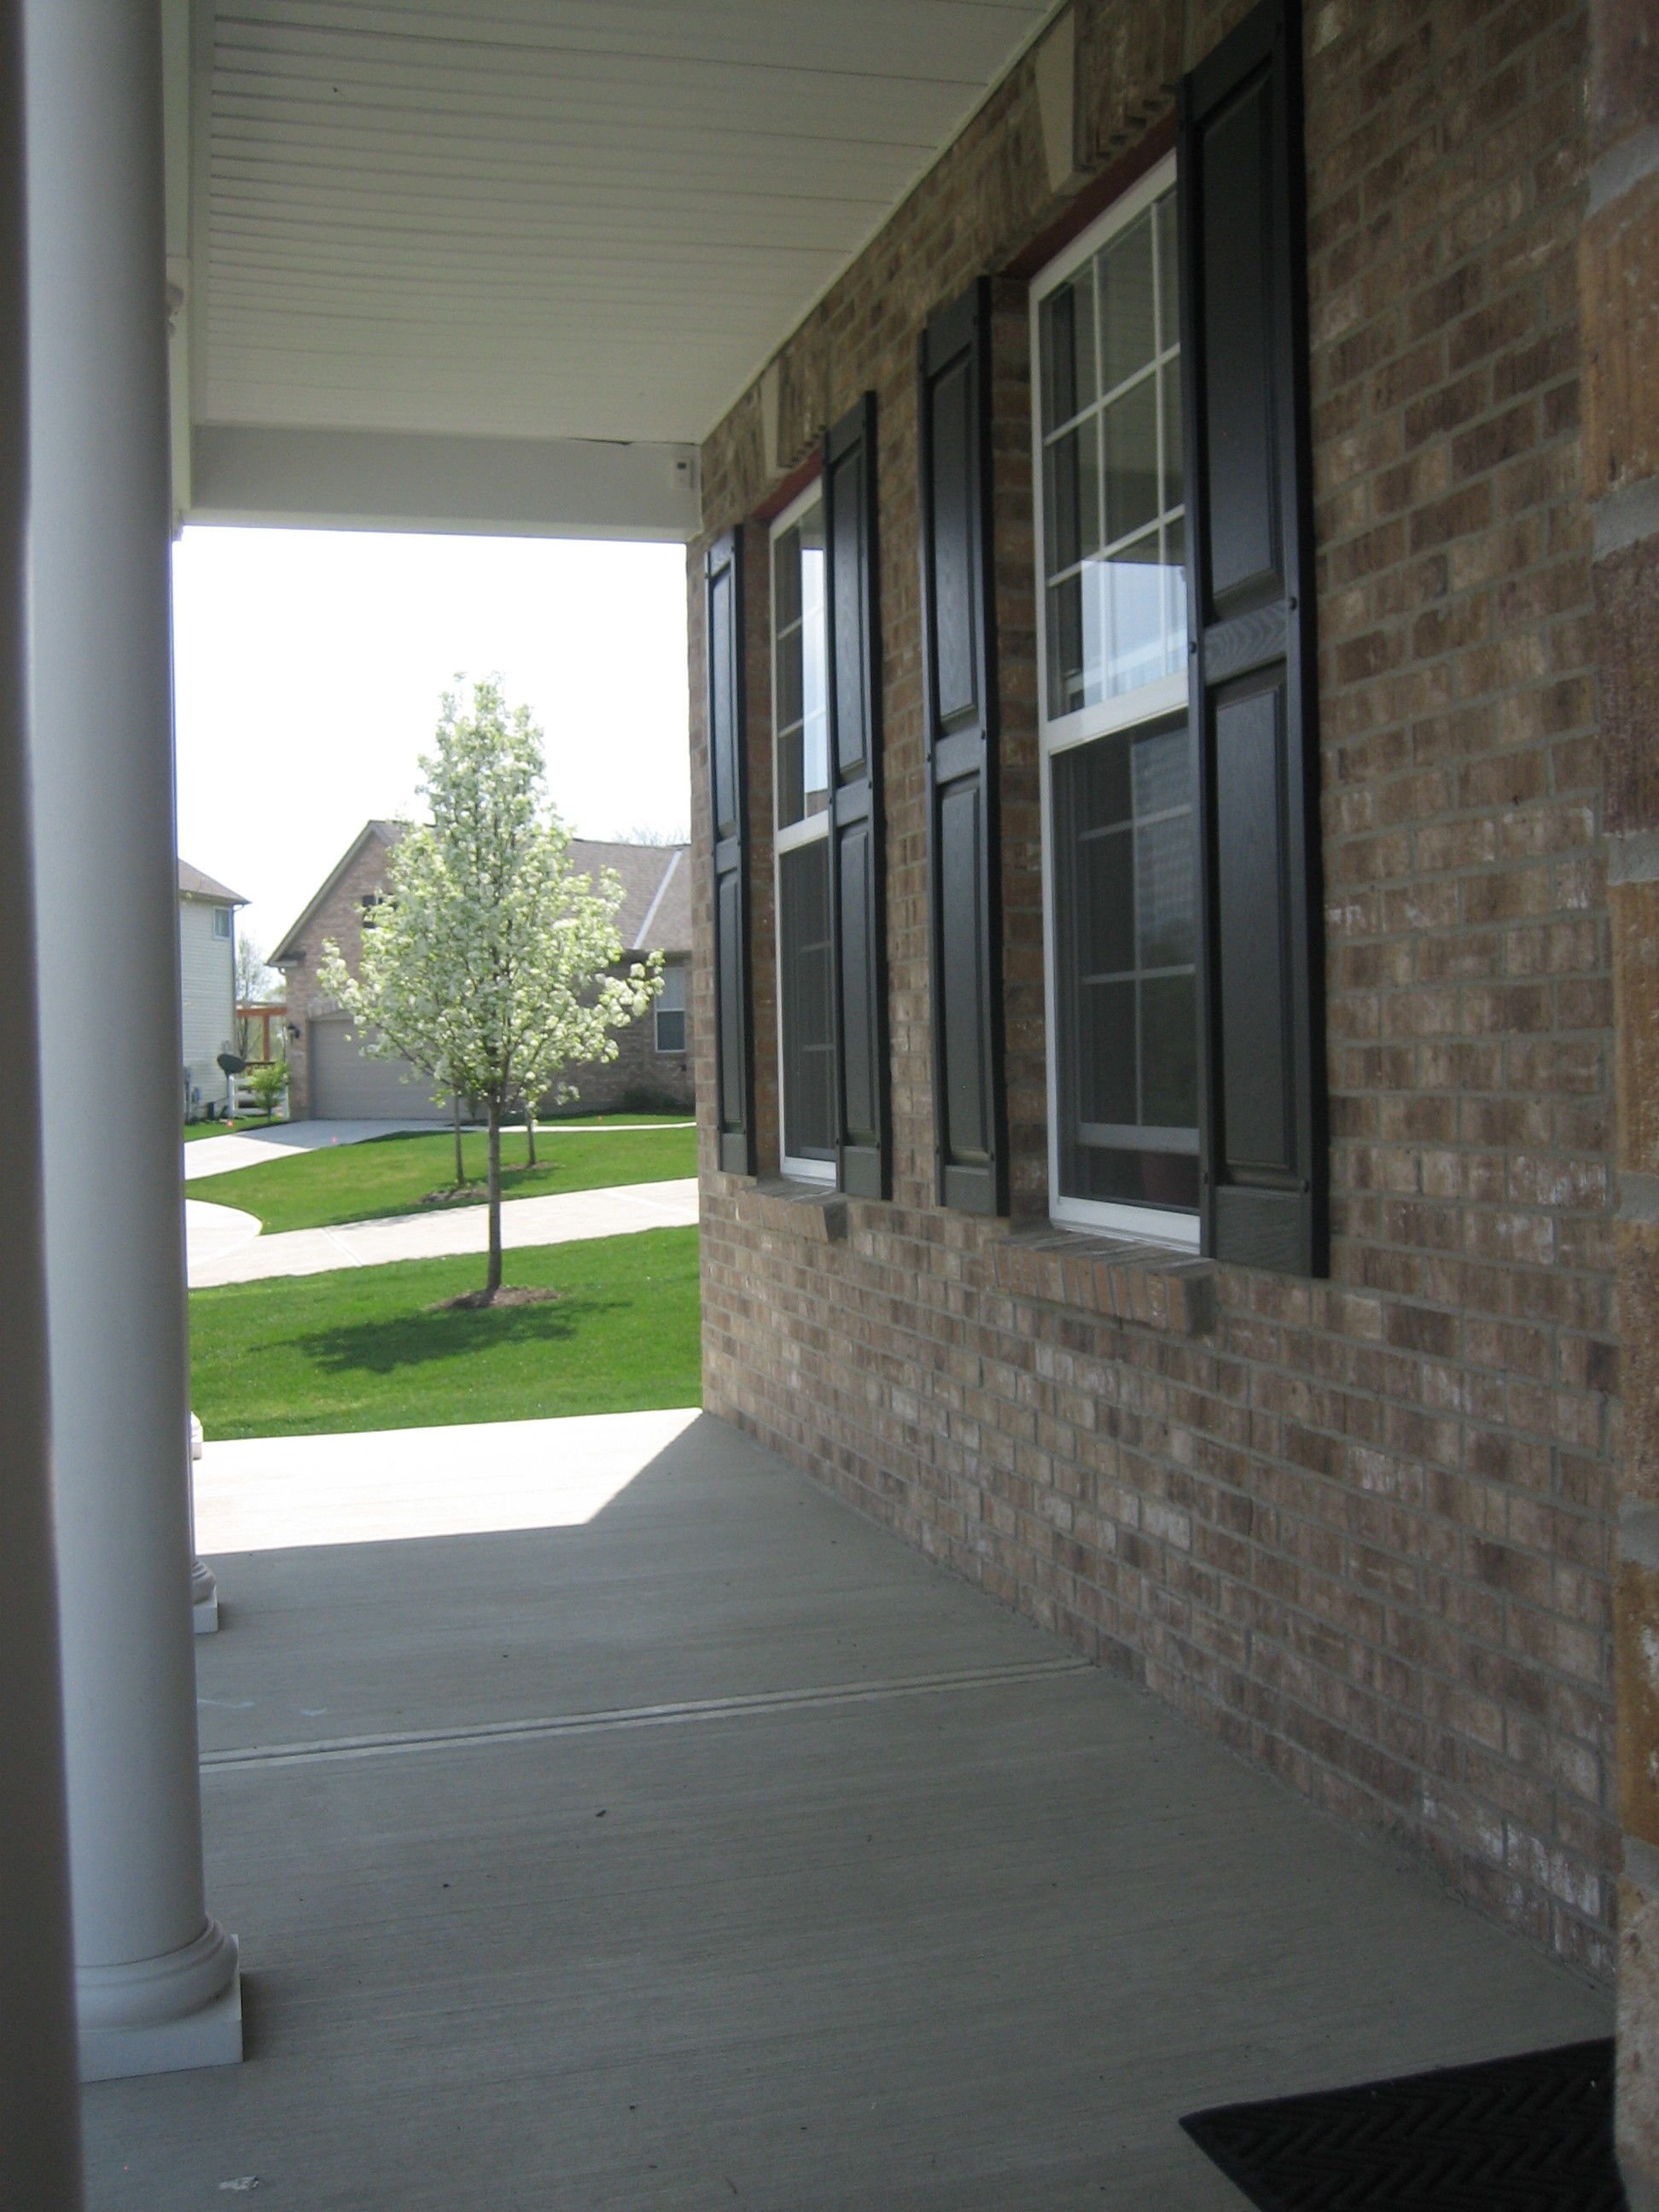
And just for fun since it’s a long weekend…before-and-after shots of the front porch.


budget decor, DIY