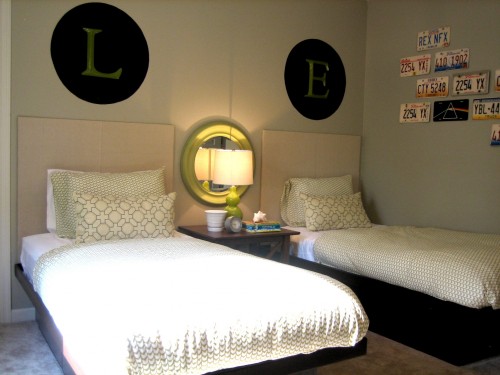
I’ve gotten a lot of feedback on the boys’ shared bedroom that I revealed last week. Namely the “L” and “E” wall monograms. Today I’m letting you in on how easy (and cheap!) these personalized monograms were to DIY.
What to have on hand:
*level
*tape measure
*pencil
*push pin
*hammer
*string
*flat paint in color of choice (mine was Lowe’s Valspar Fly-by-Night Blue)
*2″ or smaller angled paint brush
*dry wall anchors and screws
*screwdriver
*wall letter of choice (got my L & E from Hobby Lobby for $4 each on clearance and spray painted ’em green)
First, I marked out where I wanted the center of my circle to be on the wall above the bed using the tape measure, level and pencil. At that mark, I gently hammered a push pin into the wall. **I recommend using a push pin to mark your center because it leaves such a small hole you won’t have to putty or repaint.**
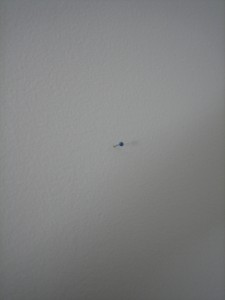
I tied one end of my string to the push pin and the other end to a fabric paint brush (you could easily use a pencil instead) at the length I wanted my radius to measure. For example, the circles I made are 24″ in diameter meaning they have a 12″ radius…the length of my string from push pin to tiny paint brush was 12″.

As I said, a pencil would suffice but I chose to use a fabric brush and dipped it in my paint to trace out a circle. A word of caution…try to hold your pencil/brush at a 90 degree angle to the wall at all times! Otherwise your starting and stopping points won’t align correctly. This is what my circle looked like after I drew an outline with one large sweeping motion.

The rest was easy. I removed my push pin and string then painted inside the outline with a 2″ angled brush. Here it is after 1 coat…
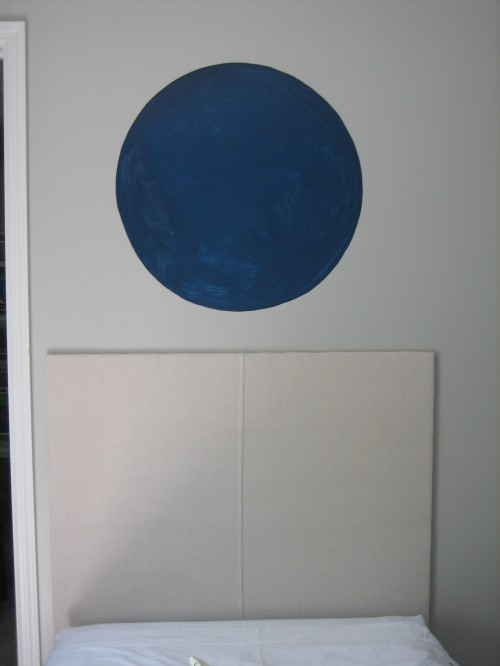
…and 2 coats (still a little wet)…
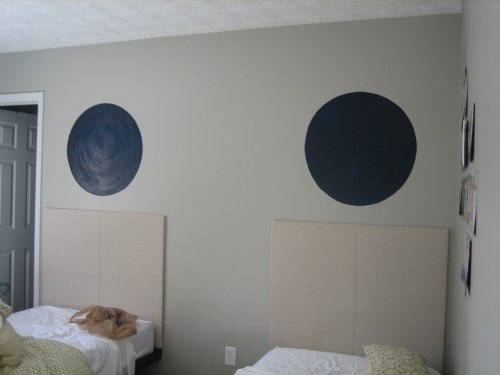
After the paint dried, I hung the letters centered up within each circle using drywall anchors, screws and a screwdriver. I don’t want a sleeping somebody getting bonked in the head from a fallen letter! The final monogram…

A little advice if this is something you’re wanting to take on: Paint the circle in flat paint. Glossy paints can give the look of a sticker or decal. Instead, paint your letter in a glossy finish to give the monogram more dimension and depth. Also, choose contrasting paint colors so the letter really stands out from the circle. Contrast makes a dramatic effect.
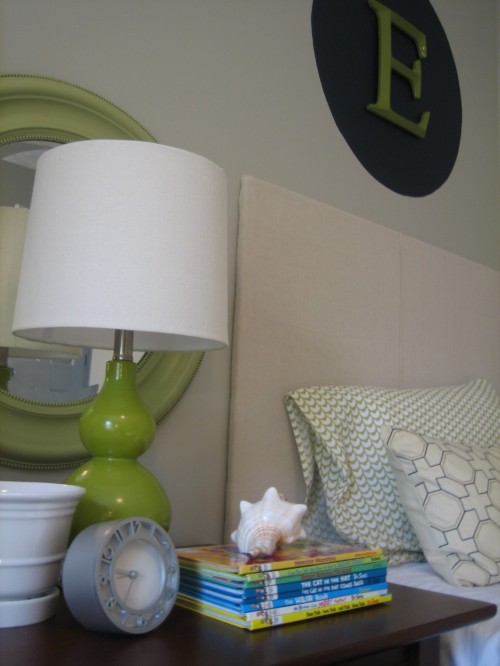
So, that’s how I added a little personalization to Layne and Everett’s bedroom for cheap. (I used leftover paint from the dropcloth curtains to make my circles, 2 metallic gold letters were $8 and the green spray paint for the letters was $4…that’s 2 monograms for $12, peeps.) I’m pretty infatuated with all things typography. Some smart alecky people (ahem, Jimbo) think it’s funny to ask me if I had to label my boys’ beds so they’d know where to sleep every night. That wasn’t my intention but it should help to settle some brotherly fights that are bound to occur!


budget decor, DIY, kid-friendly