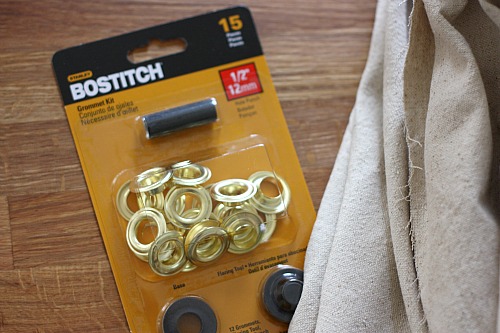
I warned you this post was coming. I decided to hang my custom fabric art with twine and grommets just to be a little different. Here’s how I added the grommets to my drop cloth. I purchased this Bostitch grommet kit from Lowe’s for less than $7.
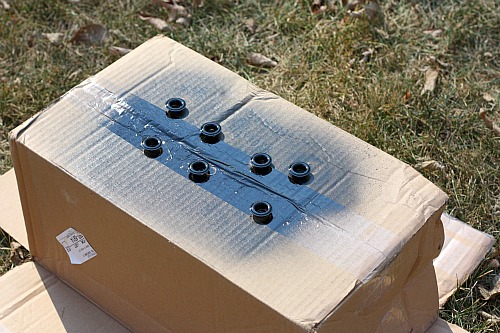
The hardware guy at Lowe’s told me it was meant to be used on tarps but since it was the only grommet kit they carried, I figured I could make it work. I measured my drop cloth and calculated how many grommets I would need…I came up with 7. The shiny gold metal wasn’t the look I was going for, so I spray painted the grommet fronts black. {If you won’t be seeing the back of the grommets, there’s no need to paint the back.} I’ve got a stash of black and white spray paint in our basement just for projects like this.
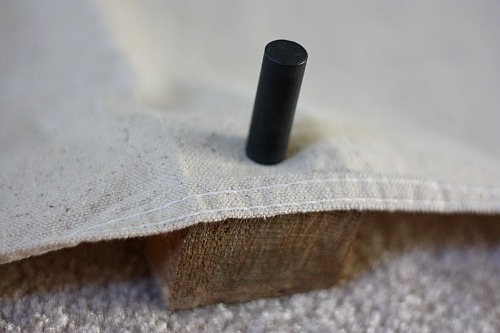
Next I used the tool in the kit that looks like a cylinder to cut a hole in the fabric for the grommet placement. One end of the cylinder has a sharp metal ring on it that cuts through the fabric when the opposite end is tapped with a hammer.
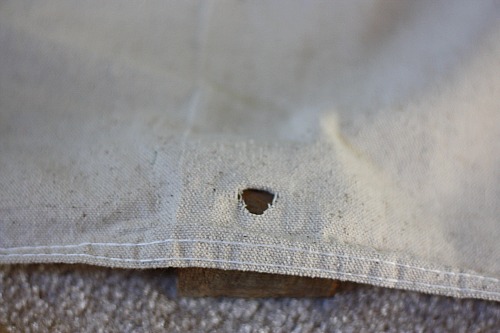
As shown above, you will need a hard solid surface under the fabric. I just grabbed a wood scrap from the garage and pounded out a small hole.
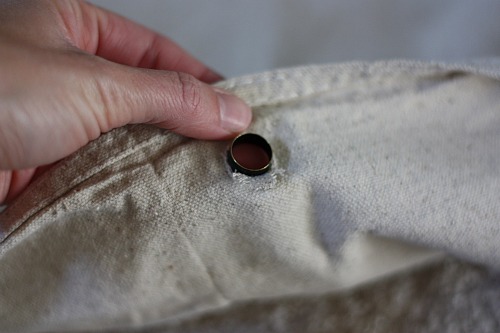
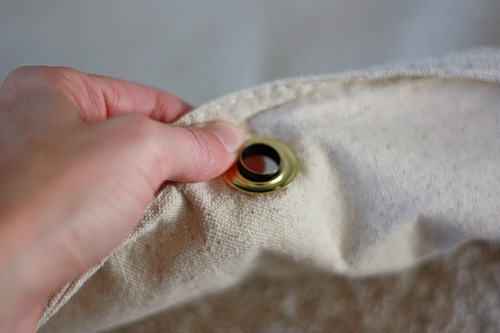
I pushed the front of the grommet {the part I spray painted black} through the hole. This shows what the grommet/fabric art looks like from the back…
I slipped a {gold} ring onto the back of the {black} grommet. Remember, you won’t see the gold ring from the front.
I wasn’t able to take any photos of this final step, as both of my hands were preoccupied. Basically, I placed the tool from the Lowe’s kit that splays out the back of the grommet onto the back of my pushed-through grommet. There’s also a circular ‘base’ to put underneath the front of the grommet to hold it in place while you splay the back. Then I pounded, and I mean POUNDED, it with a hammer to flatten out the grommet and secure it. This takes some muscle. At first, I was just tapping and getting nowhere fast. Then I got mad, took it out on the grommet and it worked. I repeated all of this for 6 more grommets.
If you look closely, you’ll see a little gold peeking through the black spray paint where the grommet got scratched while I was hammering away. I wasn’t planning on that happening but I ended up liking it. It lends an older, worn look.
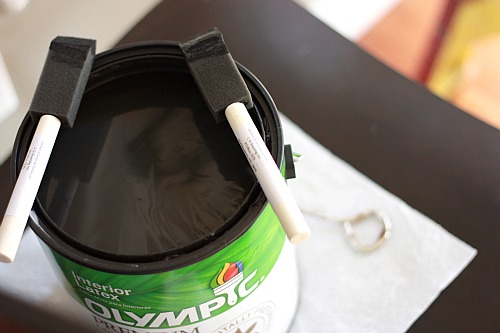
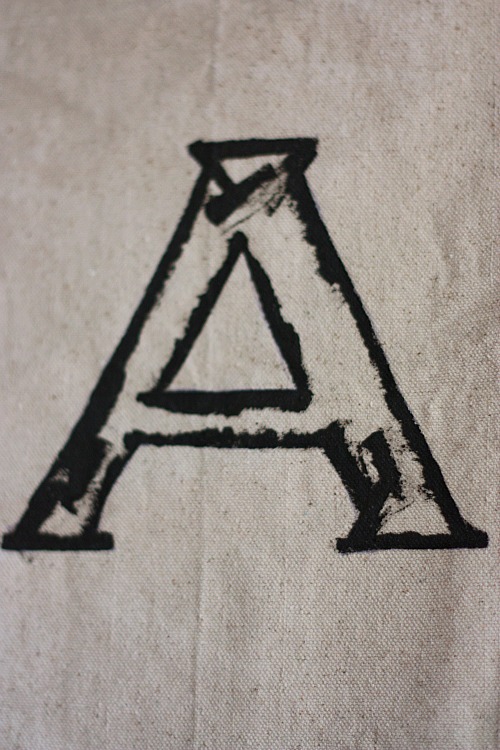
On a side note, I actually traced and painted the text onto the drop cloth while it was hanging. I had a transparency made {at Staples} and projected it onto my hanging fabric. I found it much easier to paint on a vertical surface as opposed to painting it on the floor. I outlined each letter and filled them in with a 1″ foam brush.
I’m not exaggerating when I say it took me about 10 minutes to finish one letter. {You do the math.} But I wasn’t in a hurry, and I took frequent breaks.
I did have to be careful not to saturate the fabric with paint so that it didn’t soak through to the wall behind. But all-in-all, I preferred standing up to hunching over. We’re very much enjoying our new artwork. Layne has just learned to read, so he likes to sound out all the words. Then he always asks, “Why did you put that on the wall?” Like I’m some crazy person. Maybe I am.




budget decor, DIY