You wouldn’t know any better if I didn’t tell you, but this is my second attempt at writing this post. I spent a whole thirty minutes at the public library downloading and editing pictures for the post when {just my luck!} the library lost internet service. Now, I’m coming to you live from McDonald’s, the next closest location with free wifi service. I will be so thankful when we finally get internet service set up at the apartment. We’re on the calendar for Saturday.
I completed my first home-related DIY project at the apartment over the weekend. Surprise! It’s nothing special in the way of design…mostly it’s just functional. Over the past few weeks, we’ve been working during all hours of the day {and sometimes night} to get our previous home ready for closing while still trying to keep the ball rolling at the Underdog. It’s made us and our kiddos pretty weary. Often times we didn’t eat dinner until after 9pm…well past our kids’ usual bedtime. So priority #1 for apartment living was to get back on schedule and rest up from all the packing/moving chaos. One small problem though…
Summer in the midwest means late sunsets and early sunrises and without proper window treatments, all that natural light was wreaking havoc on our efforts catch some extra zzzz’s. And those blinds that come already installed on the apartment windows? They don’t really block light very well. So, I devised a plan to DIY some inexpensive, remedial, completely temporary window shades using a few blackout panels we had used in the nursery at our previous home and four tension rods {two for each window}. You can purchase the same blackout panels from Wal-Mart or even purchase blackout fabric from a fabric store. Find tension rods at nearly any store that sells curtain rods. I got mine at Meijer for $20 total.
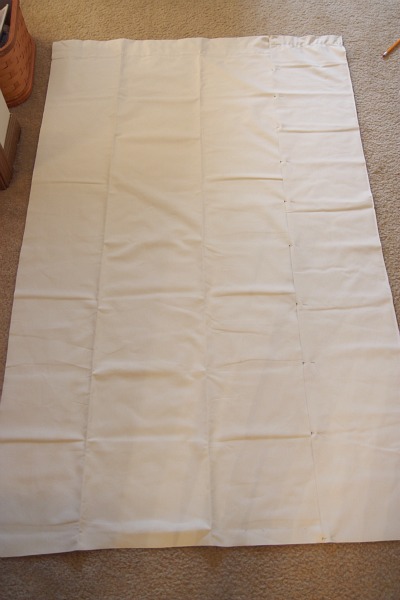
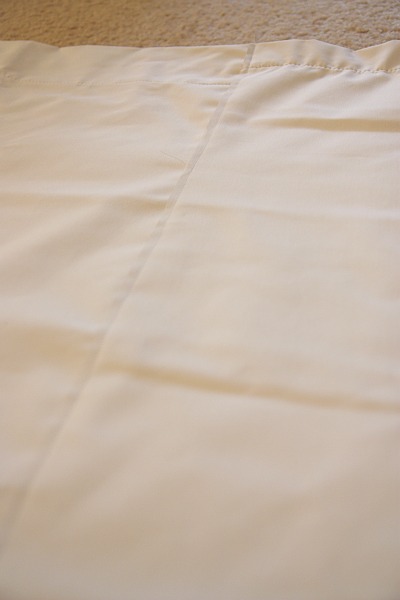
First, I measured the inside dimensions of the bedroom windows – the boys’ bedroom window and our bedroom window. At 35″ wide, I quickly realized that my 27″ wide blackout panels weren’t going to be wide enough, so I cut a 9″ strip from another panel to add onto the original 27″. I pinned the two pieces together with a 1″ overlap making sure to line up the top rod pockets…
…then sewed them together on the sewing machine.
I cut the 35″ wide panel to length {in my case it was 57″} and was left with a blackout shade that fit the inside window dimensions perfectly. Functional enough. But I wanted to add a little savvy to it, so I decided to sew printed fabric to the interior side of the blackout panel. Per apartment regulations, all window treatments must have a white backside so that the complex looks uniform from the street.
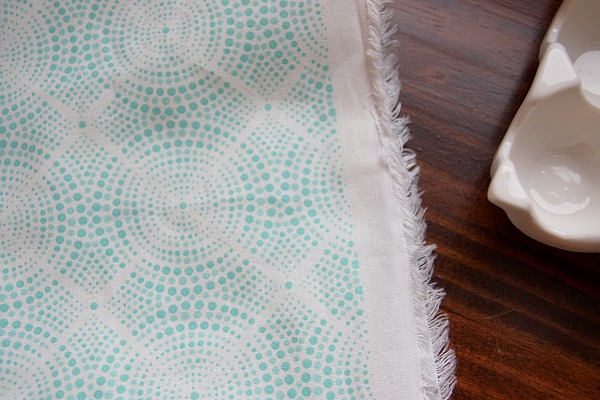
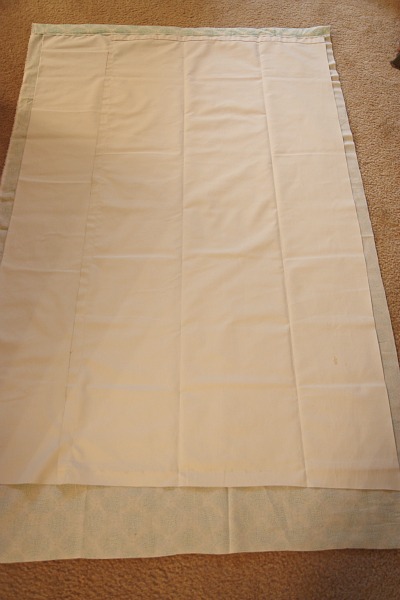
I found a fun turquoise print at JoAnn’s for the boys’ bedroom. I would have liked something with a larger, punchier print but this is what I was able to find on such short notice and in my price range. I had a 50% off coupon. I bought 2 yards. I laid the fabric wrong side up under the cut blackout panel and cut to length…leaving an inch or so around the sides and about 6″ at the top and bottom to allow for the top and bottom rod pockets. *Make sure to leave enough fabric at the top so that when it is folded over and sewn down over the top rod pocket, the sewn seam doesn’t impede movement of the tension rod through the pocket.*
I didn’t worry about the unfinished edges of the pocket. I figured I could just fold them into the pocket and slide my tension rod through.
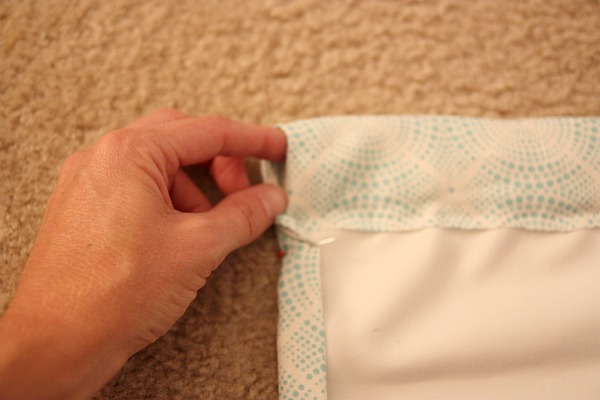
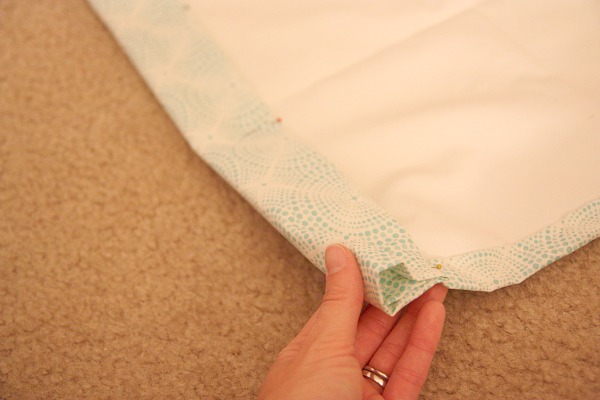
Next I folded the sides over twice, pinned them and sewed them…being careful not to pin or sew the opening to the top rod pocket.
Lastly, I folded up the bottom of the fabric twice, pinned and sewed it leaving a few inches between the bottom of the blackout panel and my seam {higher up} to make a bottom rod pocket for the second tension rod.
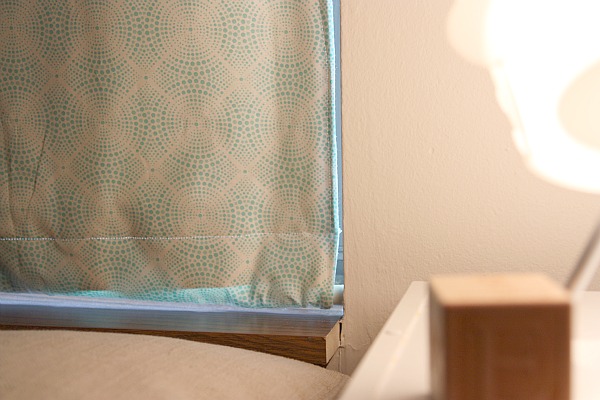
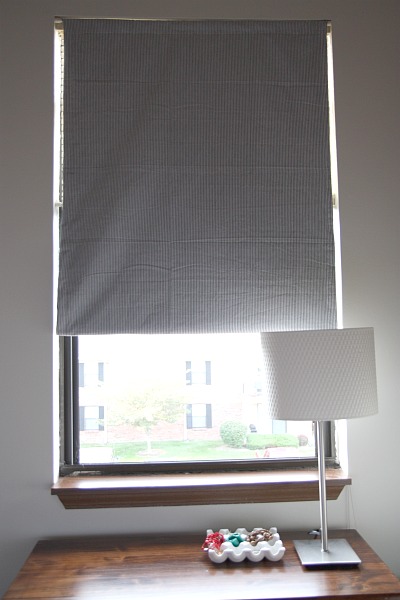
To hang my final product, I simply extended 2 tension rods to the correct width, slid a tension rod through the top and bottom rod pockets and squeezed them into the window frame right up against the vinyl blinds.
The bottom tension rod keeps the shade in place for a room darkening effect but can be moved higher up during daylight hours to let light in.
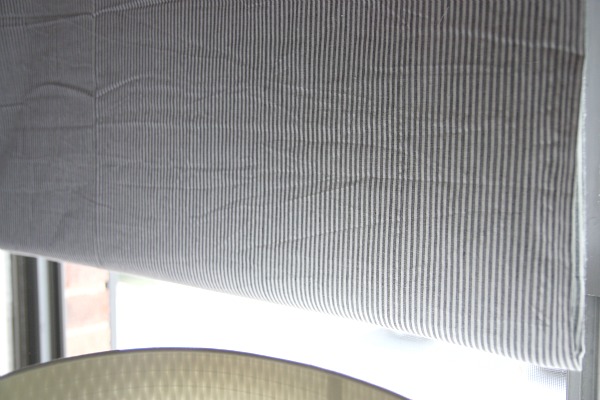
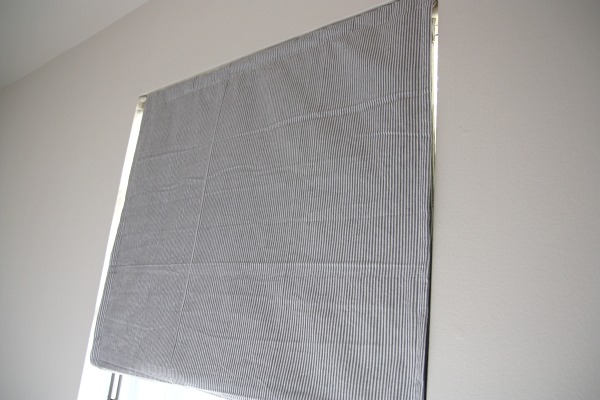
My DIY shade could use a little ironing but I was trying my hardest to complete the shades before bedtime…and I started making them while Handy Hubby was giving the boys their showers…so I was pressed for time. {Pun intended.} I made a blackout shade for our master bedroom as well using striped ticking fabric from JoAnn’s.
A lady at JoAnn’s was kind enough to give me another 50% coupon {I only had one} she wasn’t using, so I ended up getting 50% off the fabric for our shade too. In retrospect, I think she was feeling a little sorry for me. I was at JoAnn’s with two very energetic boys who like nothing more than to hide in all the fabric.
Again, it could use some ironing. Maybe I’ll get around to that before our time at the apartment is up. Maybe not.
I like these shades for a lot of functional reasons: 1) They are temporary. Without involving nails or screws, I can simply pull them down when it’s time to move. 2) They meet the apartment guidelines. By sewing fabric onto only the interior side of the shade, the backsides are left white. 3) They are cheap. Both shades cost me less than $40 total and I was able to reuse blackout panels I already had on hand. 4) They keep the light out at night and let light in during the day. The bottom tension rods can be moved to a desired height, gauging the amount of light coming into the bedrooms. The vinyl blinds still move up and down freely behind the shades. 5) They muffle a fair amount of street noise. While the occasional siren and train can still be heard, sounds from the parking lot right outside the bedroom windows are blocked. 6) They’re kid-friendly. If my boys decide to pull on them or hang from them {which is inevitable}, the shades will just come loose.
I know these shades aren’t the most design worthy window treatments in the world but they are serving their purpose for us. They’d be a great ‘holdover’ window treatment to keep you rested while you save up for what you really want or until you decide exactly what you want. I think they could be used similarly in college dorms and nurseries since those spaces tend to be temporary too. Add a thick border of ribbon {simply hot glued on} to add some sophistication or stencil/paint your own design onto plain fabric for a custom look.
So, that was my first apartment project completed only days after we moved in. While I don’t want to put a lot of time and money into the apartment since it’s only temporary, I do want to make it functional and comfortable. Because, well, that’s what I do. Next, I’ve got my eye on the pesky folding closet doors. Everett has already pinched his finger in one. They’ve gotta go.
What about you? What are some little things you’ve done to make apartments, dorm rooms, rentals or even your homes work for you? It doesn’t have to cost a bundle.
images: Dana Miller for House*Tweaking







budget decor, DIY, kid-friendly