We are settling into apartment living nicely. The boys really seem to like it. I think they see it as a big playhouse. It’s a welcome change for them from the ‘showhouse’ {i.e. previous house we sold by owner..more on that next week} conditions we were living in for nearly five months. The words “No! Don’t touch that!” haven’t slipped through my lips once in the past two weeks. The kids happily litter their toys around the apartment and make tents out of furniture, blankets and pillows. Sometimes I don’t even make them put it all away at night because, well, it doesn’t matter. No one’s coming to visit and we aren’t hanging by a thread waiting for a call from potential buyers who want to come see the place. We’re just living here.
Still, after living in the apartment a few weeks, I’ve decided there are some things that need to be addressed to make our new space function well and feel a little more like home…albeit an interim one. Not all of the things I want to do deal with are major design dilemmas – by god, there are plenty! – because we’re only going to be living here temporarily. Most of the projects I want to take on will affect the way we use the apartment and how it works for us. Don’t worry, though, I don’t think I can completely steer clear of all design-related ideas! I’ve gotten a bunch of different feedback concerning interim housing and possible projects. Some people advise not to touch a thing and focus all energies on the Underdog while, at the opposite end of the spectrum, I have others saying to go all out on the apartment and make it ours. I appreciate all the input and I can see the pros/cons of both sides. Maybe you’ll be happy to know that I’m taking the middle ground on this one. Not really to appease any one side but simply because that’s how I feel about the matter. I could not live in a place for longer than a month without changing something. That’s just not me. Tweaking is what I do. And it usually improves our everyday living. On the other hand, I will have a lot of ideas that don’t make the cut due to time, money and energy constraints. I can’t see putting in tons of work and money into a space that we’ll only be living in short-term. So, my to-do list will focus only on those projects that will enhance our apartment living experience without cutting into our wallets, renovation time {at the Underdog} and everyday life. With me? Okay, here are my top priorities as of today. Maybe once I check them off, I’ll move onto other like minded ideas.
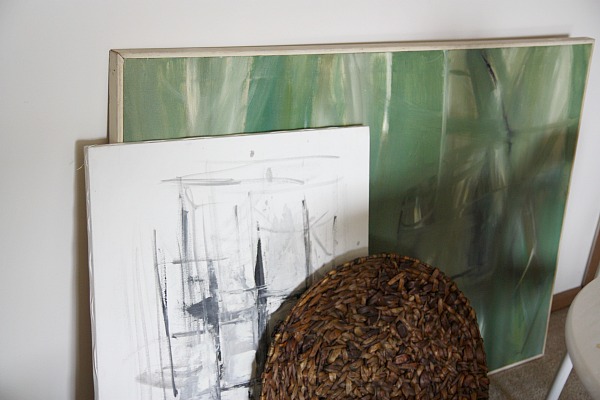
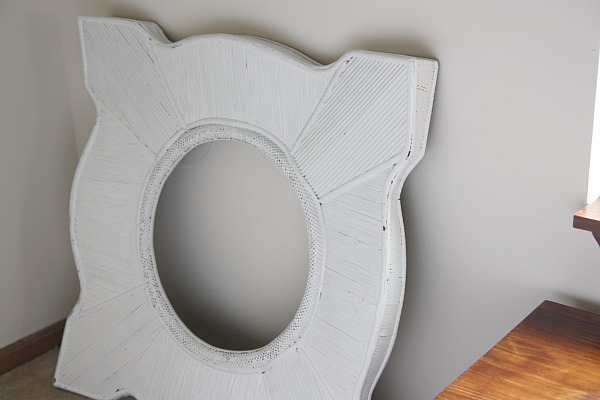
1 – Hang stuff. I purposefully selected a few wall decor items to make the move to the apartment versus storage. I chose items knowing exactly where I wanted to put them so I didn’t end up with a bunch of unnecessary stuff in our small apartment. Plus, as long as I don’t make any holes in the walls larger than the size of a dime, we’re not responsible for patching them when our lease is up. No skin off my back! Still, the few paintings, frames and mirrors I brought to the apartment haven’t made it off the floor. I’ve left them propped against the walls out of harms way just waiting to be hung. I’m ready to put some {small} holes in the walls! The bare white walls are starting to feel a tad asylum-like.
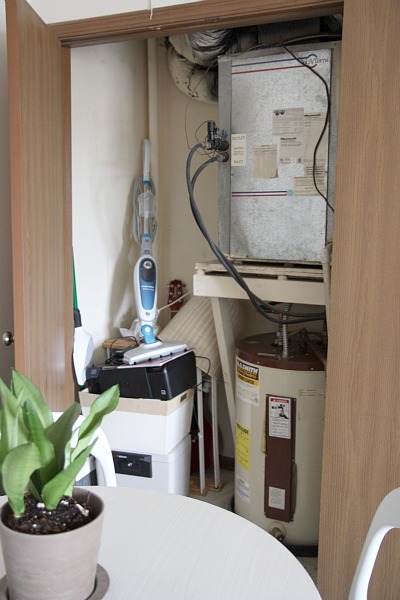
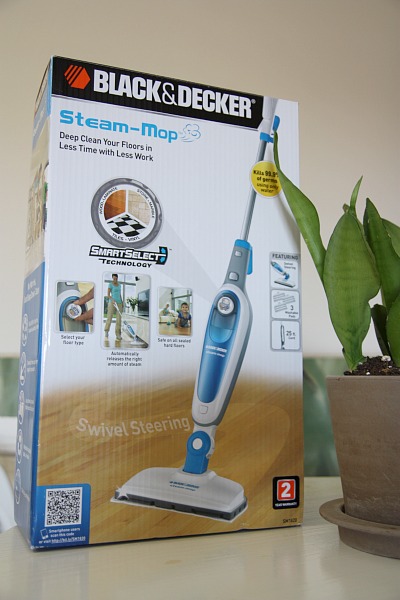
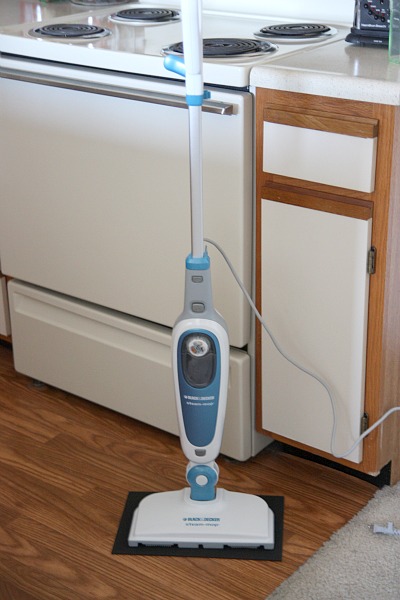
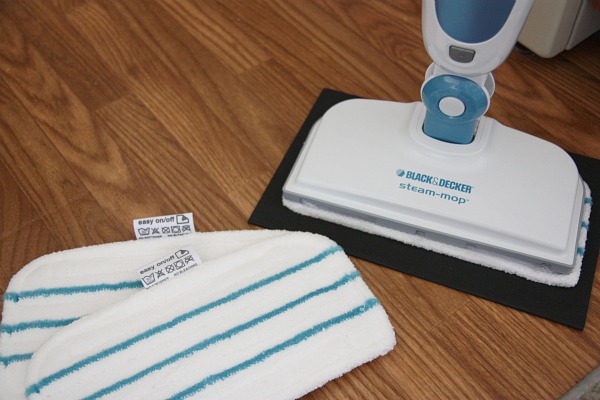
2 – Organize the utility closet. For an apartment, I think ours has ample closet space. I’m just not really using it to it’s fullest potential. This utility closet just off the dining area is a case in point. While it’s plenty large enough to house the things we need it to house {safe, printer, steam mop, broom, important files, etc.} it’s not functional. It’s one big pile o’ stuff. I think adding some freestanding shelving and wall hooks would improve this storage space tremendously!
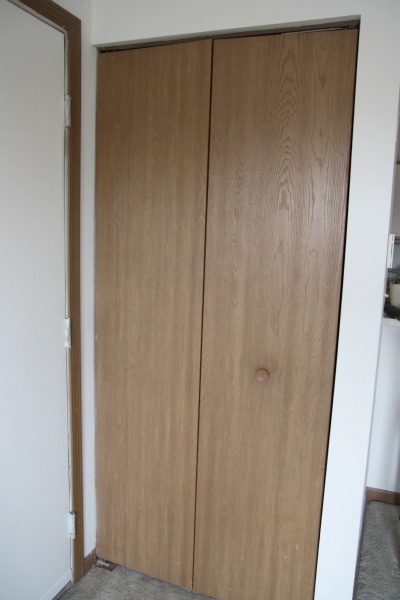
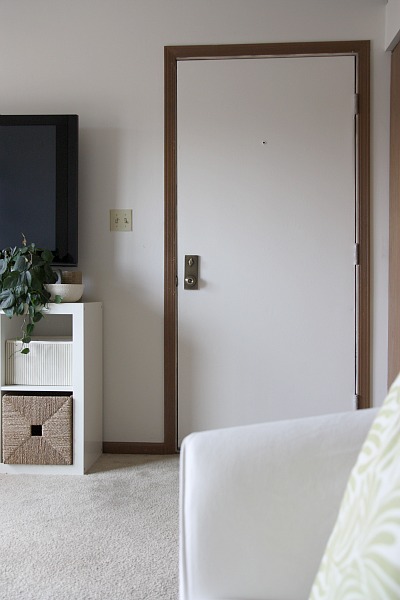
3 – Remove cumbersome folding doors. There are a LOT of folding doors in the apartment. 4 to be exact: one near the front door {shown above}, one off the kitchen that hides the washer/dryer, and two in the boys’ bedroom that act as closet doors. I’ve already decided that the one right near the entrance to the apartment needs to go. It doesn’t open or close properly and when it is open, no one can open the front door or else the two doors just bang into each other. The folding door in the kitchen doesn’t seem to be too much of a problem {just hideous to look at} since I’m the only who uses it for doing laundry. I think it may stay. The closet doors in the boys’ bedroom are a safety hazard. Everett has already pinched his finger in them once and I’m betting it’ll happen again. They’ll be coming down as well. I plan on hanging fabric panels in place of the folding doors I remove. Oh! And I’ll have to reinstall the doors I remove when our lease is up.
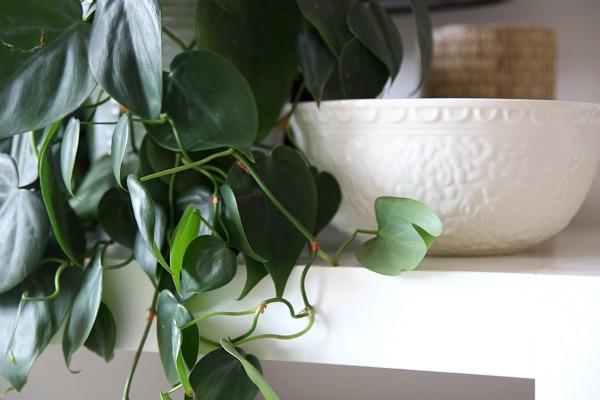
4 – Add to our house plant arsenal. If you’ve ever lived in an apartment you can attest to what I like to call the apartment smell. It smells like a hot mix of old water and musty carpet. It doesn’t go away no matter how often you clean or open your windows. While it has definitely improved since the first day, our apartment still has a faint, distinct odor that doesn’t quite smell like home. I’m using my Scentsy burner and it helps some, but I think adding in more air purifying house plants would help too. Plus, greenery in a home is always pretty and lively.
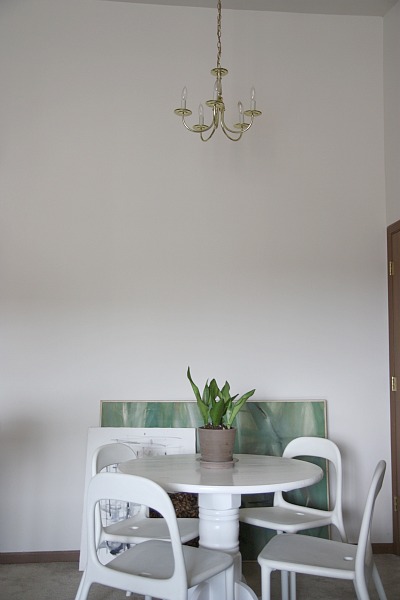
5 – Do something about the dining chandelier. The light above the dining area is too small, too high and not anywhere near our style. I’d love to tweak it somehow so that we have a larger, more stylish, lower hanging light above our dining table. With the ceilings being 15′ high, I can’t remove the light myself but I’ve been conjuring up ideas for disguising the light and making it seem bigger than it actually is. I think it could really become the focal point of the open living space if I play my cards right.
6 – Transform the front door into a message center. In our last home I painted a sliver of wall in the kitchen with chalkboard paint to act as a message board. I miss it! I didn’t realize how useful it was until now. We would jot down needed grocery items, daily notes, reminders and even inspirational quotes to keep us on our toes. We definitely need something like it in the apartment and I think the back of our front door will be a great spot for it.
So, those are my current projects for the apartment. I plan on tackling some of them this weekend and brainstorming the rest. That light is gonna be a doozy! But I like challenges and some of my most creative work comes from the most awful ‘before’ setups. Keep in mind that all projects need to be budget-friendly and reversible, so as not to sink money into a space that is only temporary. The jury is still out on painting any walls….hmmm.
images: Dana Miller for House*Tweaking






budget decor, DIY, kid-friendly, organization