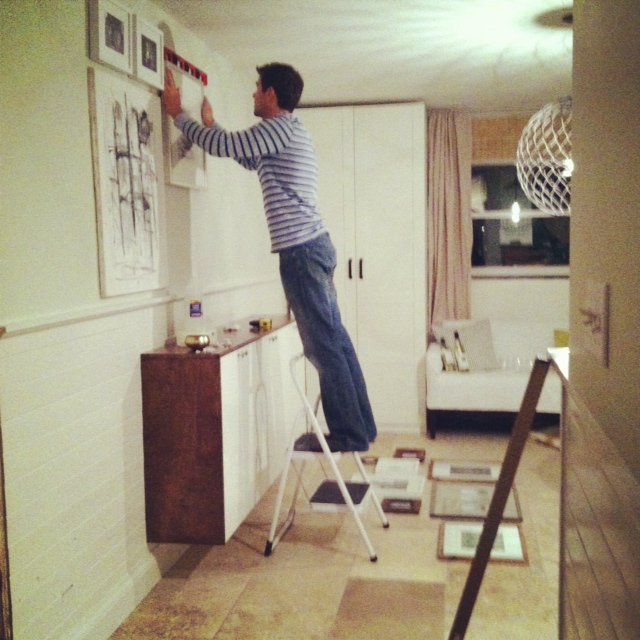
If you follow me on instagram @housetweaking you may have been witness to some behind-the-scenes footage of the photo shoot. Like the image above where HH is kindly staying up waaaaay past his regular bedtime to help me with a gallery wall. {More on the wall in another post.} You may also be wondering where in the world that floating credenza came from. As much as I would have liked it to, it didn’t just appear over night. HH built it after I sweetly suggested the idea whilst batting my eyelashes and ever so slightly bending over.
Hehe. Not really. He was on board the minute I showed him my inspiration. So, yeah, I canNOT take credit for this idea. I stole it. Technically, I guess I tweaked it a little by using different stain and hardware. Thanks Chris & Julia! And thank you worldwide interwebs. My house wouldn’t know what to do without you.
For a brief and satirical DIY overview, see below. For a more thorough and less cray-cray tutorial, see Chris & Julia.

DIY Fauxdenza
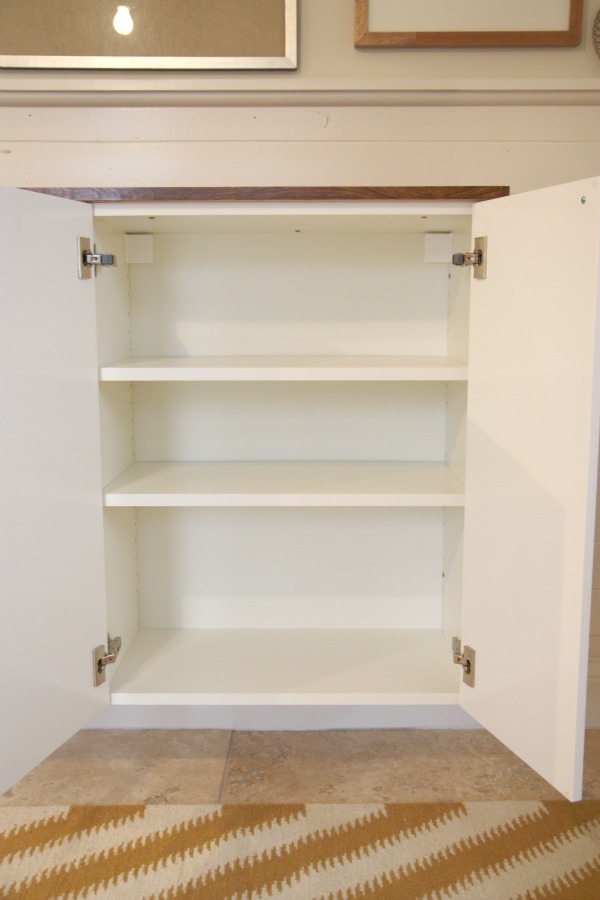
1 – Pick up three 24″W x 30″H AKURUM wall cabinets. Don’t forget the doors, hinges and soft-closing hinge dampers. The hinge dampers will rock your world. You will forget how to close regular doors and you will not like them. Also, pick up…
2 – …a coordinating suspension rail from IKEA. Actually, you have to ‘see an associate’ in the kitchen section for these items. Now you know. Then proceed, no, run to the checkouts. Do not even glance at those pillow covers. You have too many already. And forget about the as-is section. It’s all a bunch of crap. Cheap junk is still junk. Back at the ranch, build your cabinets and hang them via the rail system.
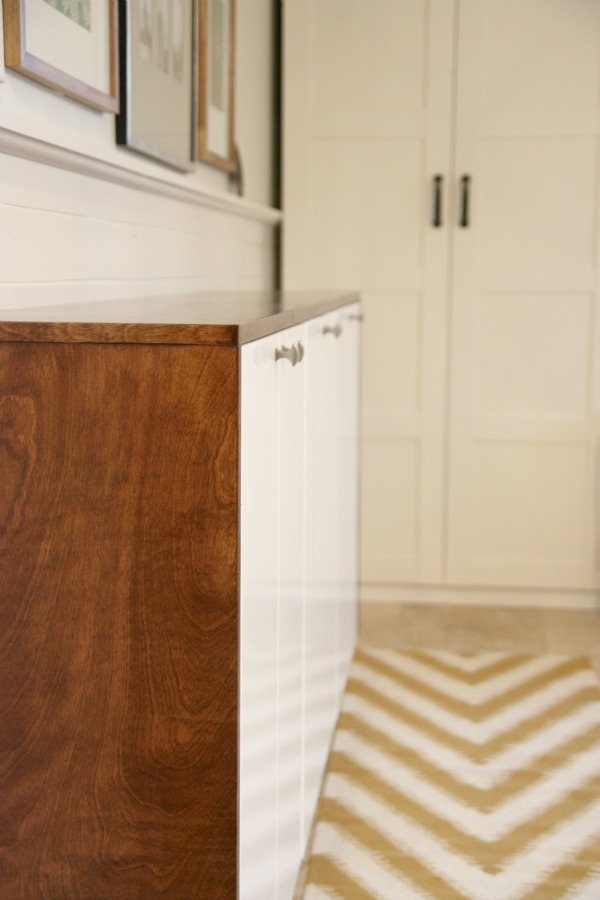
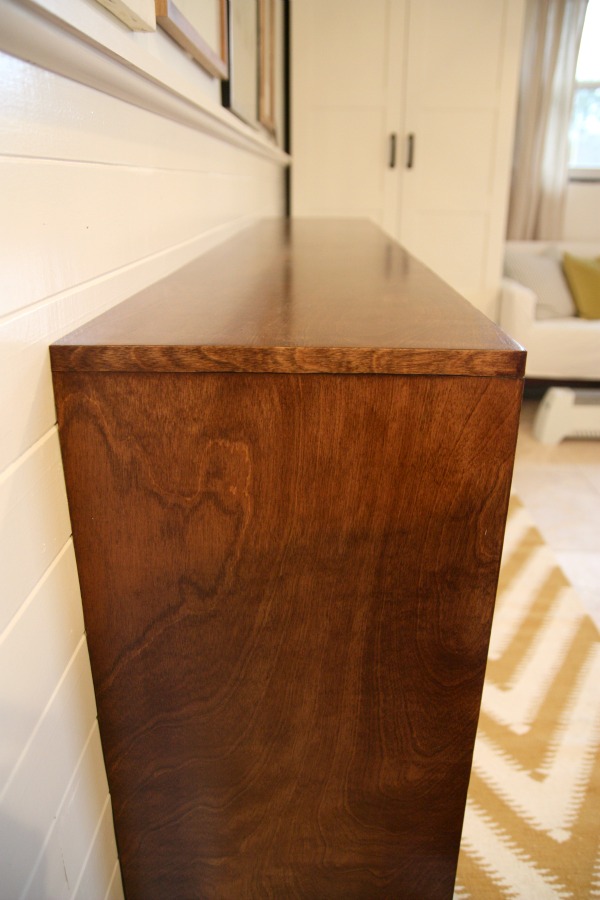
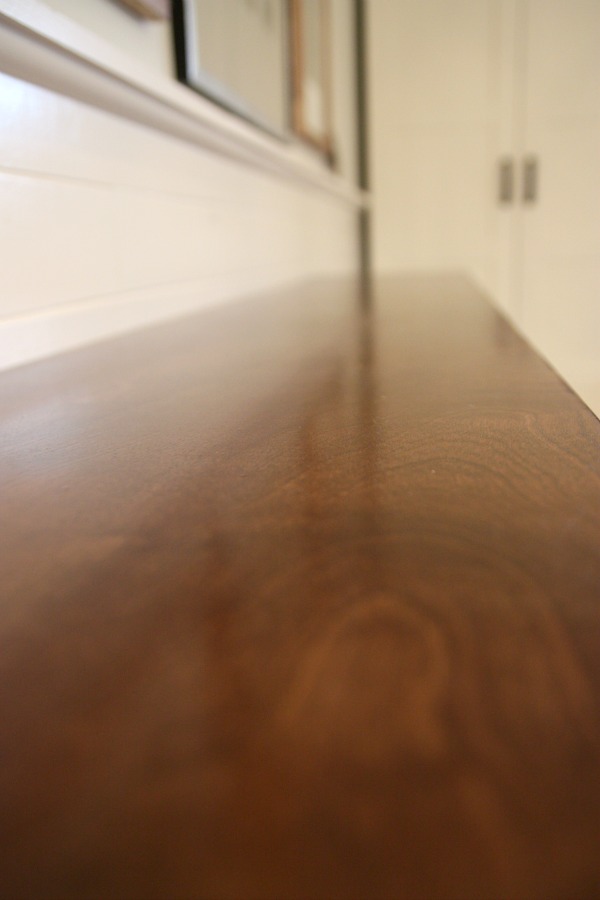
3 – Use Minwax’s special walnut to stain…
4 – …some furniture grade birch plywood that you: 1) have lying around in your woodworking shop {what are you? a lumberjack?} or 2) picked up at a home improvement store.
5 – Oh, but wait. Let’s back up. You’ve already cut-to-size and veneered your plywood using a self-adhesive veneer and iron. Go you. Then you sanded everything with a random orbital palm sander working from 180 to 220 grit. Then you conditioned the wood. THEN you stained the wood. Four times. Now seal as desired. {HH used a satin poly. Two coats. And sanded with steel wool in between coats.}
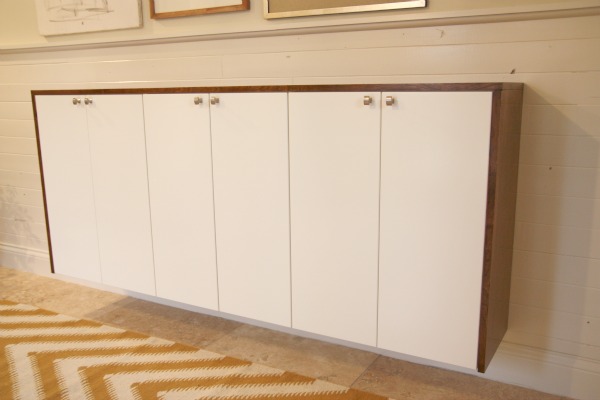
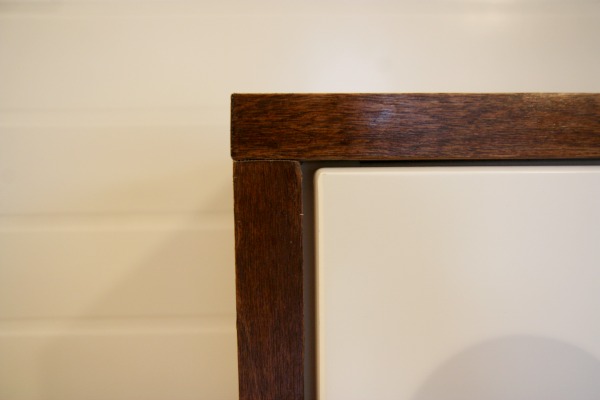
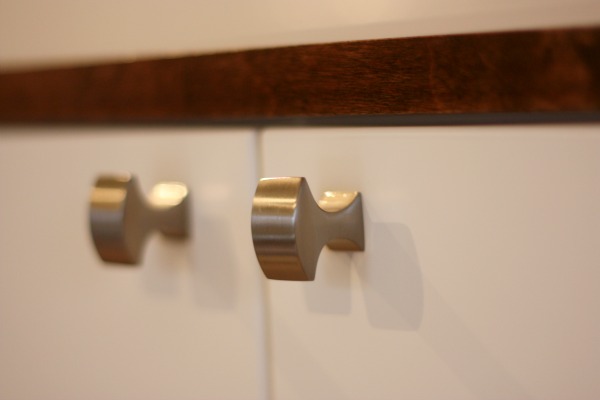
6 – Attach the finished top and sides using cabinet screws, screwed in from the inside of the cabinets. Finish it off with hardware of your choice.
Bam.
Fauxdenza? Fo’ sho.’
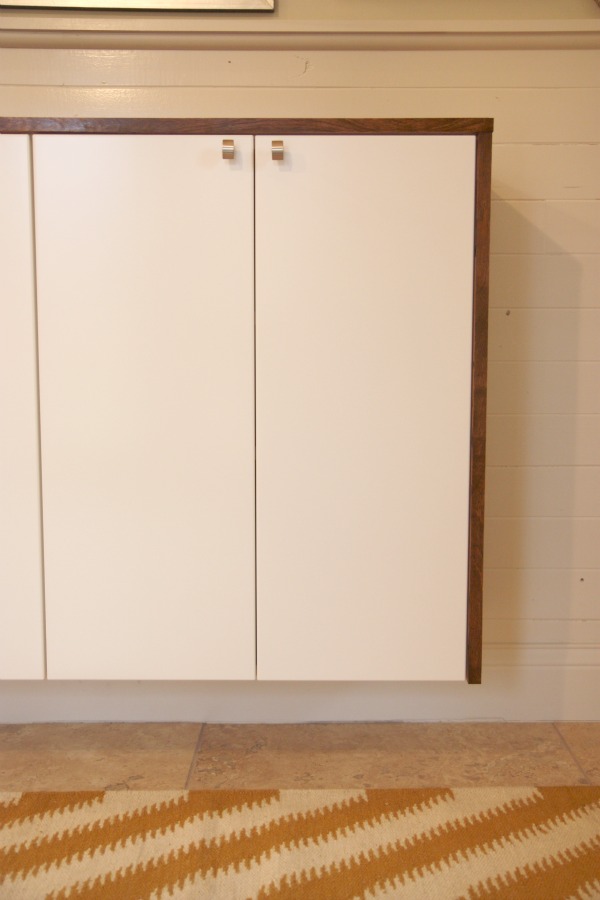
My favorite part is sweeping under it without having to move anything.
images: Dana Miller for House*Tweaking


budget decor, DIY