And they all live happily ever after. The end.
Okay, there’s more to it than that.
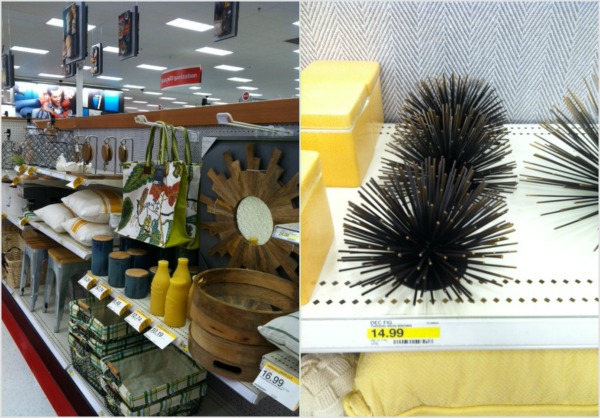
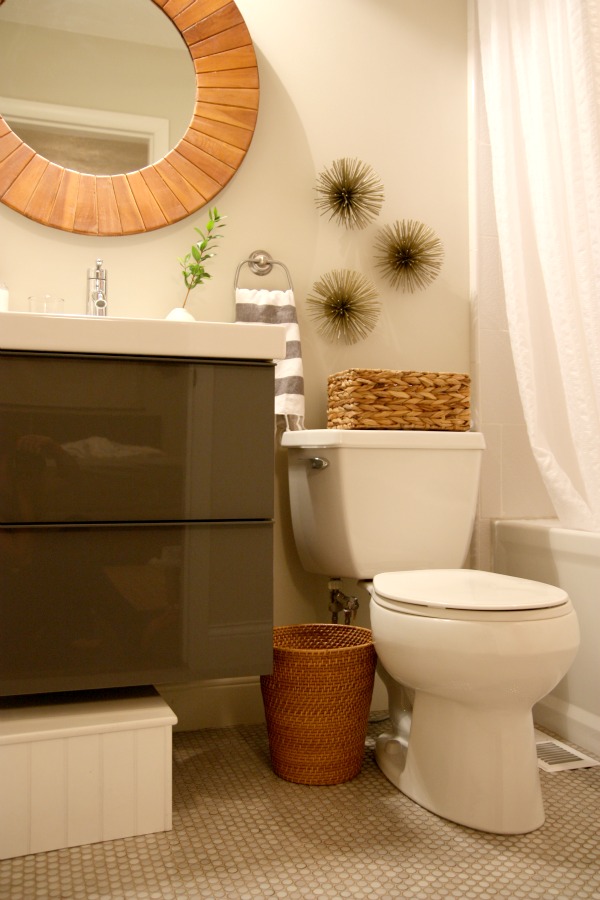
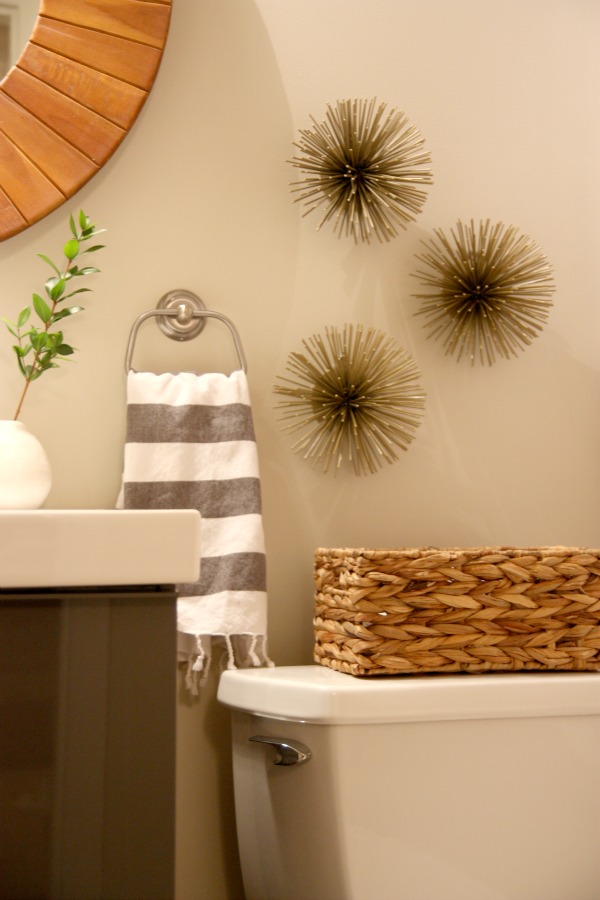
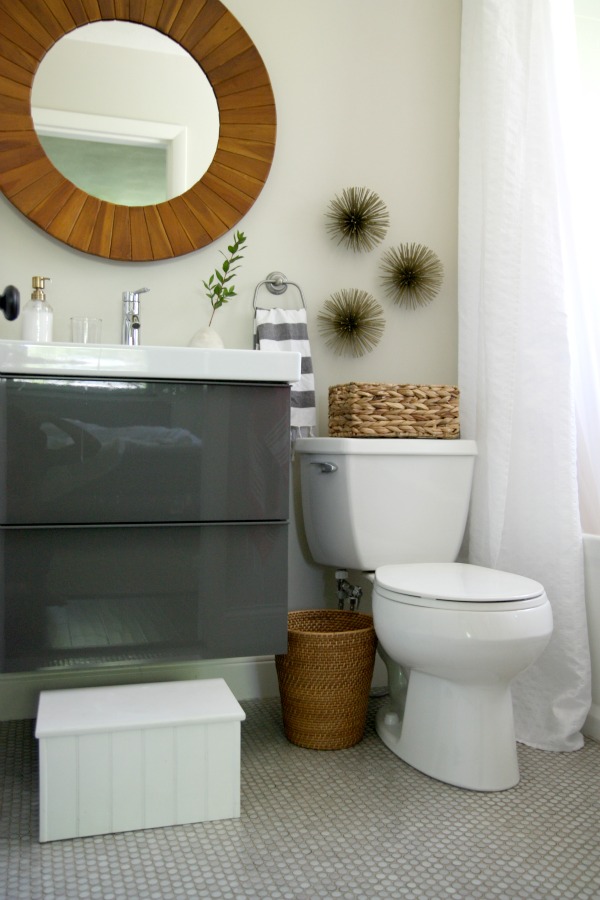
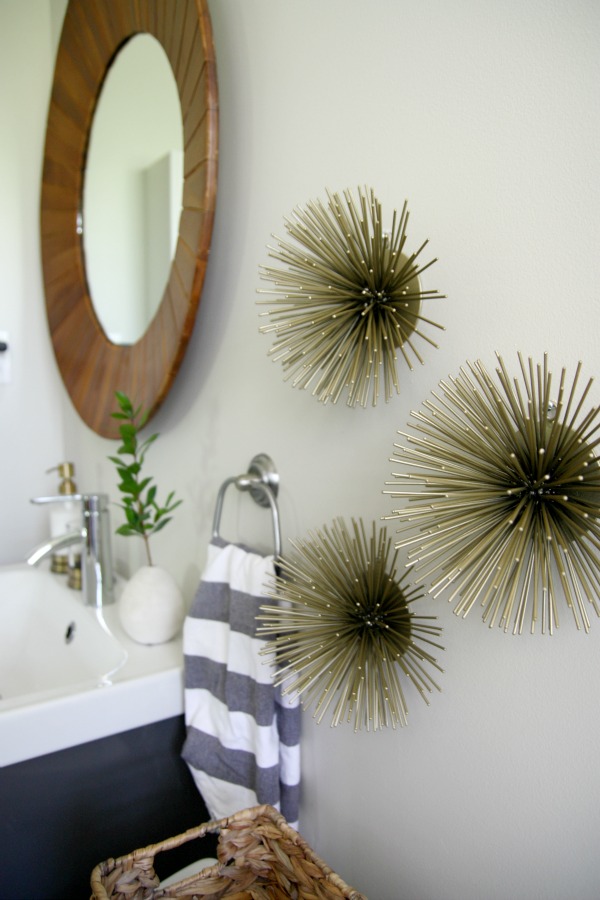
So, by now you know that I’ve partnered with Target to bring you the best of Threshold. {If not, you can catch up here and here.} This month I was asked to feature Threshold goodies in my bathroom. I’ve been wanting to add something to the wall above the toilet. {On a side note, do guys care what they look at when they pee?} I browsed the Threshold aisles and immediately zoned in on a trio of sea urchins.
I have a peculiar fascination with anything urchin-esque. I can remember going to my grandma’s house when I was maybe 5 and she had a children’s book {couldn’t tell you the title or story line} that included a picture of a child stepping on a sea urchin in the ocean. I read the book every time I was at my grandma’s and I was so infatuated with that bothersome urchin. That’s how it all started.
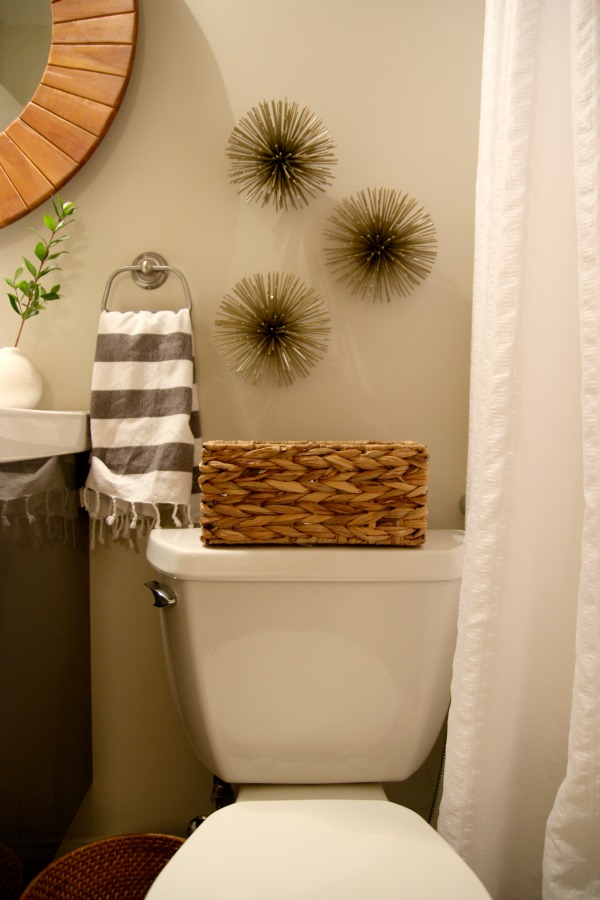
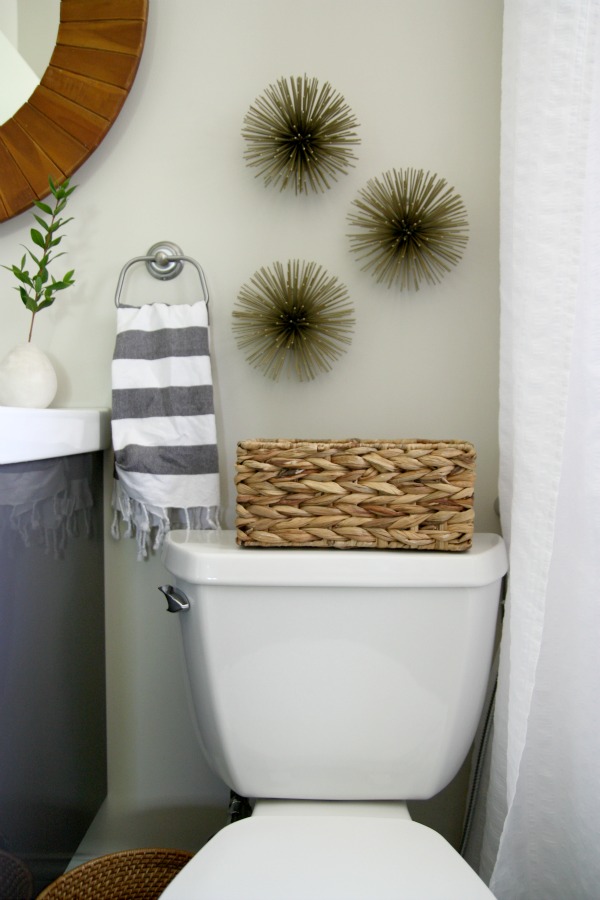
Now, thirty years later, there are three sea urchins hanging above my toilet. I am not normal. Off the shelf, the urchins were a little too dark for my liking so I spray painted them gold – the same spray paint I used on our garden stool. If I may, let me correct myself: Now, thirty years later, there are three gold sea urchins hanging above my toilet. Still, not normal.
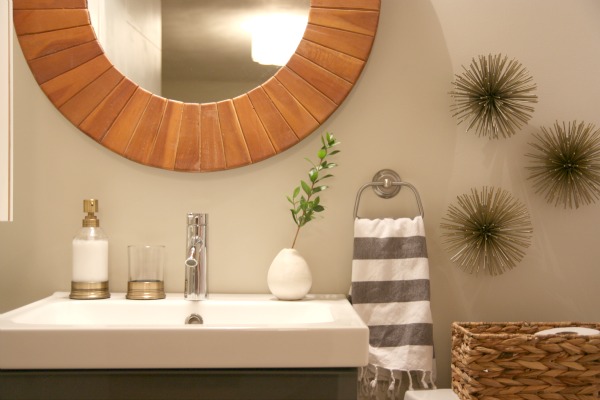
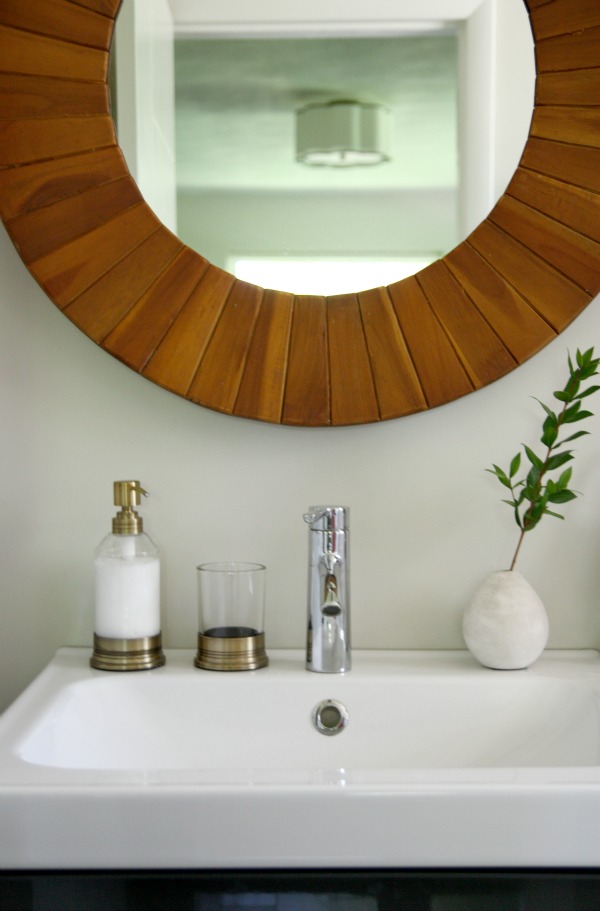
I brought in a few gold accessories on the sink top so the urchins wouldn’t be all “Damn it! I knew the one time I made an effort to dress up for a dinner party everyone else would be wearing jeans and loafers. I’m overdressed and under-appreciated. Never again.” I bet you didn’t know sea urchins were so temperamental, did you?
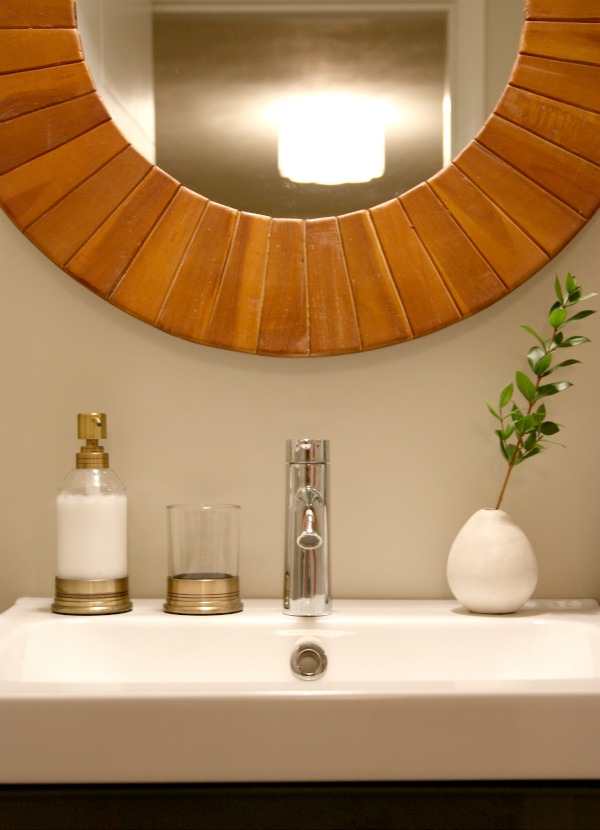
The soap dispenser and tumbler have an antique brass finish. My bathroom is quite the melting pot for metal finishes.
Shop the look: brass soap pump / brass tumbler / rattan wastebasket / metal urchin
I apologize for the artificial light in these pictures. It’s just that HH and I spontaneously decided to landscape our front yard. By ourselves. With three kids. {That’s contradictory, isn’t it?} As in digging, trenching, planting, shoveling, watering, wheelbarrowing, sweating, raking and seeding our crack house into submission. In the midst of our spontaneity {which totally isn’t like us}, I forgot to take pictures of the bathroom before the sun went down.
I am tired. I love Target. Sea urchins are fascinating.
***UPDATE: Daytime urchin pictures because I felt guilty.***
This post brought to you by Threshold, a Target collection. The Threshold collection focuses on specialized design techniques including hand-painted accents and artisanal touches to make each piece unique yet affordable. What differentiates Target’s new Threshold collection is its unprecedented style coupled with its high quality and affordability. Thank you Tar-jay!
images: Dana Miller for House*Tweaking
One week from today our outdoor dining patio will be featured on the Home Depot’s blog, The Apron. To hold you over until then, I thought I’d share a few of the DIY projects that were involved in the makeover. The Home Depot provided us with a dining table and bench to help furnish our back patio and the rest was up to us. There were budget and time constraints – not to mention the Ohio weather was NOT cooperating at all until a week before the already extended deadline. But I think projects like these {ones that require little time and not a lot of money} provide the most opportunity for creativity and inspiration.
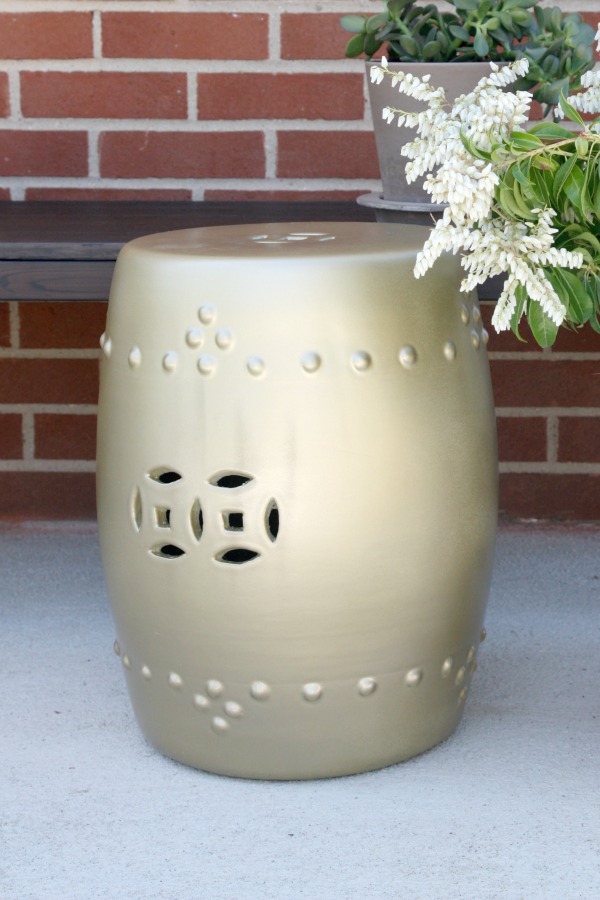
Patio project #1: Update a garden stool. We had a ceramic garden stool sitting in our garage just begging for a makeover. Originally, it was a glossy green. {You can see the original stool here on the front porch of our previous home.} I had been eyeing pricey gold versions for our patio makeover so I decided to try painting ours. HH was concerned that regular spray paint wouldn’t adhere to the shiny, slick surface. After a little research googling, I discovered that applying a few coats of flat white spray primer first would be my best bet. I wiped down the stool, applied two coats of Rust-Oleum primer then finished with two coats of Rust-Oleum pure gold spray paint. Behold! A much cheaper alternative to the trendy gold and brass versions floating around on the internet. I like that the finish isn’t brassy but is a little on the “champagne” side. Very sophisticated. It’s been outside for a few weeks now and is holding up superbly.
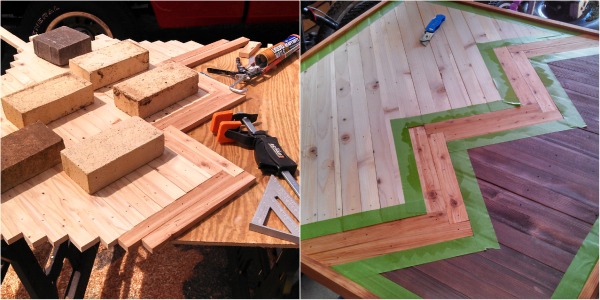
Patio project #2: DIY a modern outdoor art piece. I can’t get over Ariele Alasko’s work. As much as I’d love to own an original piece, it’s just not in the financial cards for us. So I did the next thing best thing. I sketched a simple chevron design and handed the drawing over to HH who brought it to life. HH started with a 3′ x 3′ piece of treated plywood as the base. He borrowed a neighbor’s planer to rip 2 x 8’s {leftover from demo’ing the original 8′ ceilings in what is now our vaulted great room} down to ½” thick strips. Using a compound miter saw, construction adhesive and finish nailer, he attached the wood strips to the plywood base. He trimmed the outside edges and framed them then stained and sealed the entire piece. We hung the outdoor art on our home’s brick exterior with concrete anchors. The piece is sheltered by a deep 3′ eave and hangs on the north side of the house to avoid rotting and fading.
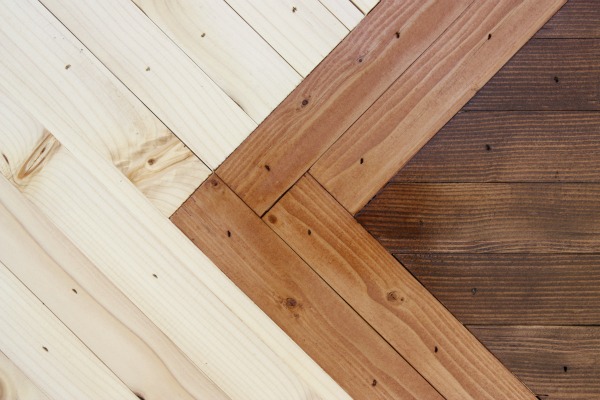
It is my favorite part of the entire patio because 1) it’s a personal design and 2) we used wood salvaged during our home’s renovation. It’s just a bunch of wood but it holds a lot of meaning for us. It turned out so great! HH and I are thinking we’d love to incorporate more pieces like this inside the house.
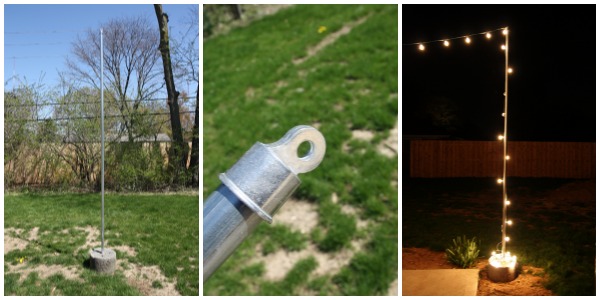
Patio project #3: Create portable light poles. Ever since I started brainstorming the patio makeover, I knew I wanted to string globe lights above the patio but there was one teensy, weensy problem. There aren’t any outbuildings or trees in the backyard to string lights to and I didn’t want to sink poles into the ground permanently. Along with HH, I came up with an idea for portable light poles.
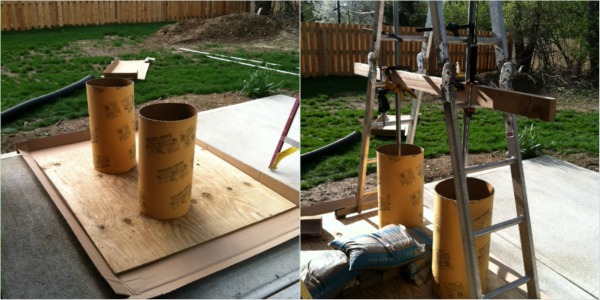
HH poured 7″ of concrete into two concrete tube forms, set fencing top rails into the wet concrete, placed 4 eye bolts into each concrete base {for tethering purposes if necessary}, then held everything level and in place with a clamp/ladder system for 24 hours. It wasn’t until after the concrete was dry that we realized the clever clamp/ladder system had a fault. The only way to remove the ladder was to turn the entire apparatus on its side and slide the ladder off the metal rails. Oops! Luckily, it wasn’t a huge problem. More funny than anything. We removed the forms and cut the poles to our desired height. We added looped end caps to the top of each pole. String lights can be secured to the loops with zip ties. To be honest, we weren’t confident these poles would work out but, so far, they have been wonderful! They are sturdy enough not to topple or lean when lights are strung from them (or even during thunderstorms) yet they are light enough to move around. We haven’t had to tether them.
There are a few peeks at our patio tweaks. Can’t wait to share the final result next week!
images: Dana Miller for House*Tweaking


budget decor, DIY