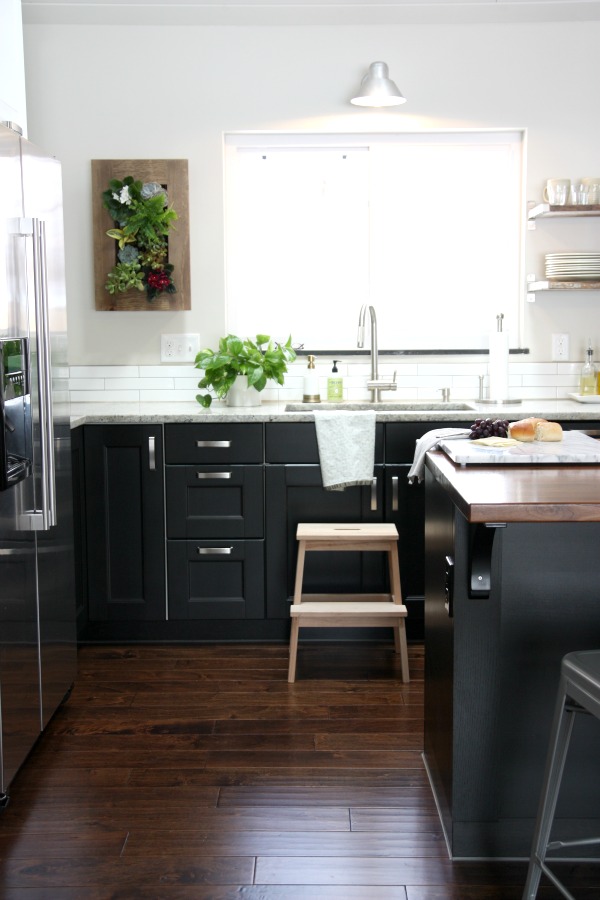
You first got a glimpse of the new wall planter in the kitchen here. Today I’m sharing how I filled and hung the planter. The gist? It was really easy! I installed the planter by myself. HH was away on business and the kids were tucked in bed for the night.
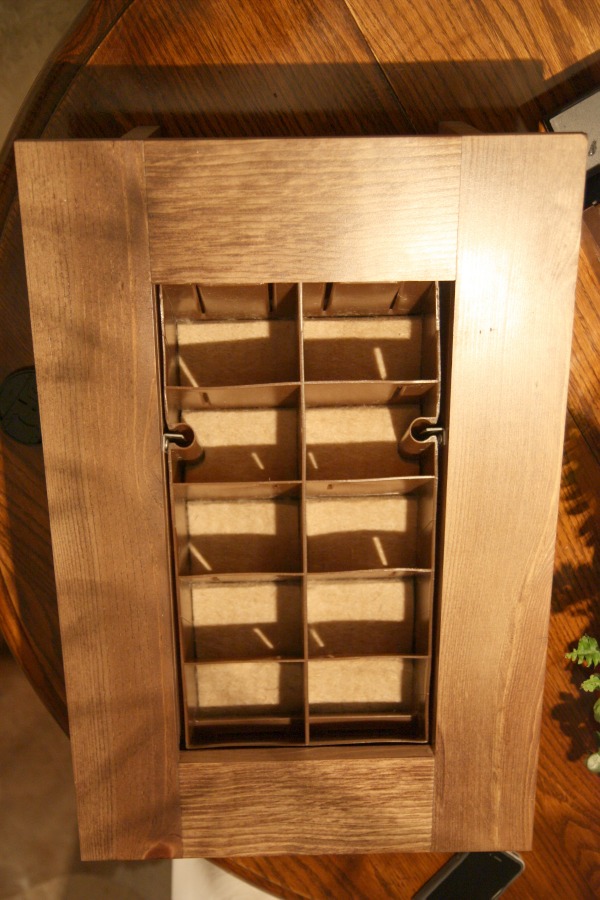
I ordered my wall planter from Wayfair but I’ve since seen it available via other online retailers. If you’re interested, my suggestion would be to google “BrightGreen” or “GroVert” to compare pricing and styles. As shown above, the living art frame holds ten 4″ plants. There are ten separate cell planters so you can customize the potting soil to each plant if desired. At first, I was leery of plants falling out of a vertical planter but the cell planters actually tip back to hold their contents.
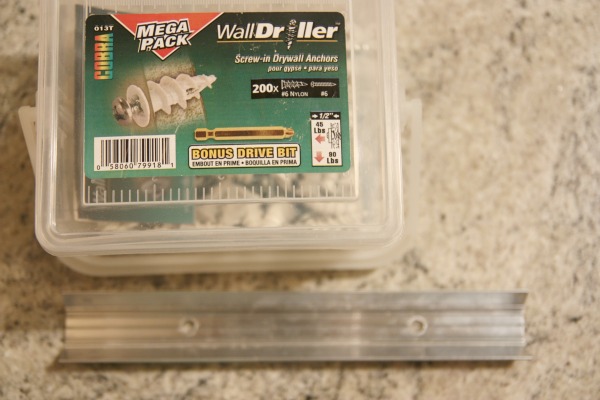
The directions that came with the planter said to fill the planter before hanging it. Since I was working alone, I decided to hang the planter empty first {it’s really easy to remove from the wall} to make sure I had everything level and secure. It ended up working really well. The planter comes with a mounting bracket but no hardware. The instructions said the planter weighs ~35lbs when full. So I grabbed some drywall anchors from the {very messy!} garage. They can support up to 90lbs vertically.
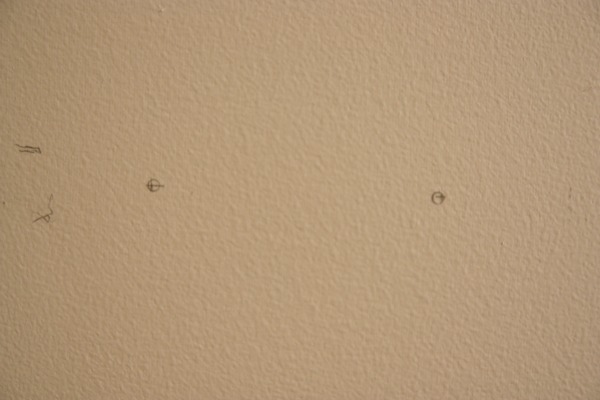
Without an extra set of hands, I kind of had to guess where I wanted the frame then measure accordingly by making a bunch of pencil marks on the wall. Once I settled on the placement, I held the mounting bracket in its proper place with a small level resting on top of it to make sure it was level. {As you can imagine, this step took two hands leaving no hands for taking pictures – sorry!} I marked the two screw holes with a pencil on the wall – see above – and then double checked that they were level.
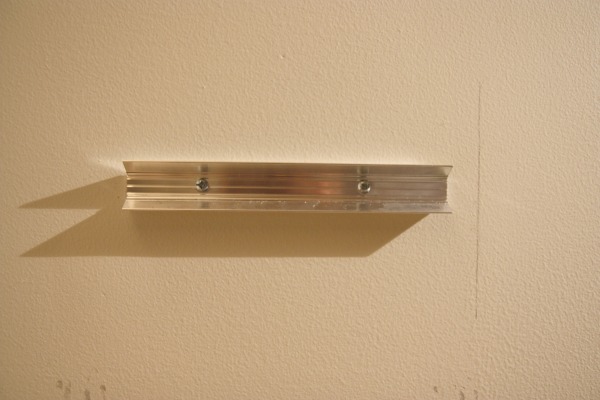
I screwed the drywall anchors into the wall with a manual screwdriver. Luckily, I didn’t have any problems hitting a stud but if I did I could have just screwed directly into it. I held the mounting bracket in place and used the accompanying screws to secure the bracket to the wall.
There’s the bracket in place.
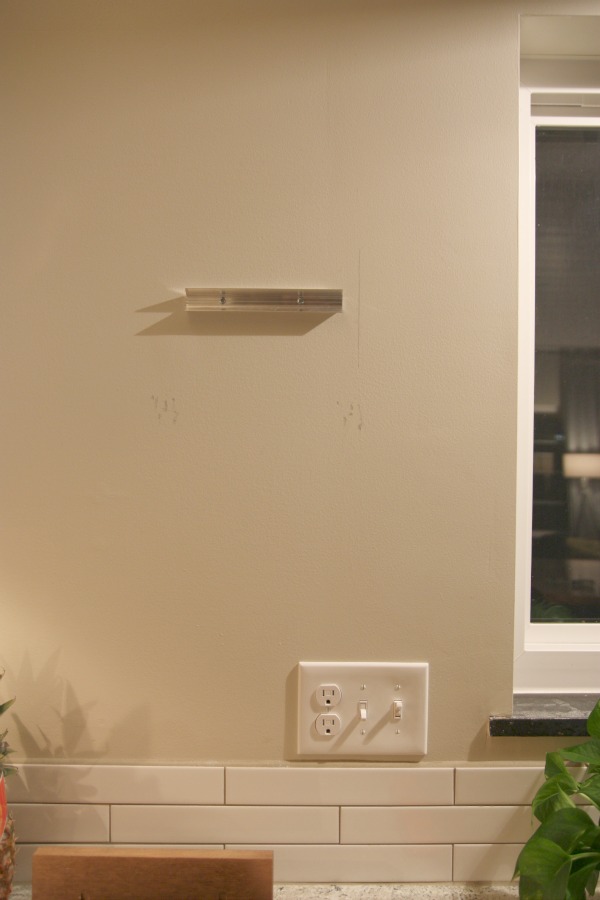
I hung my empty planter on the bracket to check the placement. Perfect!
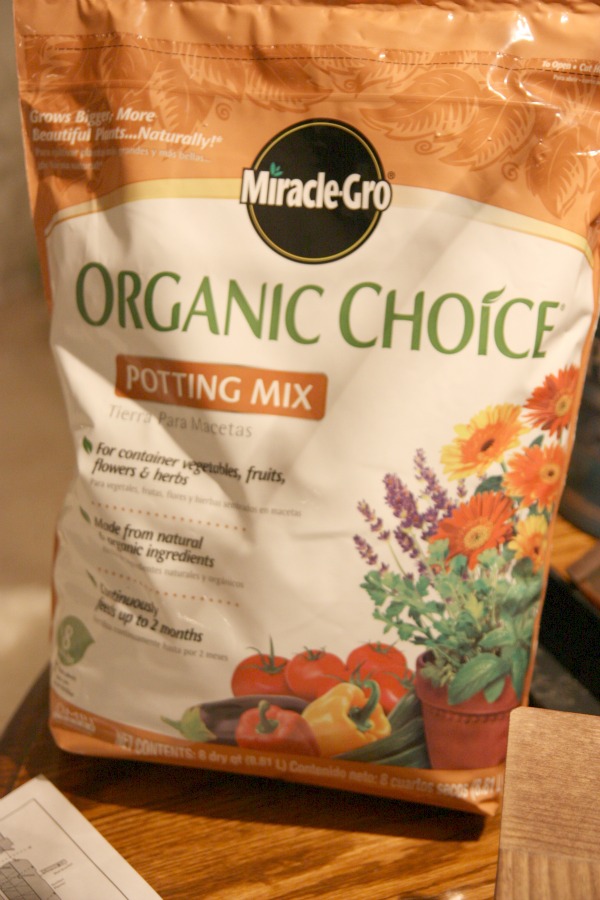
Knowing the placement of the mounting bracket was where I wanted it, I lifted the planter off the bracket and proceeded to fill the planter. I like Miracle Gro’s organic potting mix.
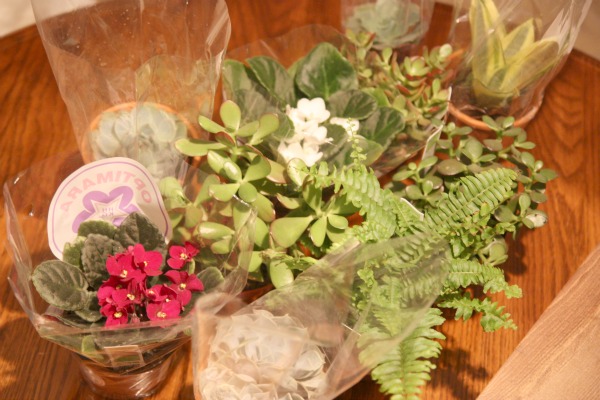
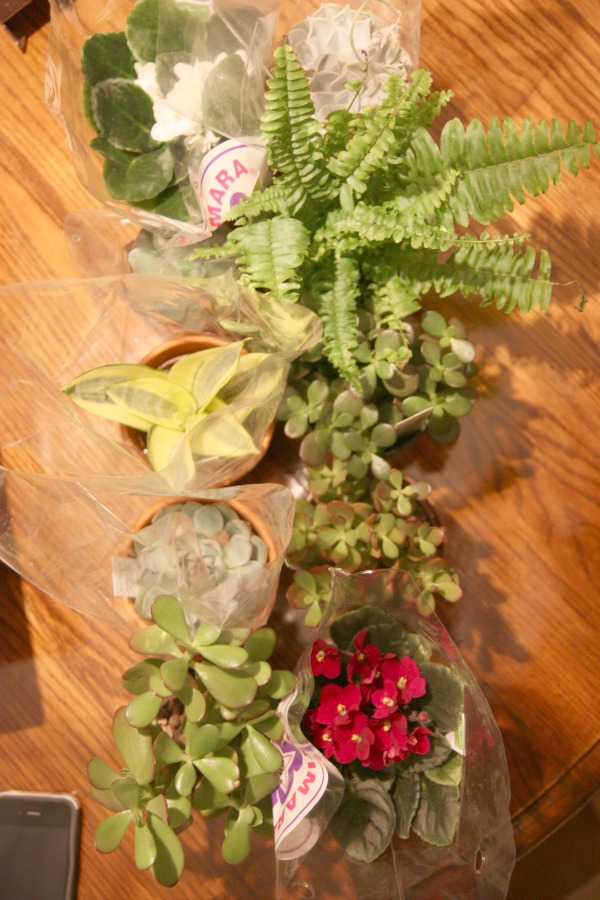
You’ve already seen the finished product but here are the plants I used. To be honest, I didn’t have the time or patience to think too much about which plants to buy. I had all three kids with me at Home Depot and I was going on day five of single-mommin’ it. To make things less easy, my local Home Depot had a very small selection of 4″ plants to choose from. At first, I was thinking of doing all succulents but there weren’t even ten 4″ succulents available so I ended up grabbing a mish mash of 4″ers. The composition was nice but I worried that the various plants wouldn’t survive under the same watering schedule.
I played around with the arrangement until I finally decided on this one. I planted each cell individually adding potting soil first, then a plant, then more soil if needed. It’s nice that the cells allow for individual soil customization. My succulents are happy in the rockier soil they came with.
After all the plants were potted, I gave them a good watering. The directions say to water the newly planted planter on a horizontal surface then let settle for 2-3 days before hanging. I couldn’t wait.
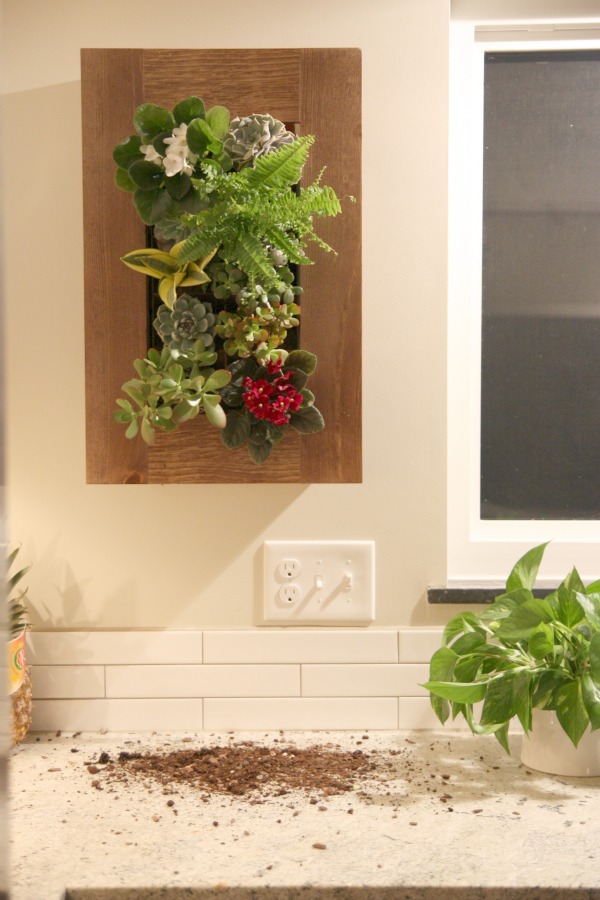
Needless to say, I had some dirt spillage. But it was easily cleaned up and the plants seemed to be snug in their cells so I left it on the wall. But you should follow the directions – just not that part about hanging the planter full right off the bat. Test it out empty first.
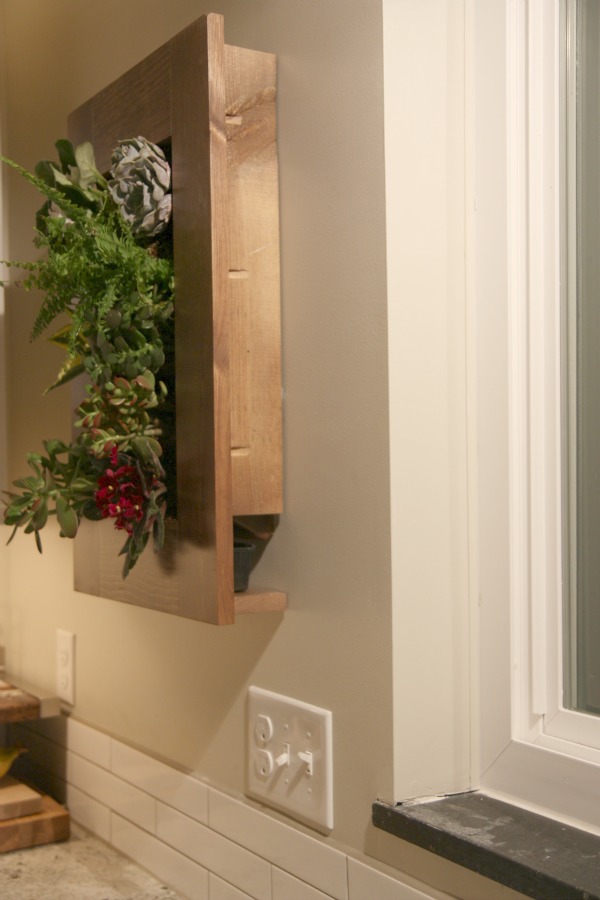
The planter sticks out ~5″ from the wall.
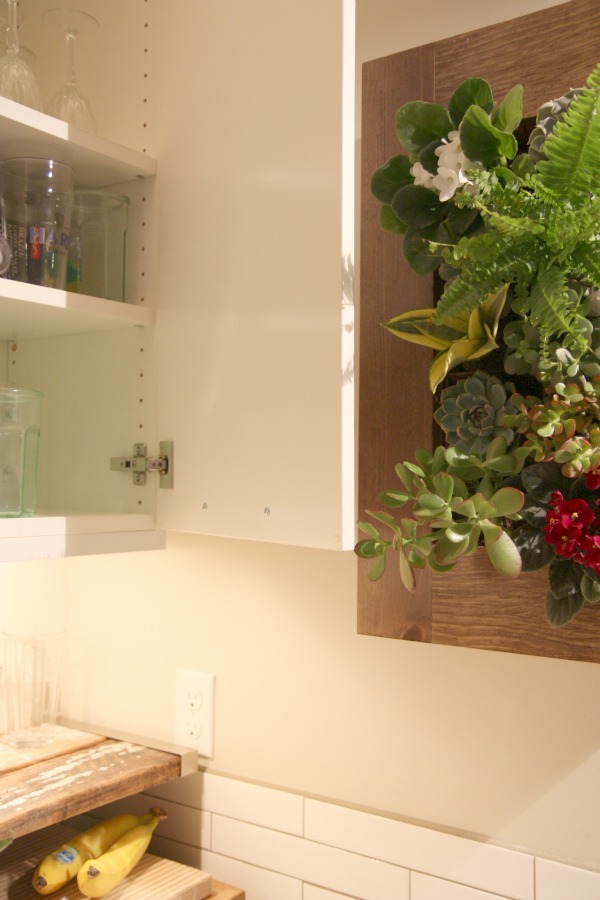
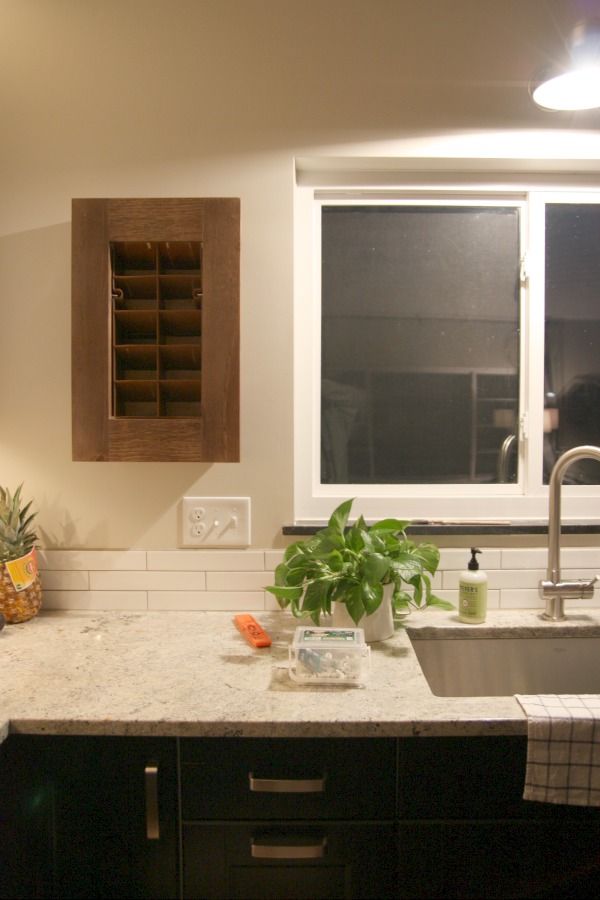
When figuring out the exact placement of the wall planter, I made sure the upper corner cabinet could be opened with no problems. I can still reach my fancy heirloom wine glasses. Whew.
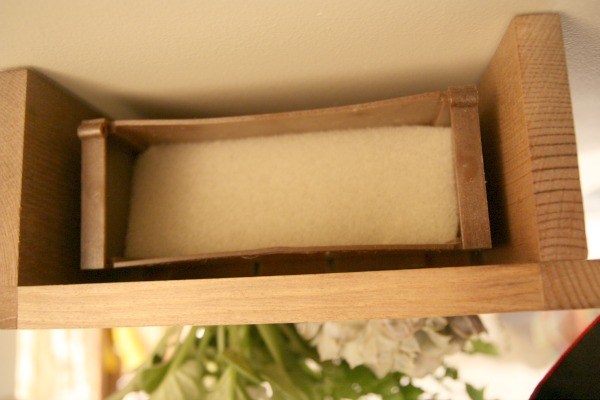
As for watering the wall planter, it has a pretty innovative built-in irrigation system. You simply pour water into the top water chamber {see the sponge?} and it slowly disperses across a moisture mat all on its own.
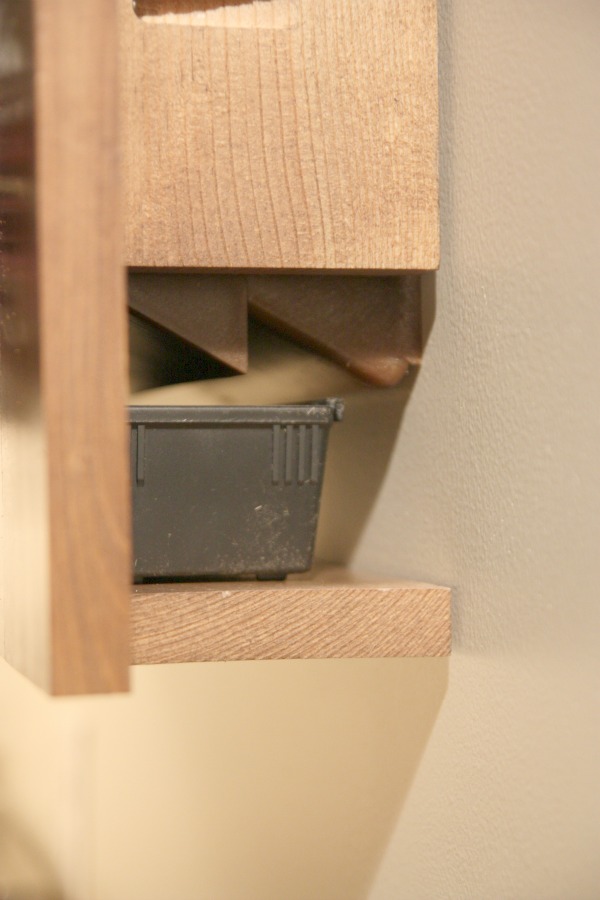
There’s a small tray at the bottom of the planter to catch any runoff and there’s no worry of any water running down the wall. I’ve seen a bunch of DIY outdoor wall planters but the design of this planter’s watering system makes it ideal for indoor use.
All in all, it took me about an hour to completely install the living art frame. And it took me about 5 seconds to fall completely in love with it.
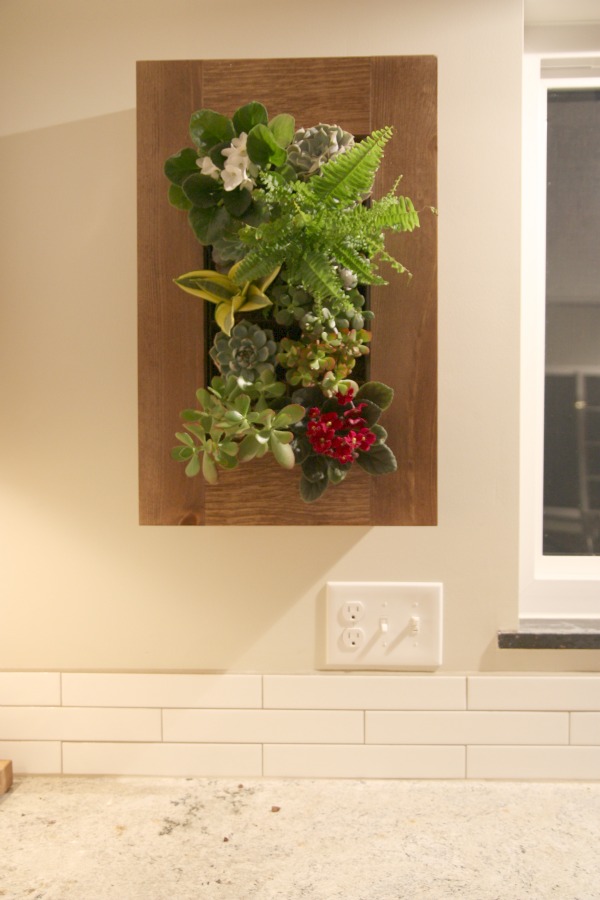
Now for the big question: How are the various plants holding up? I took the following unedited picture of the planter early this morning just for your viewing pleasure.
So far, so good! Even after 10+ days of being unattended while we were on vacation last week. I simply watered the planter very thoroughly right as we were leaving for vacation and the plants managed to stay alive while we were away. I can’t say what might happen over the next six months with my black thumb tendencies. The good thing is if one {or all ten!} of the plants starts looking weak/dead, it would be very easy to remove an individual plant and replant something else. I don’t think I paid more than $4 for any of the plants you see, so if some of them die it’s not a huge deal.
Still, if you’re thinking of trying this particular wall planter it might be a good idea to choose your plants more wisely than I did!
Would you ever try a wall planter indoors?
images: Dana Miller for House*Tweaking


budget decor, DIY