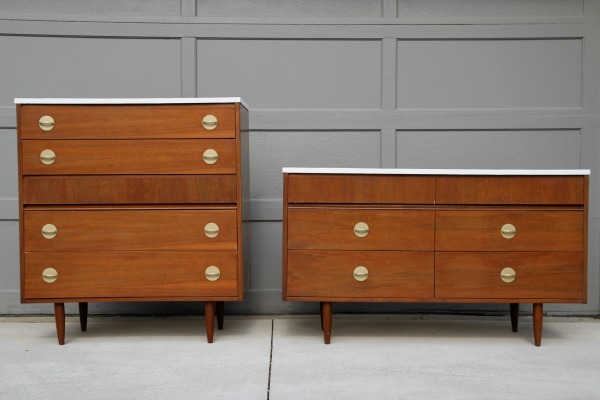
I recently wrapped up a bedroom makeover for a client. One of the biggest problems with the previous setup was matching furniture. The bed, nightstands, dresser and chest of drawers all matched each other which made the room feel generic. To shake things up I brought in a new headboard and new (non-matching) nightstands along with a pair of vintage dressers. I really love the look of this West Elm dresser and think it would have worked beautifully in the space, but it just wasn’t in the budget. Instead, I sourced a pair of midcentury dressers from craigslist. For $45. Total.
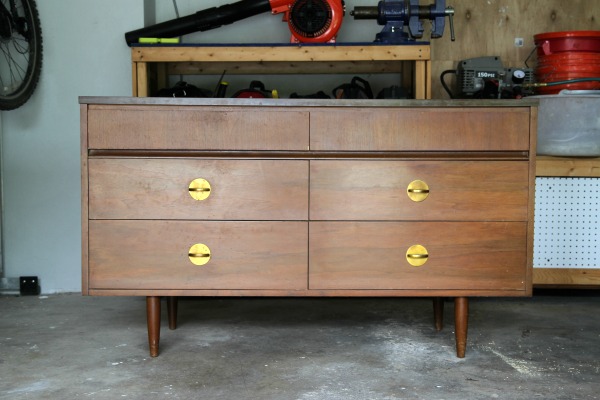
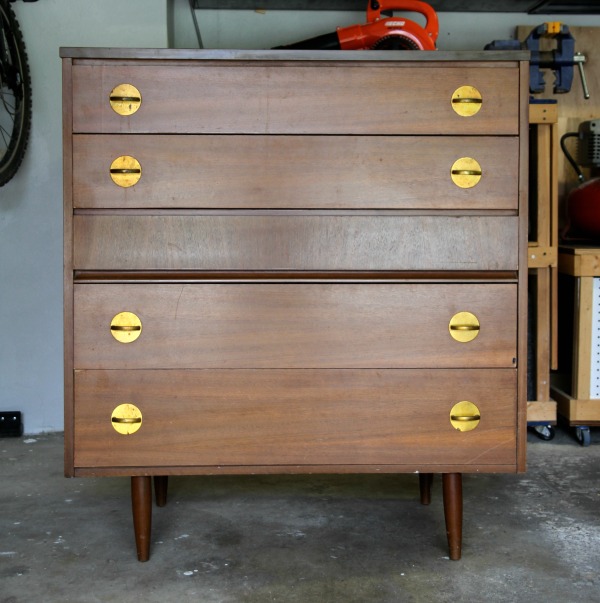
The pieces were solid and I liked the straight lines and wood tone, but the laminate tops were down right fugly.
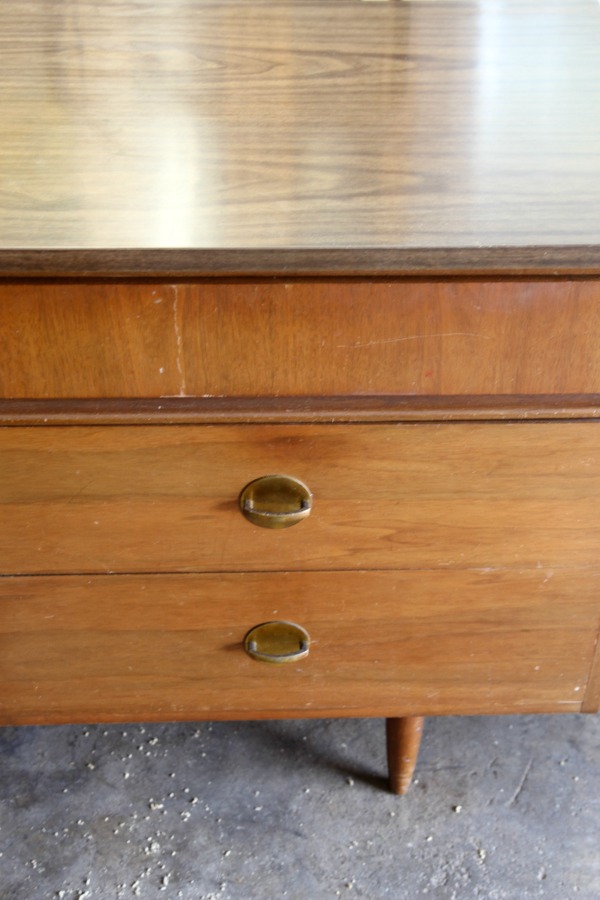
They didn’t even come close to looking like real wood.
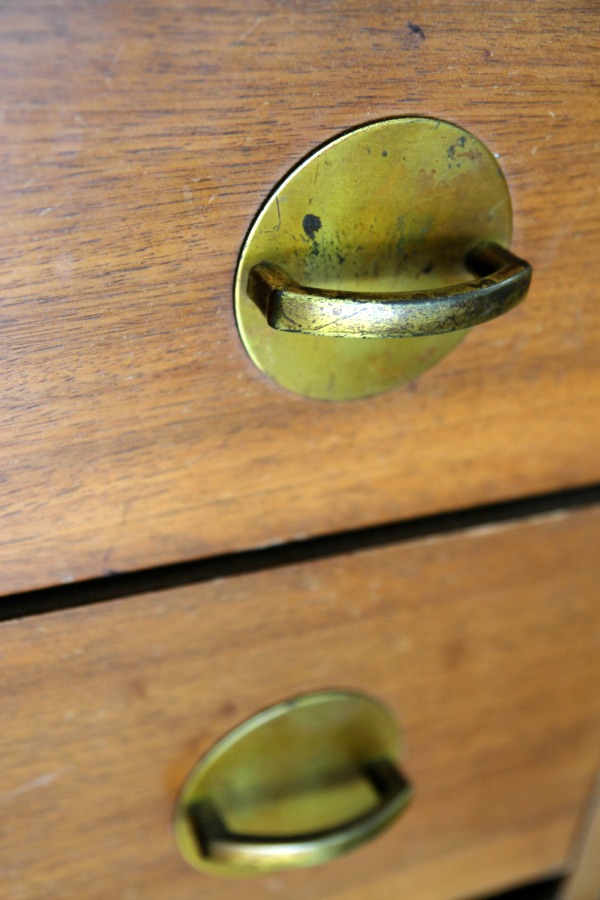
And I loved the shape of the pulls but they were badly scratched and brass-plated. They were too brassy for even a gold-lovin’ gal like myself.
I could see the potential though and for $45 the price was right. I figured I could spray paint the hardware. Easy. Inexpensive. Done.
For the tops, I considered switching out the laminate for marble but when I looked into having remnants fabricated the cost was >$500! Immediately, I thought of Ardex feather finish to give the laminate tops a stone-like appearance for cheap. But I really didn’t want a gray concrete finish. So I was thrilled to discover that Ardex is now available in white! The only problem was I couldn’t locate a supplier nearby. I finally found an online source (see the link above) that was able to ship a bag of the white to me from the west coast. Yes! It was a little pricier than grabbing a bag of the gray on Amazon ($32). I think with shipping + taxes I ended up shelling out $47 for the white. Still, it was way more affordable than marble.
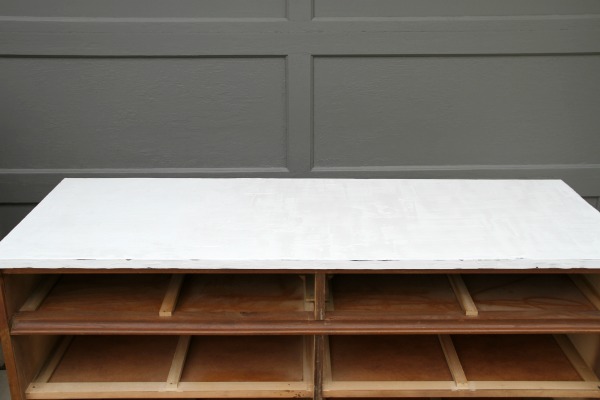
When I finally had the white feather finish in hand, I set to work revamping the dresser tops.
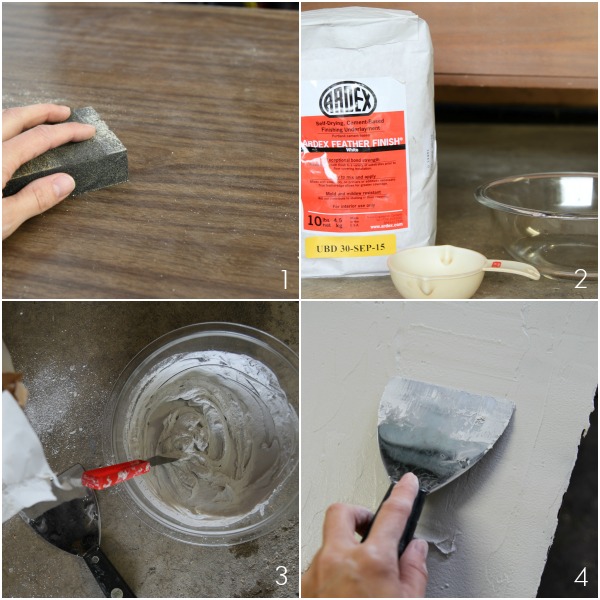
1 – I sanded the laminate with a medium sanding block to scuff it up. Then I wiped it down with a damp rag and let it dry. I didn’t tape off the dresser but I did remove the top drawers from each dresser.
2 – I gathered supplies for mixing and applying the Ardex. I used a small-medium glass bowl and 2″ & 4″ putty knives.
3 – I mixed the Ardex as directed, 2 parts powder : 1 part water. The mixture starts setting 20 minutes after mixing so I mixed small batches – 1 cup powder : ½ cup water. (After the first layer, I changed the ratio just a little for a creamier mixture and easier application. Keep reading to see that.)
4 – I spread the mixture on the dresser tops with the putty knives. The 4″ worked great for the tops and the 2″ gave me more control on the edges. I also found it helpful to use my finger on the edges for a smoother application. I applied the feather finish in the direction of the faux wood grain because I wanted any residual knife strokes to run the same way (lengthwise) along the dresser top for a cleaner look.
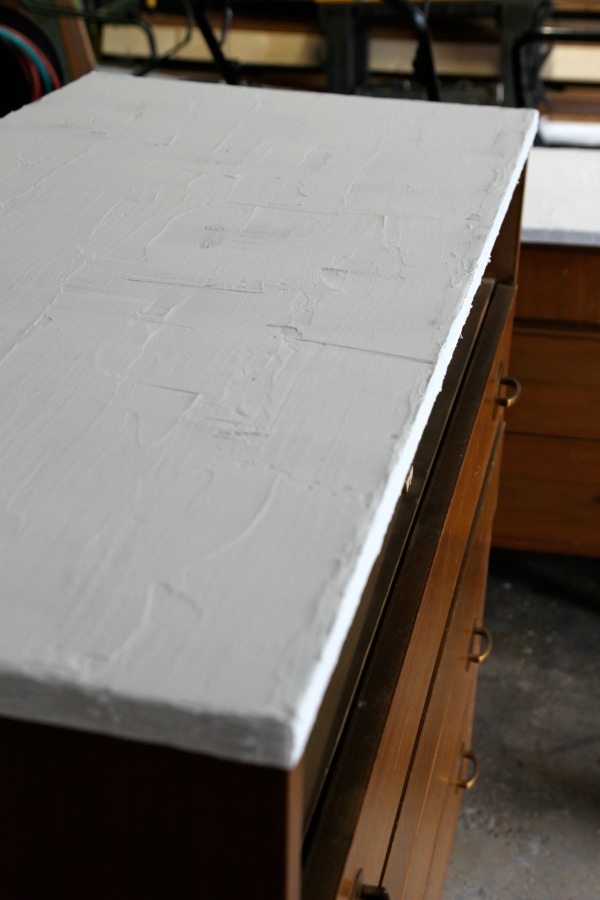
There’s always that moment during any DIY project where I think, “What have I done?!” For this project, it was right after I applied the first layer. It literally looked like I had frosted the dresser. Gulp. I let it cure overnight then came back the next day and sanded the first layer with an orbital sander. (I ended up applying three layers and worked my way from 150 grit to 320 grit sanding discs.)
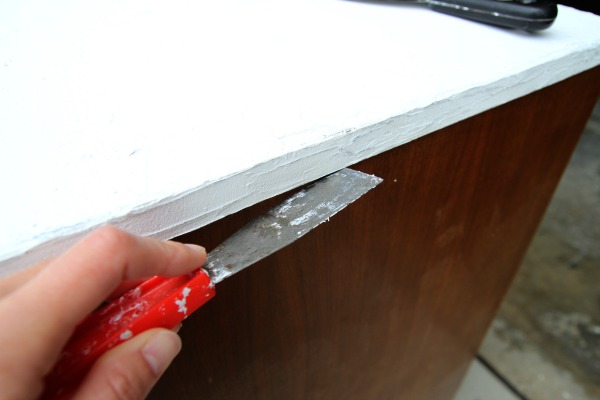
I used the 2″ putty knife to scrape off random bumps from the bottom edge for a nice clean line.
After the first round of sanding, things were looking smoother and I was feeling better about my decision to frost the dressers :) If you look closely, you can see areas of laminate showing through on the edges. Not to worry, they were eventually covered by subsequent layers.
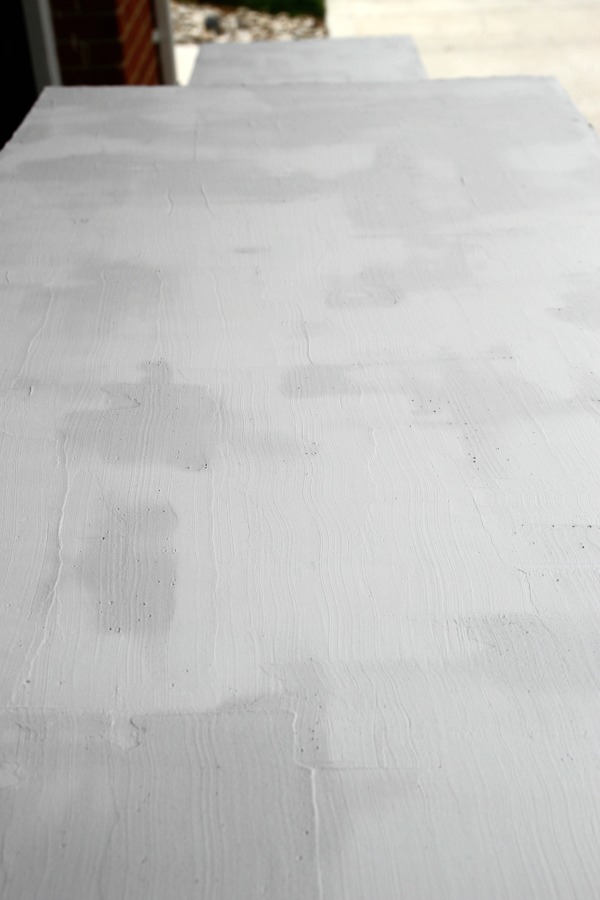
I shop-vac’d and wiped down the sanded top then applied a second layer as seen above. For the second and third layers, I added a tiny bit more water (maybe two teaspoons?) for a creamier mixture. For me, it was easier to work with. It allowed me to spread on smoother layers with less ridges and bumps. I was worried that a thicker mixture would result in a more “rustic” look – something I wanted to avoid.
I let each layer cure overnight then sanded them with the orbital sander the following day. After applying and sanding three layers, I was satisfied with the appearance.
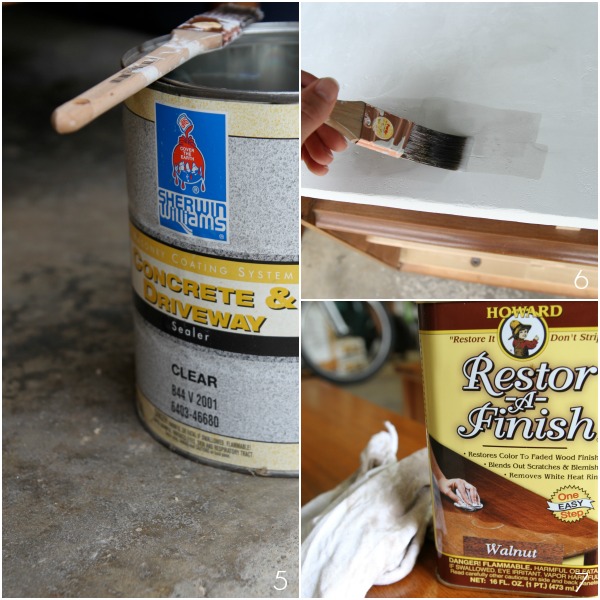
5 – I raided the garage and found some concrete and driveway sealer in a matte finish.
6 – I only brushed on one coat of sealer since these are dresser tops. If the feather finish was going in a kitchen or bathroom, I would have done at least two coats of sealer. The sealer goes on clear and darkens the feather finish but, when dry, it’s not noticeable.
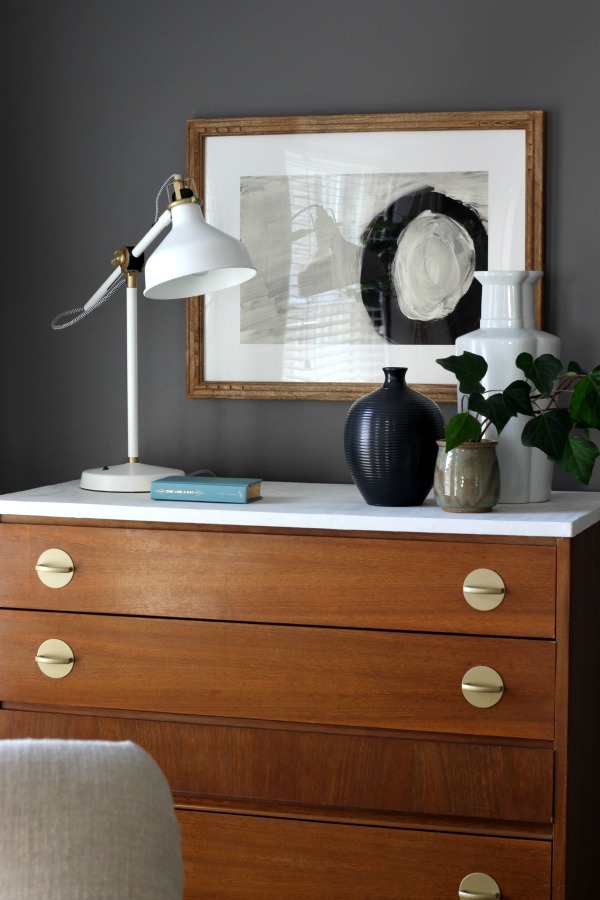
7 – With the tops done, I turned my attention to the bodies of the dressers. I wiped them down with Bona then used an old t-shirt rag to wipe on Restor-A-Finish in walnut. I’ve used Restor-A-finish before and I’m still amazed by its awesomeness. It’s like an airbrush for wood. I think the walnut color helps tone down orange-y finishes.
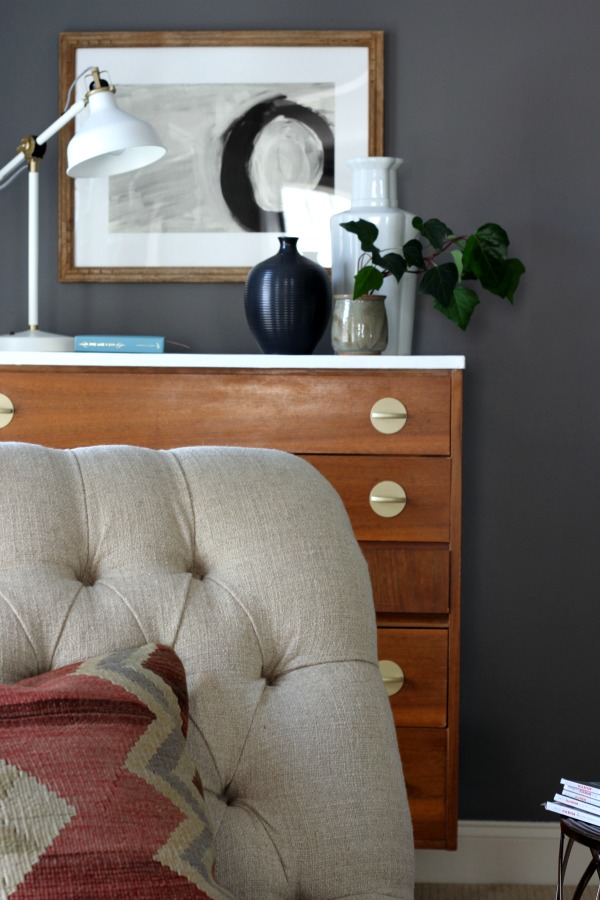
The finished dressers! I spray painted the pulls with paint I already had on hand. One of the most frequent questions I get is “What kind of gold spray paint do you use?” I like Rustoleum Universal pure gold metallic for a champagne / antique brass finish. (That’s what I used here.) I like Design Master 24K pure gold for a truer gold finish. I usually have a can of each on hand.
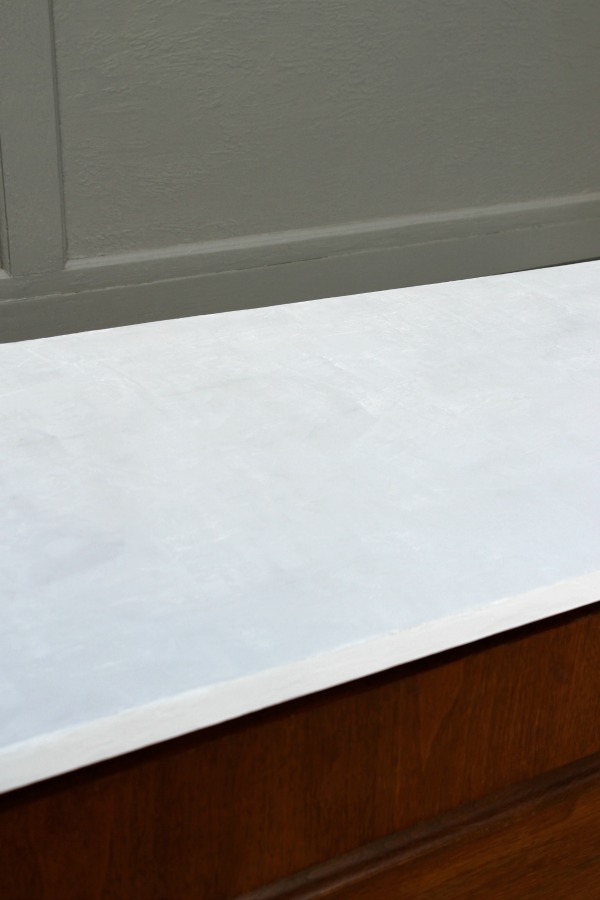
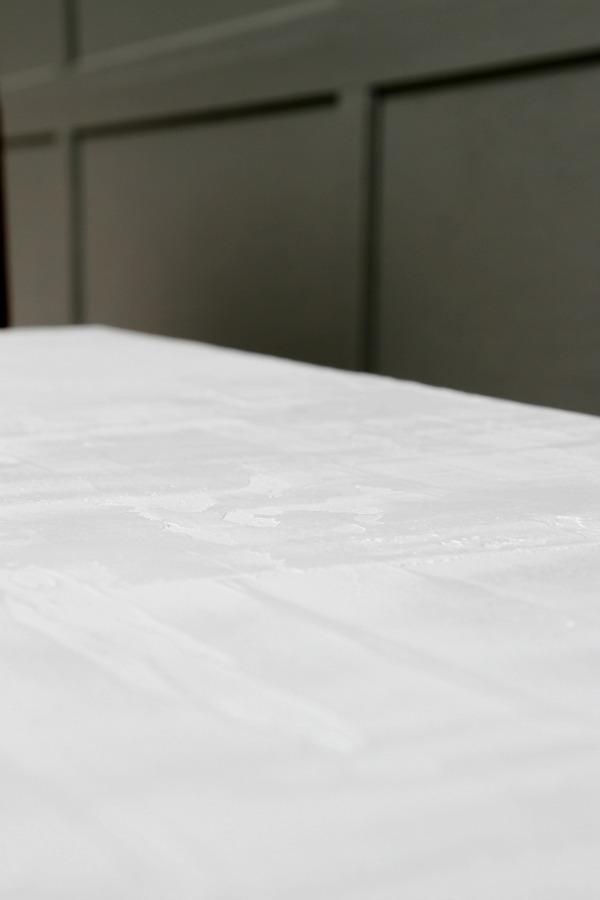
I’m super happy with the white feather finish tops. Everyone who sees them can’t help but pet them. They look like natural stone minus the veining. They remind me of light limestone or white slate. From far away, they definitely read white but up close there are light gray shadows which I love. They’re smooth to the touch but have an organic texture. I’m glad I went with a matte sealer versus gloss to keep the look natural.
Here’s a peek at them in my client’s space…
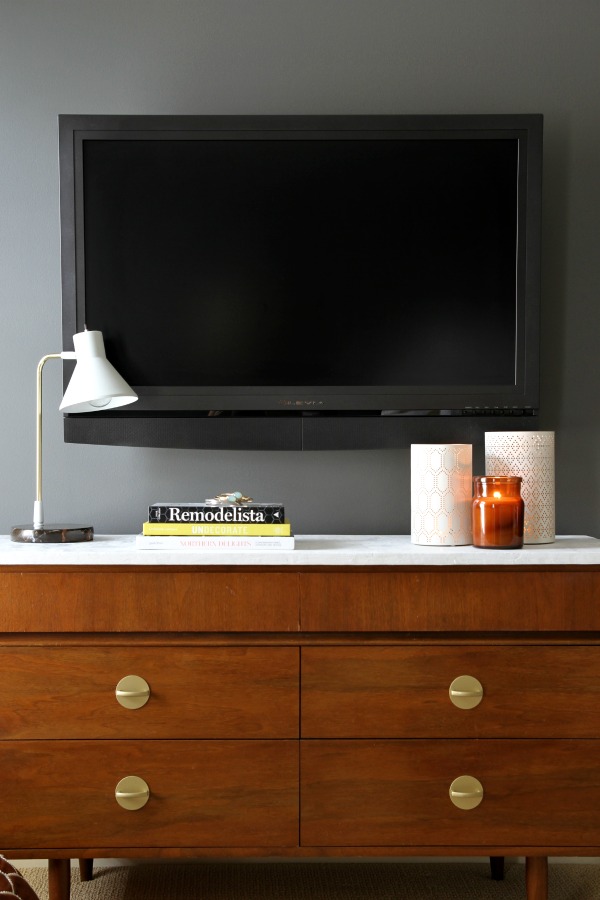
She LOVES them. I can’t personally attest to how the feather finish holds up in a kitchen or bathroom (I’ve heard oils stain it) but these dressers easily withstood a long, bumpy ride and loads of (wo)manhandling before landing in their new home. I would say their hardness is similar to that of real concrete.
Two midcentury dressers for ~$90? Not too bad. With a limitless budget, I would have never bought these dressers or tried the feather finish. Instead, I was forced to think outside the box and ended up with two crazy affordable, unique pieces. And that’s why I love budgets and DIY. You get one-of-a-kind results.
Have you ever tried Ardex feather finish? Would you? Seriously, if you can ice a cupcake, you can do this. Just think of all the laminate you could hide! Haha. I would definitely use it again. Which is good considering I have nearly a full bag leftover from this project.
images: Dana Miller for House*Tweaking


budget decor, DIY, inspiration, interior design