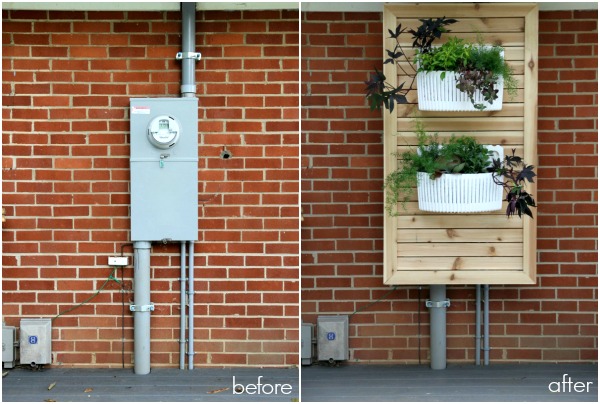
We’ve been scheming ways to disguise the electric meter on the back of our house for nearly two years. I had always pictured a slatted trellis with planters hanging from the eave in front of the meter. With a legit photo shoot scheduled for next week (!), we finally made it happen.
I don’t have any in-progress photos to share because: 1) I’m a bad, bad blogger and 2) they would be really boring. I will give you the play-by-play in text though. Because somehow that’s not boring??
Anyway.
We opted for cedar slats with ¼” spacing, similar to what we used for the trash / recycling enclosure. We simply ripped 1 x 6 kiln-dried cedar boards in half and used exterior wood screws to construct the screen. There was some math involved (details, schmetails) to have only full slats in the finished product, but there’s a sneaky trick to make things a little easier.
HELPFUL HINT: Construct the side and top pieces of the frame using mitered corners. Add horizontal slats all the way down on the backside of the bottomless frame until you reach your desired height. Then cut and install the bottom frame piece for a perfect fit.
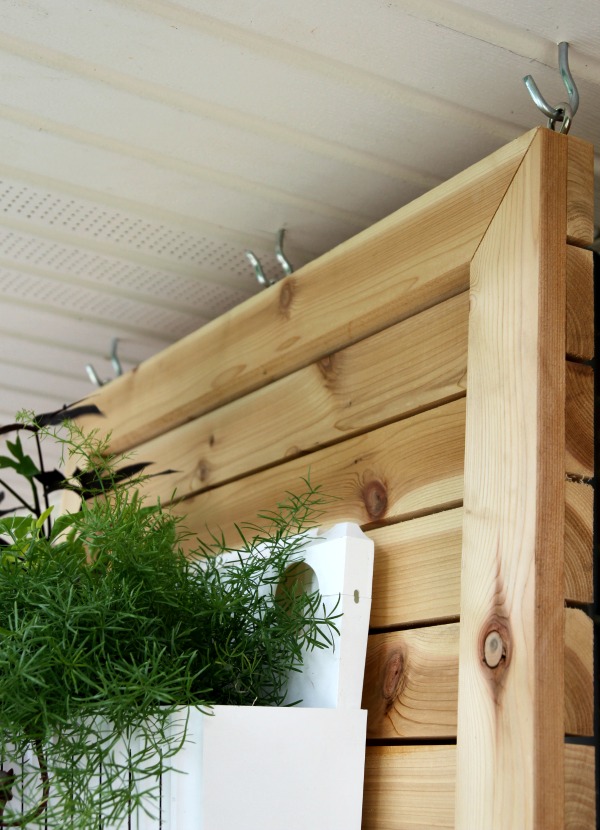
Hanging the screen from the eave proved to be more difficult. First, we removed sections of the vinyl soffit above the meter. We discovered a layer of plywood covering the ends of the rafters and Steve drilled a few pilot holes to determine rafter spacing and location. Lo and behold, there was a 2 x 2 centered just above the meter but we needed supports on either side as well to support the screen. Using a hole saw, Steve cut two holes in the plywood on either side of center to place two 2 x 4 supports. He used a palm nailer to secure the additional supports to the ends of the rafters and the top plate of the wall. Then he replaced the sections of soffit and installed a trio of hooks tied into the three supports hidden in the eave. Three eyelets on the top of the screen slip over the hooks.
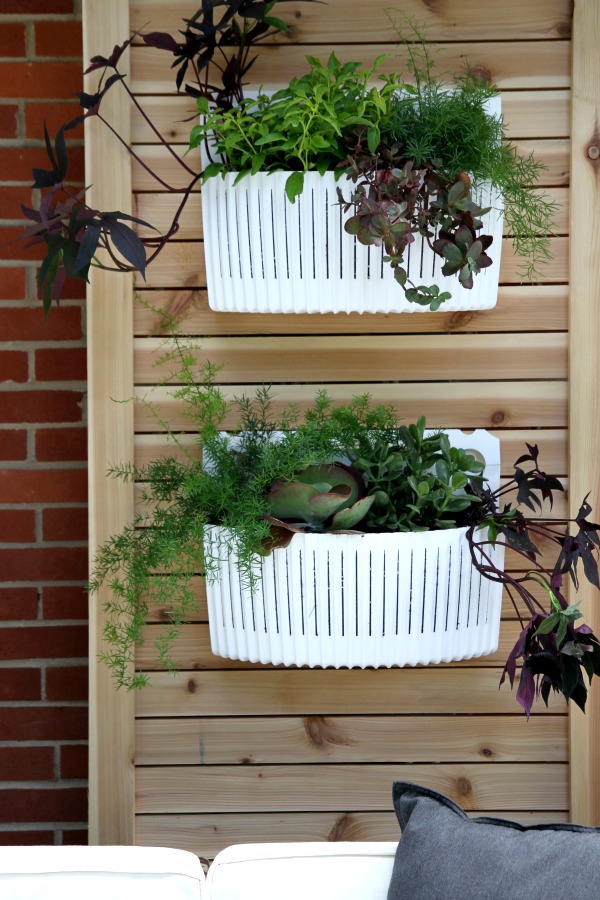
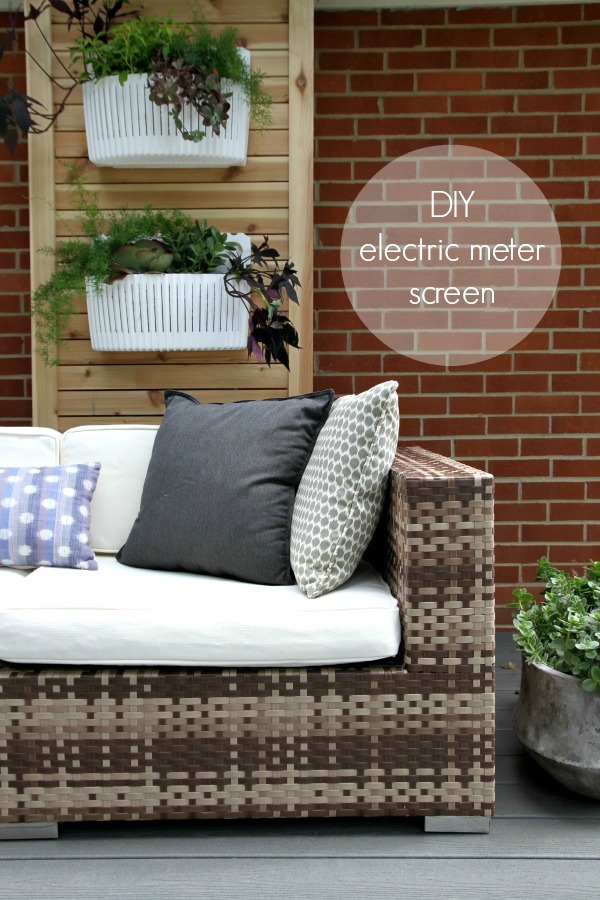
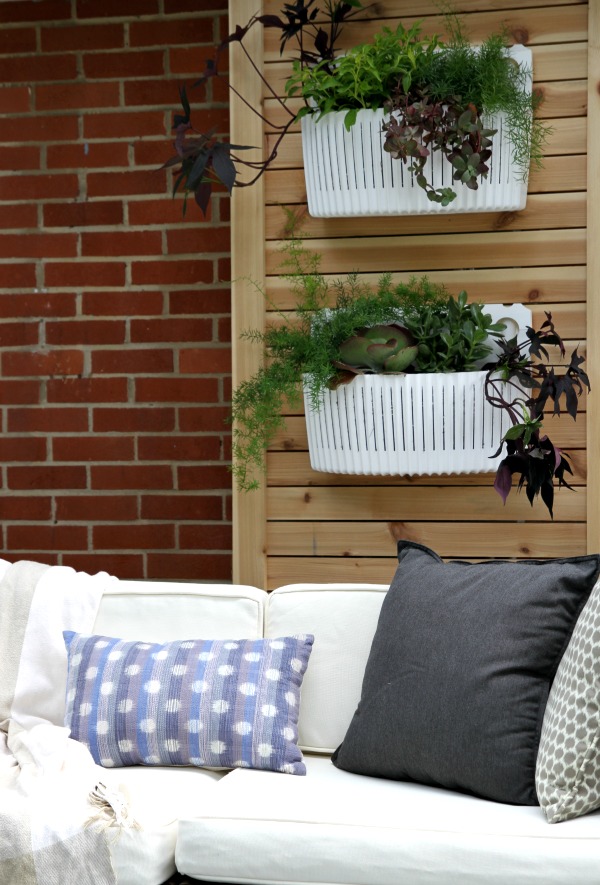
We installed a pair of Woolly Pocket wall planters on the front of the screen to bring in some greenery and break up all the hard surfaces.
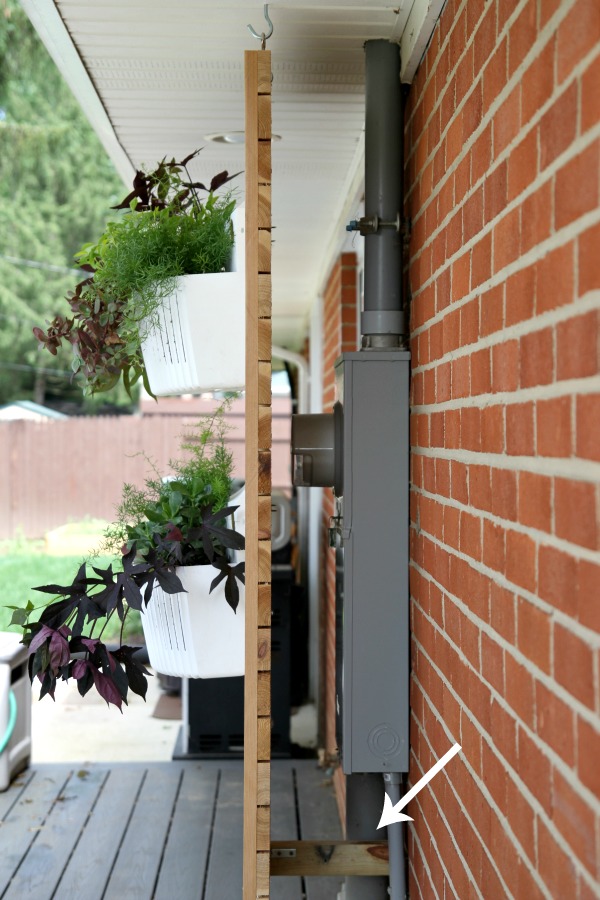
To keep the screen from swinging into the house from the weight of the planters, Steve added what we’re calling a “prop” or “kickstand” to the back with L-brackets. The screen swings away from the house to gain access to the meter, although the verdict is still out on whether or not we’ll piss off our meter reader. He’s actually a pretty swell guy. We’ve had outdoor furniture, french door screens, deck boards and all kinds of other stuff piled up against the meter at one point or another and he’s never complained but, if there’s an issue, we figure we can easily hinge the slats in between the planters for direct access to the face of the meter. Yeah, we planned for that…just in case. #breakingthelaw
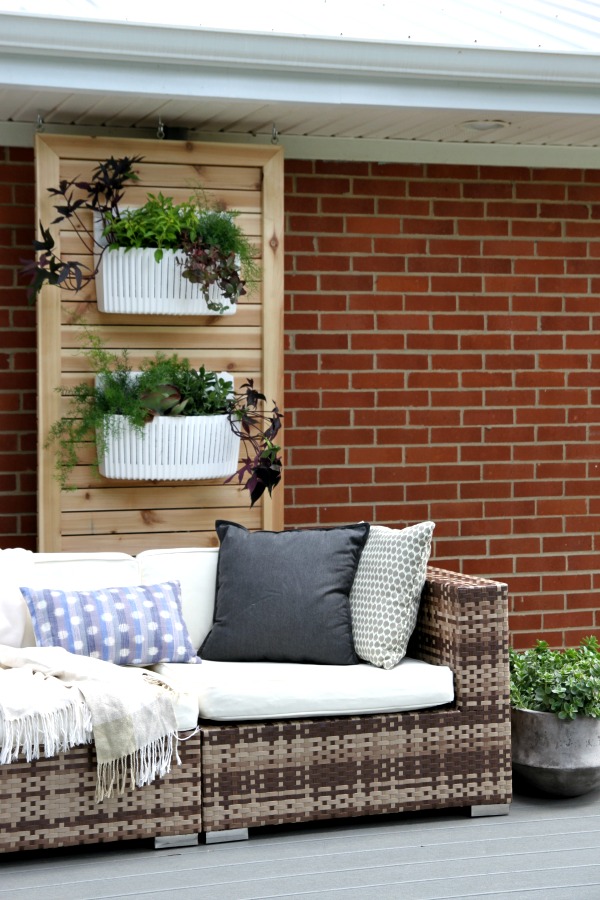
The bottom of the screen extends just below the top of the outdoor sectional for a layered look.
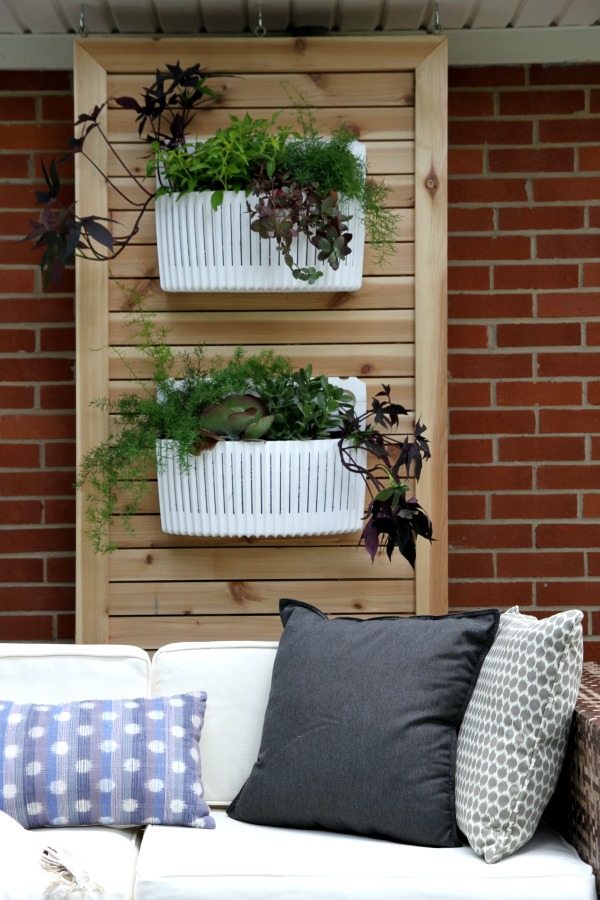
I’m pretty proud of myself for those planter arrangements. I didn’t really have a plan in mind when I went to the nursery. I knew I wanted something willy-nilly and organic feeling with greens and deep purples but beyond that I had no idea what I was doing. I grabbed some sedum, purple sweet potato vine and ferns and threw them together and I kinda love it.
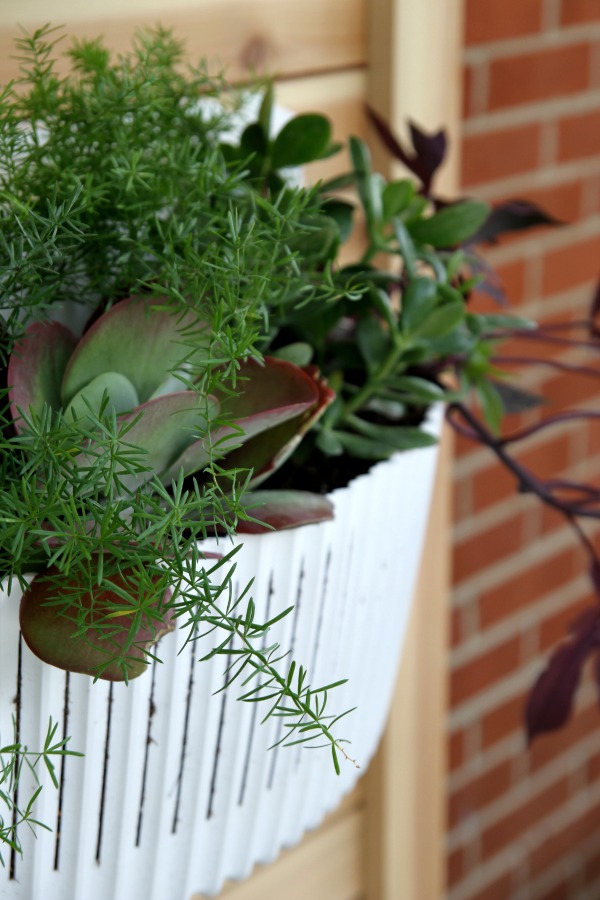
Obviously, there’s no guarantee I’ll actually be able to keep them alive, but I’m hoping the Woolly Pockets are as foolproof as they sound. They’re self-watering (I think I read to water every other week) and the vented shells allow excess moisture to evaporate, promote healthy root systems and prevent plants from becoming pot bound – something I’ve had problems with in previous containers. They’re made in the USA from recycled materials and were super easy to install so I’m a fan regardless of the fate of their contents. #notsponsored #butIhopetheyareplantmagicians
Now if it would just STOP RAINING so we could actually enjoy our deck without a fugly meter mocking us that would be great.
P.S. – Immediately after snapping these pics, it started raining and I put the outdoor cushions back up in the attic where they have been all summer. On the bright side, the meter has never looked better!
images: Dana Miller for House*Tweaking


budget decor, DIY