I haven’t written a blog post or been on social media for twenty-one months. TWENTY-ONE! That’s nearly two years!! Surely, I must have gone mad or something horrendous has happened to me and my family. Fortunately, the reason for my hiatus isn’t that dramatic. Simply put, I started working full-time as a pharmacist (my trained profession) again, and it was necessary to reprioritize (quickly!) for the sake of sanity – mine and my family’s. Blogging has taken a back seat and been there for a while. But I have a little free time on my hands at the moment, so I’m scratching the itch and giving it a go. It’s impossible to fit two years into one post, so I’ll hit the highlights (not necessarily in chronological order) and see what happens.
1. I went back to work as a pharmacist. Going back to pharmacy wasn’t something I specifically discussed on the blog (although I did mention what I missed about working outside the home here), but when I decided to stay home with the kids after our third was born it was always my intention to go back to pharmacy in some capacity once Mabrey started school. At the end of 2016, panic got the best of me when I realized Mabrey would be starting kindergarten the following fall. I wasn’t sure if anyone would hire me with a five-year gap on my resume, so I immediately began applying for jobs thinking it would take a while to get a bite. Steve and the kids were nothing but supportive. I think they were ready for me to get back out there. Ha! As luck would have it, I had an interview and then an offer within a week. The job, hours and pay were just too good to pass up.
I’ve been working full-time (actually overtime 90% of the time) since the beginning of 2017 and I love it. You may recall that the majority of my pharmacy experience was in retail and it wasn’t my favorite. Now, I’m in a hospital setting in an outpatient pharmacy where we collaborate with nurses, doctors and social workers to ensure patients have everything they need for a successful transition to home/long term care facility/shelter. Because we’re non-profit and have access to several community-based public health programs, we do a lot of work with low income and homeless individuals. I’m not sure what you know about Dayton, Ohio, but we’re in the thick of an opioid epidemic, so we serve many patients coping with addiction and overdose as well. We also fill prescriptions for hospital employees. Earlier this year, I was promoted to manager, so not only am I fulfilling pharmacist duties, I’m managing several other pharmacists and a half-dozen technicians, too.
The first few months were a HUGE transition period (mono, strep, frequent work travel for Steve and finishing up the pee house renovation were added challenges), but I feel like we’re in a good place now – especially with all three kids in school. We’re even enjoying this new normal.
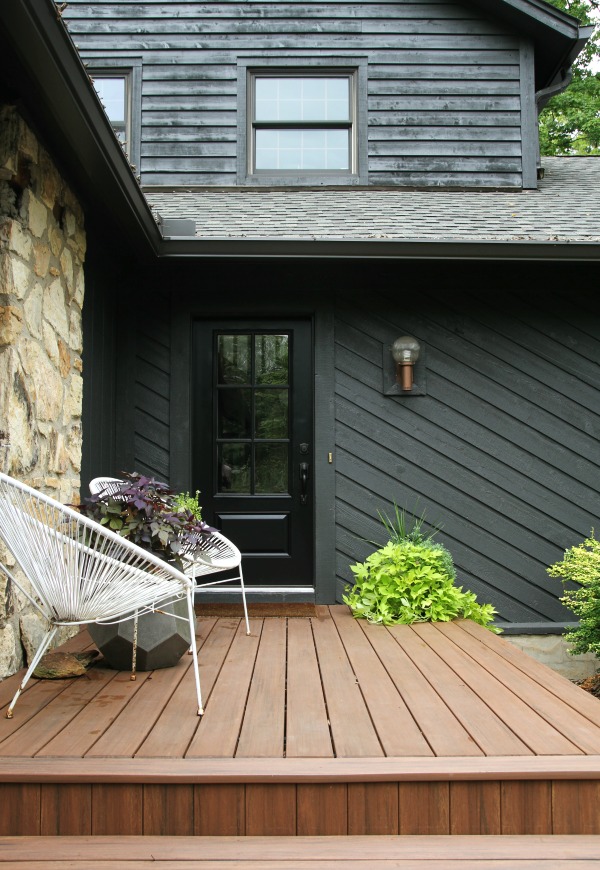
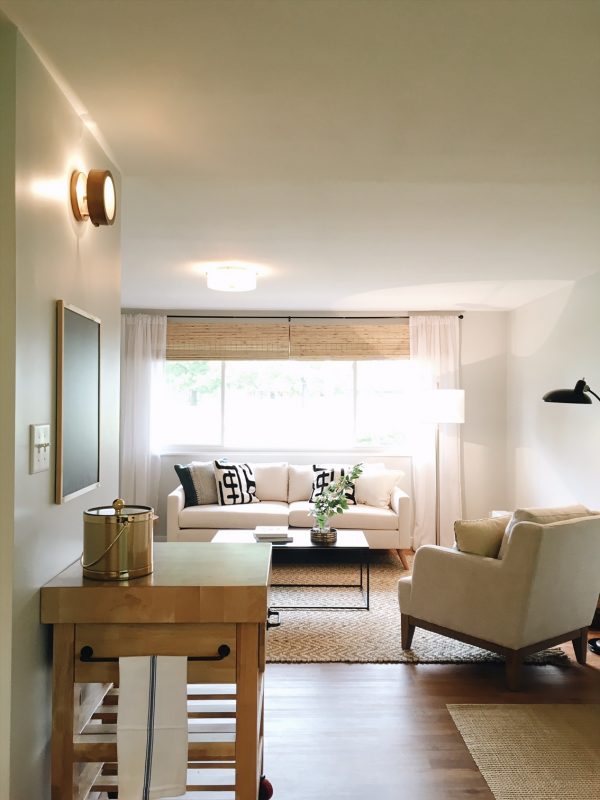
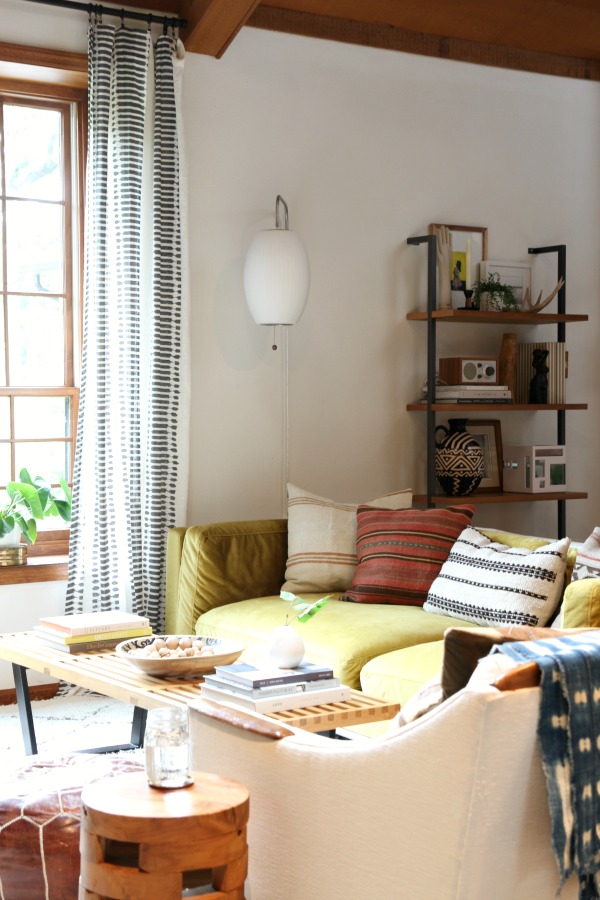
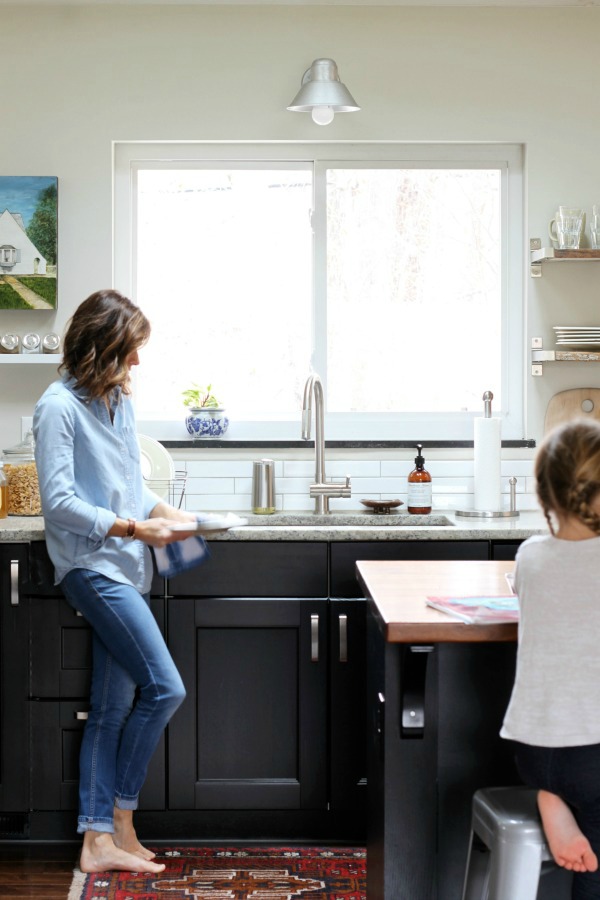
2. We moved! You probably already guessed that from the photos. So, yeah, at one point last year we owned THREE houses for a short period of time and it was INSANE. The long story will have to wait for another post, but the short story is our forever house totally ambushed us, sneaking up out of nowhere. The timing was terrible. We were finishing up the pee house and hadn’t even contemplated putting the house we were living in on the market. In the end, it all worked out. Even though it’s all kinds of outdated (so. much. brown.) and we’ve only been here a year, our new place feels like home more than any other place we’ve lived. We love working on it, and every time we finish a project we love it even more.
3. We sold the pee house. Our first flip was a success! We sold by owner and made a decent profit. I promise to share more details and photos someday. I think the most difficult aspect of flipping for us was holding back from over-improving which meant diligently choosing what to do and what not to do. Our goal was to bring the old house back to life with modern conveniences but keep resale and profit in mind. Would we flip again? Definitely.

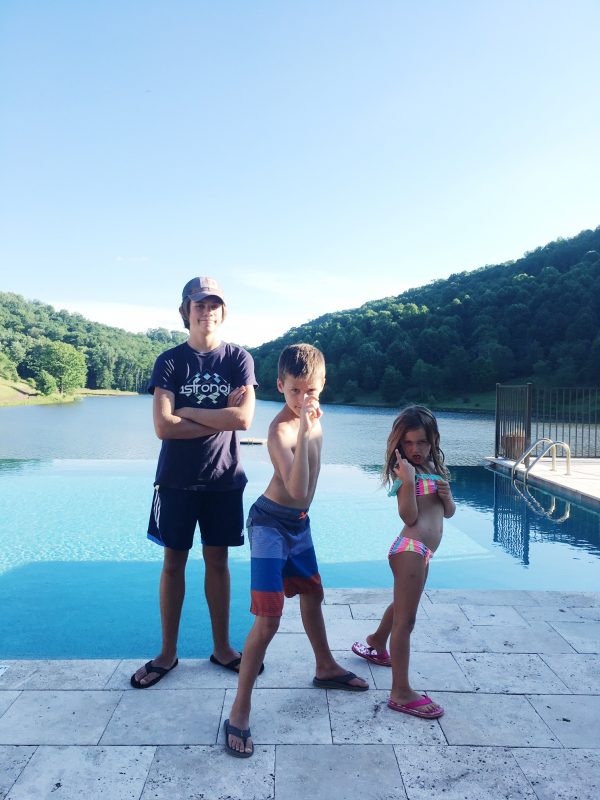
4. The kids grew. Layne is thirteen and, let me tell you, thirteen is hard! For kids and parents. So many changes happening, and it’s a stage of parenting I feel completely unprepared for. Layne went through an especially drastic growth spurt. He grew 6.5″ and gained thirty-three pounds in one year! Even the pediatrician was blown away. He passed me up a while ago and is nearly as tall as Steve. He wears a size 11 shoe and tells me he has the deepest voice of anyone in his school. He’s still playing mandolin and recently acquired an electric bass which he really enjoys. He’s taken up tennis which seems to be the common thread holding us together at this point, so I’ll take it! He still hugs me goodnight voluntarily every night before bed (although he has to lean down to reach me) which is reassuring.
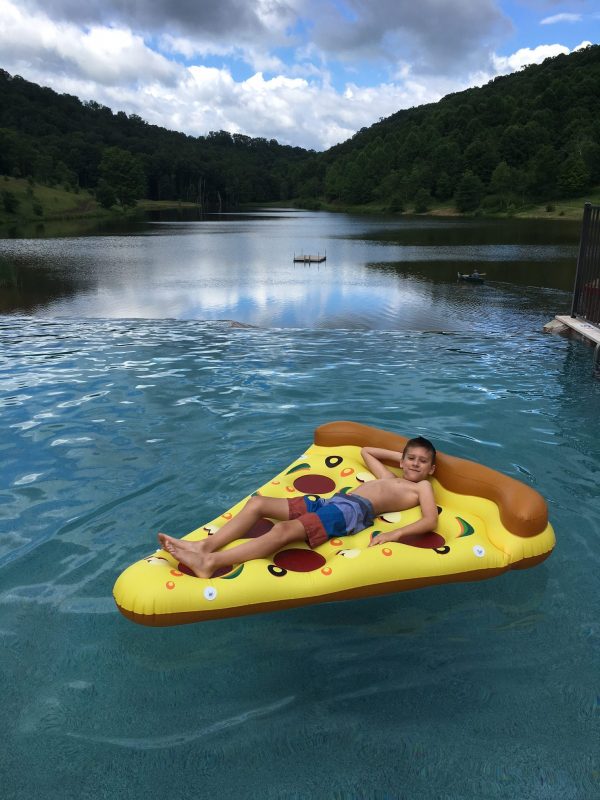
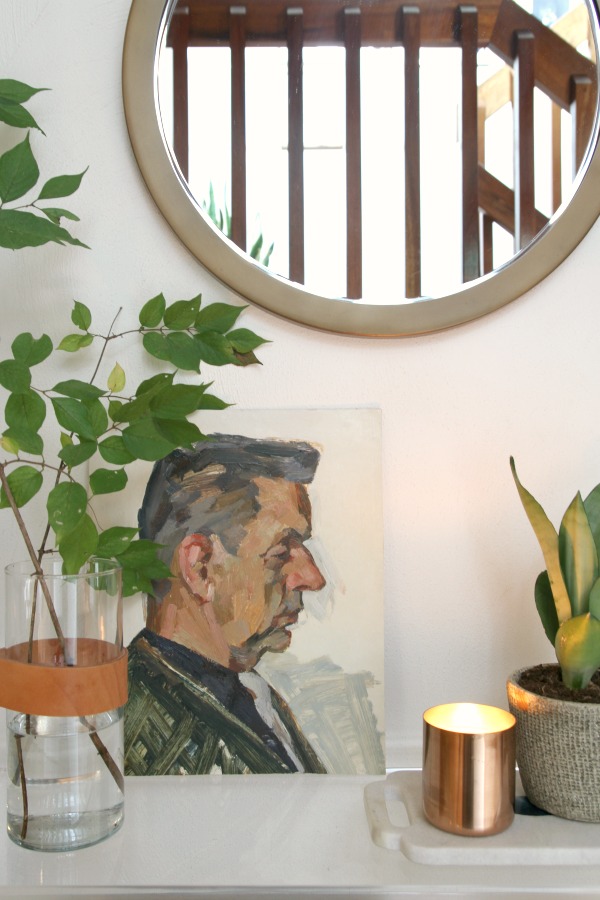
Everett is ten and hilarious. His loves to make people laugh. You’ll be happy to know he has realized his life’s calling as a pizza float model :) He’s really into music and plays electric guitar. Steve took him to his first live concert over the summer, and he was awestruck. He’s an amazing artist, too. He doesn’t simply copy real life images; he’s creating images in his mind and bringing them to life on paper. It’s pretty spectacular to watch. We’re still dealing with remnants of PTSD left over from the scooter accident, but he’s made a ton of progress and I’m so proud of him. He’s a tough lil’ guy.
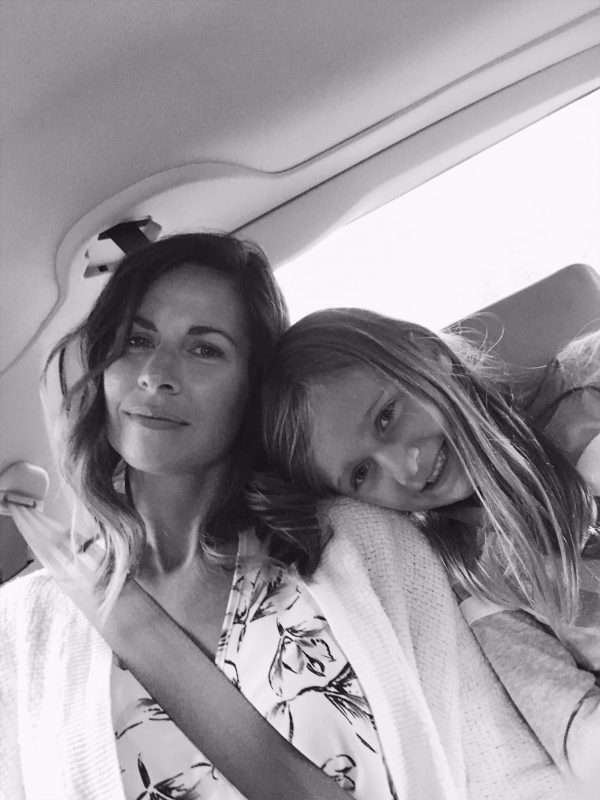
Mabrey is Mabrey. She’s spunky, social, wants to do ALL THE THINGS and has a raw sense of humor that inevitably comes from having two older brothers. She’s thriving in school. She’s six, in first grade and enjoys making new friends and generally staying busy. On the first day of school, a new kid was at the bus stop and Everett whispered to Mabrey, “Do your thing.” She can make anyone her friend in five seconds flat. She gets off the bus skipping. Literally. She loves animals (somehow she tricked me into bringing a second cat home on a trip to the pet store for only cat food – see #5), dresses and spaghetti but hates brushing her hair. She declares each day “the best day ever!” and when you’re around her, it’s hard to disagree.
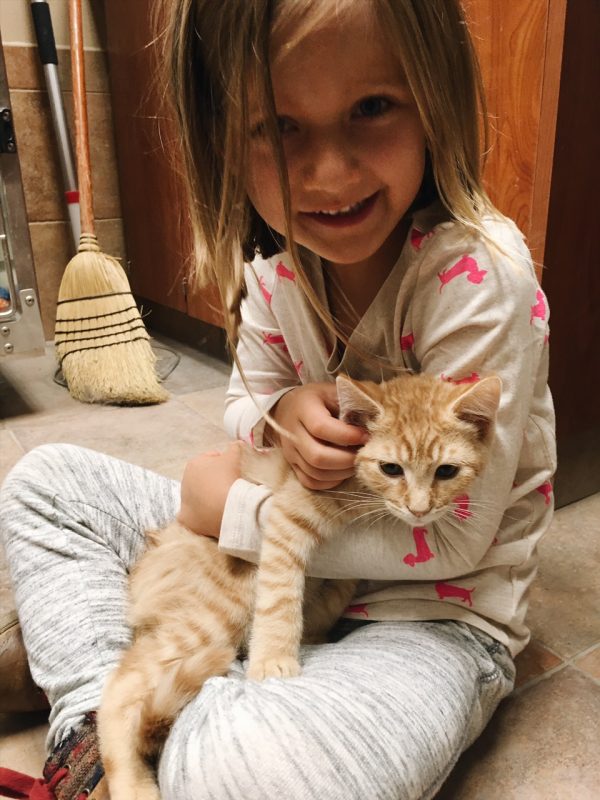
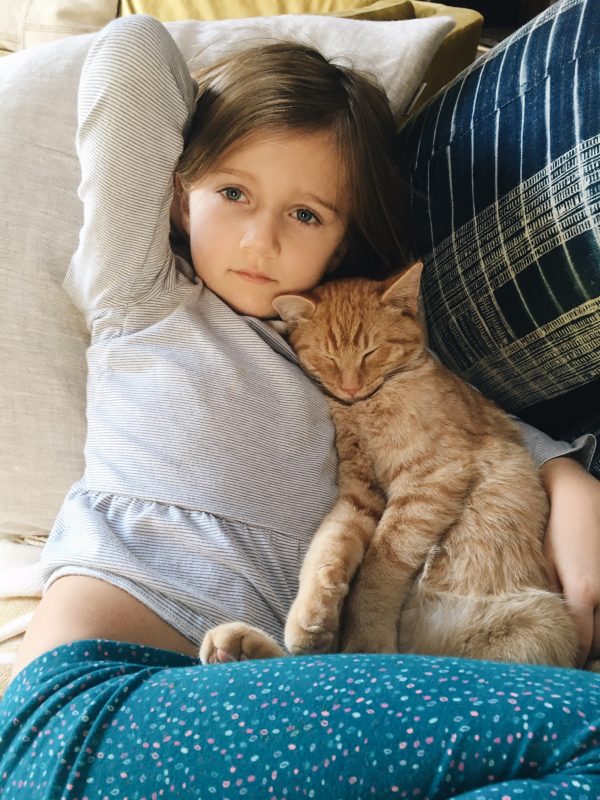
5. We adopted another cat. Meet Hobbes. He and his two brothers were found stranded in a window well as scrawny kittens. We adopted him after Mabrey asked to *just* hold him at the pet store last fall. I mean, how do you say no to that picture?! Ugh. I keep insisting I’m not a “cat person,” but the last time I went to Aldi I walked out with two bags of cat food and a box of microwavable popcorn. If that doesn’t scream “CAT LADY!” I don’t know what does.
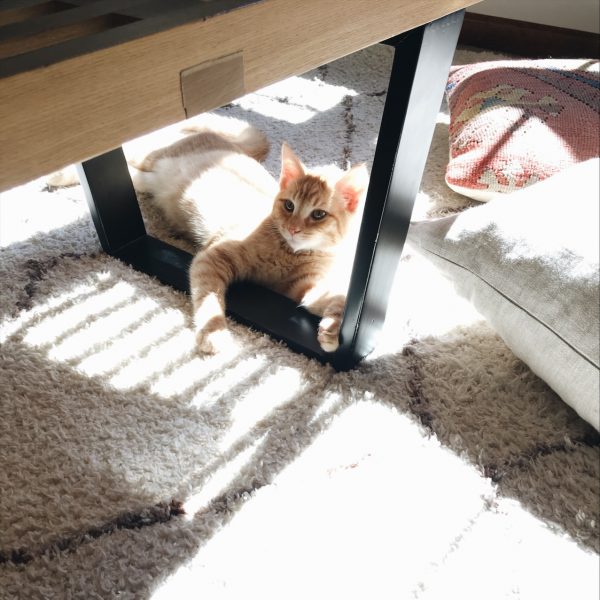
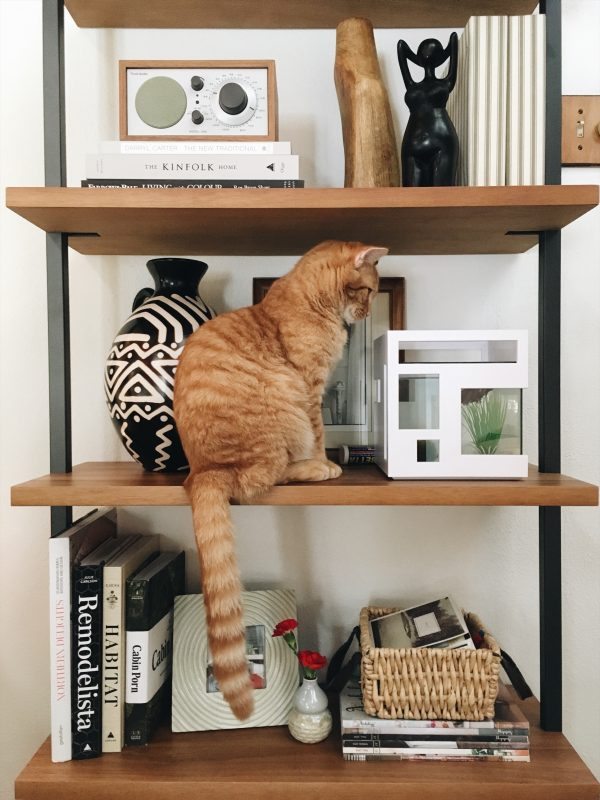
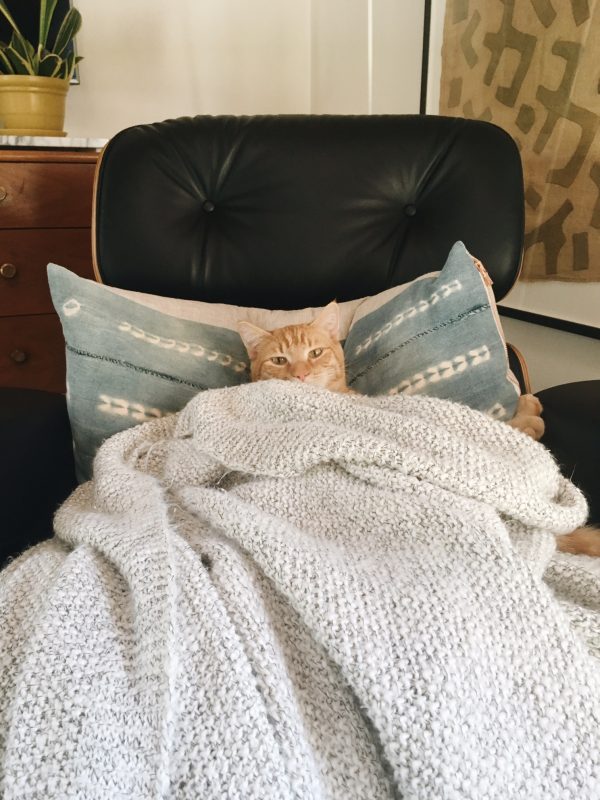
Hobbes lives up to his name. (Everett named him after his love of Calvin & Hobbes.) He’s social, playful, mischievous, cuddly and super sweet. He’s kinda bossy, too, eating Cheetah’s food and bullying her into playing chase. Cheetah is super chill about it all. She made the move to the new house without a single hiccup and has adapted well to sharing the house with another feline. She’ll entertain Hobbes for a bit then lets him know when she’s had enough. They’re alone together during the day when everyone is at school/work, and they get along just fine. Sometimes I even come home to find them curled up on the couch together.
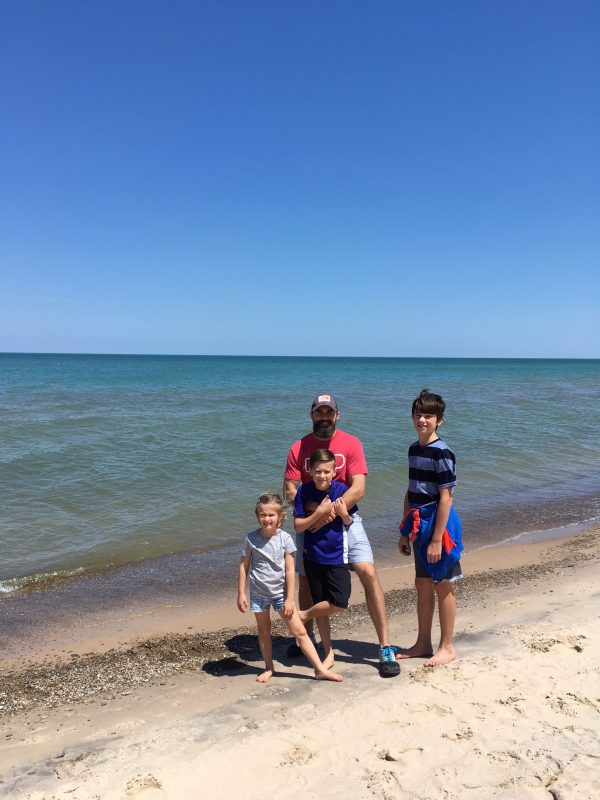
6. We took some pretty awesome vacations. As busy as we’ve been, we’ve managed to squeeze in several vacations. Finding the time is the most difficult aspect of planning getaways nowadays. The kids are in school and have music/tennis lessons. Steve and I are both putting in long hours at work. Steve has been traveling frequently for business, and my PTO (paid time off) was restricted for the first half of the year due to the closing of a sister hospital in the area. For those reasons, we’ve done more long weekend versus week-long trips. We’re finding the busier things get, the more we need these little breaks to reconnect as a family.
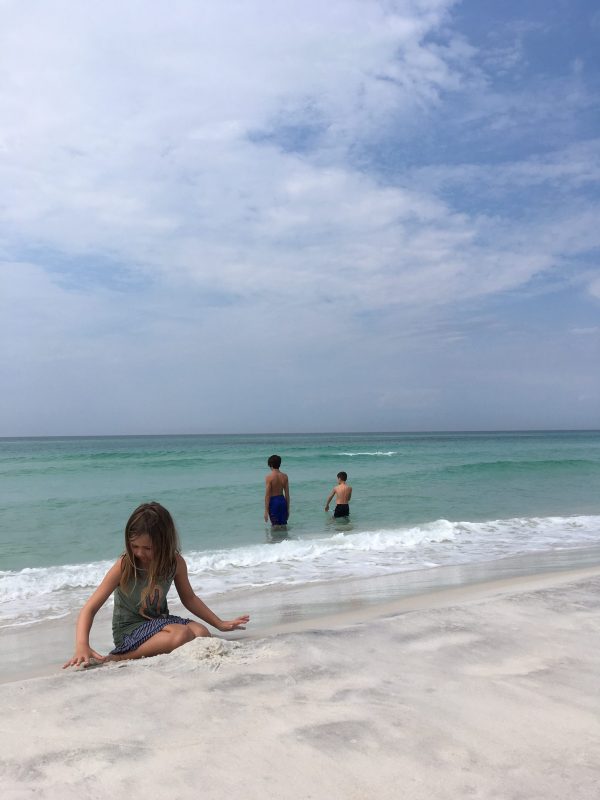
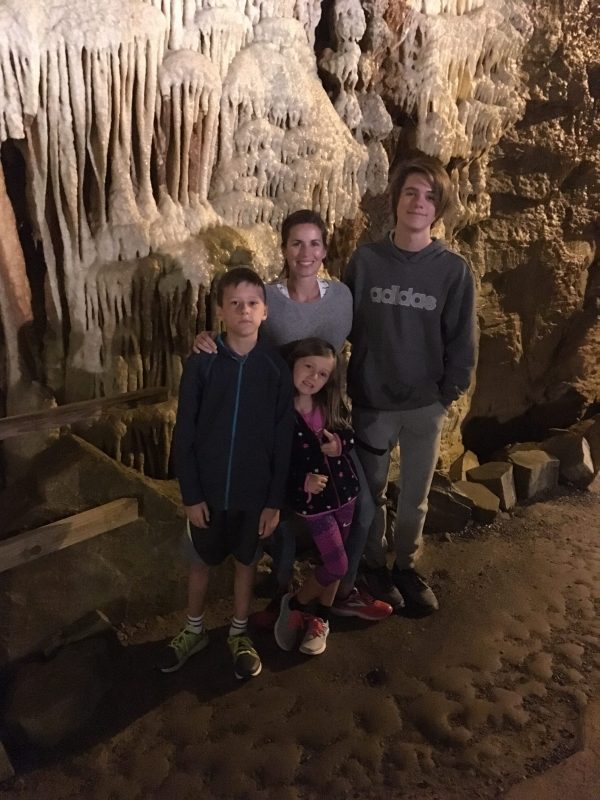
Specific details probably deserve a blog post of their own, but here are a few of the places we’ve visited over the last two years: an architect’s farmhouse in Connecticut, a Treehouse Masters treehouse in Kentucky, a cave in West Virginia, an artsy hotel in Columbus, Indiana (a little known midcentury modern architectural mecca), a family-friendly hub on 30A in the Florida panhandle and a boho bungalow in Detroit’s North End. (The Henry Ford museum is fantastic!) In fact, I wrote the majority of this post in Detroit.
Putting the blog and social media on hold wasn’t planned, but it’s been most definitely necessary. I know my limits, and I know what ensues if I live beyond them. It isn’t pretty. Even so, I have felt like something is missing. I miss writing. I miss taking pictures. (I literally had to dust off my camera last week.) I miss having some kind of tangible documentation of the passing of time when it comes to our home and family. I miss the exchange of ideas, inspiration and support from other house-loving peeps. The truth is, I think I need both. I need the clinical day job that utilizes my college degree along with the creative daydream on the side. Over the years this space has served many purposes and I’m forever grateful for it, but I’m glad to have it as a hobby again. You know, blogging life instead of living the blog. That being said, I can’t guarantee any regularity in posting. Post frequency will vary and most likely depend on our work and family schedules. Is weekend blogging a thing? I’m going to try my hand at Instagram again, too, so you may be more likely to find me there on a somewhat more frequent basis just because it’s way less labor intensive.
Finally, THANK YOU for all the emails, comments and thoughts during the radio silence. They may go unanswered (damn you, time!) but not unread or unappreciated. I know some readers may choose (or have already chosen) to move on, and I totally understand. Heck, I haven’t read a blog since…I don’t know when! For those of you who take time out of your busy lives to read, thanks. Hope all is well wherever you are.


family life, kid-friendly