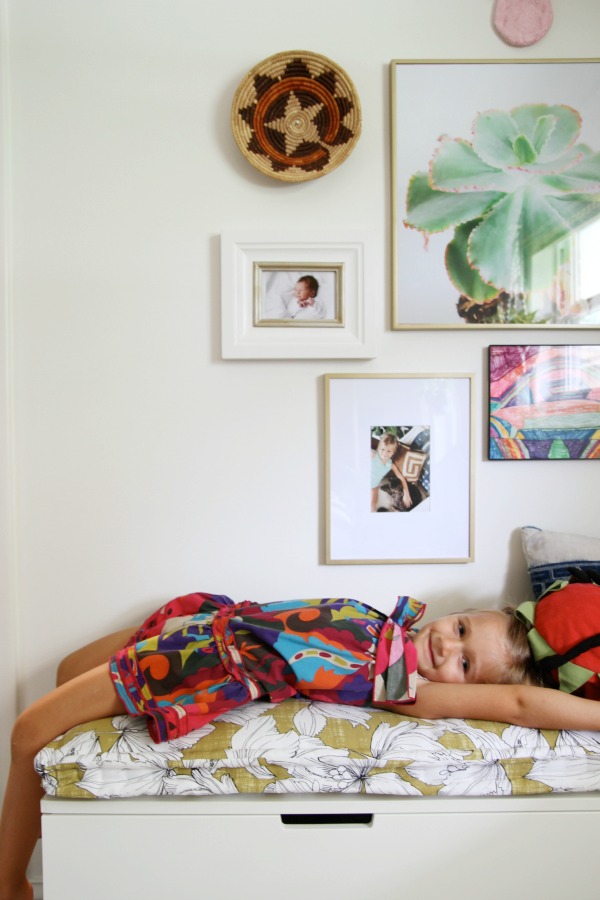
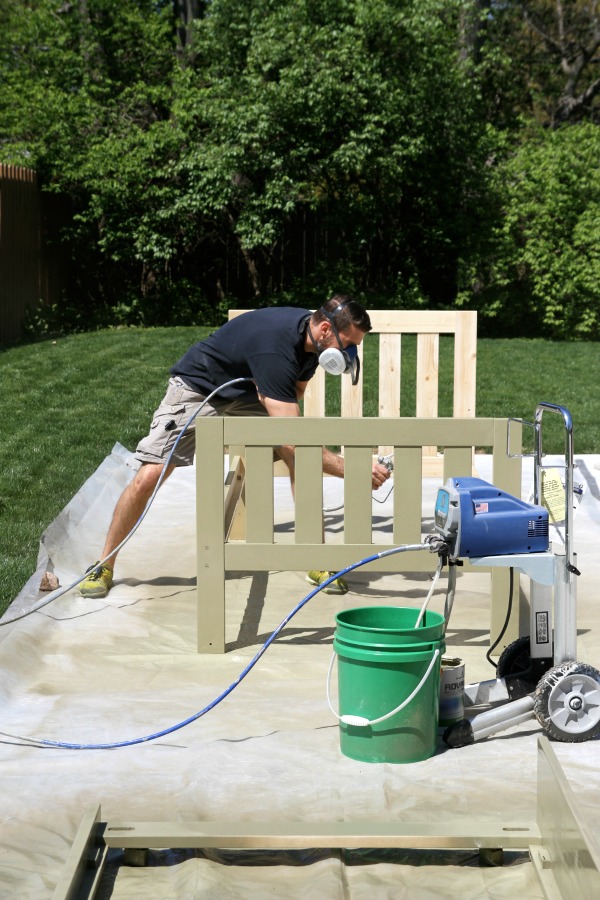
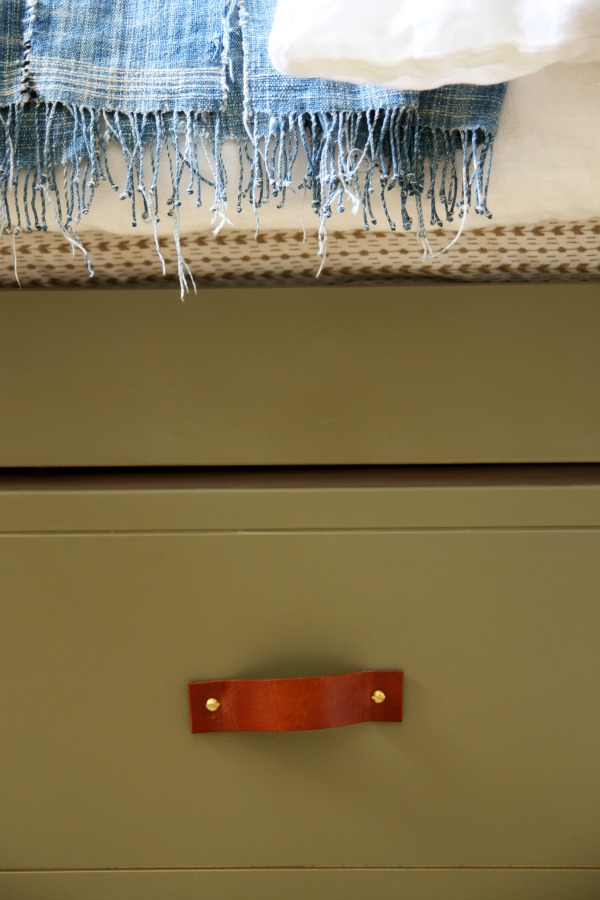
Mabrey’s big girl room is finished! I’m sorry to have kept you waiting for so long, but this project took place in real time amid real life which means it took forever. I’ll be sharing a series of posts this week discussing different aspects of the room because I feel like there’s too much for one post. Actually, that’s how I tackled the room…by breaking it up into smaller, easily digestible projects. Last month I shared how we customized a plain Jane trundle bed. Today I want to talk walls. I promise pretty pictures are coming soon, but this post includes a bunch of grainy, in-progress, iPhone photos. Brace yourself!
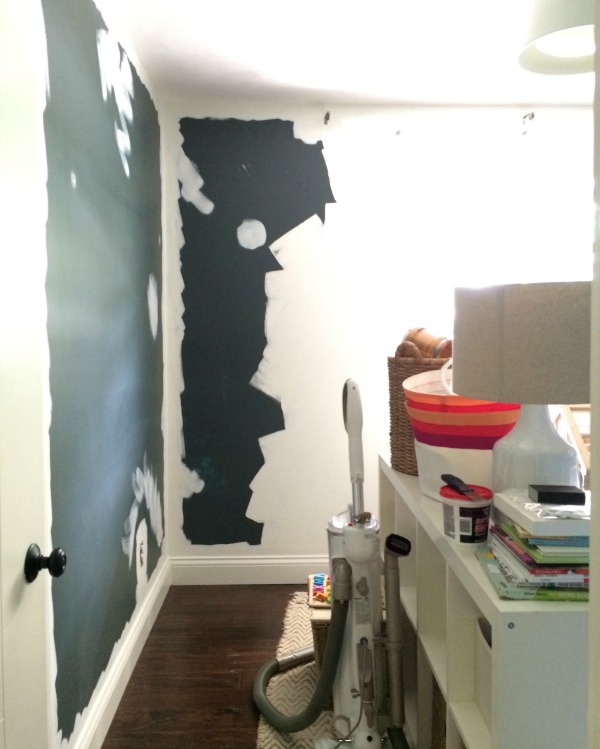
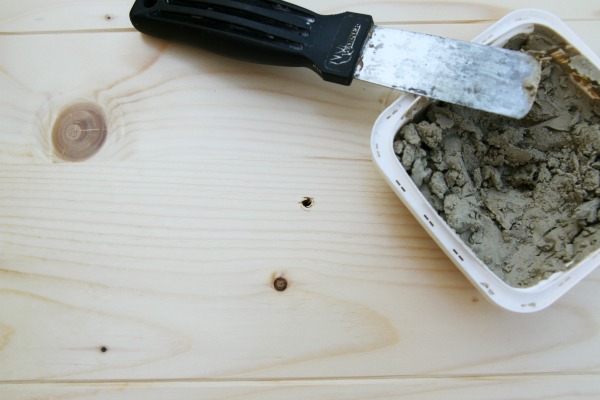
The nursery walls were a deep charcoal with blue-green undertones. I absolutely love the color and am keeping it in my back pocket for future reference, but it was time to brighten up the room to reflect Mabrey’s, ahem, vibrant personality. (No joke, I just overheard her telling Everett, “That’s what you get. Don’t mess with me!” #strongwilled) I removed everything from the walls, patched holes and sanded them smooth in preparation for paint.
I’d be lying if I said I wasn’t the teensiest bit concerned about painting a light color (Benjamin Moore white dove OC-17) over such a dark color (Benjamin Moore dark pewter 2122-10). I consulted with my local Benjamin Moore sales rep, and he assured me that the self-priming Natura line was the way to go. I was prepared to roll on three or four coats to get full coverage, but it only took two coats and a little touch-up. Yay for projects that take less time than anticipated! It also helped that the trim was already painted Benjamin Moore white dove, so I didn’t have to tape it off. Even though the walls are an eggshell finish and the trim is semi-gloss, stray brush marks aren’t noticeable. I painted three of the four walls. I left one wall dark thinking it would be a good backdrop for Stikwood, but that idea didn’t really pan out. (More on that in a minute.)
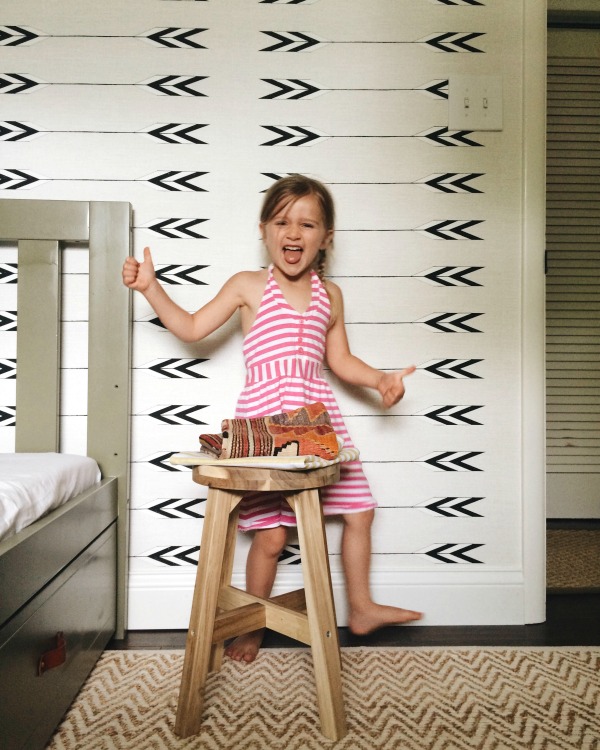
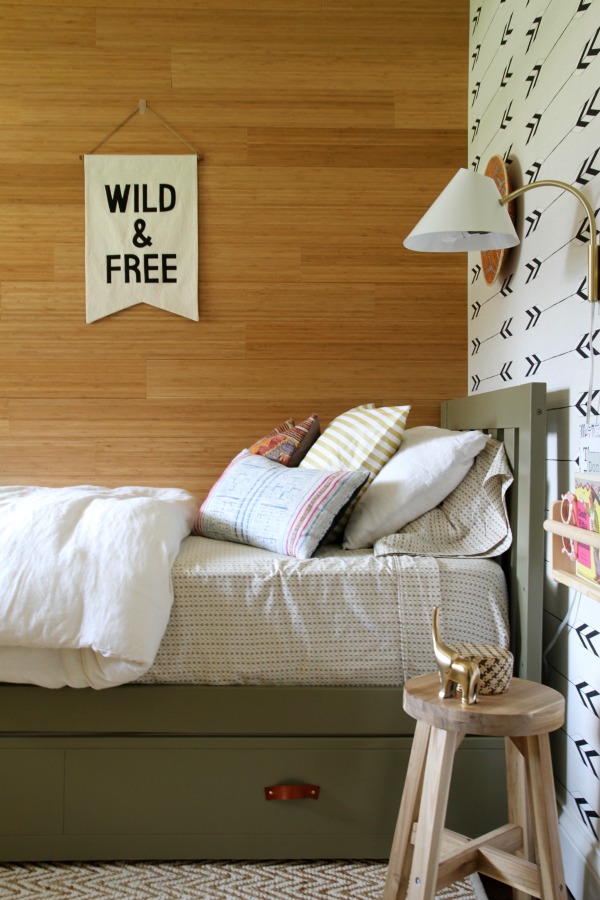
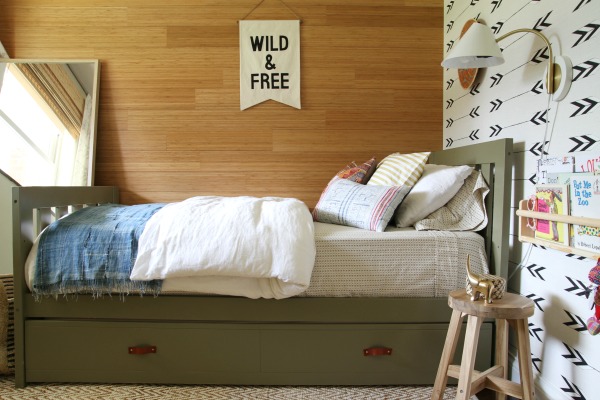
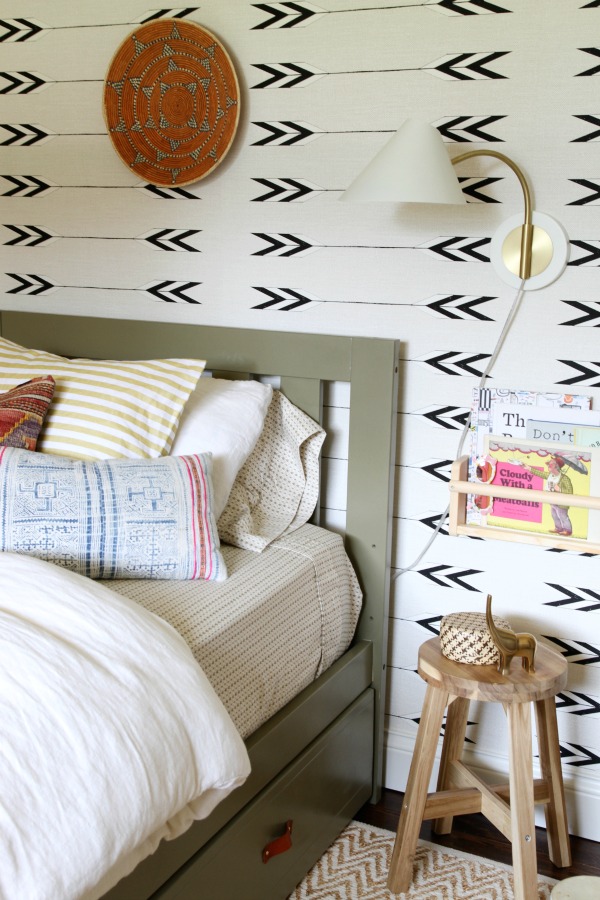
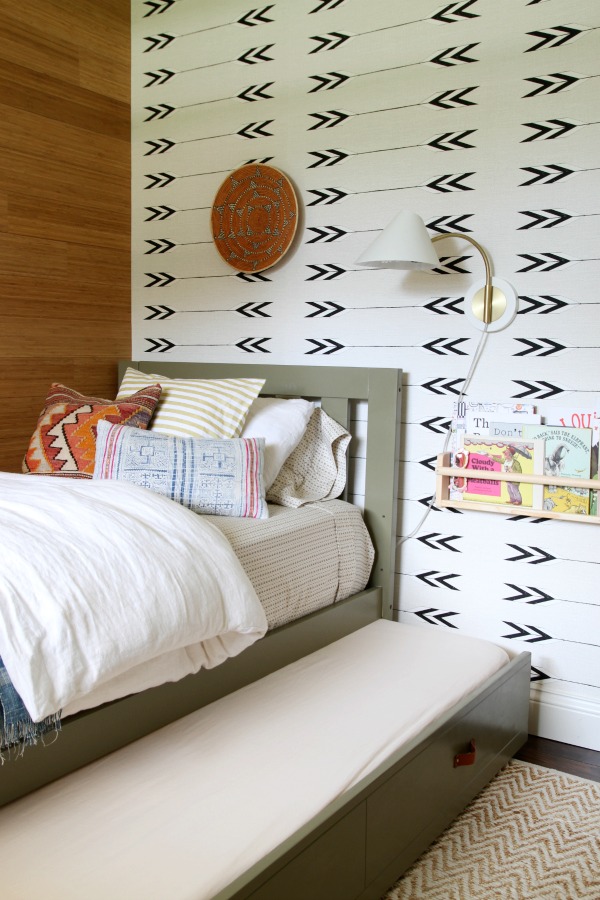
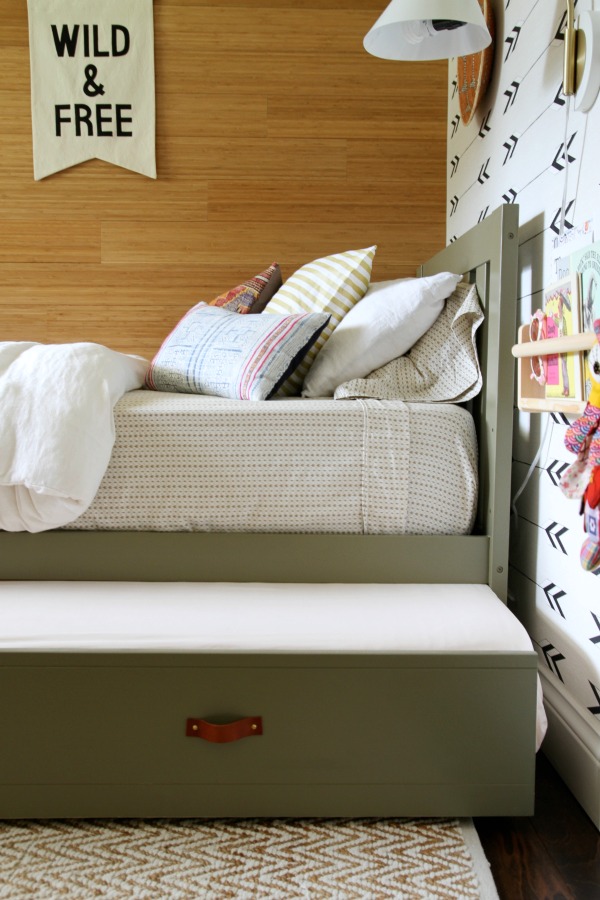
After the walls were painted I had the wall behind the headboard wallpapered in Cavern Home’s tapestry wallpaper in zuni. Yes, I paid someone $125 to install the wallpaper. It was some of the best money I’ve ever spent. I’ve successfully hung wallpaper by myself in the past, but this paper was a little different. For one thing the wallpaper was not pre-pasted, so I would’ve had to invest in adhesive anyway. Second, the edges were untrimmed meaning someone other than the manufacturer (preferably a professional installer) needed to trim them prior to installation. The process can be a little tricky if you aren’t familiar with it. I wasn’t willing to wing it for fear of botching the entire project. So I found a local professional installer via the Wallcovering Installers Association. I called three or four installers before I found one that would take on such a miniscule project. He stopped by one Saturday morning and, in less than hour, the wallpaper was up. I couldn’t write that $125 check fast enough. So. worth. the. money.
The lesson? If you’re considering “untrimmed” wallpaper, be prepared to hire out the installation.
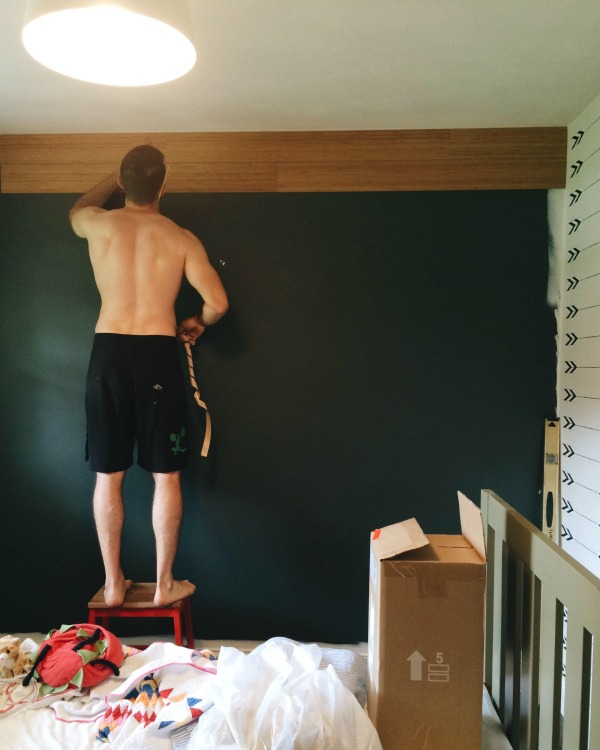
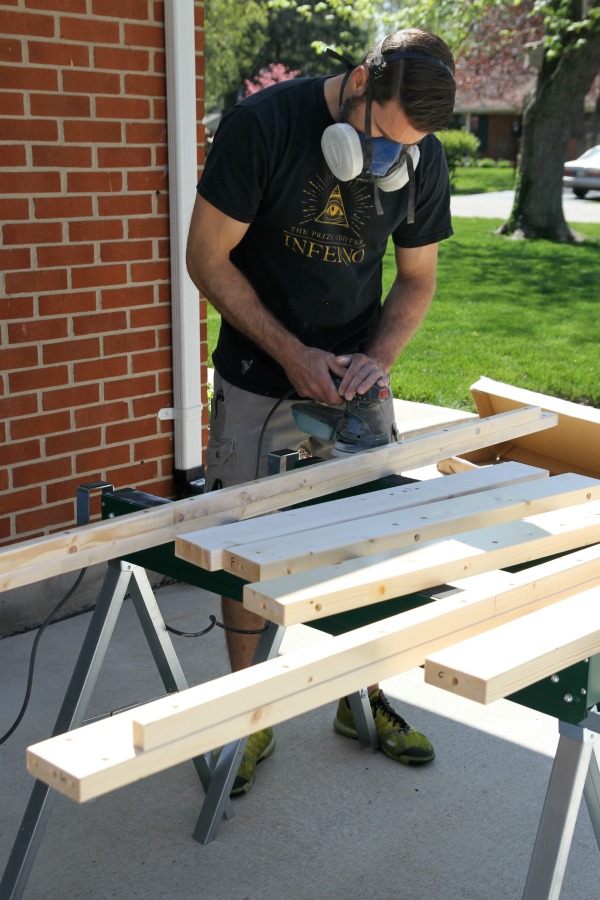
We planked the fourth wall in Stikwood’s vertical caramelized bamboo. It’s the same wall treatment we used on the bunk wall in the boys’ room. (You can read more about that project here.) This is where the dark wall (the one I didn’t paint white) became problematic. The wall isn’t perfectly flat (thank you old houses) so no matter how hard we tried, a few gaps showed up between some of the planks. The dark background accentuates the gaps. Luckily, they aren’t noticeable on the finished wall. They’re one of those things that really only bother Steve and me because we’re the ones who hung the planks. Still, if I had to do it all over again knowing what I know now, I would have taken the time to paint the wall white. Live and learn.
I think that covers all four walls. (Corny pun, so sorry.) Normally, I wouldn’t use three different wall treatments in such a small space, but I like breaking all the rules in children’s rooms. Mabrey’s room isn’t even 10′ x 10′, so I feel like the walls are one dimension I can have fun with without taking up precious floor space. I spent very little on actual furniture pieces, so there was more room in the budget for wall coverings. And since I only used wall coverings on two of the four walls, the splurges were relatively affordable.
Do you have any unique wall coverings in your home? I’ve always loved the idea of a simple kitchen set against planked walls, either rustic or painted. Something similar to this, this or this or this.
images: Dana Miller for House*Tweaking


budget decor, DIY, inspiration, kid-friendly