Dear etsy,
I like you. Especially your art, handmade treasures, and vintage textiles & knick knacks. I just want you to know that you’re appreciated.
xo,
Dana
And now for some stuff I recently bought on etsy…

1 – vintage indigo jar ($20) I store garlic bulbs in this lil’ cutie and keep it next to the stove.
2 – red sliced wood garland ($30) This crazy cool garland is going in the boys’ room. (An update on their room is coming next…) I probably could have made one for less but who has time to paint a wood dowel, cut it into a million pieces, then string and knot each slice? Apparently, not me.
3 – hanging planter ($57) The boys requested more plants in their room. To optimize floor space, I thought a hanging planter would be the way to go. Again, I decided to leave the tedious task of knot-tying to someone else. WHO AM I?
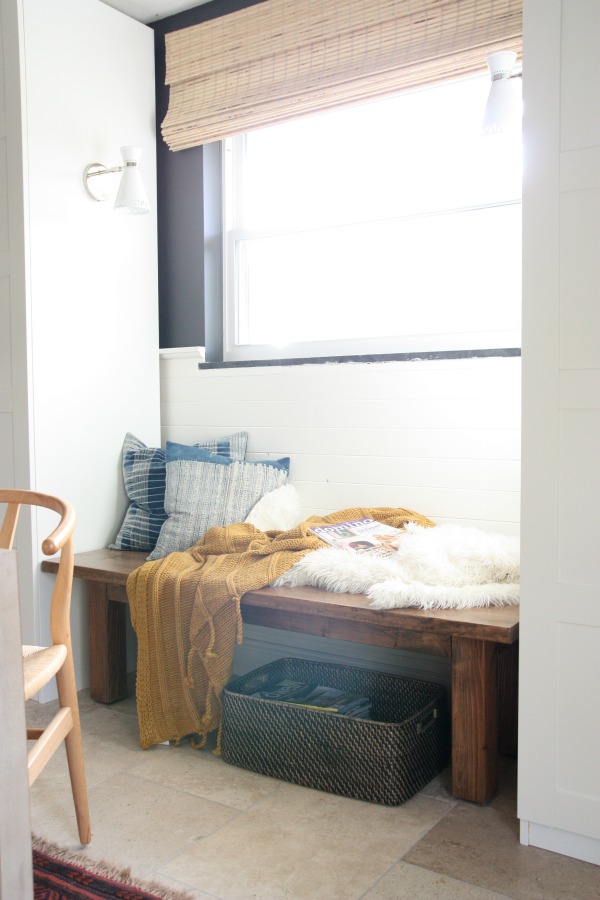
4 – vintage Hmong fabric ($35) I bought two Hmong pillow covers a while back for the mudroom and ever since I dream of covering my house in Hmong fabric. It has the best patterns and patina in a denim-like indigo color. I’m going to sew more pillow covers and fill my house with them. Because I do have time for sewing but not for knot-tying??
5 – vintage kilim pillow ($55) I put this beauty in ‘my favorites’ weeks ago and would stop in daily to gaze longingly at it. Then I decided life was too short to love a pillow virtually when I could love it in real life.
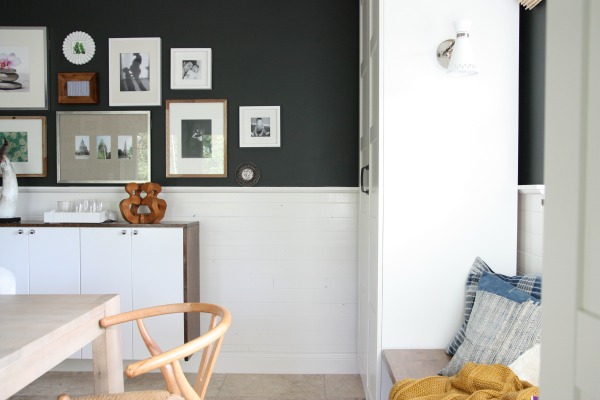
6 – New Zealand panoramic photography print ($145) I’ve slowly been adding black and white photography prints to our home. (I spy three from my desk right now.) I guess I’m into them. The scale and orientation of this panoramic should be perfect for what I have in mind.
I go through phases of browsing etsy and curating ‘my favorites.’ Then every once in a while I pull the trigger on items I’m especially drawn to. I have to have a clear purpose or spot for each item. That’s the one caveat. There’s no room here for buying first, thinking later.
What about you? Any recent etsy purchases? Any etsy shops I should know about?
images: polyvore collage by Dana Miller


budget decor, inspiration, mood board