I’ve mentioned it before: I’m a hand soap whore. It’s something I’ve always felt a little guilty about because I can’t commit to one brand and end up bouncing around, going through several bottles a year. I recycle when possible, but I know I could do better. I’ve tried all kinds of refillable dispensers but haven’t had much luck. The practical plastic ones leave a lot to be desired. The “stainless steel” ones have actually rusted out on me (I’m guessing they weren’t 100% stainless steel). My favorite glass dispenser fell to its demise one morning during the before school/work hustle. (Cleaning up shattered glass and a pool of liquid soap from the bathroom floor isn’t my favorite way to wake up. Ironically, soap is terribly difficult to “clean”.)
One of my friends told me she uses a refillable, automatic soap dispenser in her kids’ bathroom because it’s the only way she can get her kids to wash their hands. I thought it was a genius idea, but then she told me it was horribly ugly and required batteries. Hey, you do what you gotta do!
So when the folks at simplehuman asked if I wanted to take their new foam cartridge sensor pump for a spin I was game…skeptical, but game.
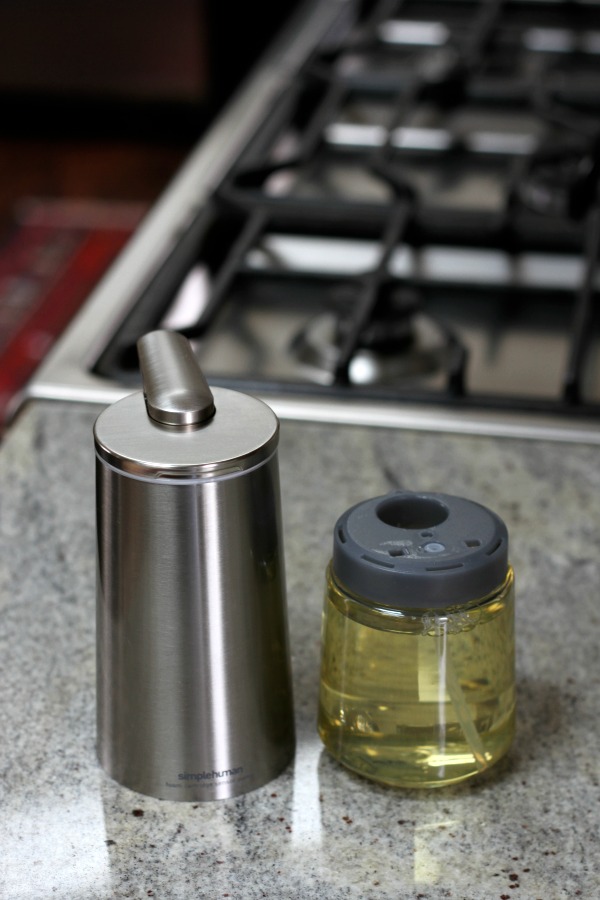
The pump itself is made of high-grade stainless steel (for real) and houses a recyclable, snap-in soap cartridge. Thanks to patented air-induction technology, it takes only a small amount of liquid soap to create a rich foam which means the cartridge lasts longer than traditional soap of the same volume.
A hinged top opens to reveal a power button that controls the amount of soap dispensed, a cartridge release button and a recharge plug. Yes, you read that correctly, recharge plug. NO BATTERIES REQUIRED. A solid green ring lights up to indicate a full charge. One charge lasts up to three months! When the soap cartridge is empty, simply press the orange release button, remove the old cartridge and snap a new one in its place. NO MESSES REQUIRED.
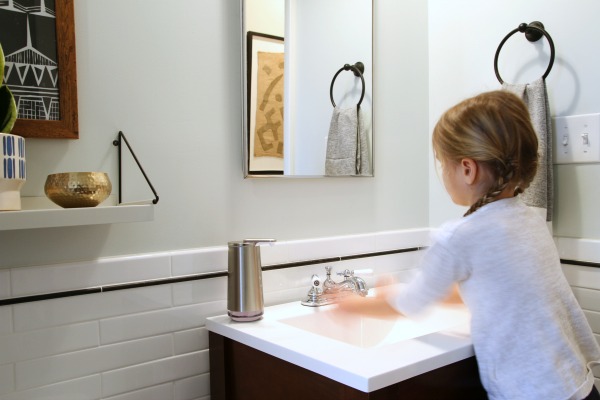
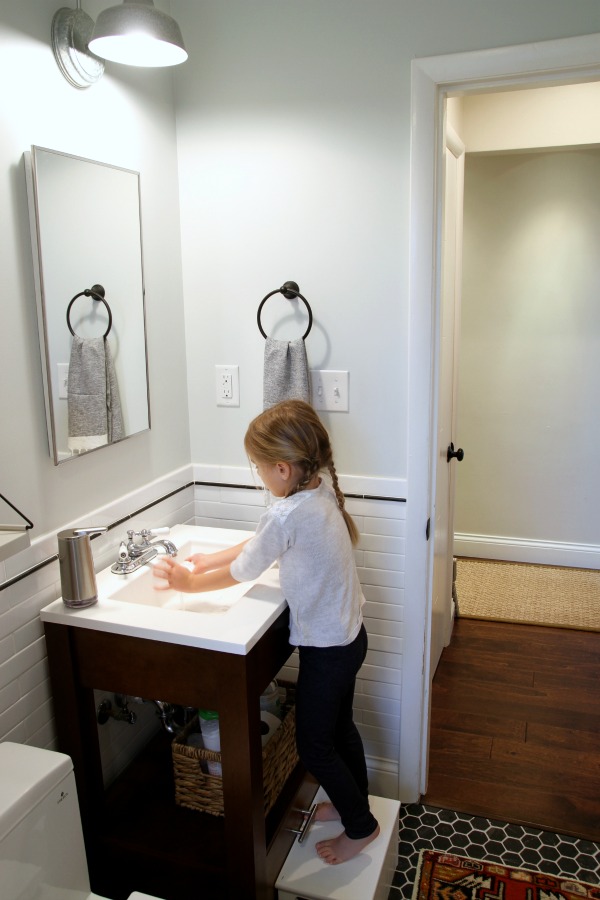
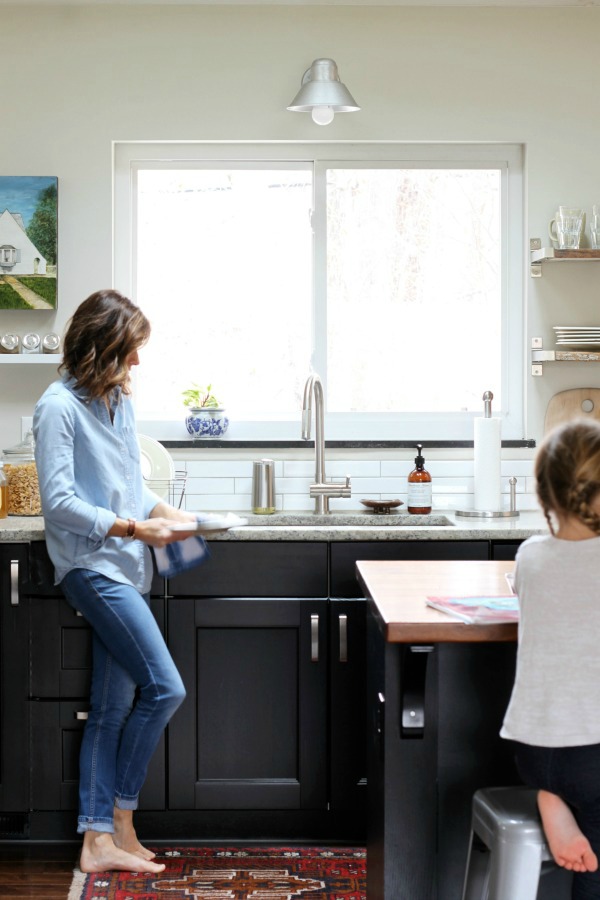
I snuck one in the kids’ bathroom and you would have thought I put a unicorn in there by their reactions. “Mom! That soap thing is SO COOL!!” It’s not like they’ve never used an automatic soap dispenser before. (Hello, restaurants and gas stations.) But I think they were so surprised because the simplehuman pump doesn’t look like your typical automatic soap dispenser. It’s metal, not plastic. It’s sleek, not boxy. And it’s meant to be placed on a horizontal surface, not wall-mounted. (The kids’ vanity doesn’t have a ton of countertop space, and the pump fits perfectly.) All of a sudden my kids think hand-washing is fun?! I’m going with it.
I love the new pump because I’ve yet to find globs of unused liquid soap around the sink. Also, the touch-free sensor means NO FINGERPRINTS REQUIRED. #notacrimescene (If fingerprints do surface, the pump is water-resistant and can be rinsed in the sink.)
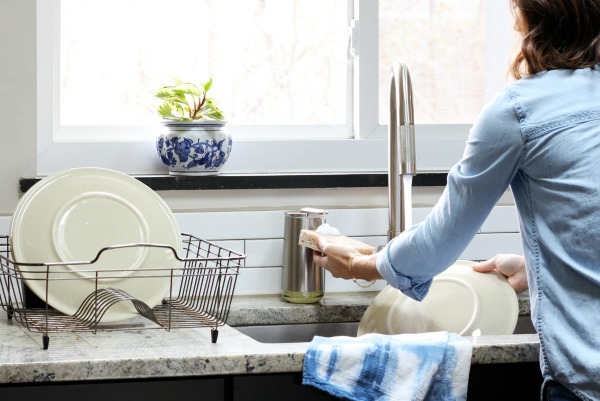
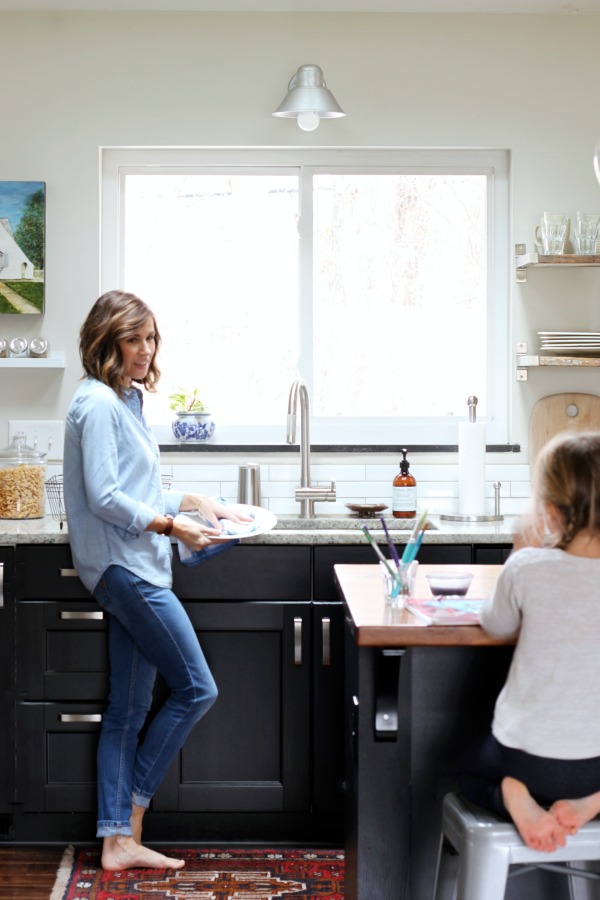
I love the pump so much that I added a second one in the kitchen to hold dish soap. This might sound persnickety, but being able to add soap to my dish sponge while simultaneously holding a dirty dish is pretty freakin’ awesome. Luckily for promiscuous me, several different hand and dish soaps are available for use with the pump. I especially like the lavender hand soap and verbena dish soap.
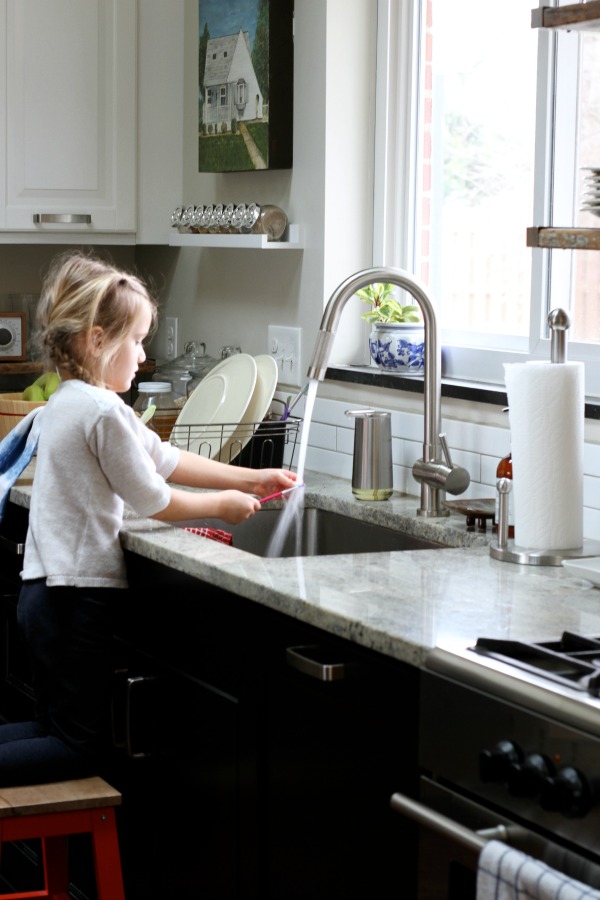
It’s especially user-friendly when it comes to washing out paint brushes, for big and little people.
We’ve been using the pumps for a few weeks now and we’re all impressed. We’ve yet to have an issue. The pumps are proving to be robust, and it seems like the cartridges will last for weeks to come. One thing I’d love to see in the future is reusable simplehuman soap cartridges that can be (re)filled with homemade foaming soap and used in conjunction with the sensor pump.
Today, simplehuman is giving one lucky reader a foam cartridge sensor pump and an assortment of hand and dish soaps. Enter here:
a Rafflecopter giveaway
Good luck and happy hand/dishwashing!
*This post sponsored in part by simplehuman which offers tools for efficient living.
More than half of the Airbnb homes we’ve stayed in boast IKEA kitchens. It’s not something I specifically look for in a vacation rental (I swear!), but I do get a little giddy the first time I open a drawer and make the discovery. I love seeing how other homeowners use IKEA cabinets within the context of their own homes. I think IKEA kitchens are becoming so popular because they’re affordable, efficient and customizable, and the drawer hardware holds up to daily abuse.
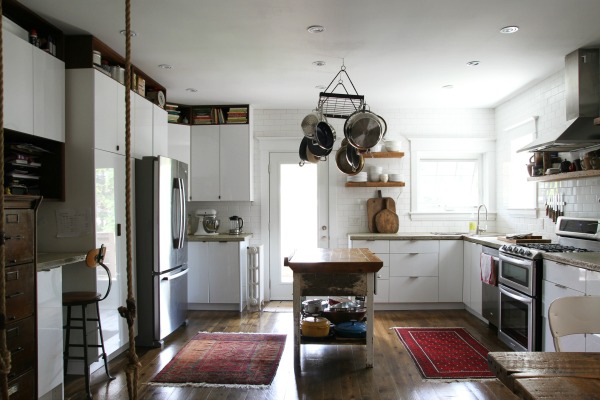
The Toronto house we stayed in utilized IKEA cabinets alongside other elements to create a rustic modern aesthetic. I thought I’d share it with you because, at first glance, the space doesn’t read IKEA. It feels lived in and exudes the same cozy vibe as the rest of the home. Keep reading to see some of the defining features.

Sleek cabinets + concrete countertops + wood floors
White, flat panel cabinets in a high gloss finish (IKEA RINGHULT) are topped with matte concrete countertops for contrast. The concrete wasn’t perfectly mixed or polished on purpose. Pits and color variations give the inexpensive material the look of pricier natural stone. The rawness of the concrete contributes to the rustic look. Pine planks ground the space and give off a pretty golden glow.
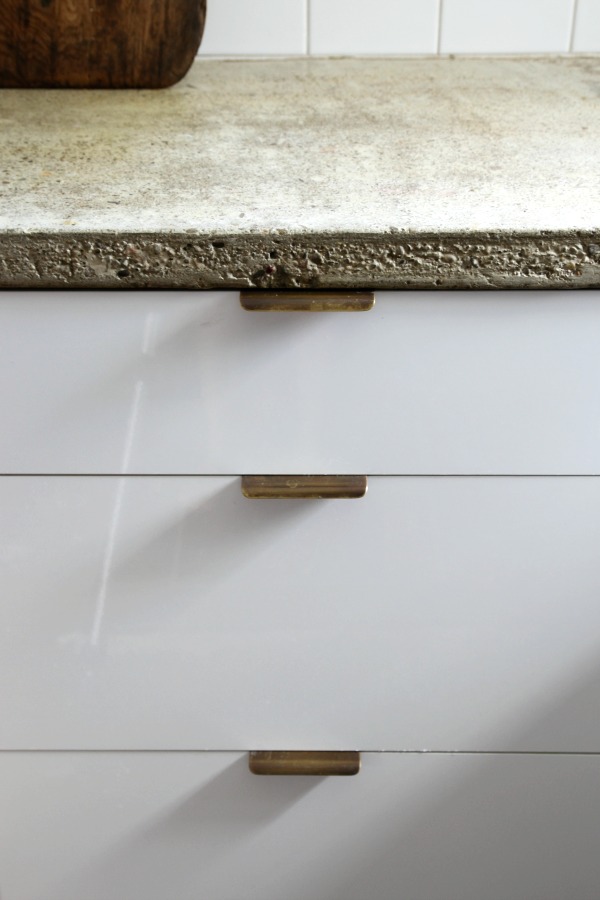
Minimal brass hardware
Solid brass edge pulls offer a clean design of a quality material. In line with the lived-in vibe of the house, the un-lacquered brass has taken on a patina over time. These particular pulls hail from Upper Canada Specialty Hardware, but Rejuvenation sells similar ones here.
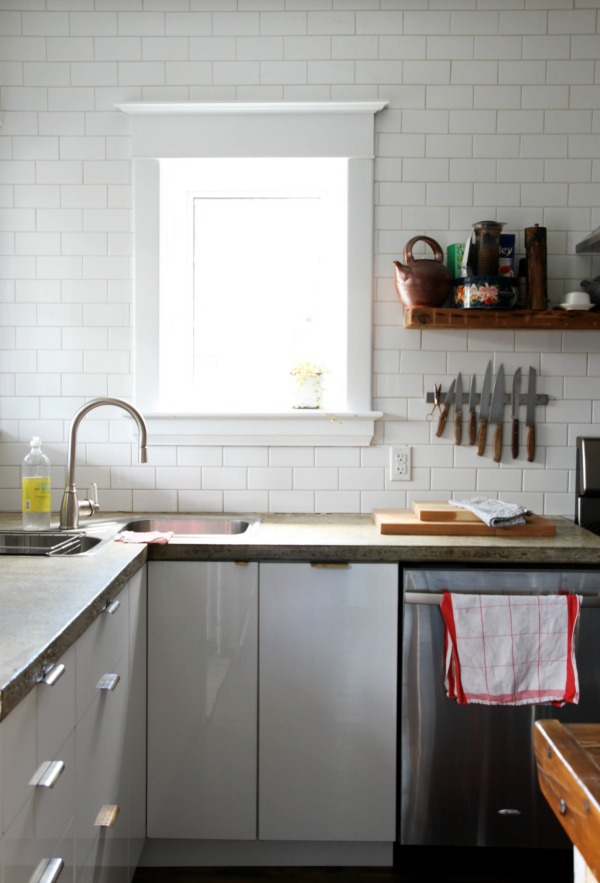
Tiled walls
Taking the subway tile to the ceiling is a popular, contemporary installation of a classic material. Here, it adds another layer and texture to the utilitarian space. Fortunately, white 3″ x 6″ subway tile can be found for cheap at most home improvement stores.

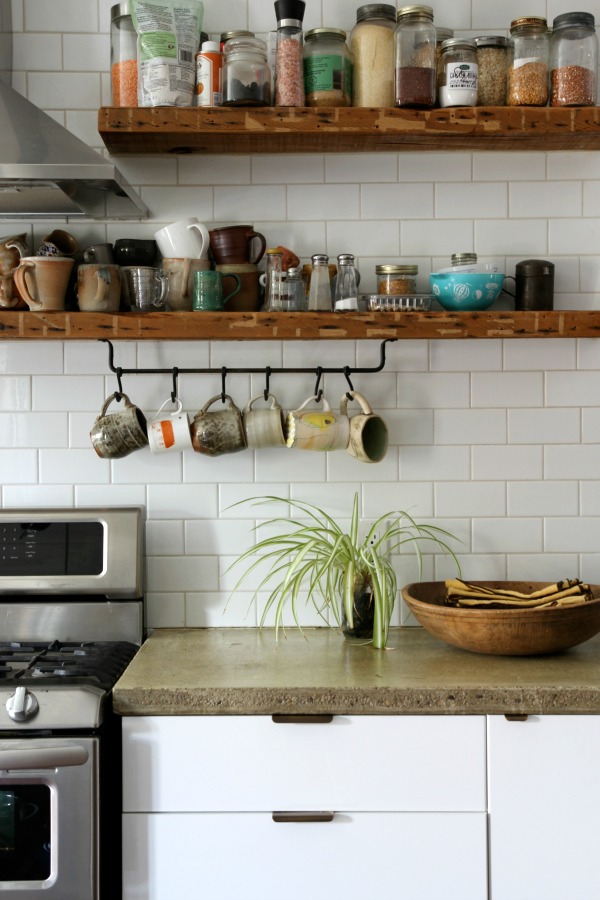
Wood shelves
Forgoing upper cabinets on one half of the room gives the kitchen a lighter, airier feel. Thoughtfully placed reclaimed wood shelves in various lengths bring warmth to the tiled walls. A haphazard display of handmade mugs and cooking essentials feels casual and homey.
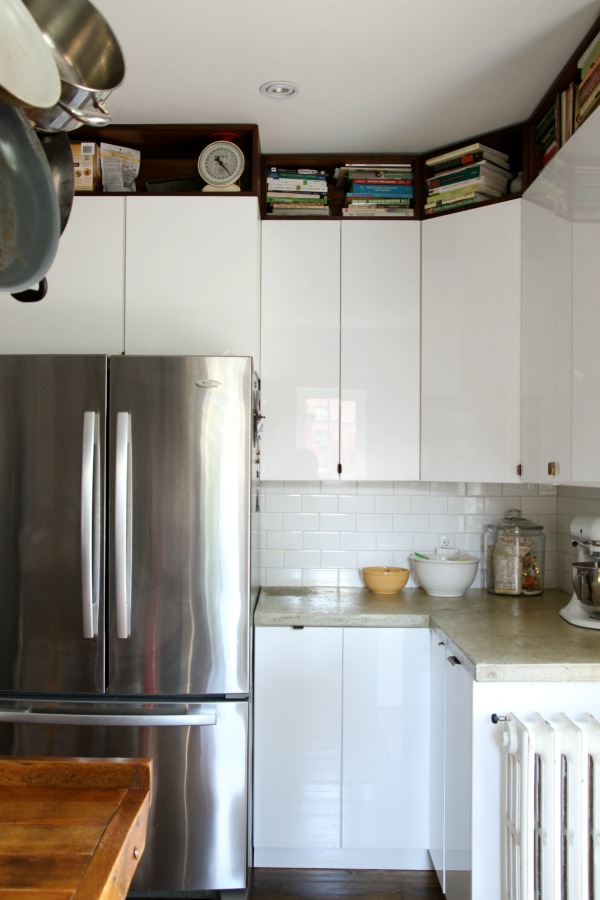
Open cubbies above wall cabinets
On the other half of the kitchen, a row of open cubbies fits snugly between upper cabinets and the ceiling. (Here, the cubbies were created by simply using horizontal IKEA wall cabinets in a wood lookalike finish – similar to this – and opting out of door fronts.) The cubbies break up the wall of cabinetry and make use of otherwise wasted space. The overall look is tidy and modern. The homeowners use the clever cubbies to stash their cookbook collection and less frequently used items.
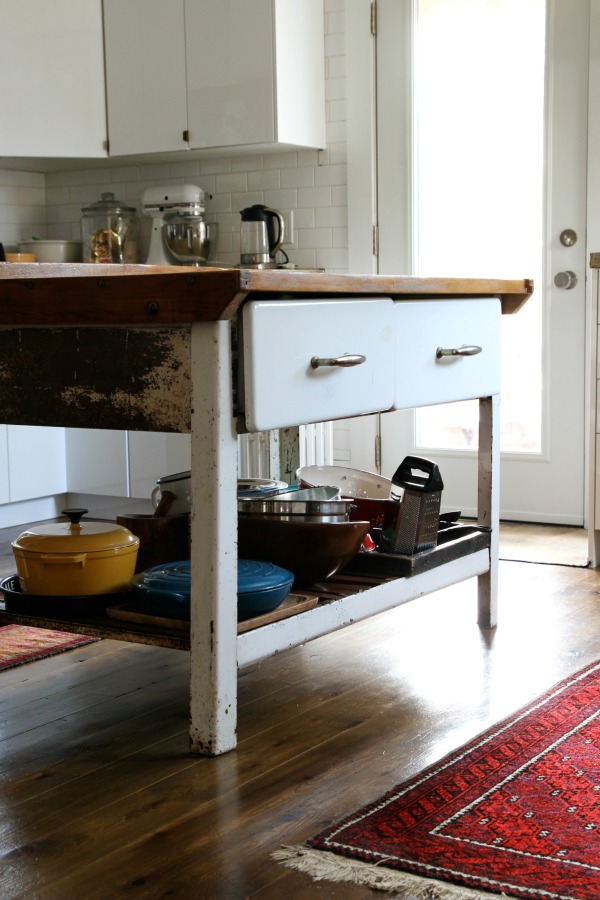
A freestanding, antique island
An old farmhouse island takes center stage in the middle of the room. The worn wood top and rusted metal base give the new kitchen a sense of history while also providing extra prep and storage space. The drawers hold kitchen linens, and the bottom shelf keeps mixing bowls and a pair of colorful dutch ovens within easy reach.
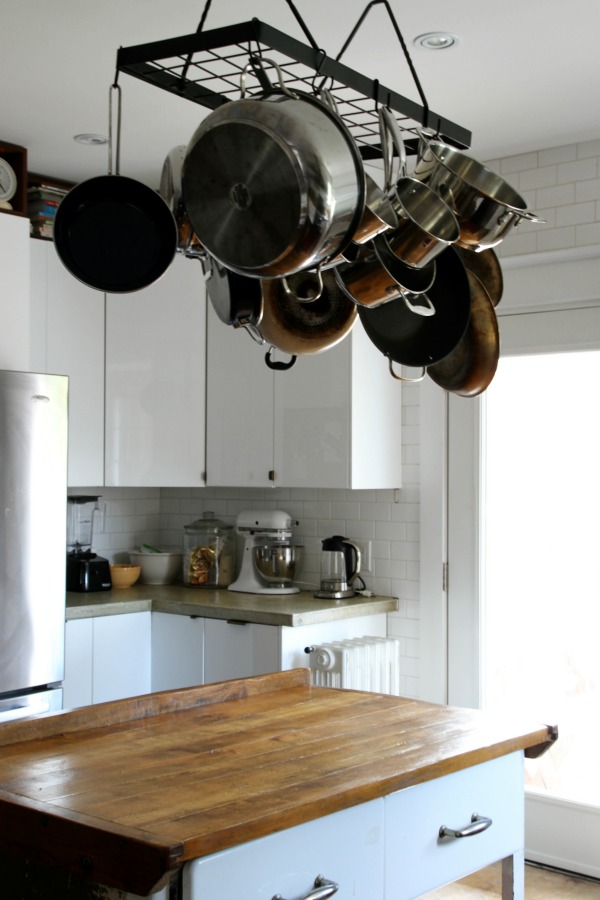
A pot rack
An overhead pot rack makes use of vertical space above the island. The hanging pots and pans are reminiscent of a chandelier, reflecting light and the warmth of the wood-topped island below. The homeowners thrifted this rack, but you can find similar black, rectangular versions online.
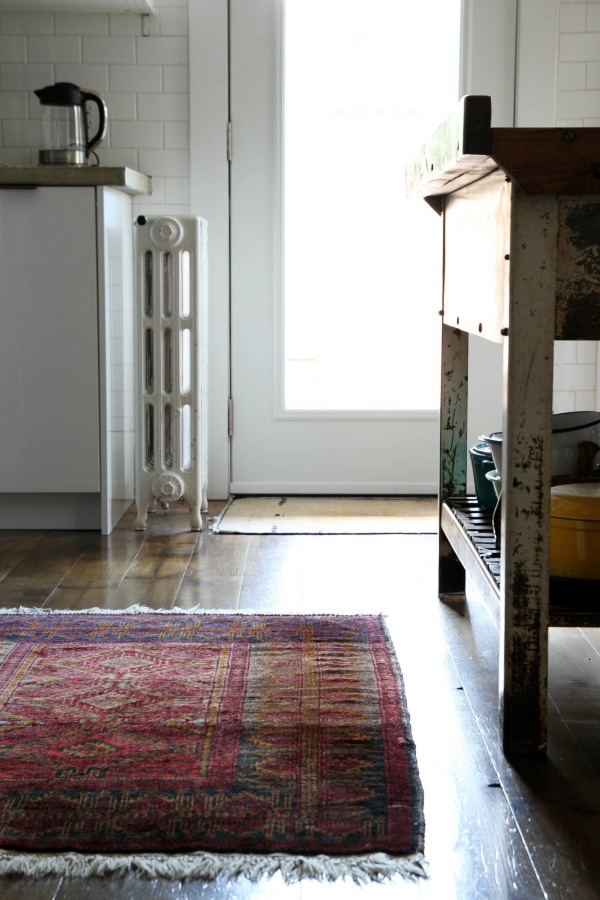
Vintage rugs
Vintage rugs in saturated hues add color and pattern to the mostly white space and feel soft and warm underfoot. The rugs shown here are family hand-me-downs, so not only do they look great, they tell yet another story. Try searching “vintage rug” or “persian rug” on eBay or etsy.

What do you love most about this kitchen? I don’t think I can pick just one thing! I love the mix of old and new and all the contrasting materials. In person, I loved the patina of the concrete countertops, brass pulls and industrial island against the shiny, modern cabinets. (When we returned home, I may have trolled Craigslist looking for crusty, industrial metal legs to add a butcher block top to.) The pine floors were so handsome in real life, scratches and all. Even though the kitchen is probably the hardest working room in this house, the entire space felt really warm and inviting. It was obvious the family who lives here actually lives here. Which is the point, right?
P.S. – See more of this beautiful home right here. Read about our family trip to Toronto here.
images: Dana Miller for House*Tweaking


budget decor