It’s snowing here today and when it snows it sorta makes our skylights nonexistent. From inside, all we see is snow-covered glass. I’m so happy we decided to put those four skylights in during renovation. We’ve grown accustomed to living with them and don’t realize how much natural light they let in until they’re buried in snow. Gloomy days like this also make me thankful that our electrician-in-law talked us into installing cabinet lighting.
I’ve been meaning to post about the cabinet lighting for a while but keep forgetting. Thank goodness for dark and snowy weather to jostle my memory!
We hired our electrician-in-law to help us update the electrical in the house. I cannot stress enough how important his knowledge was to us. He made several suggestions about where to install new lighting and which type of lighting to use. For instance, in the hallway that leads to the bedrooms and bathrooms, our EIL recommended installing a few recessed can lights staggered along the ceiling so that they would wash areas of wall space. Genius! We totally would have lined the cans straight down the center of the hall.
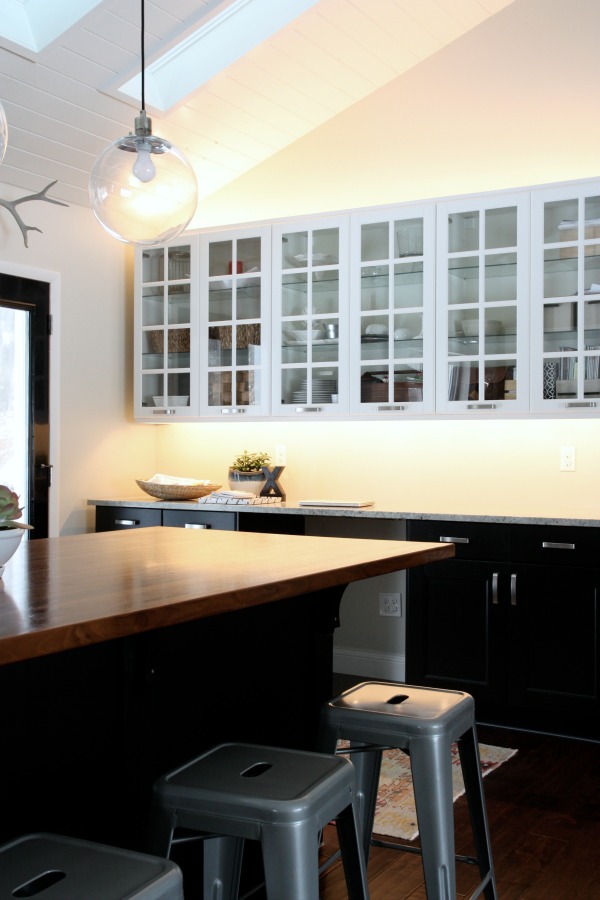
Another idea our EIL had was to install quality over- and under-cabinet lighting in the kitchen. We had overlooked cabinet lighting assuming lighting from other sources {skylights, pendants above the island, sconce above the sink, lamps in the living area, track lighting along the apex of the vaulted ceiling, etc.} in the open kitchen / living space would provide us with all the light we needed. But after the idea was mentioned, HH and I bit.

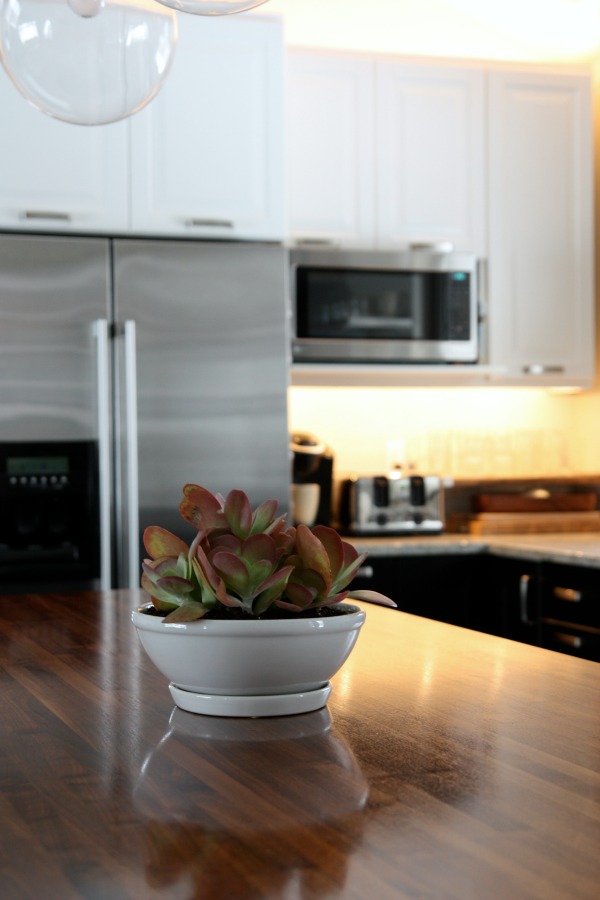
Our EIL suggested a Kichler cabinet lighting kit. It’s a linear lighting system that houses 12V / 10W LED’s which put off warm white light. New electrical had to be run to supply the cabinet lighting. Our EIL handled that and to save money, HH installed the cabinet lighting system himself. The track is screwed into the cabinets, a cable snaps into the track and LED festoons snap on top of that. To disguise the track from the front, HH screwed slim white PVC trim from Home Depot along the tops and bottoms of the upper cabinets. The PVC matches our cabinets close enough so we didn’t have to paint it but you could if necessary.
The system was not cheap but considering how much we use it, it was a worthy investment. In the evenings and early mornings or on dreary days like today, we have the cabinet lighting on. It gets used on a daily basis and provides warm ambient light that beats rope lighting or fluorescent undermounts any day. {We’ve had both in previous houses.} HH and I both have a thing for good artificial lighting. A house can be as stylish as ever but if there isn’t enough lighting when it’s dark, or worse yet, when lighting is harsh or blue-ish, we both notice it and it’s bothersome. Spending money on good lighting goes along with #9 on Belinda’s list of things she learned while renovating her previous home.
“The amount you spend on a project should reflect how much you use it.”
I couldn’t agree more. If lighting isn’t your thing, then by all means put your money elsewhere.
We do have one complaint about the cabinet lighting. Every once in a while one or two bulbs won’t light when we flip the switch on. A gentle tap is all it takes to get it working so apparently there is a connection problem. It’s not a huge deal but when the bulb that is out is over the cabinets, then someone has to climb onto the counter to tap it. Plus, we paid good money for this system. HH recently contacted Kichler about the problem. They said the problem is known on their end and they are sending us complementary replacement LED’s to fix it. We’ll see…
UPDATE: Here are links for the lighting system and bulb / socket we have.


It’s difficult to convey warm artificial light in a photograph but hopefully you get the idea. {Please forgive the blank desk area. It’s a work in progress!} I like that the cabinet lighting helps warm up the kitchen at night when we’re hanging out in the adjacent living room. By nature, kitchens have a lot of slick and shiny surfaces that make them feel cold and industrious in an open concept space. Anything we can do to warm ours up makes for a better atmosphere in the open living / kitchen space. Often times at night, we will utilize only the cabinet lighting and a few accent lights {floor lamp, task lamp} in the living area and forgo the track lighting along the ceiling and the pendants above the island. It makes for some very cozy mood lighting.
We’re in for more snow this weekend so you can bet our cabinet lights will be on. Here’s to a warm and cozy weekend!
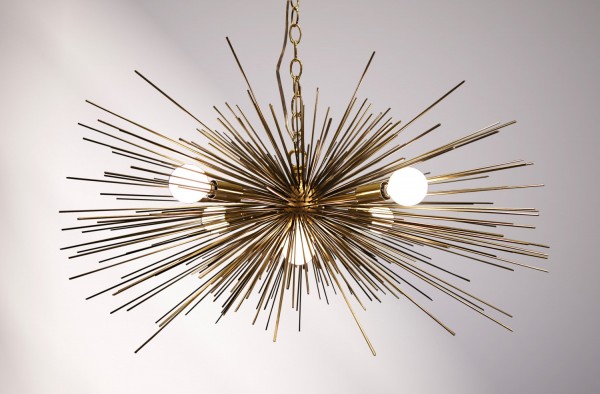
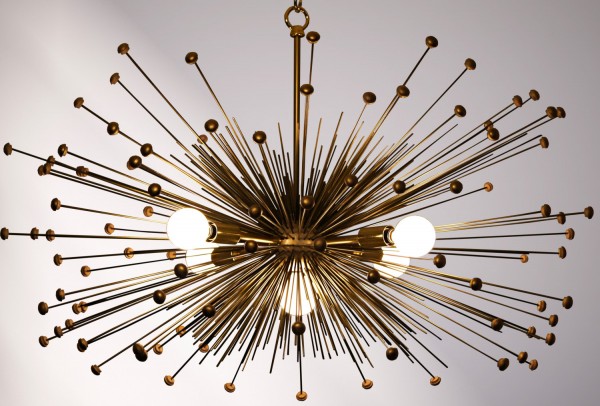
P.S. – Another lighting project suggested by our EIL.
images: Dana Miller for House*Tweaking


DIY, renovation