...because home doesn't happen overnight.
My heart is heavy this week. Lots of sad news involving people we know and love + cancer. No one in our household but that doesn’t make the news any lighter or less serious. Cancer can kiss my a$$.
In an effort to distract my thoughts, I’m sharing a bunch of random information. Sorry if there’s no good flow to this. Blogging, DIYing and decorating seem so trivial today. Pretty much anything that doesn’t involve hugging the people you love seems trivial today.
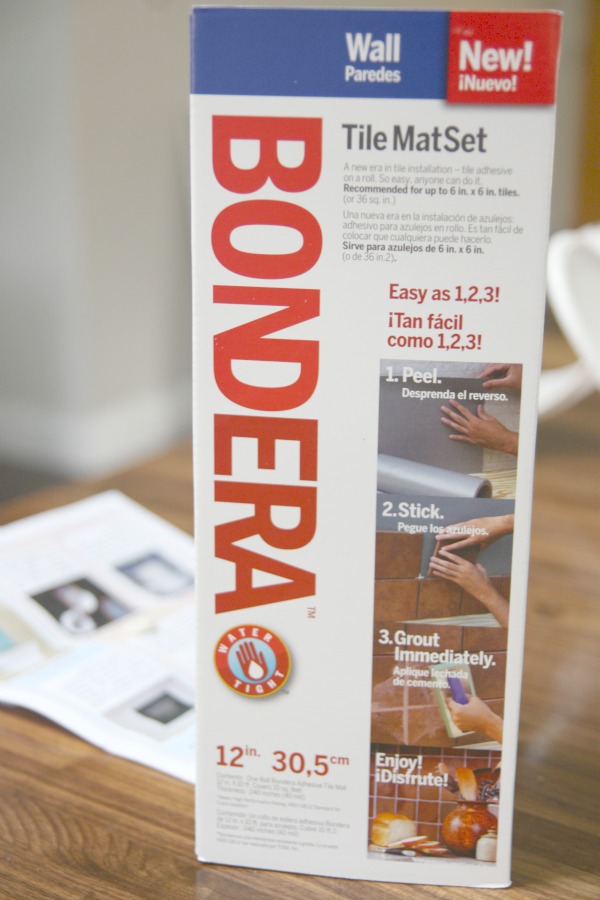
We used Bondera to install the subway tile in our kitchen.
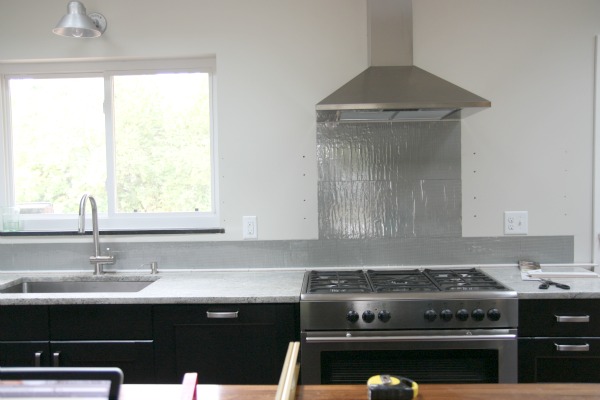
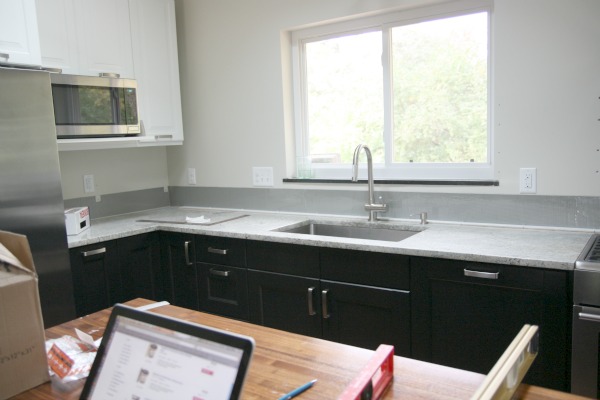
It was easy to peel and stick directly onto the drywall. HH lubed our kitchen scissors with cooking spray to cut the adhesive sheets.
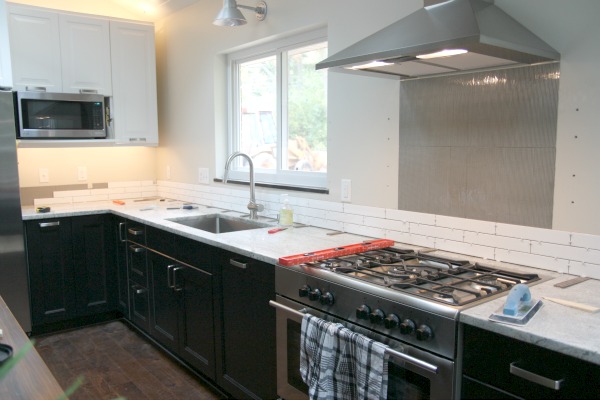
The subway tile went up without a hitch but when we got to grouting, there was some pesky tile shifting. We think this was due to the size and weight of our extra long subway tile. The tile displacement wasn’t noticeable when all was said and done but we think it’s worth noting that if you’re going to be working with an extra heavy or large tile then maybe Bondera isn’t the best choice. Now you know.
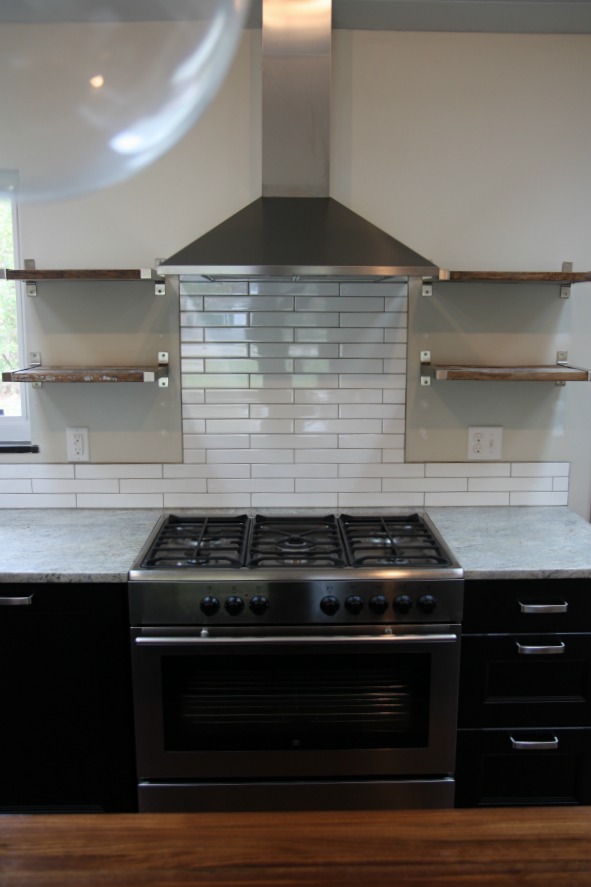
The tile is 2″x12″ imperial blanco in a gloss finish. The grout is Laticrete in natural grey. It’s an epoxy grout which never has to be resealed. The downside is you have to clean up any stray messes pronto or else it’s permanent. I spent the entire evening after we installed the backsplash cleaning grout off of everything in kitchen. That stuff is like concrete when it dries! I missed some on the back of the handle to our trash pull-out and it’s still there to this day. It’s not visible but I feel it every time I throw something away. It peeves me.
The open shelves are made from reclaimed fence boards from HH’s family farm + IKEA brackets. They are 11″ deep.
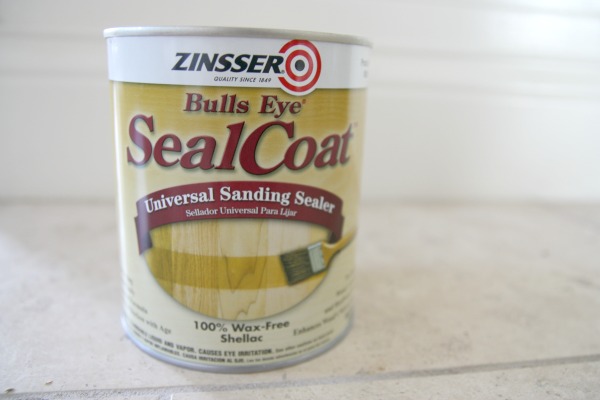
HH sanded the fence boards down a little but we didn’t want to completely remove the natural patina. We finished the shelves with a few coats of sanding sealer {above} then a few coats of spray poly in a satin finish. The shelves were left out in the garage for a week to off-gas.
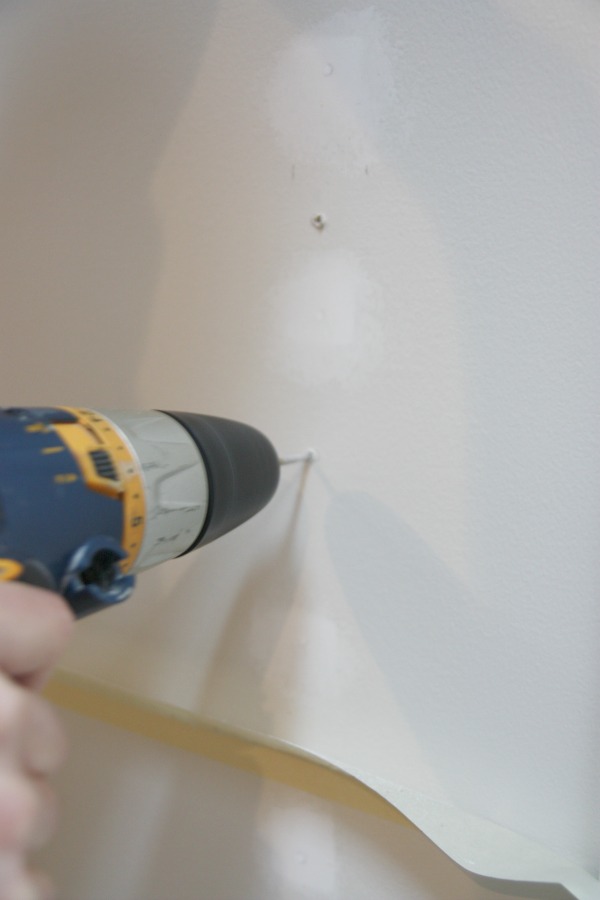
To hang the shelves, we were able to tie into studs in a few places by pre-drilling and then screwing directly into the stud. You can see the patched holes where we originally hung the MDF shelves. Hint: a strip of masking tape sticky side up catches drywall dust.
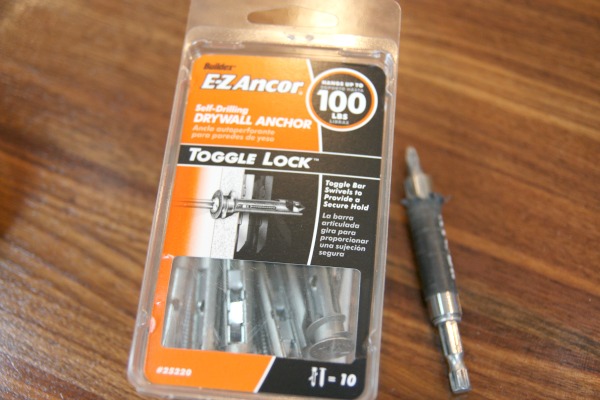
In the places where we couldn’t hit a stud, HH used toggle lock drywall anchors.
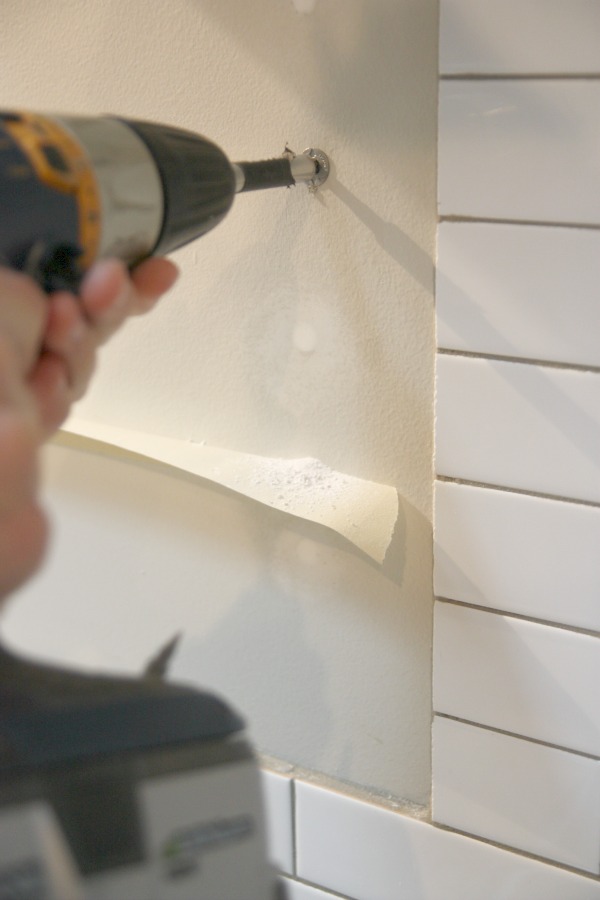
These bad boys can handle up to 100 pounds so technically I could put my kids up on the shelves for time-outs if I wanted. Not that I will.
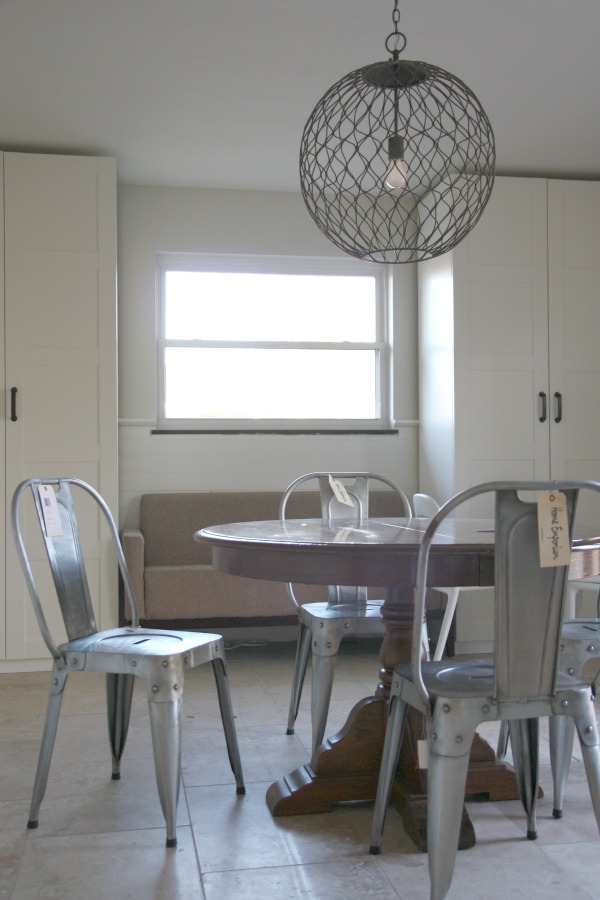
I tried out some industrial chairs in the dining room a few weeks ago. I liked the chairs but not in our dining room/mudroom. With the tile floor and metal pendant, it was all a little too cold for me.
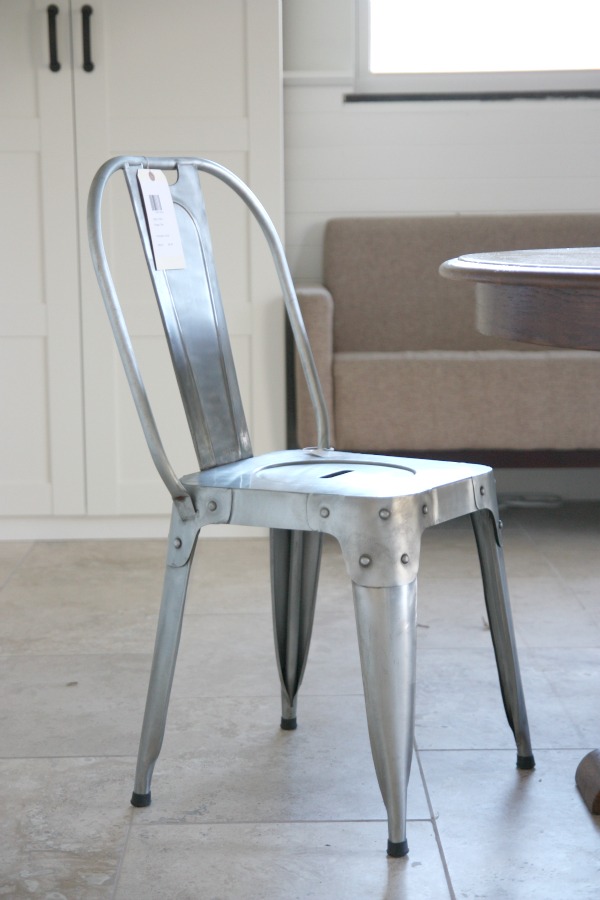
In fact, the seats themselves were cold on the buns. I returned them the next day. I found them at Home Emporium near Cincy for $79 each if you’re interested. Their inventory is always changing so they might not be there now.
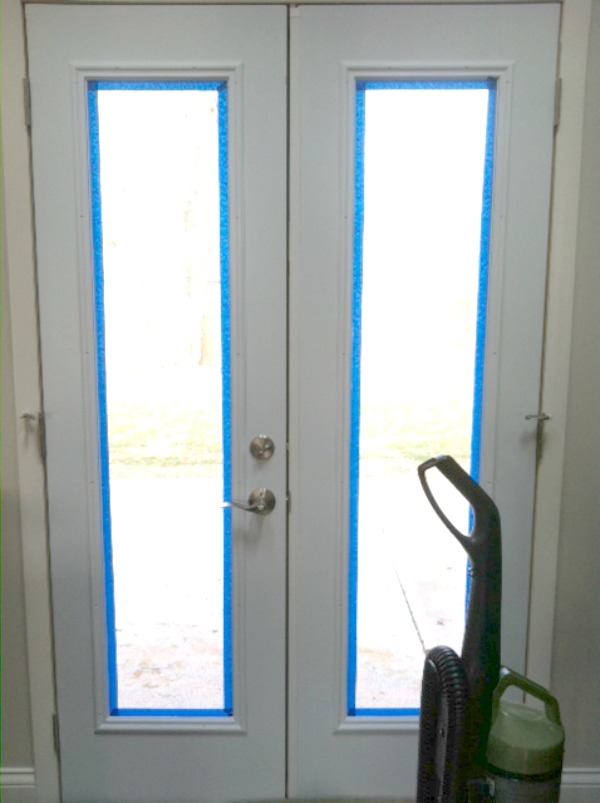
I finally started painting the french doors in the kitchen. Before I could even start to paint, I had to take a razor blade and scrape off a ton of drywall mud that had splattered onto the doors and their windows during renovation. The doors came to us primed.

We splurged for this gel-flow trim & door paint from Home Depot. I think it was $20? Anyways, the ‘no drip, no brush marks’ claim hooked us. The stuff stinks and isn’t like a typical paint. It’s thick and you don’t stir it. It’s like painting with crude oil. As for the ‘no brush marks’ claim, either I’m a sloppy painter – which is highly possible – or the claim is too good to be true. I mean, it’s definitely better than a plain old latex at hiding brush marks but it’s not perfect. FYI – This glop is oil-based and not low VOC so be sure to work in a well-ventilated area.

Still, I’m absolutely loving the results. Very shiny almost like they’re wet and DRAMATIC. Once the doors fully cure and I get the hardware back on, I’ll share some glossy afters. I haven’t painted the french doors in the mudroom yet.
Hope you understood all that nonsense or found something useful. Hug your ‘lil and big ones today.
images: Dana Miller for House*Tweaking
Truth: I repainted the mudroom…or dining room…or laundry room. Whatever you want to call it. Here it is back before we moved in just as HH was finishing up the tile…
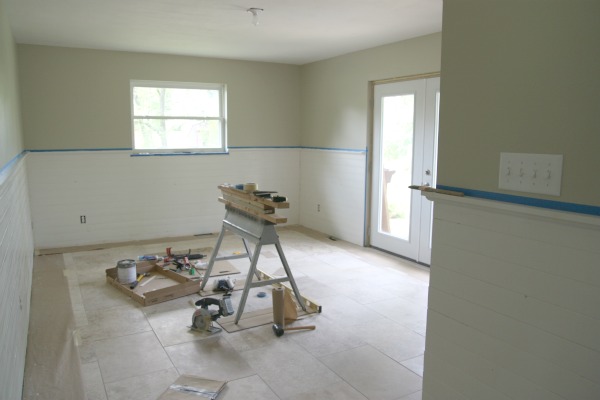
We painted it Benjamin Moore’s Camouflage although I wouldn’t use my picture as a good inspiration image of the paint color. We had the BM swatch color-matched at Home Depot in Behr’s primer + paint. Most times, I don’t have any problems with getting paint color-matched and switching from one brand to another. But this color was a rare exception. The color-matched version is browner/khaki-er than the true BM color. I even went as far as to get a BM sample mixed for comparison and there was a noticeable difference. The real Camouflage is a bit greener and grayer and less brown. I’m not sure if the mix up was a brand-to-brand problem or a user error in Home Depot’s paint department. There were times of the day when I thought I liked the color but then, other times, it would take on the safari khaki color and I couldn’t even look at it.
When I told HH I wasn’t happy with the color, you can imagine his reaction. “So, take the Behr paint back and put in a complaint for a redo/refund.” But I’m not one for confrontation. That was nearly a year ago. I should note here that this is also the same color we originally painted the nursery {before we knew if we were having a boy or a girl} and I ended up repainting that room too.
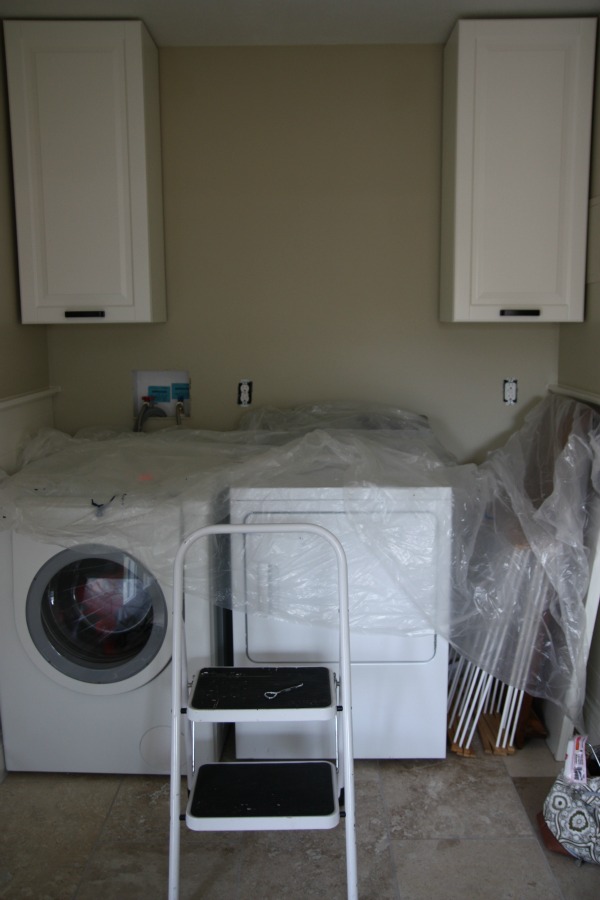
I finally came to terms with the color this past weekend and decided to stop fretting over it and just repaint. Here’s the untouched and unedited {and quite unfinished and messy!} laundry nook before in BM Camouflage…{ugh, it clashed with the tile!}
And here’s the repainted {but still untouched and unedited so you get a good look at the true paint color} nook in BM Halo…
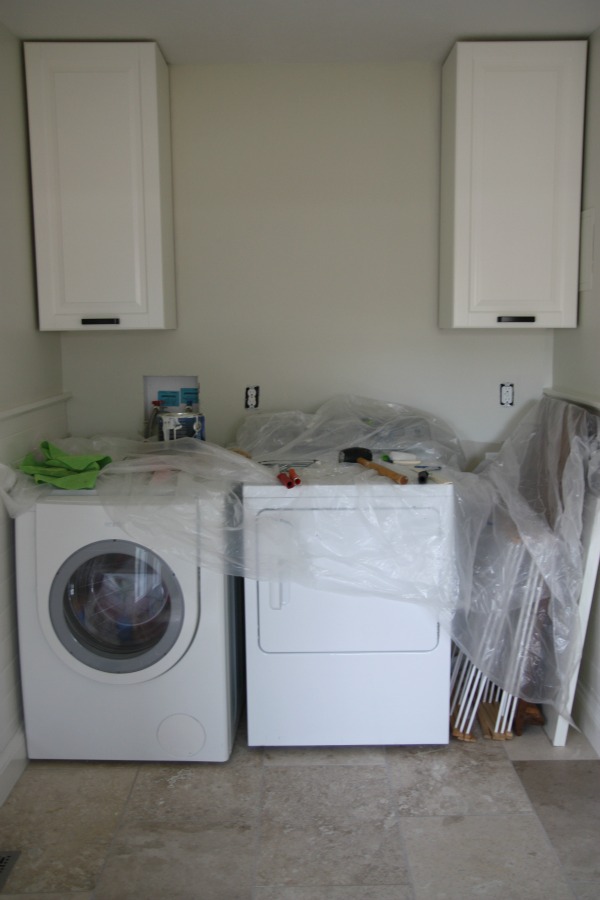
Ahhh. SO MUCH BETTER. In case you’re wondering, I had the color mixed in BM paint. No color-matching. I think I’m scared. I decided I’d rather spend the extra money and know I’m getting the true color.
Here are a few more unedited pics of the freshly repainted room {still need to paint the french doors just like I need to in the kitchen! And please don’t pay much attention to the furnishings or lack there of. Other than finishes + paint + wardrobes + cabinets, this room hasn’t been touched.}…
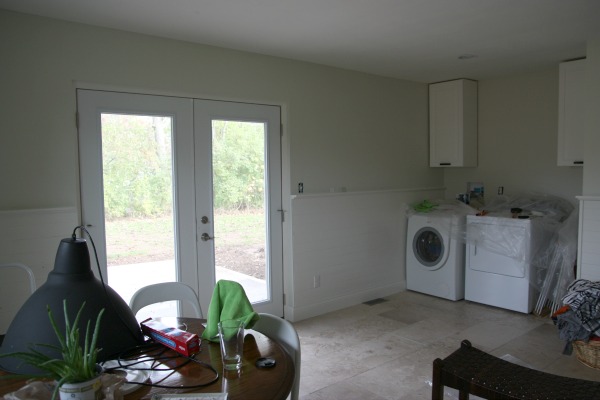
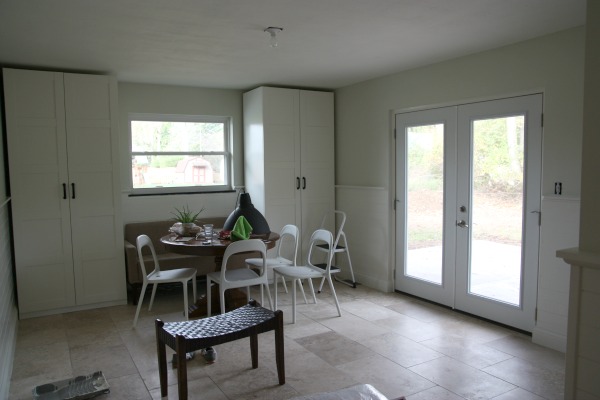
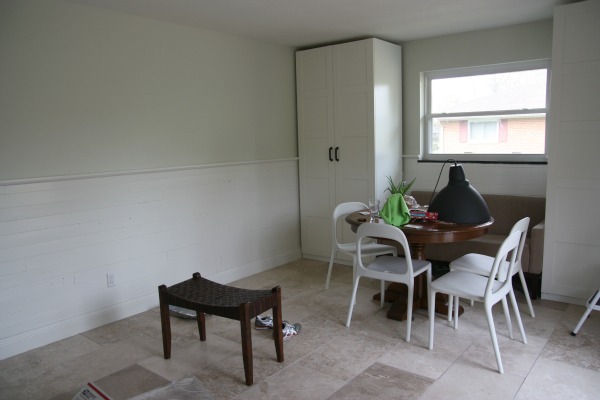
It took me an entire day and one coat of ~½ gallon of BM Aura paint with lots of breaks thrown in to feed/entertain/take care of the kids. There really wasn’t that much wall space, that’s just how slow I am. Ideally, I would have taken down the cabinets in the laundry nook and detached/pulled out the wardrobes to paint behind them but HH is away and I AM ONLY ONE PERSON. My solution was to paint the little spaces as bet I could with a trim brush and small foam roller. It was tedious but turned out just fine. You would never know the walls were painted after the cabinets and wardrobes were installed. I also skipped the painter’s tape and cut everything in by hand. I think I’m better at it that way.
All of this to get to today’s topic: repainting. Why do we have such a hard time coming to terms with this home improvement project? In the scheme of things, it’s really not that difficult or expensive to repaint a room if we’re not satisfied with the color. And it certainly doesn’t take very long to do. Maybe our ego doesn’t like us to admit it when we’ve chosen a ‘wrong’ color. Maybe we don’t want to waste all that time/money/paint we put in the first go around that we think we should live with it. But if we don’t like it or it’s not working, should we live with it? I don’t think so.
Paint is one the easiest and least expensive ways to transform a room. So, you don’t like your {insert name of room here}’s wall color? Then accept the fact that it isn’t working, look for another color and repaint. Don’t worry about it. I think living with a color that isn’t working/you hate takes way more energy than actually repainting. And it can make all the difference between having a room you dislike and having a room you love.
We’re human. We’re allowed to mess up. We’re supposed to mess up. It’s how we learn. How we deal with mistakes in life and in home improvement makes us who we are. So, call out your mistakes – or whatever else isn’t working! – and address them instead of living with them and letting them eat away at your conscience. My mind is a lot lighter today.
So what d’ya say? Is there a room or, god forbid!, roomS in your house that just isn’t/aren’t working for you in the paint department, if ya know what I mean? The first step is admitting it.
Hi, I’m Dana. I didn’t like the paint color in my mudroom so I repainted it. Now I love it! Next up? My bedroom.
Really. There are worse things.
images: Dana Miller for House*Tweaking


budget decor, DIY