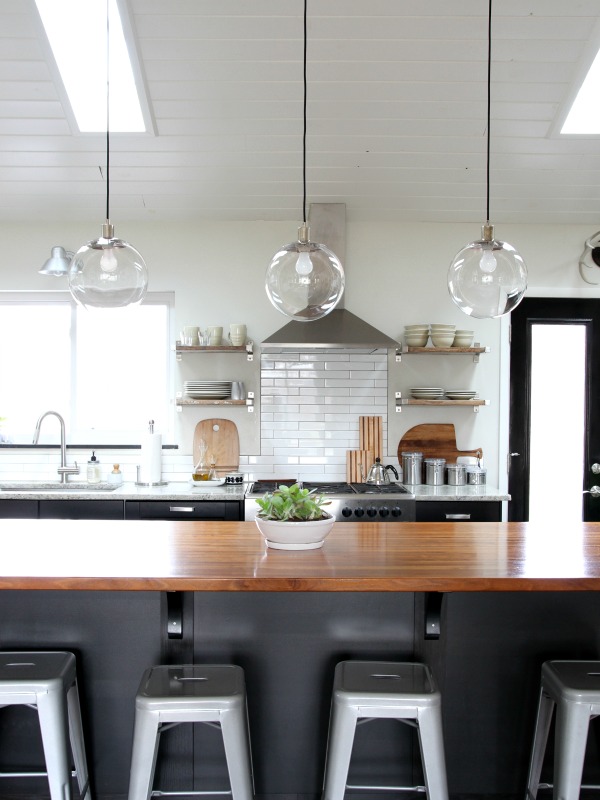
Recently, I’ve had several readers contact me about the globe lights that are suspended above the kitchen island. I thought it would be helpful to address the questions in a post since others might have similar queries. The lights are the 11″ clear globe pendants from West Elm. I love how they punctuate the island. Since purchasing them 3 years ago, they’re now available in a larger size (14″) and a different finish (milk finish with antique brass base).
One of the most popular questions I receive regarding the lights are “How do you clean them?” A few times a year, I give them a deep cleaning. Here’s what I do…
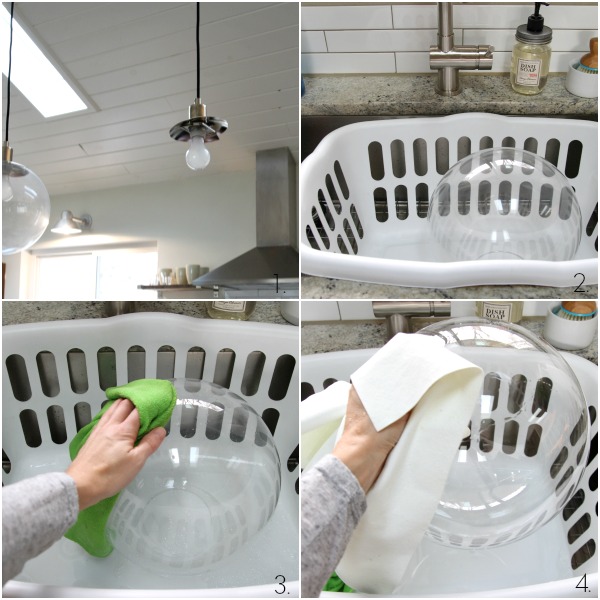
1 – I carefully remove the glass globes and clean them one at a time. The globe separates from the base with the twist of two screws. A screwdriver isn’t necessary.
2 – I place the globe in a plastic laundry basket in the kitchen sink to keep it from rolling into the sink or countertop and shattering. (You could do the same thing in a tub if your sink isn’t large enough.) *BONUS* – It cleans your laundry basket at the same time! #twobirdsonestone
3 – Using a microfiber cloth, I wash the globe, inside and out, with warm water and dish soap to remove grease and dust.
4 – I rinse the globe, inside and out, with warm water. I dry the globe with a streak-free, lint-free cloth.
FYI – My grandma, who is the queen of clean, gifted me the microfiber and streak-free cloths several years ago. THEY ARE THE BOMB. Especially the white ones. I use them to clean windows (house & car), mirrors, the TV screen, the computer screen, etc. I don’t use any cleaner – just water! And they’re reusable which makes them eco-friendly and cost-effective. I’ve had mine for 5+ years. They are machine washable – just be sure to avoid fabric softener!
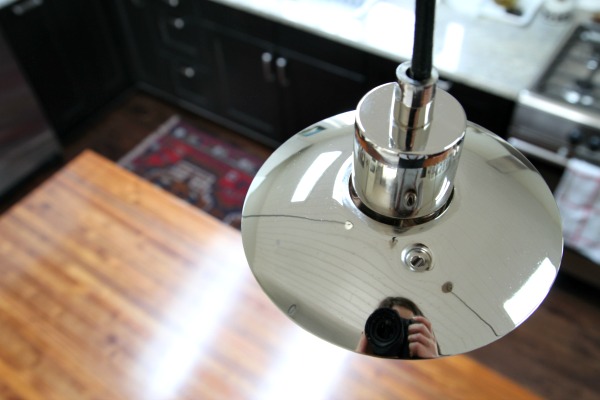
To clean the bases, I use just a tad of Bar Keepers Friend (less than $2) with water on one of the green microfiber cloths. I’m careful not to scrub so hard that I leave scratches. Rinse well. It works like a charm. I use it to clean the canopies (seen on the ceiling in the reflection), too. I have to stand on a counter stool on the island in order to reach them but, hey, whatever works. Sorry, no circus act photos ;)

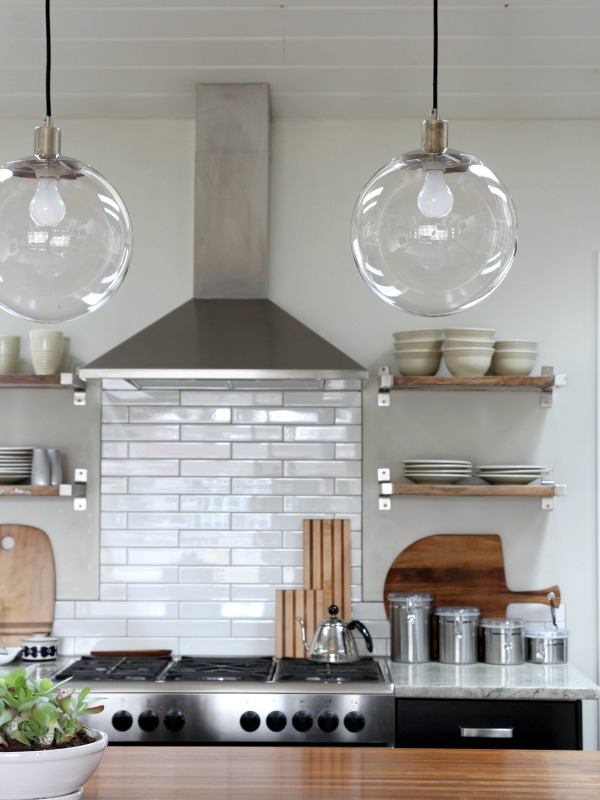
I slip the globe back on the base, tighten the screws and, voilà, a crystal clear light! Here you can see the difference between a dirty (on the left) and clean (on the right) globe. World. Of. Difference.
I should probably do it more often but I average ~4 of these deep cleanings per year. On a more regular basis, I wipe the globes down with vinegar + water on one of the green microfiber cloths then follow up with a little water on a streak-free cloth.
I’m always afraid I’m going to break one of the lights when I’m removing / cleaning them. Every time I clean them I think, “I should order a replacement…just in case…while they’re still available.” But I never do.
Everett came home from school after I cleaned the lights this week and said, “Hey! You got new shiny lights!” That same night Steve was all “Whoa. These lights are extra bright.” Yep, they were that dirty.
Any deep cleaning going on at your house this month?
images: Dana Miller for House*Tweaking

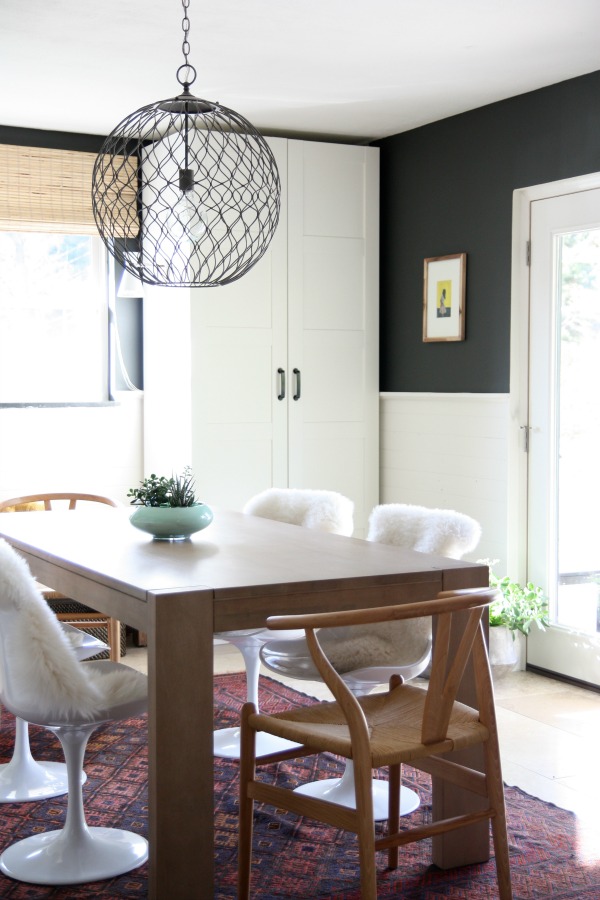
That image is one I shared when I painted the dining room / mudroom for the THIRD time. I’ve made some progress since then {a new table, a new rug, a DIY succulent centerpiece, a cozy window nook, etc.} but have always envisioned discreet yellow artwork occupying the wall space between the wardrobe and french doors.
And there she blows. She’s yellow and dainty and perfect. Exactly what I had in mind.
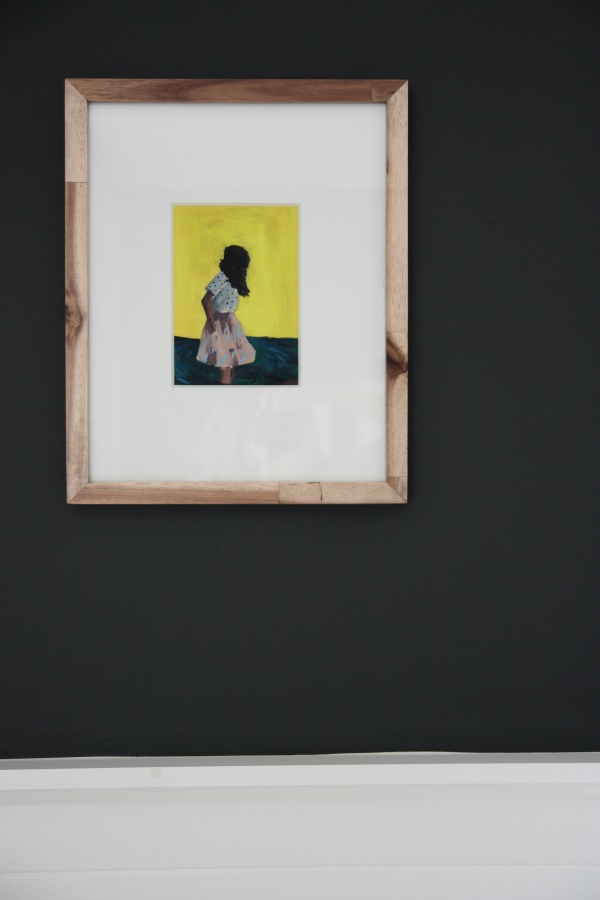
It’s Swirl by the ever popular and insanely talented Clare Elsaesser. I popped the giclee print into one of my favorite walnut frames. I love how the natural wood tones of the frame and the bright yellow of the print look against the dark wall.

The piece has a lonely and mysterious vibe so I thought it fitting to hang it by itself on a sliver of wall in a room with two other gallery displays. I find myself staring at this new stranger wistfully throughout the day.
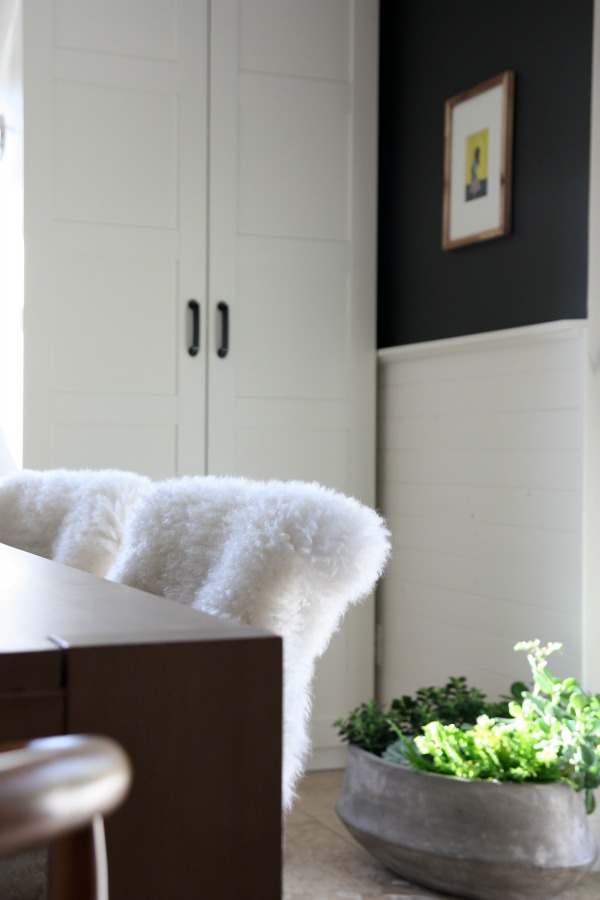
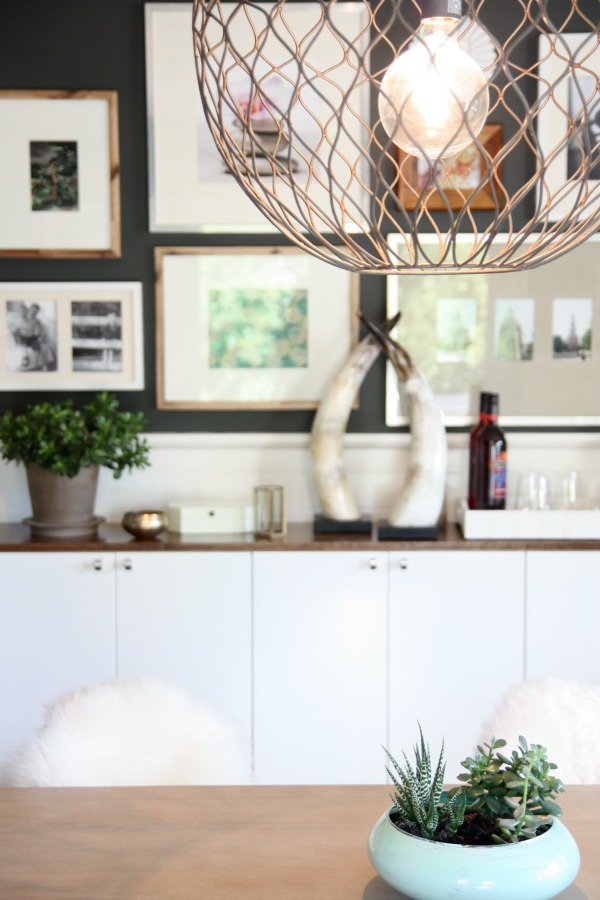
Also, I brought my outdoor planter inside to save it from the frost. Technically, HH brought it inside but whatever. I don’t know what I’m more proud of: remembering to bring it in or the fact that I transplanted these babies and kept them alive all summer? I wasn’t sure where to put it but I quite like the planter here. It receives good light and is mostly out of the way. If these plants live to see spring, I’ll consider it a miracle.
Me + living green stuff usually = dead brown stuff.
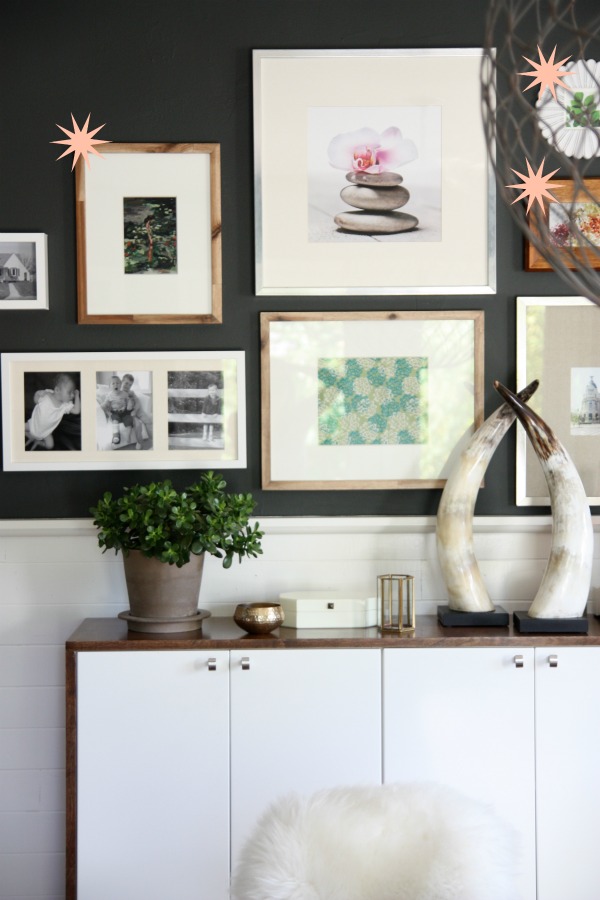
Hanging new art motivated me to finally fill up a few empty / temporarily filled frames in the gallery wall. {The jade plant was an outdoor plant that I recently brought inside as well. Finding spots for all of these LIVING outdoor plants is a problem I’ve never encountered before!} I marked them with starbursts above.
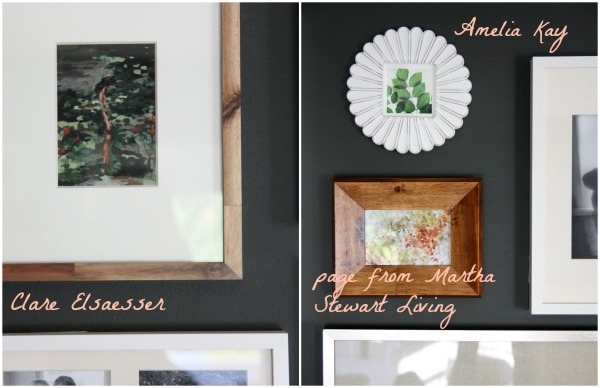
What’s better than one really great Clare Elsaesser print? Two really great Clare Elsaesser prints, of course. I was so happy with the first piece that I ordered a second one, Watching Trees. The mini green leaves are from Amelia Kay and the abstract looking piece under them is just a page I tore out of Martha Stewart Living. I think it’s actually a photograph of different salts but I was drawn to the colors and textures so up on the wall it went.
No more empty frames on the gallery wall! But that’s not to say I won’t switch things up whenever I feel the itch which happens often and causes HH to imagine cuckoos circling my head.
Oh! And the lightbulb in the dining pendant…I’ve received so many questions about it! We found it here and it’s the largest lightbulb we have ever owned. HH and I are all for saving the world with CFL’s but neither of us can stand the harsh blue light that some of them cast. We have CFL’s in other fixtures but we wanted this room to have a nice warm white light to eat by and the bulb needed to be shapely since it’s visible through the wrought iron pendant. This oversized globe bulb was the best we could find. Any suggestions for CFL’s that give off a warm white glow and are pretty to look at?

That’s the latest and greatest on the dining area. I’m anxiously awaiting the tulip chair seat cushions to return from the upholsterer. If they turn out anything like the image I have in my head, they are going to be awesome. Can’t wait to share!
images: Dana Miller for House*Tweaking


DIY, housekeeping, inspiration