I don’t get a chance to write about each and every single undertaking at the Underdog as it happens. I have lots of excuses reasons. Mainly, my job at this point is taking care of our kiddos while Handy Hubby works at the house. And HH works on that house nearly every single day…after work in the evenings on weekdays and all day on weekends. We go to visit him while he’s working but even then I’m trying to make sure the boys don’t lose any limbs, fall off any ladders or mess up whatever HH is working on. So many of the times I visit the Underdog I don’t get a chance to photograph projects and document progress.
I did sneak in a little photog session this morning while we were waiting for Layne’s school bus though. Just for you.
FYI – We’re living in an apartment while we renovate the Underdog, but Layne gets on and off the school bus at the house because I want him to get use to his bus driver and the neighborhood kids. That means I drive to the house every morning to put him on the bus and then drive to the house every afternoon to get him off the bus. It’s tedious and I’m already looking forward to not having to drive to the bus stop some day.
But back to renovation progress…
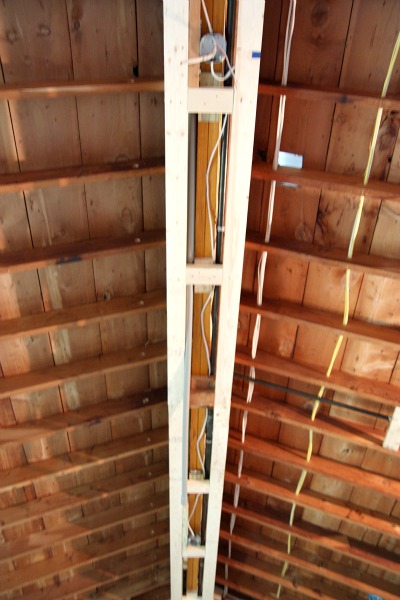
The ridge beam is framed in now.
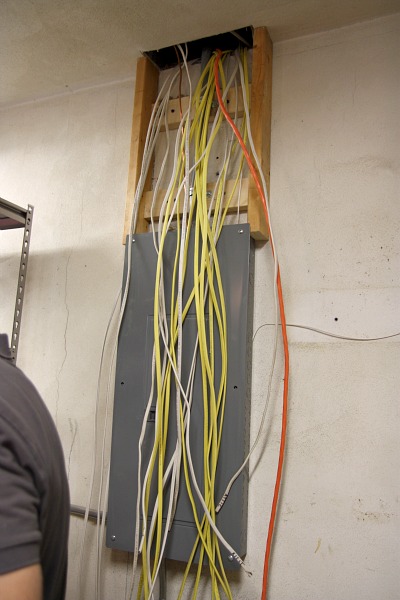
I like how it gives the beam a chunkier, more substantial look. We had to frame in around the beam to provide space for electrical wiring and boxes. We plan on adding track lighting and two ceiling fans to the framed ridge beam. I apologize for the quality of the pics. It was earrrrly in the morning. Natural light was minimal and it appears my hand wasn’t the steadiest. We have a single sole lightbulb hanging in the great room. While most of the electrical upgrades are finished at this point…
We don’t have any fixtures installed. Who am I kidding? We haven’t even purchased any light fixtures! We do have a good idea of what we want though, so I guess that’s a start. Which reminds me…I should probably get on with ordering those West Elm pendants.
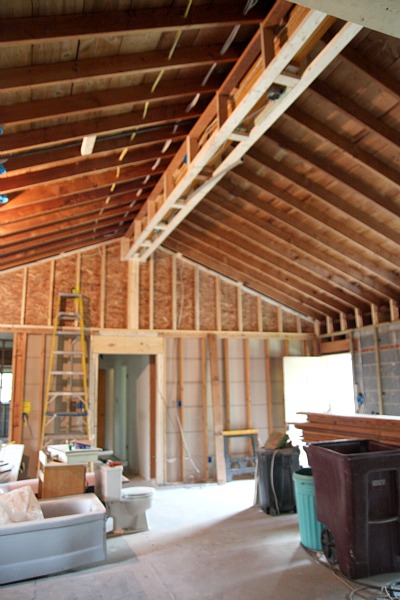
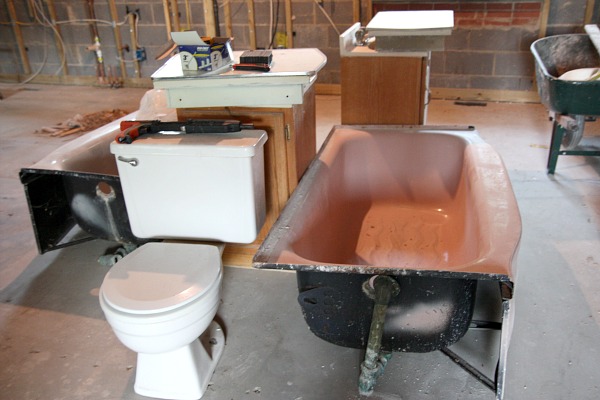
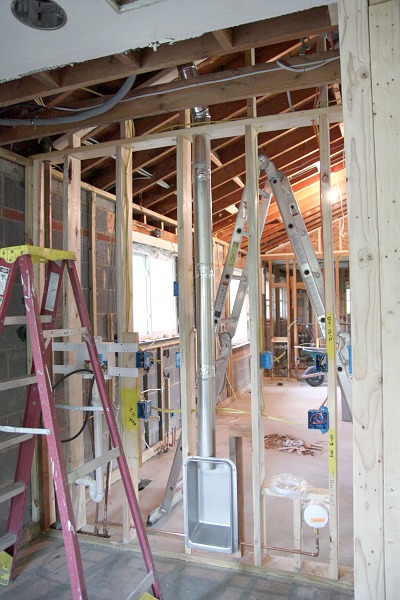
You may have noticed in the second picture of this post that there are a few bathroom fixtures hanging out in the great room. As I revealed last week, HH tore out the kid/guest bathroom due to a major mold issue.
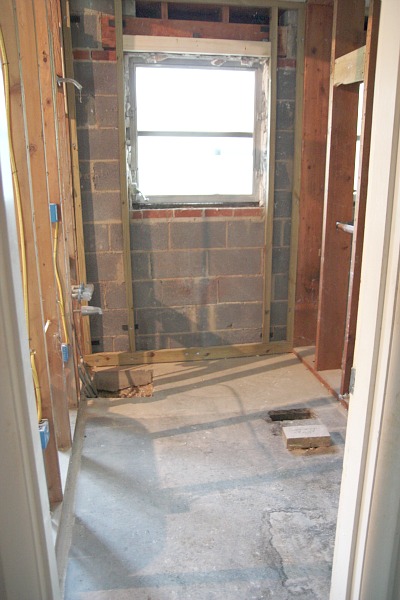
{gutted kid/guest bath}
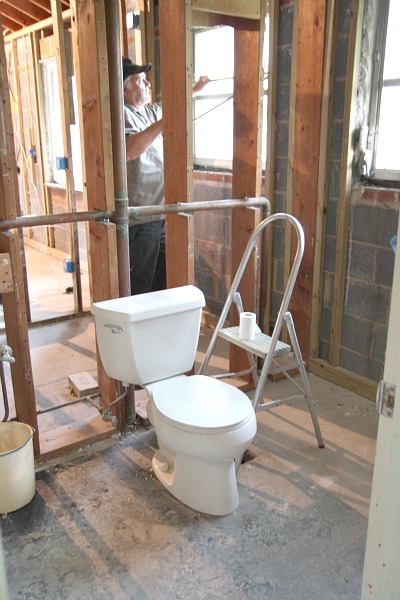
Well, as you might have guessed, HH went ahead and tore out the master bath this past weekend. He didn’t find any mold but he did say that the shower/tub tile just crumbled off the walls.
{Don’t mind the man measuring the window in the kid bath. We’re getting quotes on window and door replacement. While most of the windows in the house have been updated, the bathroom windows are original.}
From what we can tell from the first {furnished} tour of the Underdog and from seeing the state of the master bath firsthand, we’re not sure the master bathroom was even used in the last several years. It’s highly probable that any running shower water would have seeped behind the badly damaged wall tile and caused a whole ‘nother mold problem. So, we did what any renovating crazy would have done…we just added more work and time to our remodel! As I’ve said before, it’s always been our plan to redo both bathrooms but we had thought we would live with them for a while. Turns out that’s not going to be the case. Such is the story of fixing up a fixer upper.
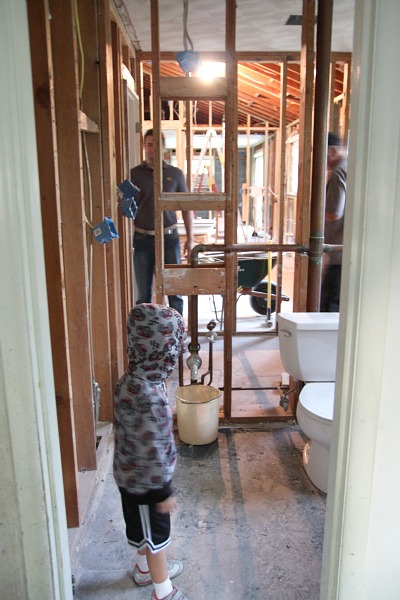
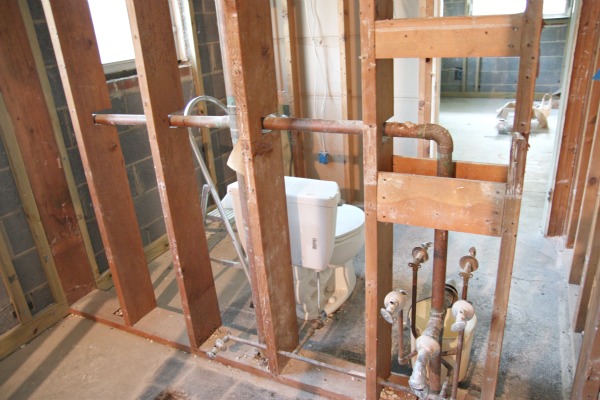
HH left the toilet of the master bath in place. {We plan on keeping the toilets.} You know, for when he’s working and has ‘to go.’ With all the bathroom walls knocked out, there’s not exactly a lot of privacy. At least he can admire his work in the great room while he pees now!
This also gives a better feel for the house. The two full bathrooms in the house back up to each other…back of toilet to back of toilet. They’re exactly the same just mirrored images of each other.
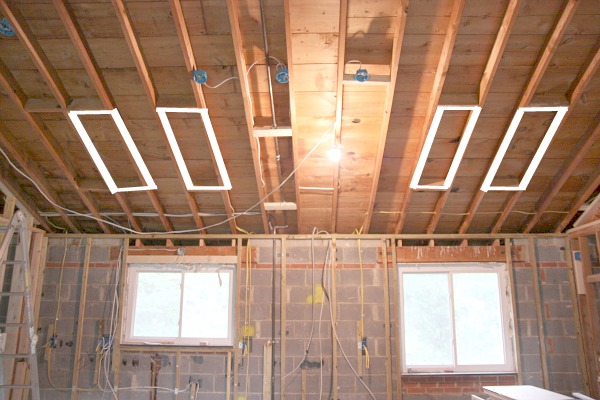
There’s that lone lightbulb I mentioned. And those 4 rectangles are new framing for future skylights. I highlighted them in white to make them easier to see. In real life, HH has them framed out. We centered them with the two kitchen windows. The new kitchen hood will be centered on the wall between the windows. We’d like to replace the right window with french doors. The jury is still out on that one. We know we’d like it…a lot…but due to the size it would be a custom build and that’s expensive. Hmmm.
If you look to the vaulted ceiling at the three blue light boxes, you’ll see that they are not centered between the skylights. We decided the lights would look more balanced centered above the future island versus between the skylights. If you think about it, the lights will hang lower and have visual impact at a different level than the skylights. Plus, I didn’t want to block the focal point of the kitchen {the hood} by centering the lights right in front of it. I hope the end result looks in real life like it does in my head!
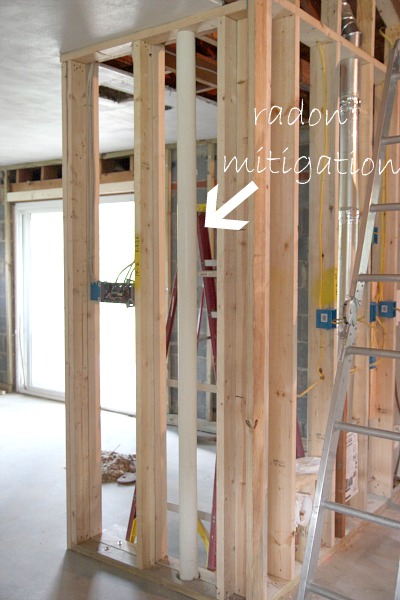
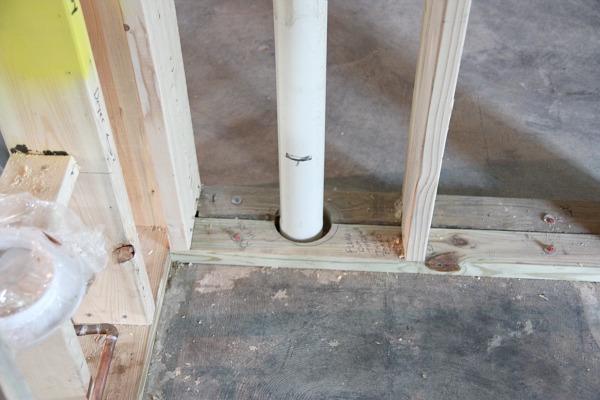
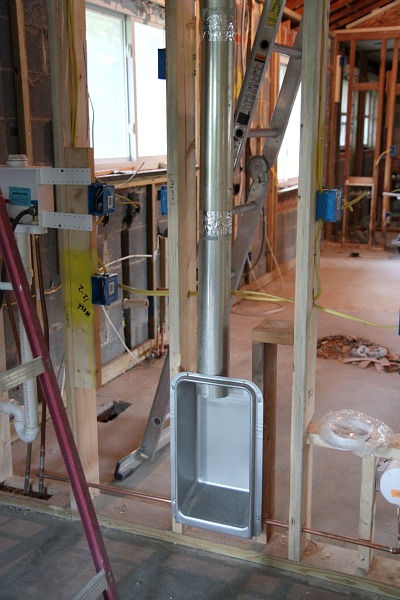
Making your way over to the mudroom/dining room/laundry closet, you’ll find our radon mitigation system. {The house failed radon testing during inspection.} We opted to hire out for the radon mitigation. It cost us $800.
With little to no spare real estate for housing the mitigation system, HH had the grand idea of installing it right into the new framework of what will be the laundry nook. This way it doesn’t take up precious storage space. Fantastic!
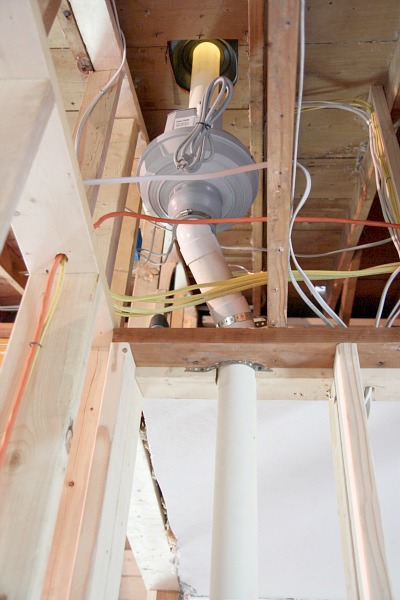
HH had the radon mitigation professional install the mitigation fan in the attic space above the former closet to preserve even more room in the future laundry nook. HH plans to make some sort of access panel to access the mitigation system’s pressure gauge so we can check to see that it’s working properly.
The Underdog came to us with a dryer vent that vented directly into the attic. That wasn’t up to par with code requirements. HH installed a new dryer vent that vents to the outside through the roof. To save even more valuable space in the laundry area, he discovered this recessed dryer venting box. Basically, it’s a recessed box installed into the wall that allows you to push your dryer right up to the wall. Otherwise, you have to leave several inches between the back of the dryer and wall to make way for the bend in the flex hose.
This latest find should give us more room to transform our ugly laundry closet into a functional and stylish laundry nook. I’m thinking a wood countertop above the washer/dryer and open shelving could work well.
So, that’s what has been going on behind the scenes over at the Underdog. There’s so much that had to be done {electrical, plumbing, gas lines, radon mitigation, re-framing, etc.} while the walls are opened up. We’re looking forward to getting insulation and drywall up soon. It should really start looking like a house then. Instead of a concrete jail cell.
images: all Dana Miller for House*Tweaking





DIY