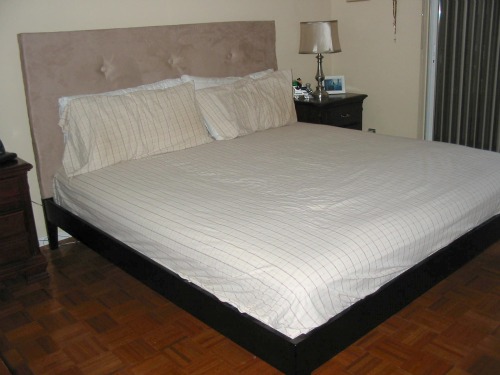
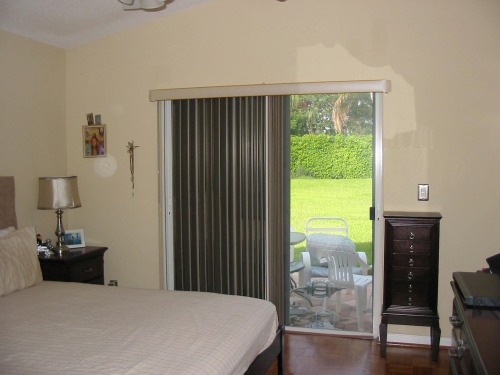
A regular H*T reader contacted me after seeing the mood board I put together for Scott and Robyn’s basement. Michelle was wanting help with an inexpensive bedroom makeover. And being that I like to pretend I’m an interior designer, I happily accepted Michelle’s request. Currently, her bedroom looks like this…
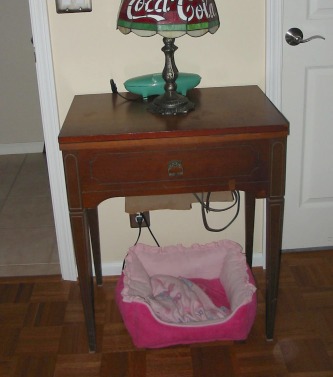
It’s not a bad room to begin with at all. Did you notice the floors? And that upholstered headboard was a DIY project that Michelle and her husband completed together. Michelle was wanting ideas for paint color, bedding, window treatments {well, door treatments I guess} and accessories. After seeing my fandelier, she also wanted to incorporate the World Market pendant light into her room. Michelle asked that all the furniture stay {a bookcase also resides in her bedroom but is not shown above} but said that the sewing table and/or bookcase could be painted. She was also looking to make the sewing table into more of a desk instead of a stand-alone piece. After reviewing several pics of inspiration rooms that Michelle sent my way, I gathered that she was leaning towards a light, mostly neutral palette with a soothing feel. In her original email to me, I also learned that Michelle likes a mix of crisp white and contrasting mocha with hints of green. Taking all of that into consideration, this is what I came up with for Michelle’s budget-friendly room makeover…
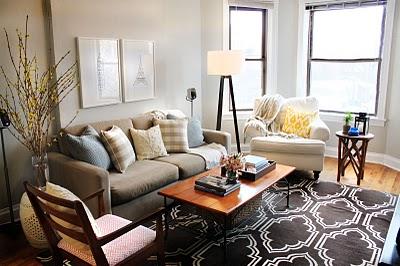
I’m suggesting that Michelle paint her walls Dolphin Fin {by Behr, Home Depot}. It’s a slightly tan-y gray.
Here’s a living room painted in Dolphin Fin so you get the idea…
{image courtesy of Alaina Kaczmarski}
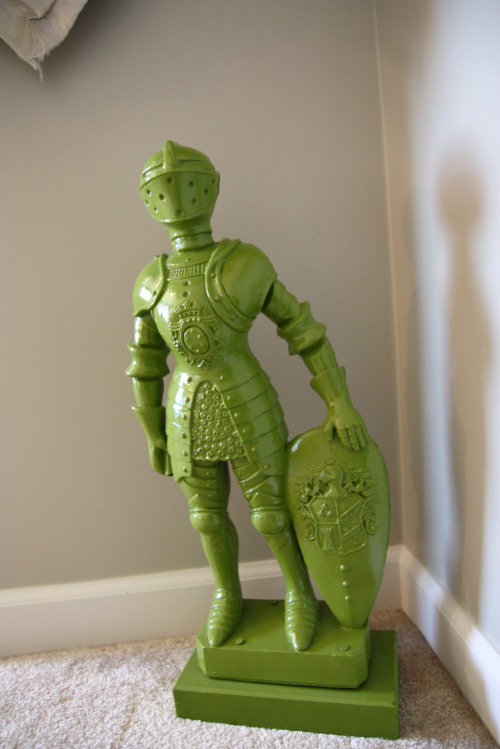
For a fresh fix, clean white bedding {you can find it just about anywhere!} will instantly lighten all the dark furniture. I found a few geometric print pillows along with a leafy green lumbar pillow to add interest. The good news is they’re on sale for less than $13 each! A white round mirror above the headboard will add in some curves. {Frugal hint: find any round mirror at Goodwill and spray paint it white.} Spray painting the bedside lamps’ bases white will help to lighten things up, too. The World Market chandelier is going to be the WOW! in this bedroom. A furry sheepskin rug alongside the bed will add texture. To keep all the furniture from looking the same, I suggested that Michelle paint her sewing desk green {similar to the one shown here} and her bookcase white. Sliding up a white chair and hanging a DIY linen pinboard {like this} will further help the sewing table to act as a desk. Those vertical blinds on the patio sliders have got to go! I can’t wait to see how large and bright those sliding doors look when topped with a dark {either black or rubbed bronze} curtain rod and long, flowing white curtains. Opening up that wall by hanging the window treatments high and wide around the patio doors will really have a huuuuuge impact. {That’s one before-and-after I can’t wait to see!} Finally, accessorizing with woven baskets, white ceramics and greenery {I had to throw in an orchid} will really bring some ease and life to the bedroom. I dig these Jonathan Alder birds but really any cutesy piece found at Goodwill could be spray painted white for the same effect.
So, that’s how I would tweak Michelle’s bedroom without breaking the bank. I was happy to hear that Michelle is excited about her mood board and actually has many of the items I suggested {rug, baskets, plants, white pots, etc} in her home already. We must be on the same wavelength. I know she isn’t in a hurry to tackle her bedroom makeover head-on, but when she does do it I sure hope she shares some pictures! Pretty please, Michelle?










budget decor, DIY, inspiration