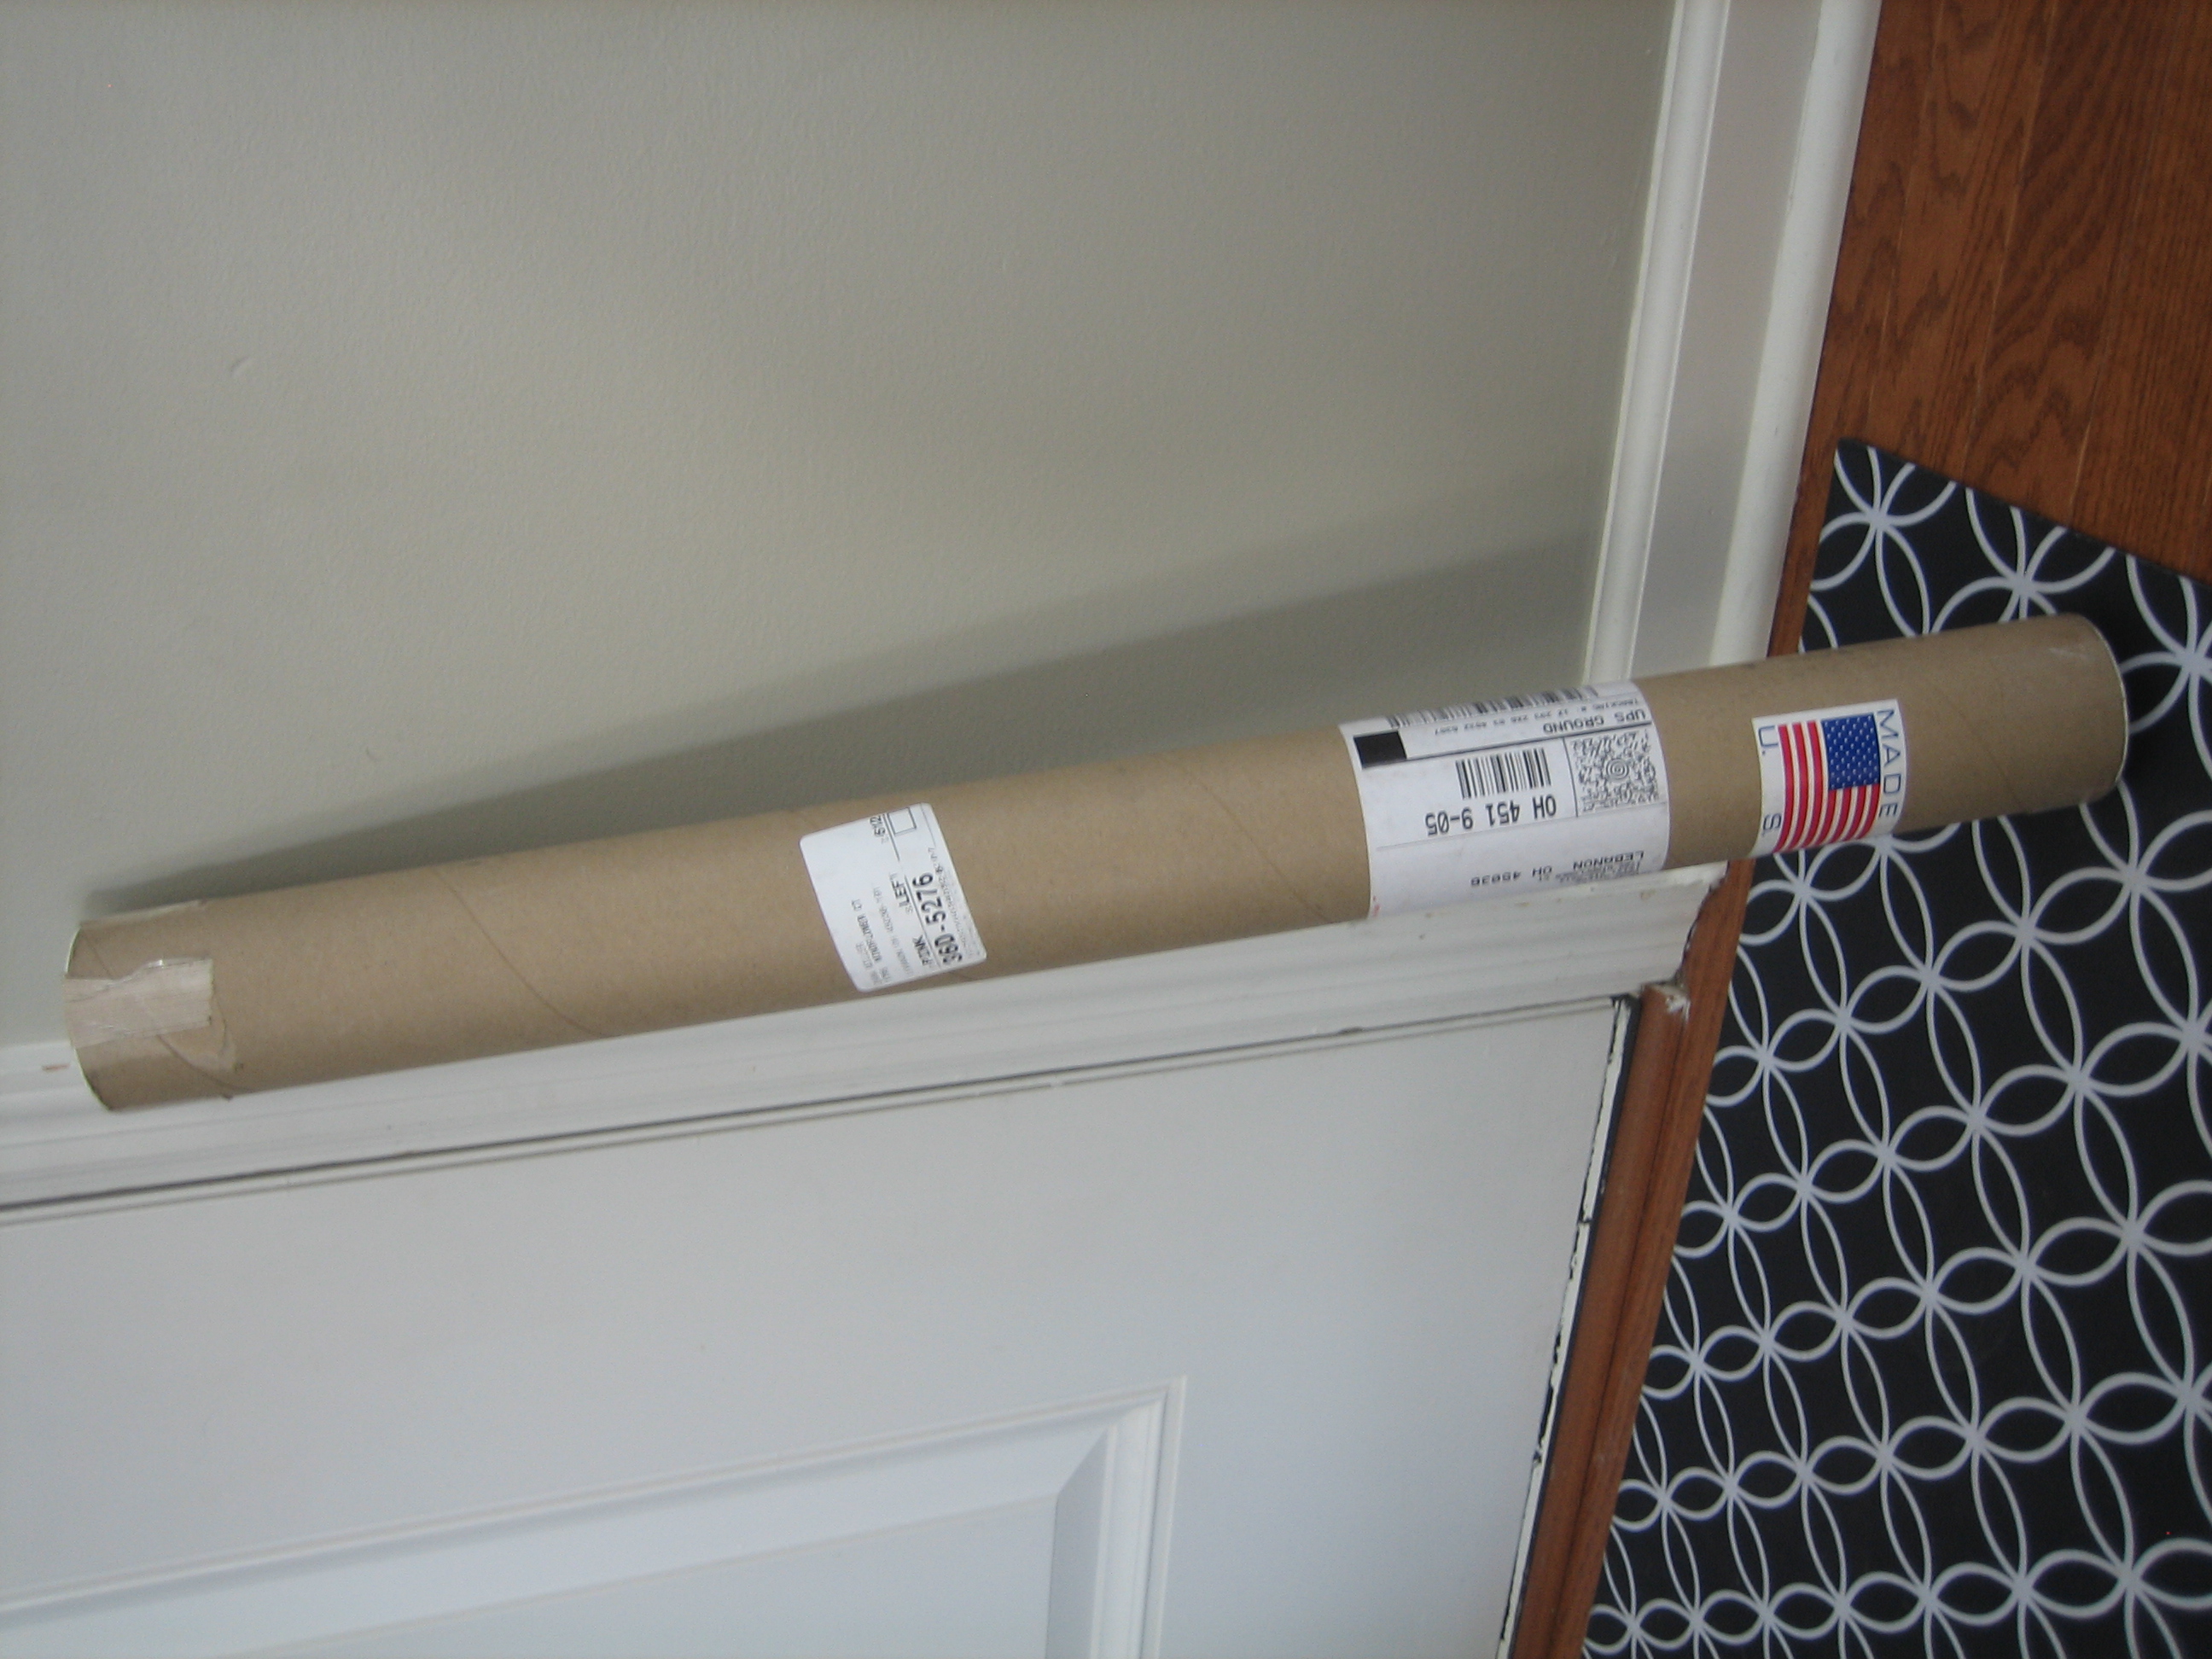
Look what the UPS man brought me!

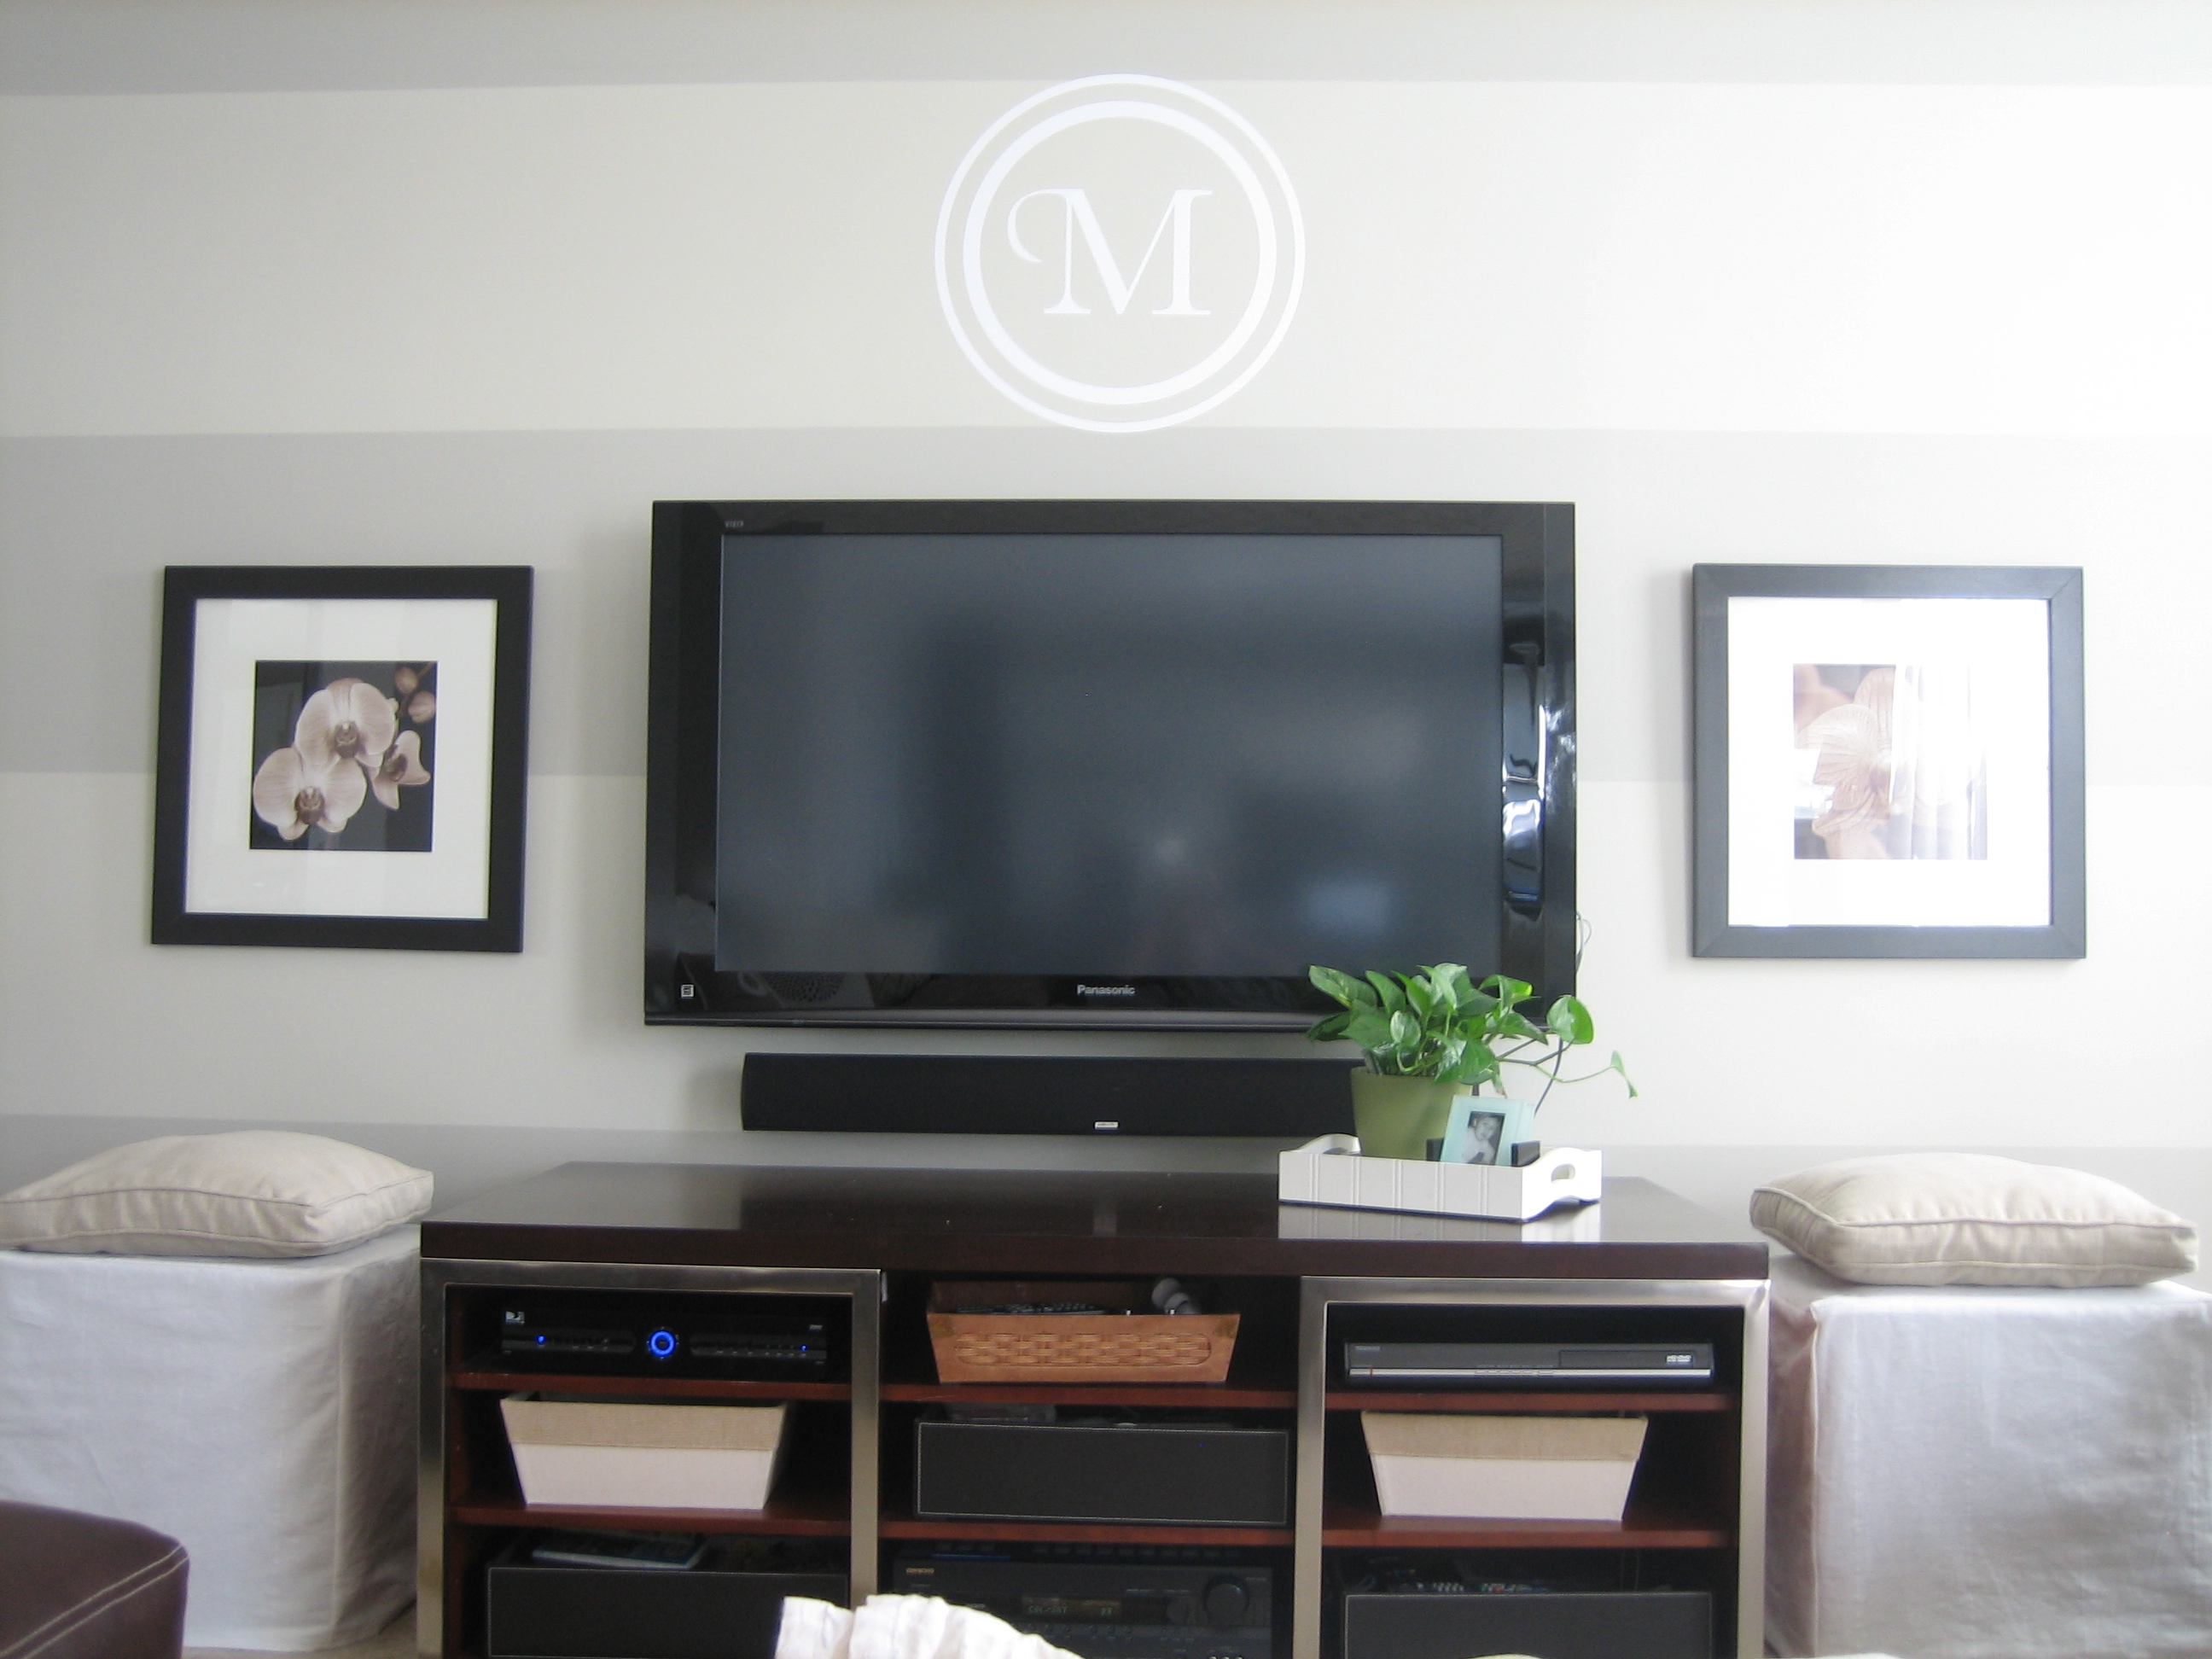
Wanna know what’s inside? Well, first, let me explain myself. You see, I’ve slowly been tweaking our TV wall in the family room. Initially, I painted wide horizontal stripes.

Next, I added some black-and-white prints to each side of the flatscreen.

In a moment of creative bliss, I slipcovered two leather storage ottomans and filled ’em with all our board games. They fit perfectly beneath the framed prints.

Then I left it alone for a few months thinking the wall looked quite good. But something was missing. It was too straight and square with the linear stripes, the rectangular TV/console and the square frames/ottomans. I kept thinking it needed some curves thrown in somewhere to soften all those harsh lines. Maybe a clock, a starburst or… a MONOGRAM! That was it! At first, I thought I would paint one but on a whim I shopped around online for vinyl wall decals. Amazingly, they were very affordable. I decided the $$ would be worth the time and effort it would take me to DIY a monogram. I knew I wanted something simple that had a diameter in the 22″-24″ range. Plus, it needed to be quality white matte vinyl that was easy to install.

I found all that and more at Dali Decals. (See the direct link to the monogram I purchased here.) With shipping/handling, taxes and the actual cost of the decal, I dropped less than $25 on this baby. And it finally arrived!

Immediately, I set to stickin’ it up on the TV wall (while Layne was watching “Popeye”).

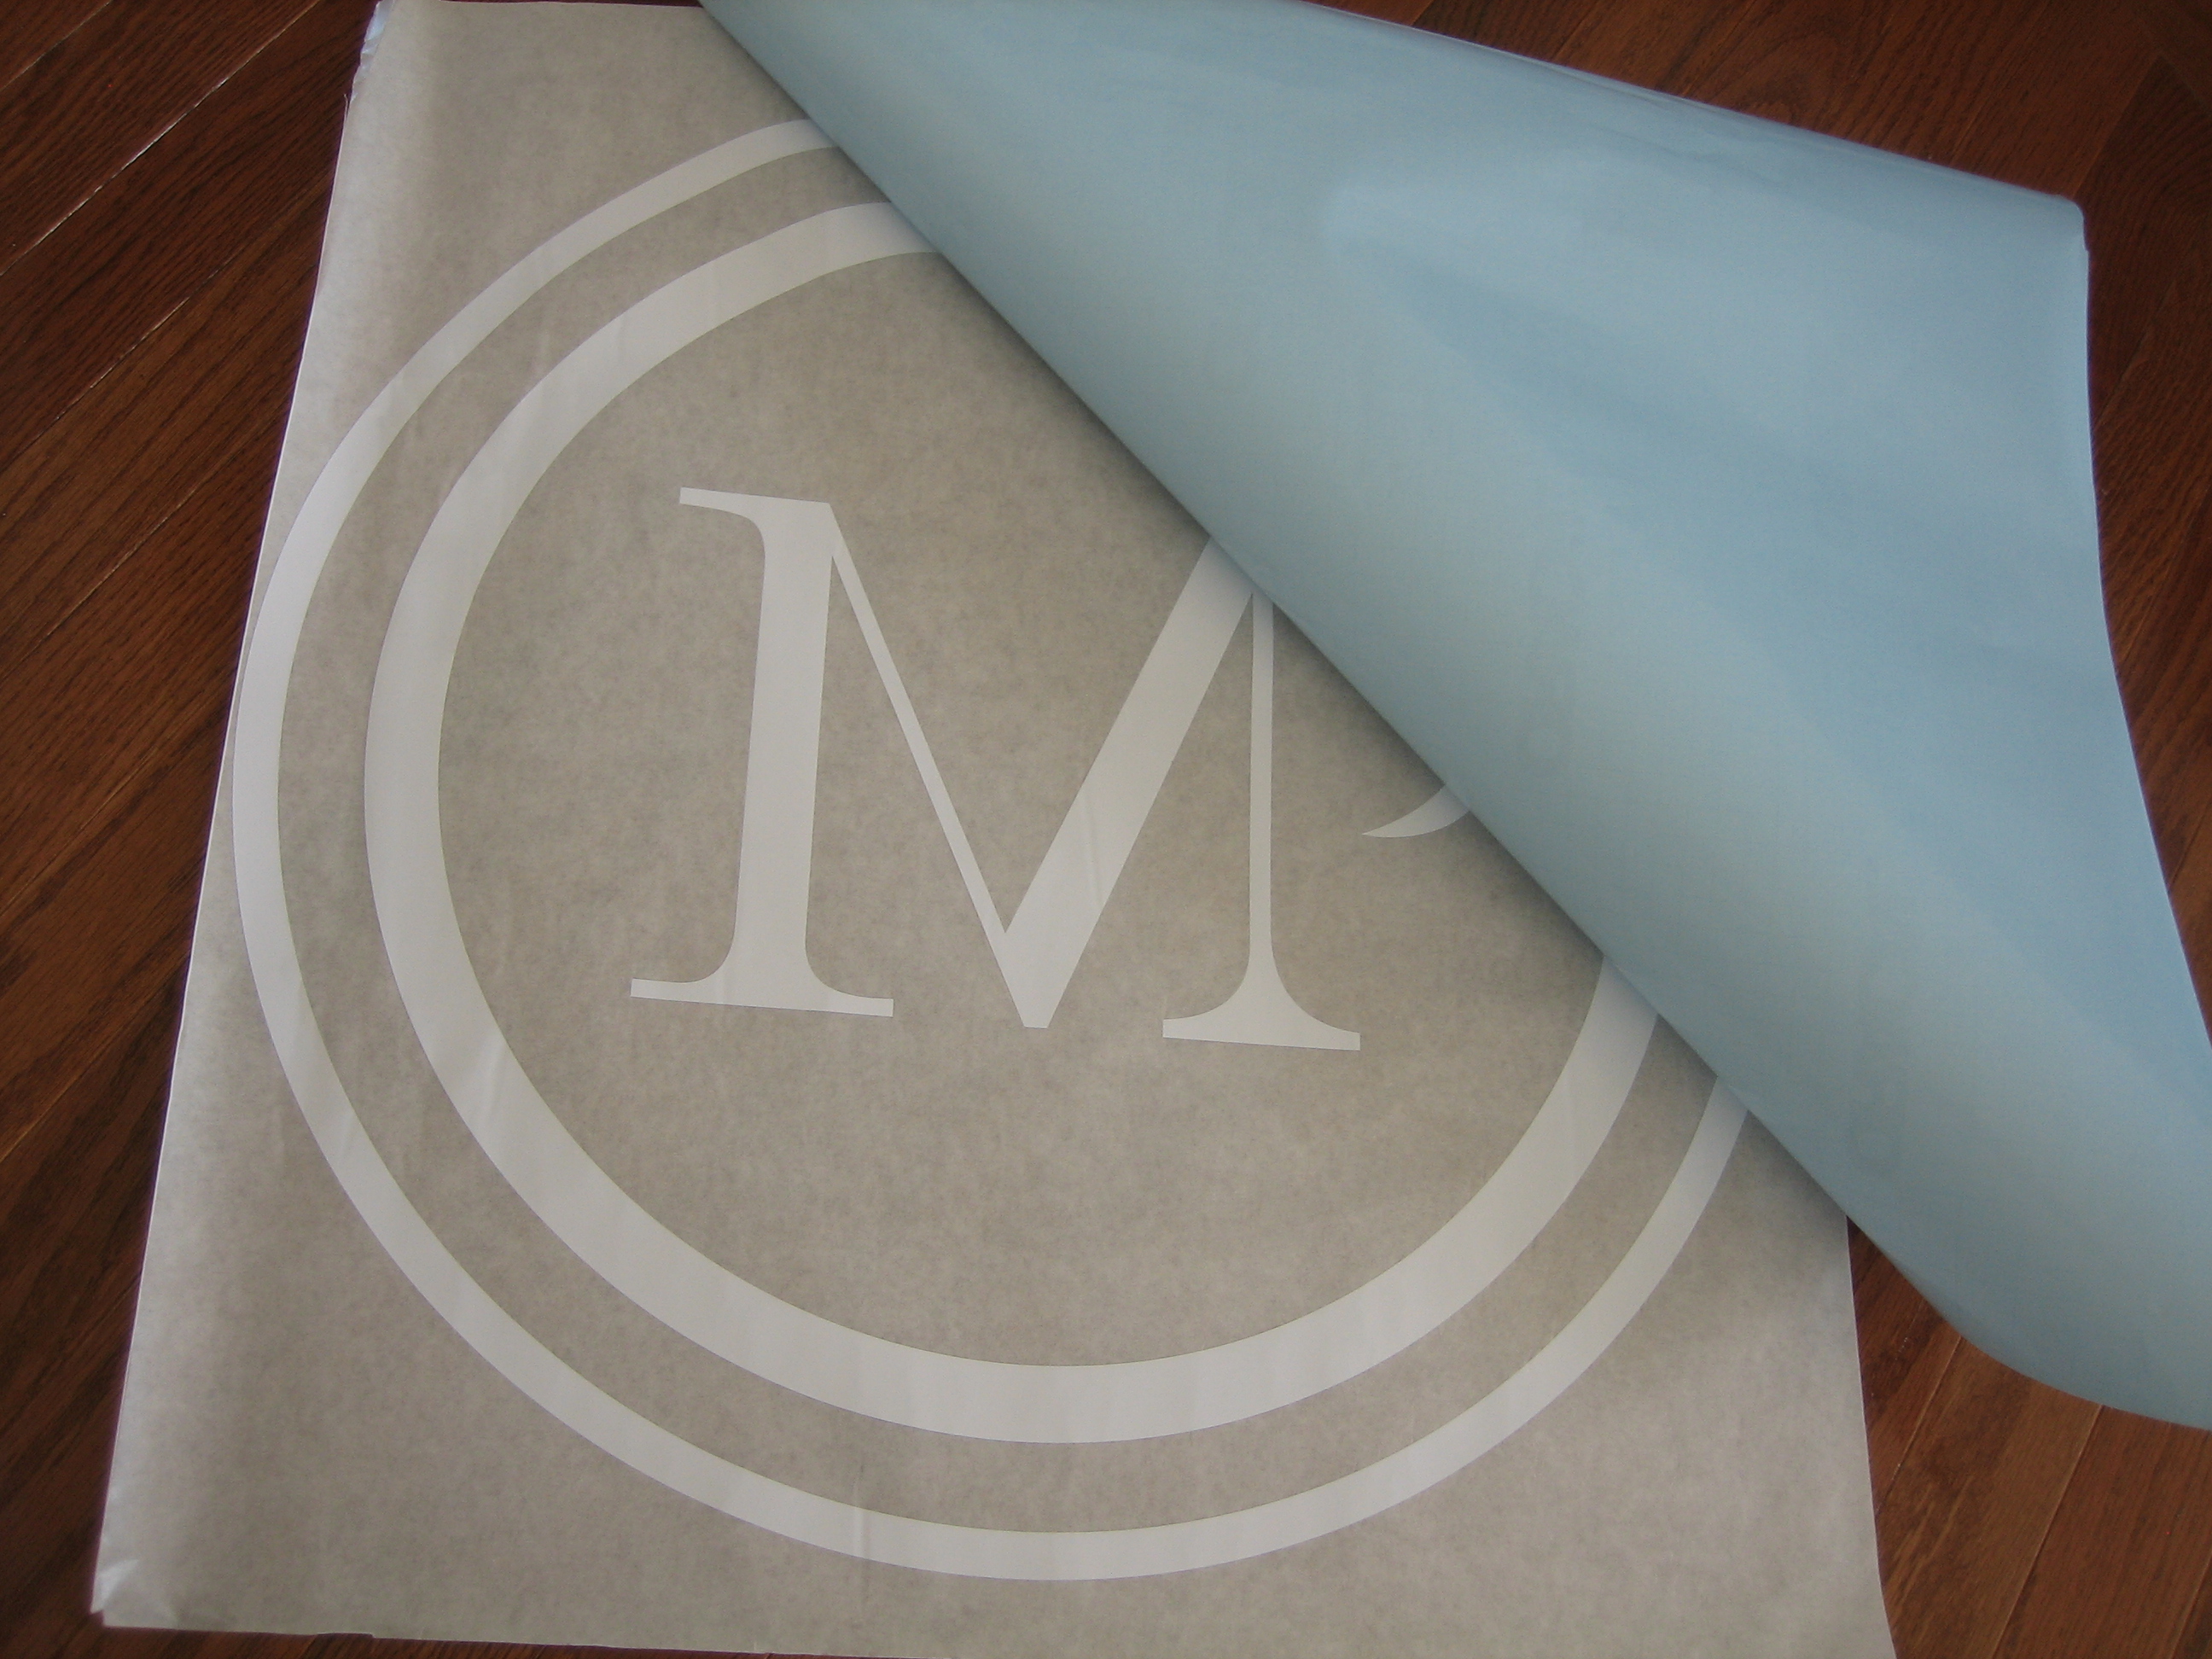
The decal included easy-to-follow instructions. First, I used a level, tape measure and pencil to mark out the top and bottom center points on the wall so I would know where to place the monogram. Then, I pulled the blue paper backing away from the decal and transfer paper.

This revealed the sticky side (wall side) of the decal and transfer paper. Using the aforementioned pencil marks as guides, I tacked the decal to the wall and stood back to eyeball it. (Layne was now watching “Pink Panther.” It really didn’t take me that long to measure. Layne must have just caught the tail end of “Popeye.”)

Also included in the package was this nifty little smoothing device. Yes, that’s its technical name.

Starting in the middle and working my way out, I pulled it across the transfer paper to smooth out any and all air bubbles. (A side note: It’s difficult to take action shots of yourself!)

After I had squeezed out the wrinkles and bubbles, this decal was as smooth as a baby’s bottom.

Lastly, I pulled the transfer paper away from the wall, oh-so-sloooowly.

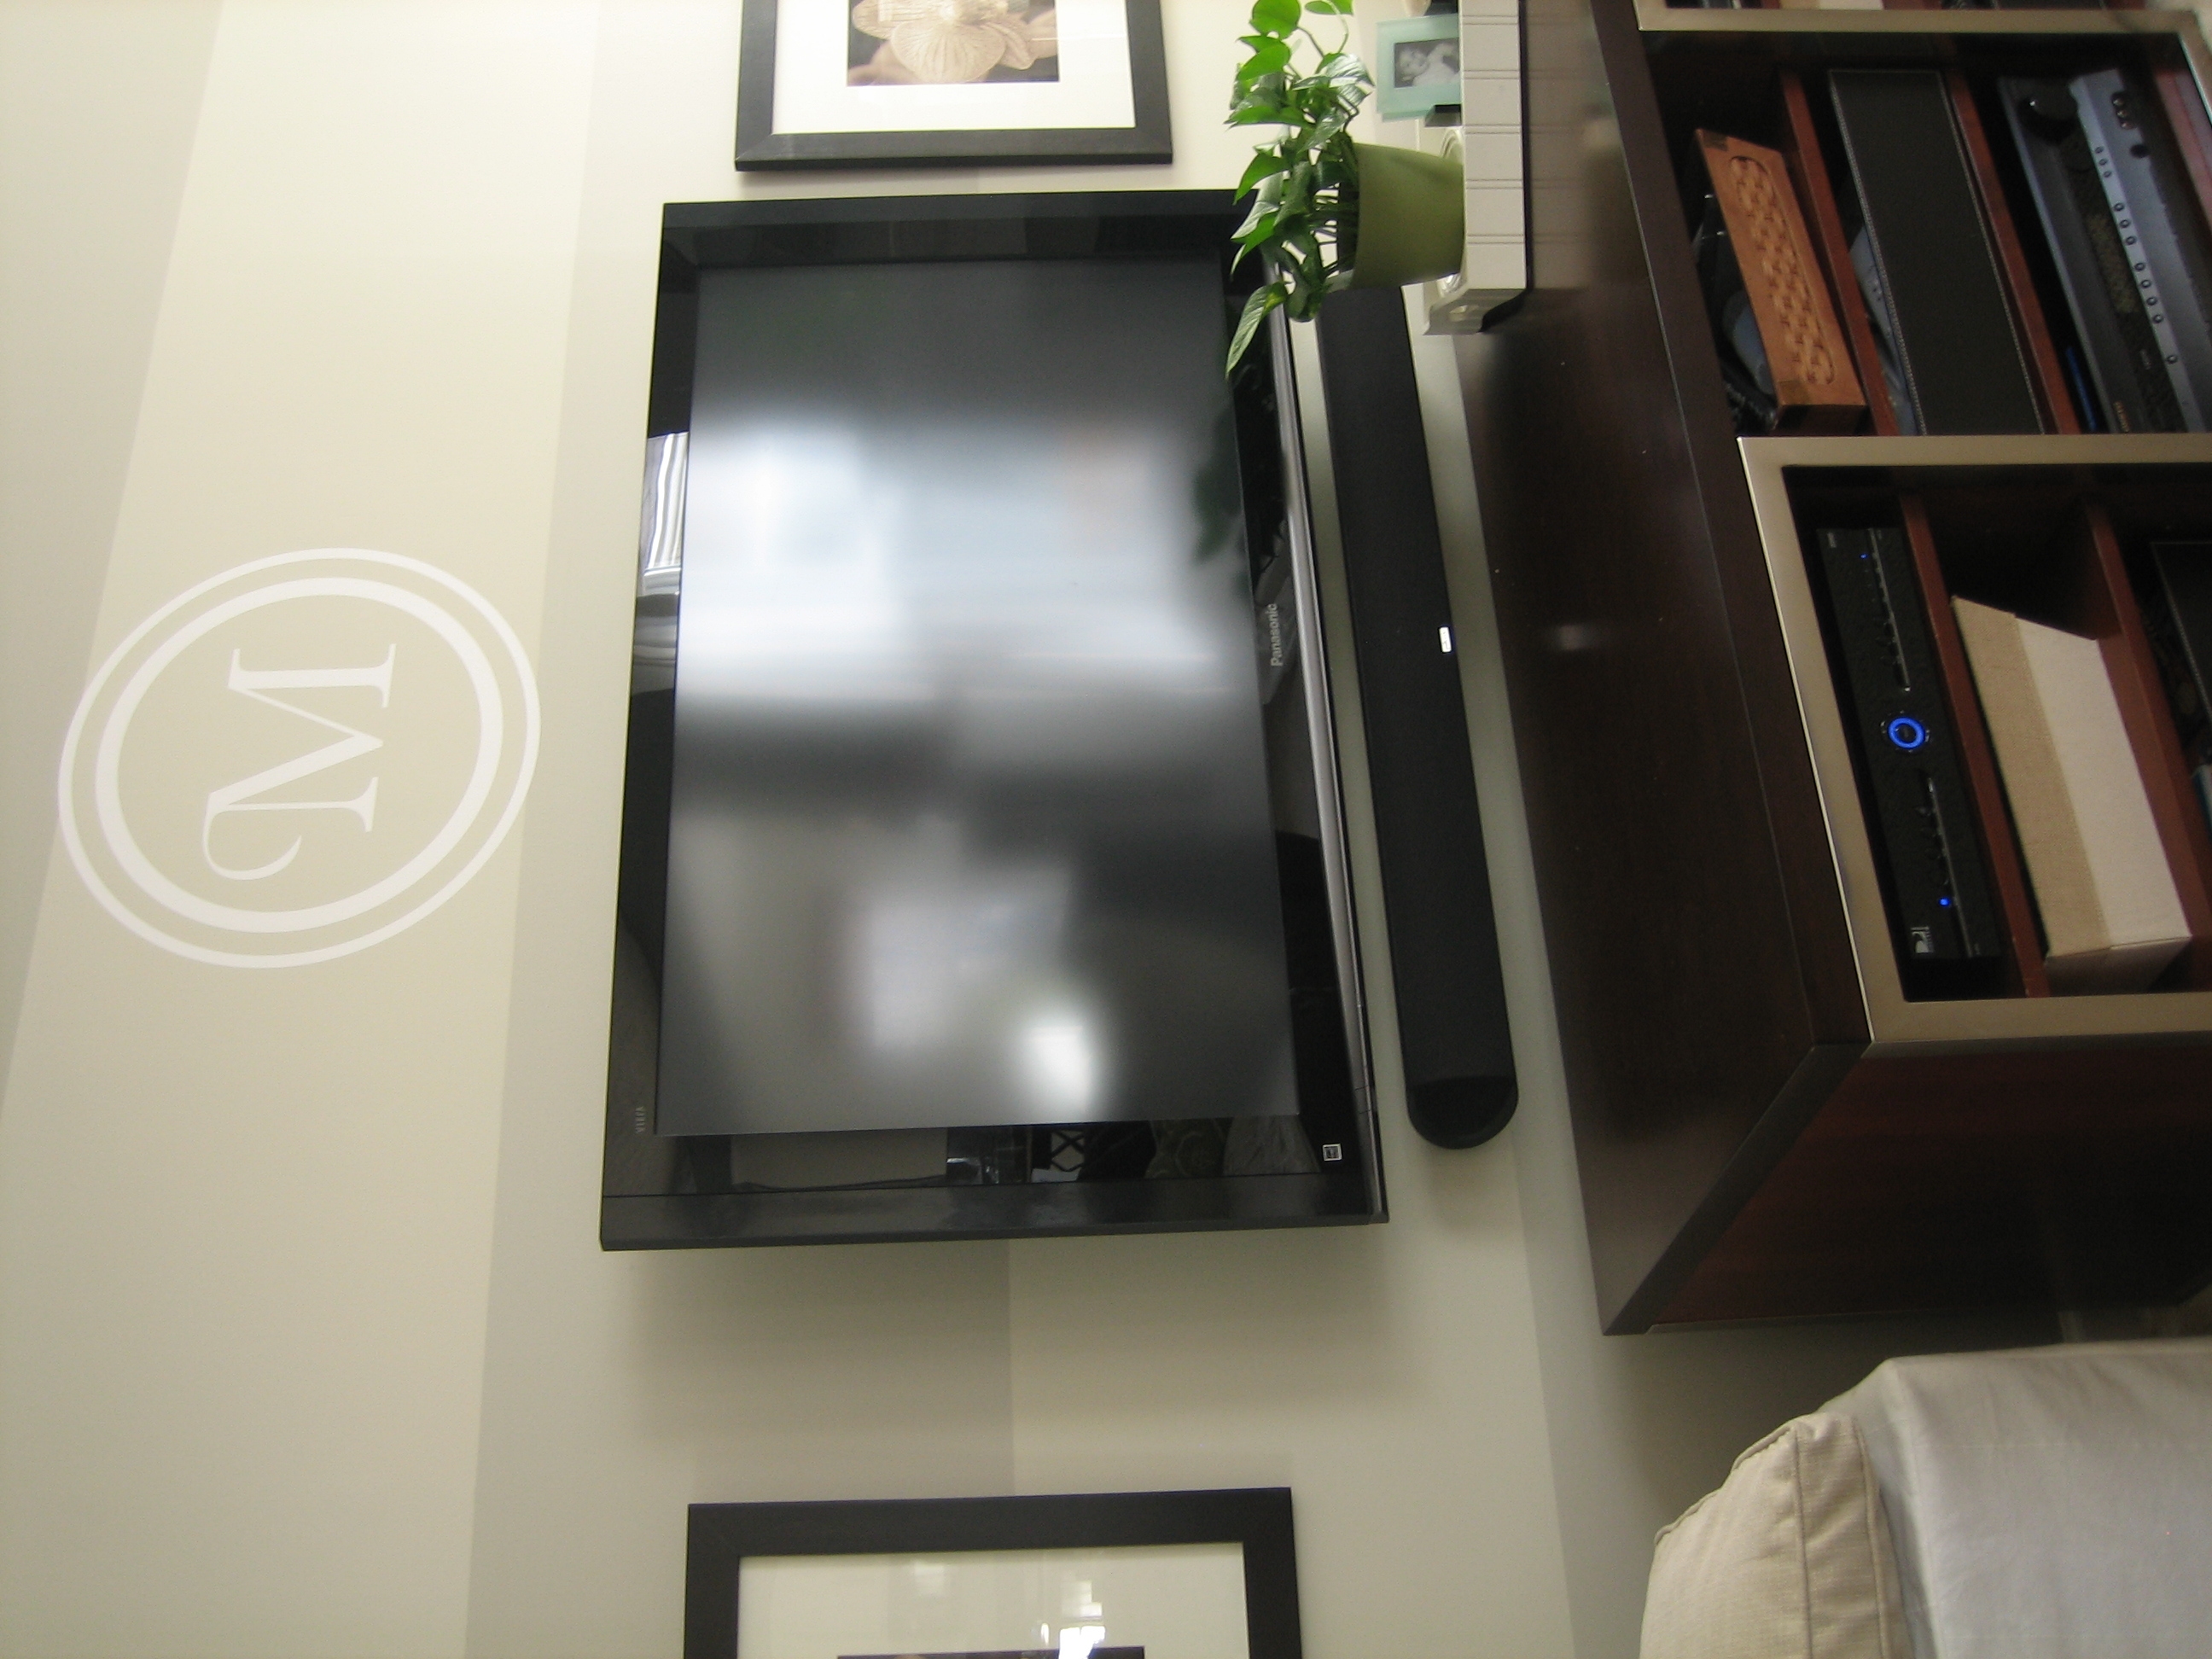
Presto! All that remained on the wall was the decal. Here’s the new view from our couch…

The “M” monogram is so crisp and white. I love it. It adds some roundness to a lot of straight lines and picks up on the white ottomans. I would have liked it a tad larger but 22″ must be some magic number in decal world… I couldn’t find anything I liked over 22″ under $50. No hard feelings though. This is my new crush.


So, for just $25 and 20 minutes, you can add a little oomph to any wall in your home. Just think of all the places you could use wall decals: nurseries, playrooms, bedrooms or even on mirrors! And when you tire of them, simply peel ’em off to expose your undamaged wall. I’ll be leaving mine up for a while though…


budget decor, DIY