I’m back to share with you a little taste of chalkboard paint. Not literally. That would be disgusting. You heard about my decision to welcome a chalkboard something into our house here. Well, after a little once-overing, I discovered we don’t really have a lot of wall space, thanks to our open floor plan and numerous windows. Finding a spot for our newest addition (the chalkboard, not a baby) was harder than I thought. So instead of searching for a focal point, I started looking for practical locations. A chalkboard in the kitchen would be useful for grocery lists, daily doings, inspirational quotes, recipes and plain ol’ fun for the kiddos. So, the kitchen it was! But where? A wall or a door? Why not BOTH?


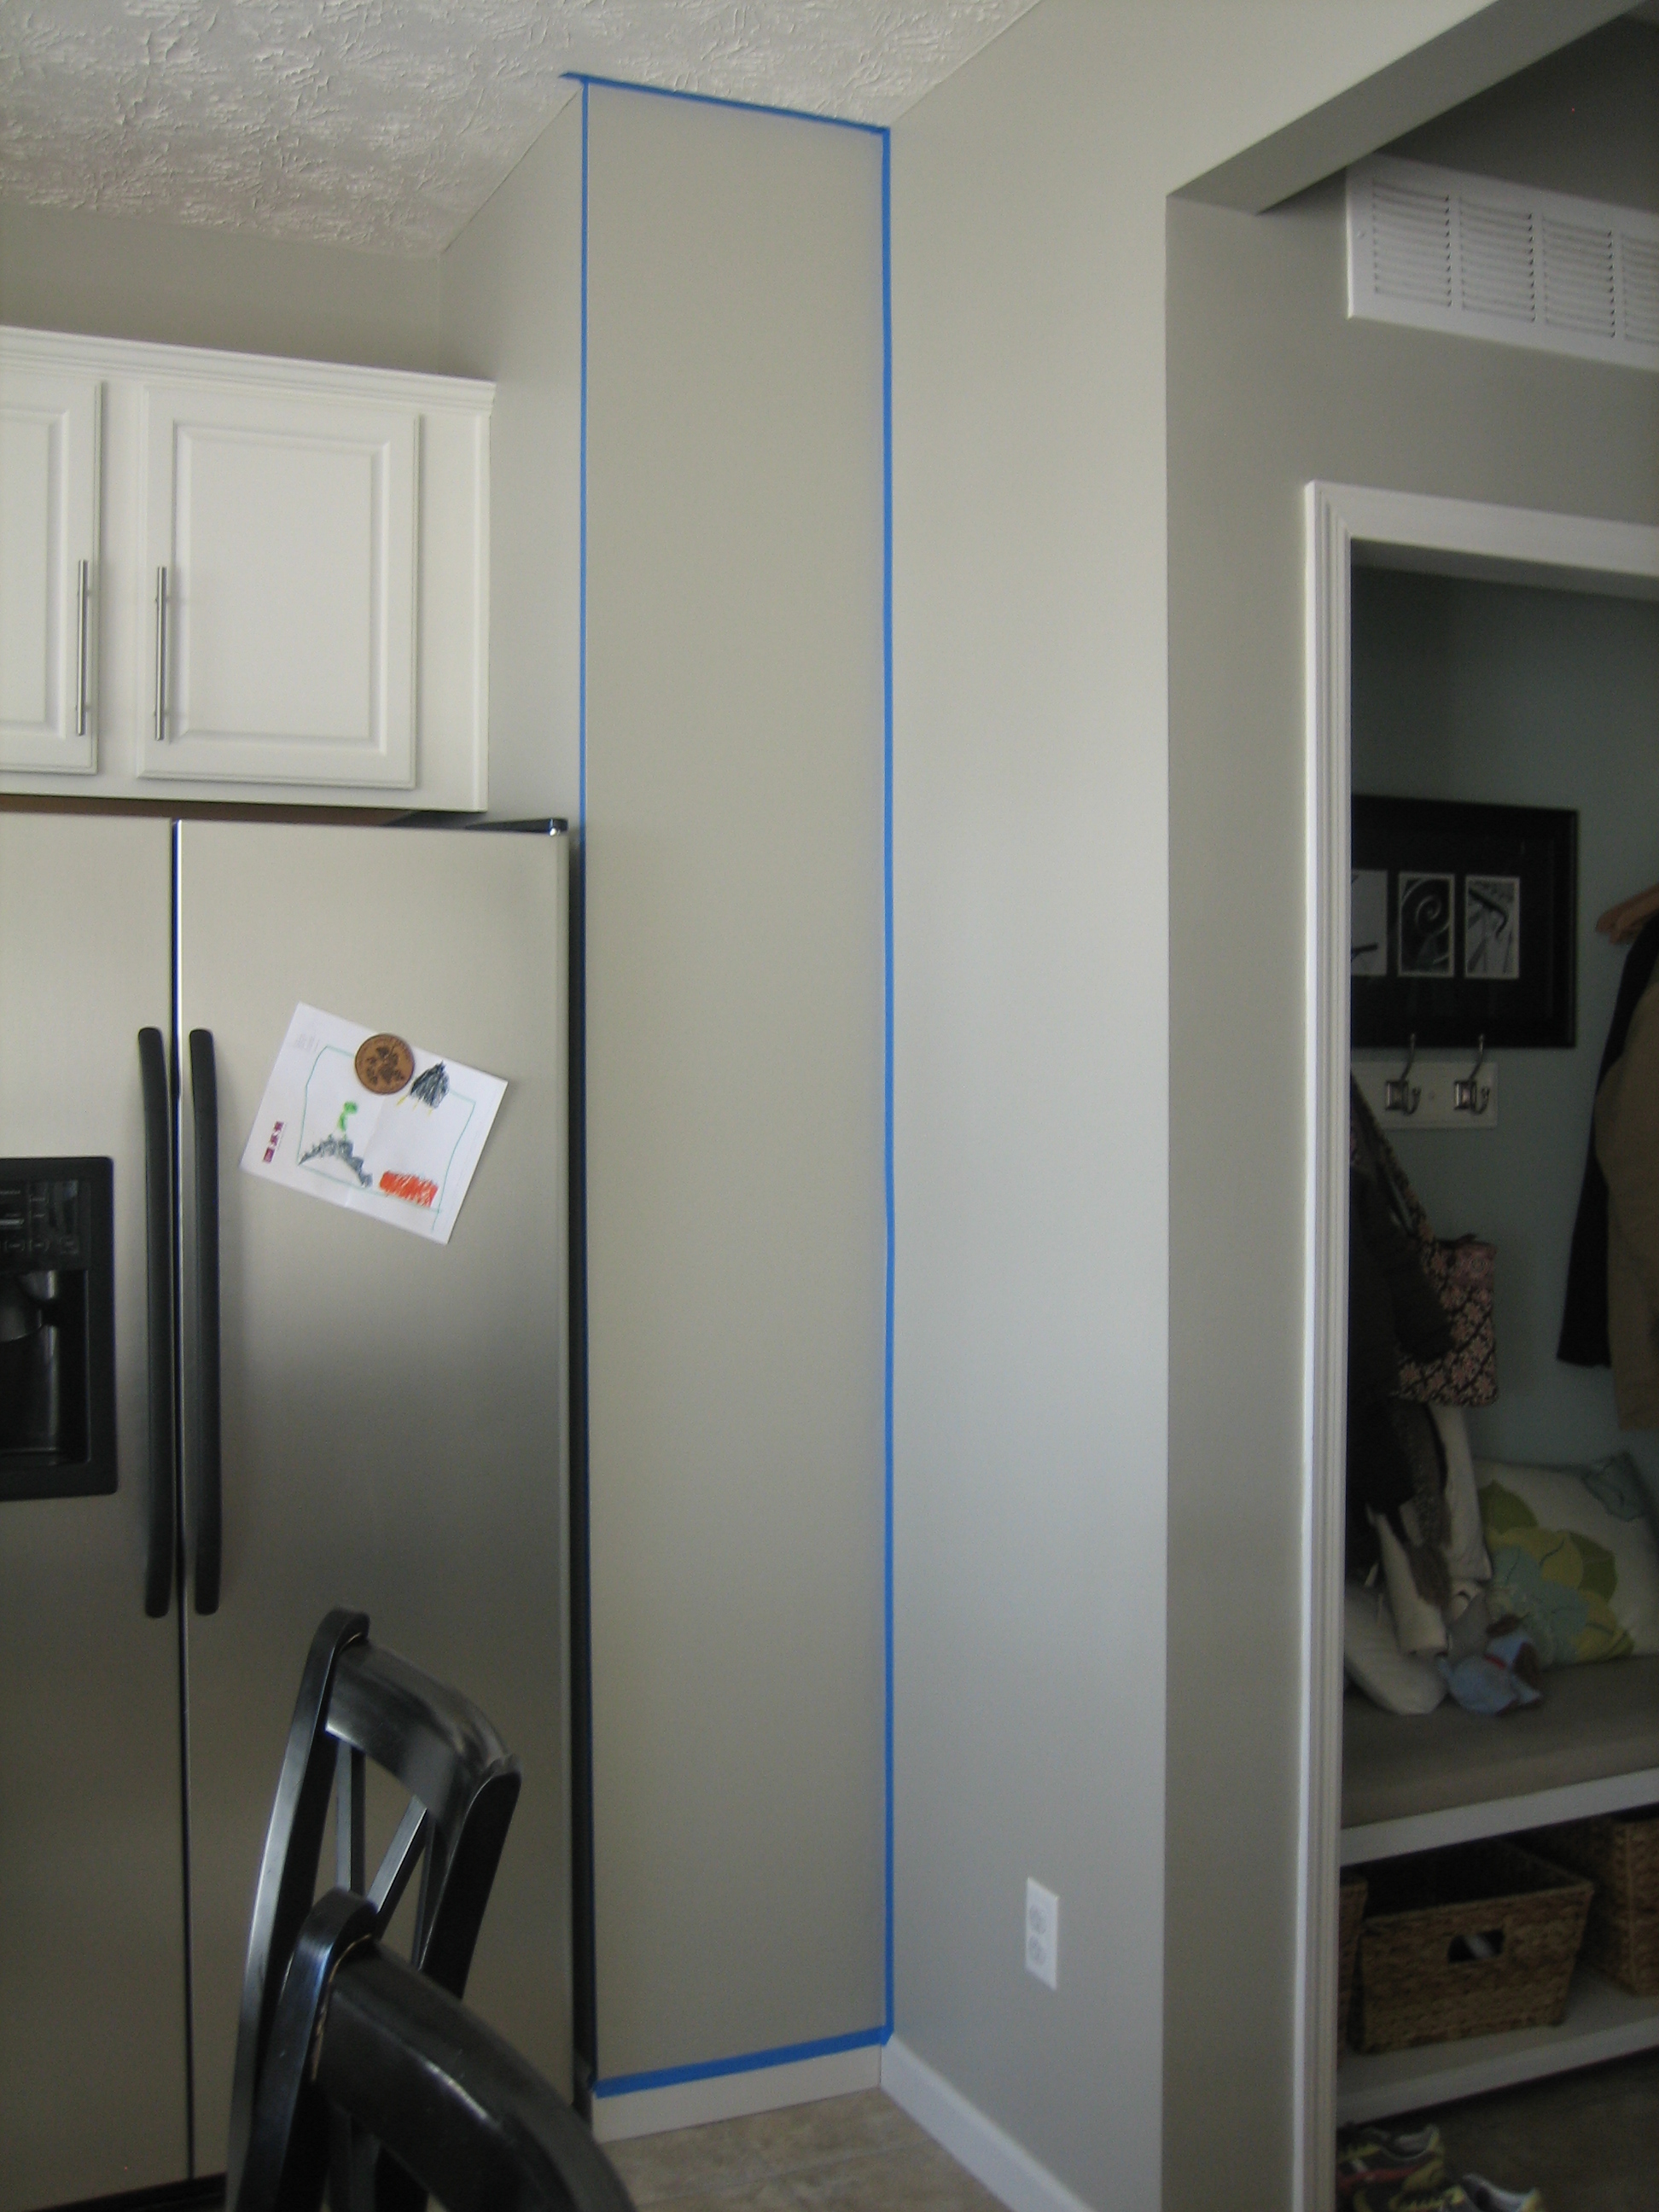
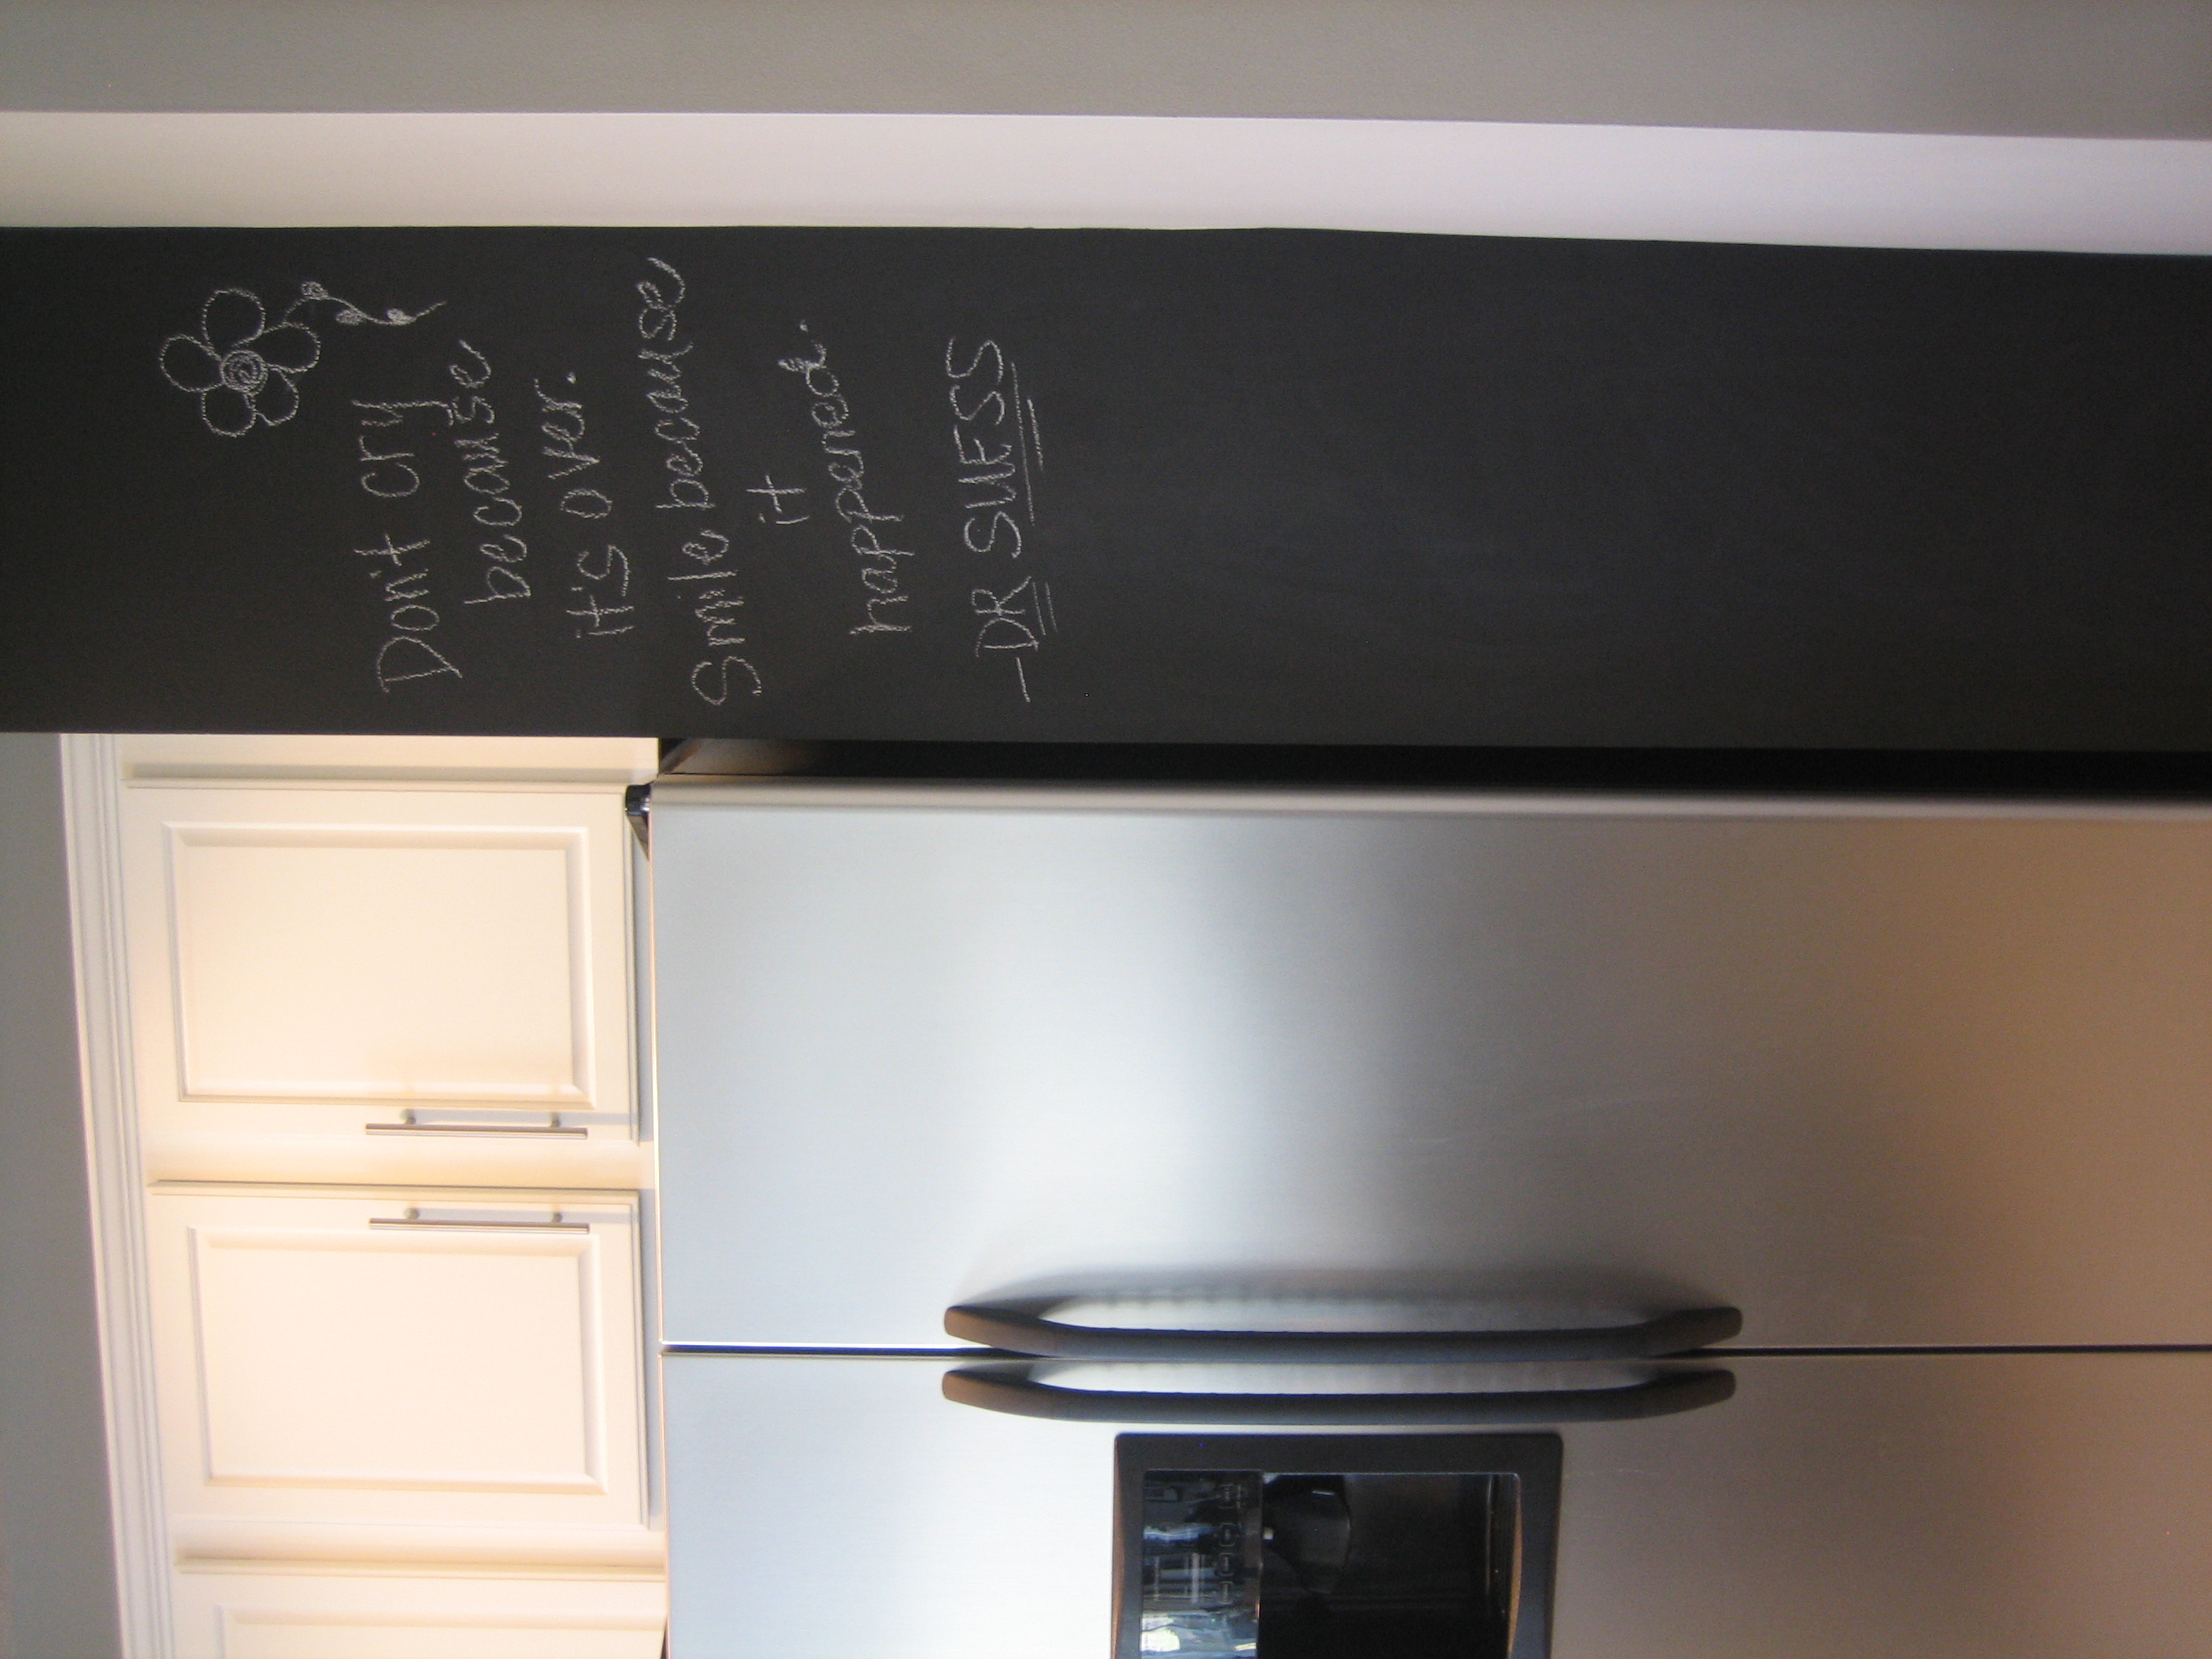
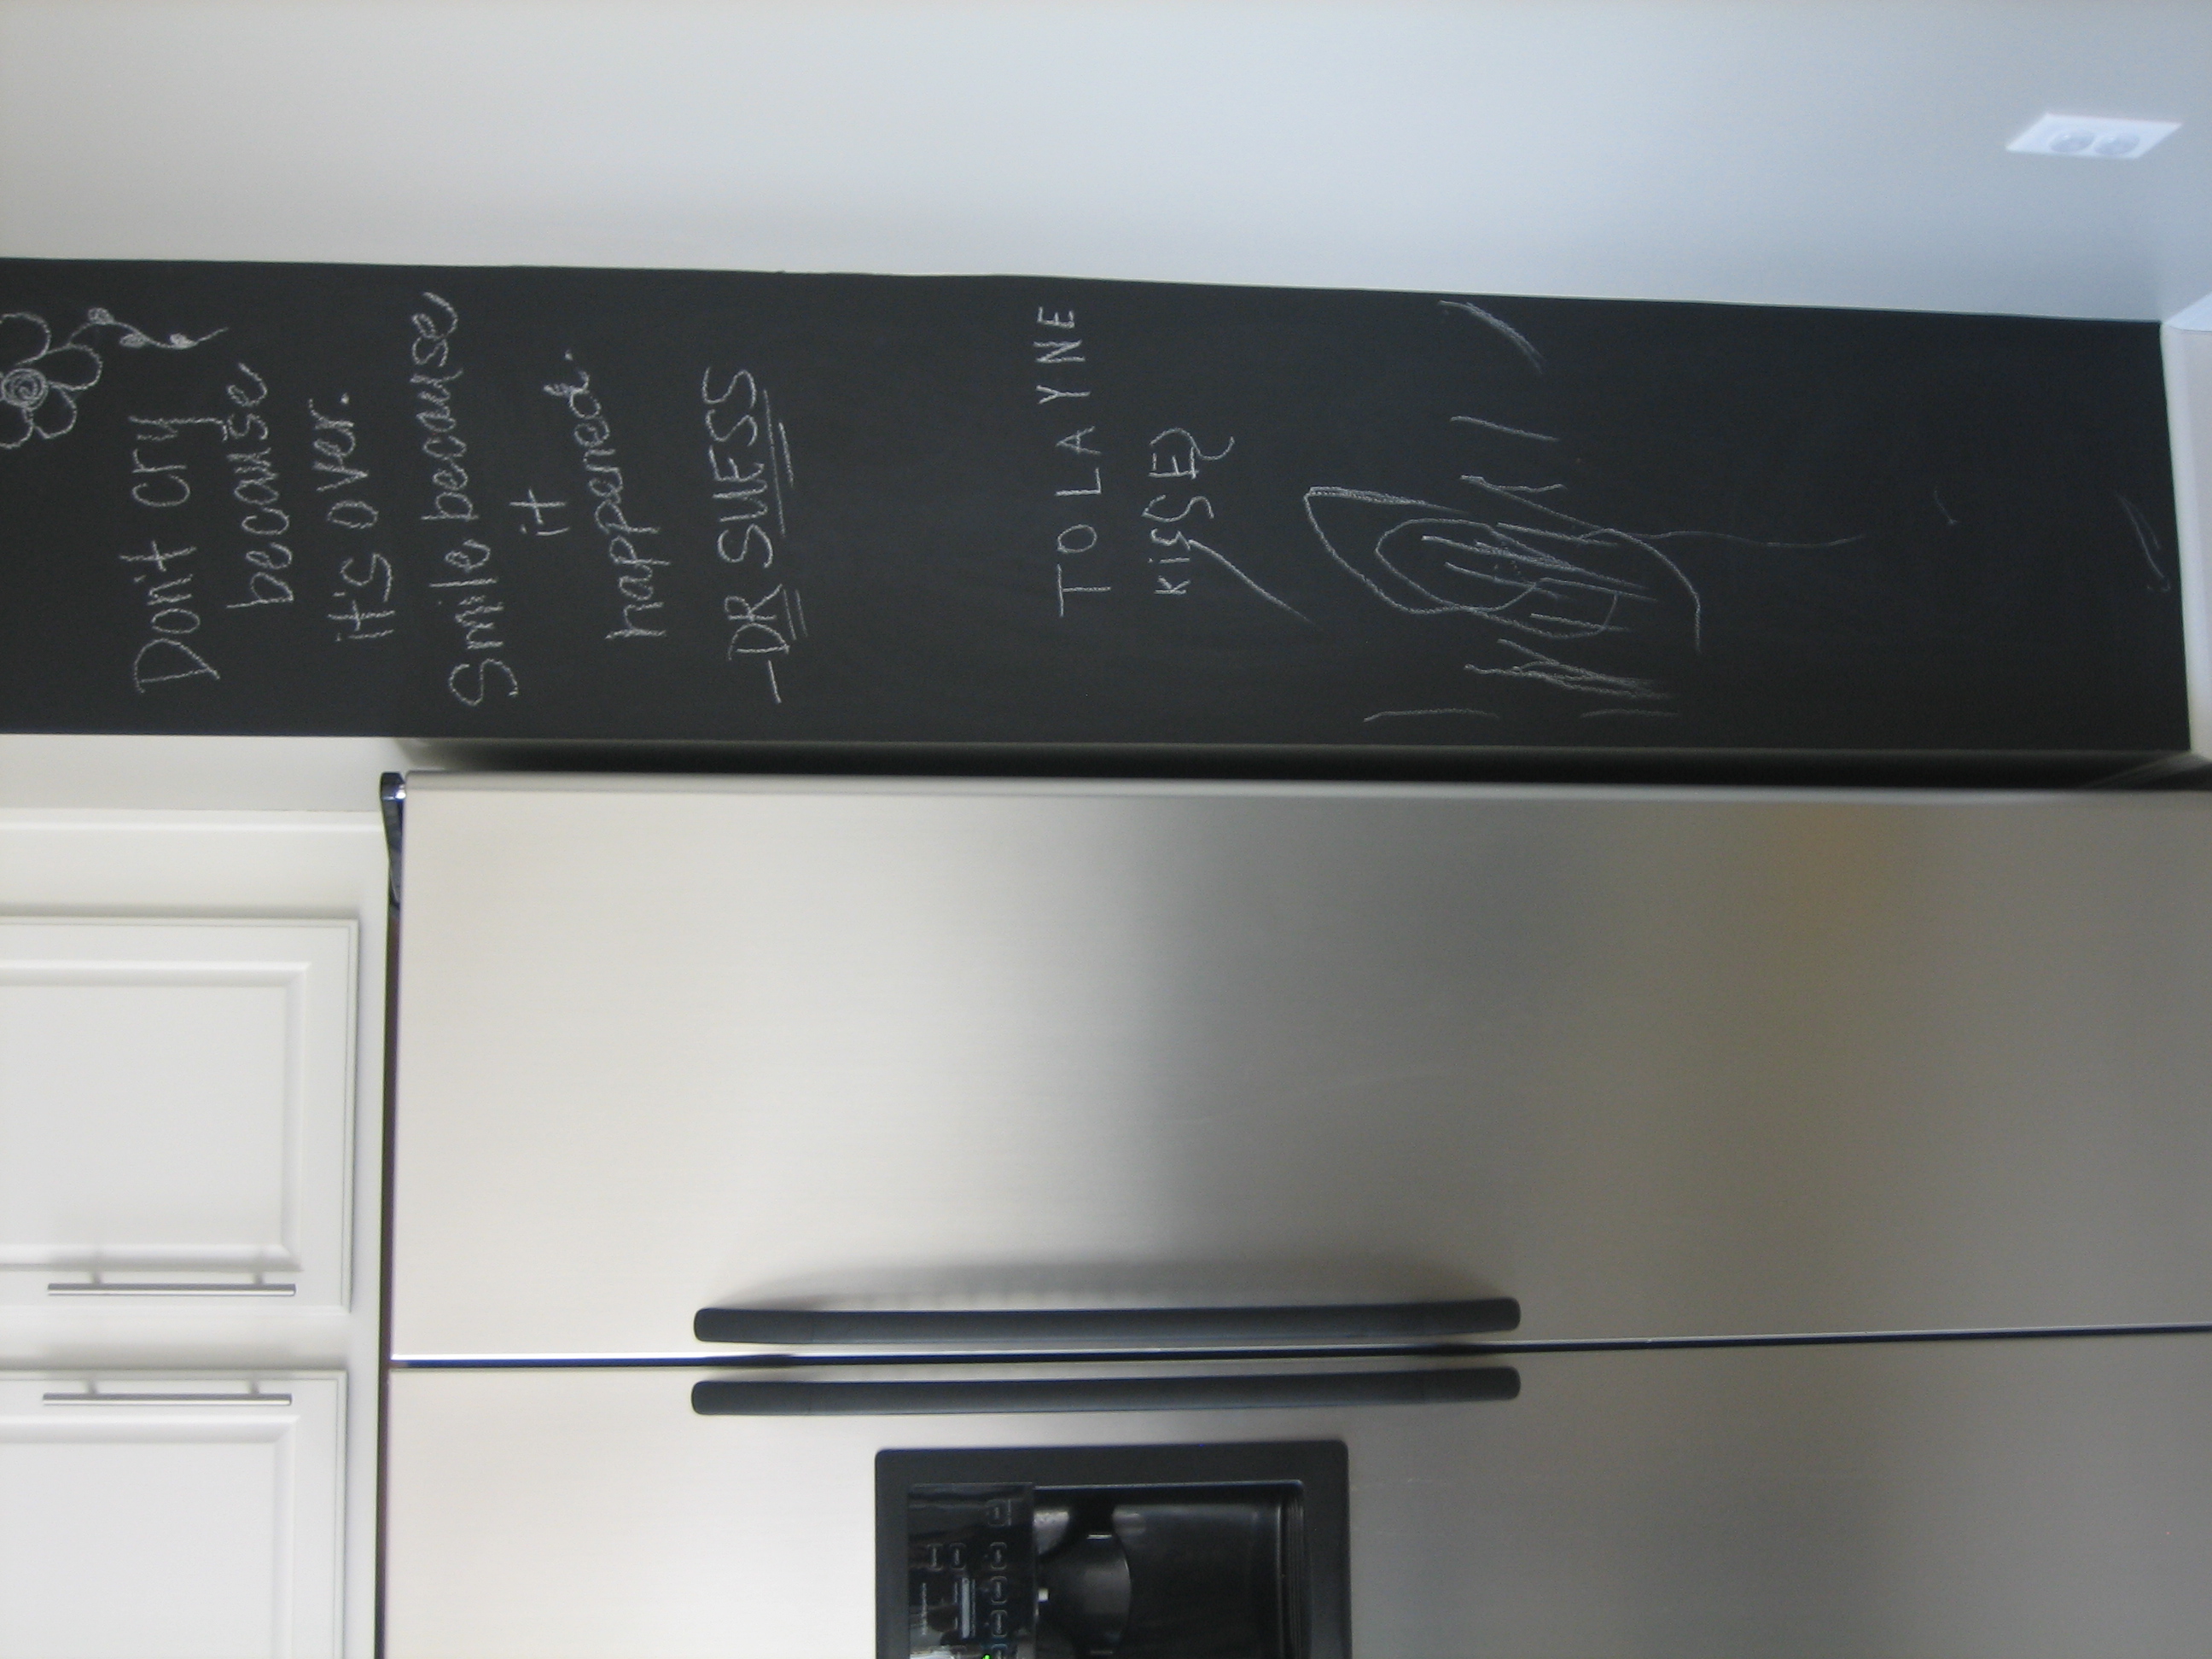
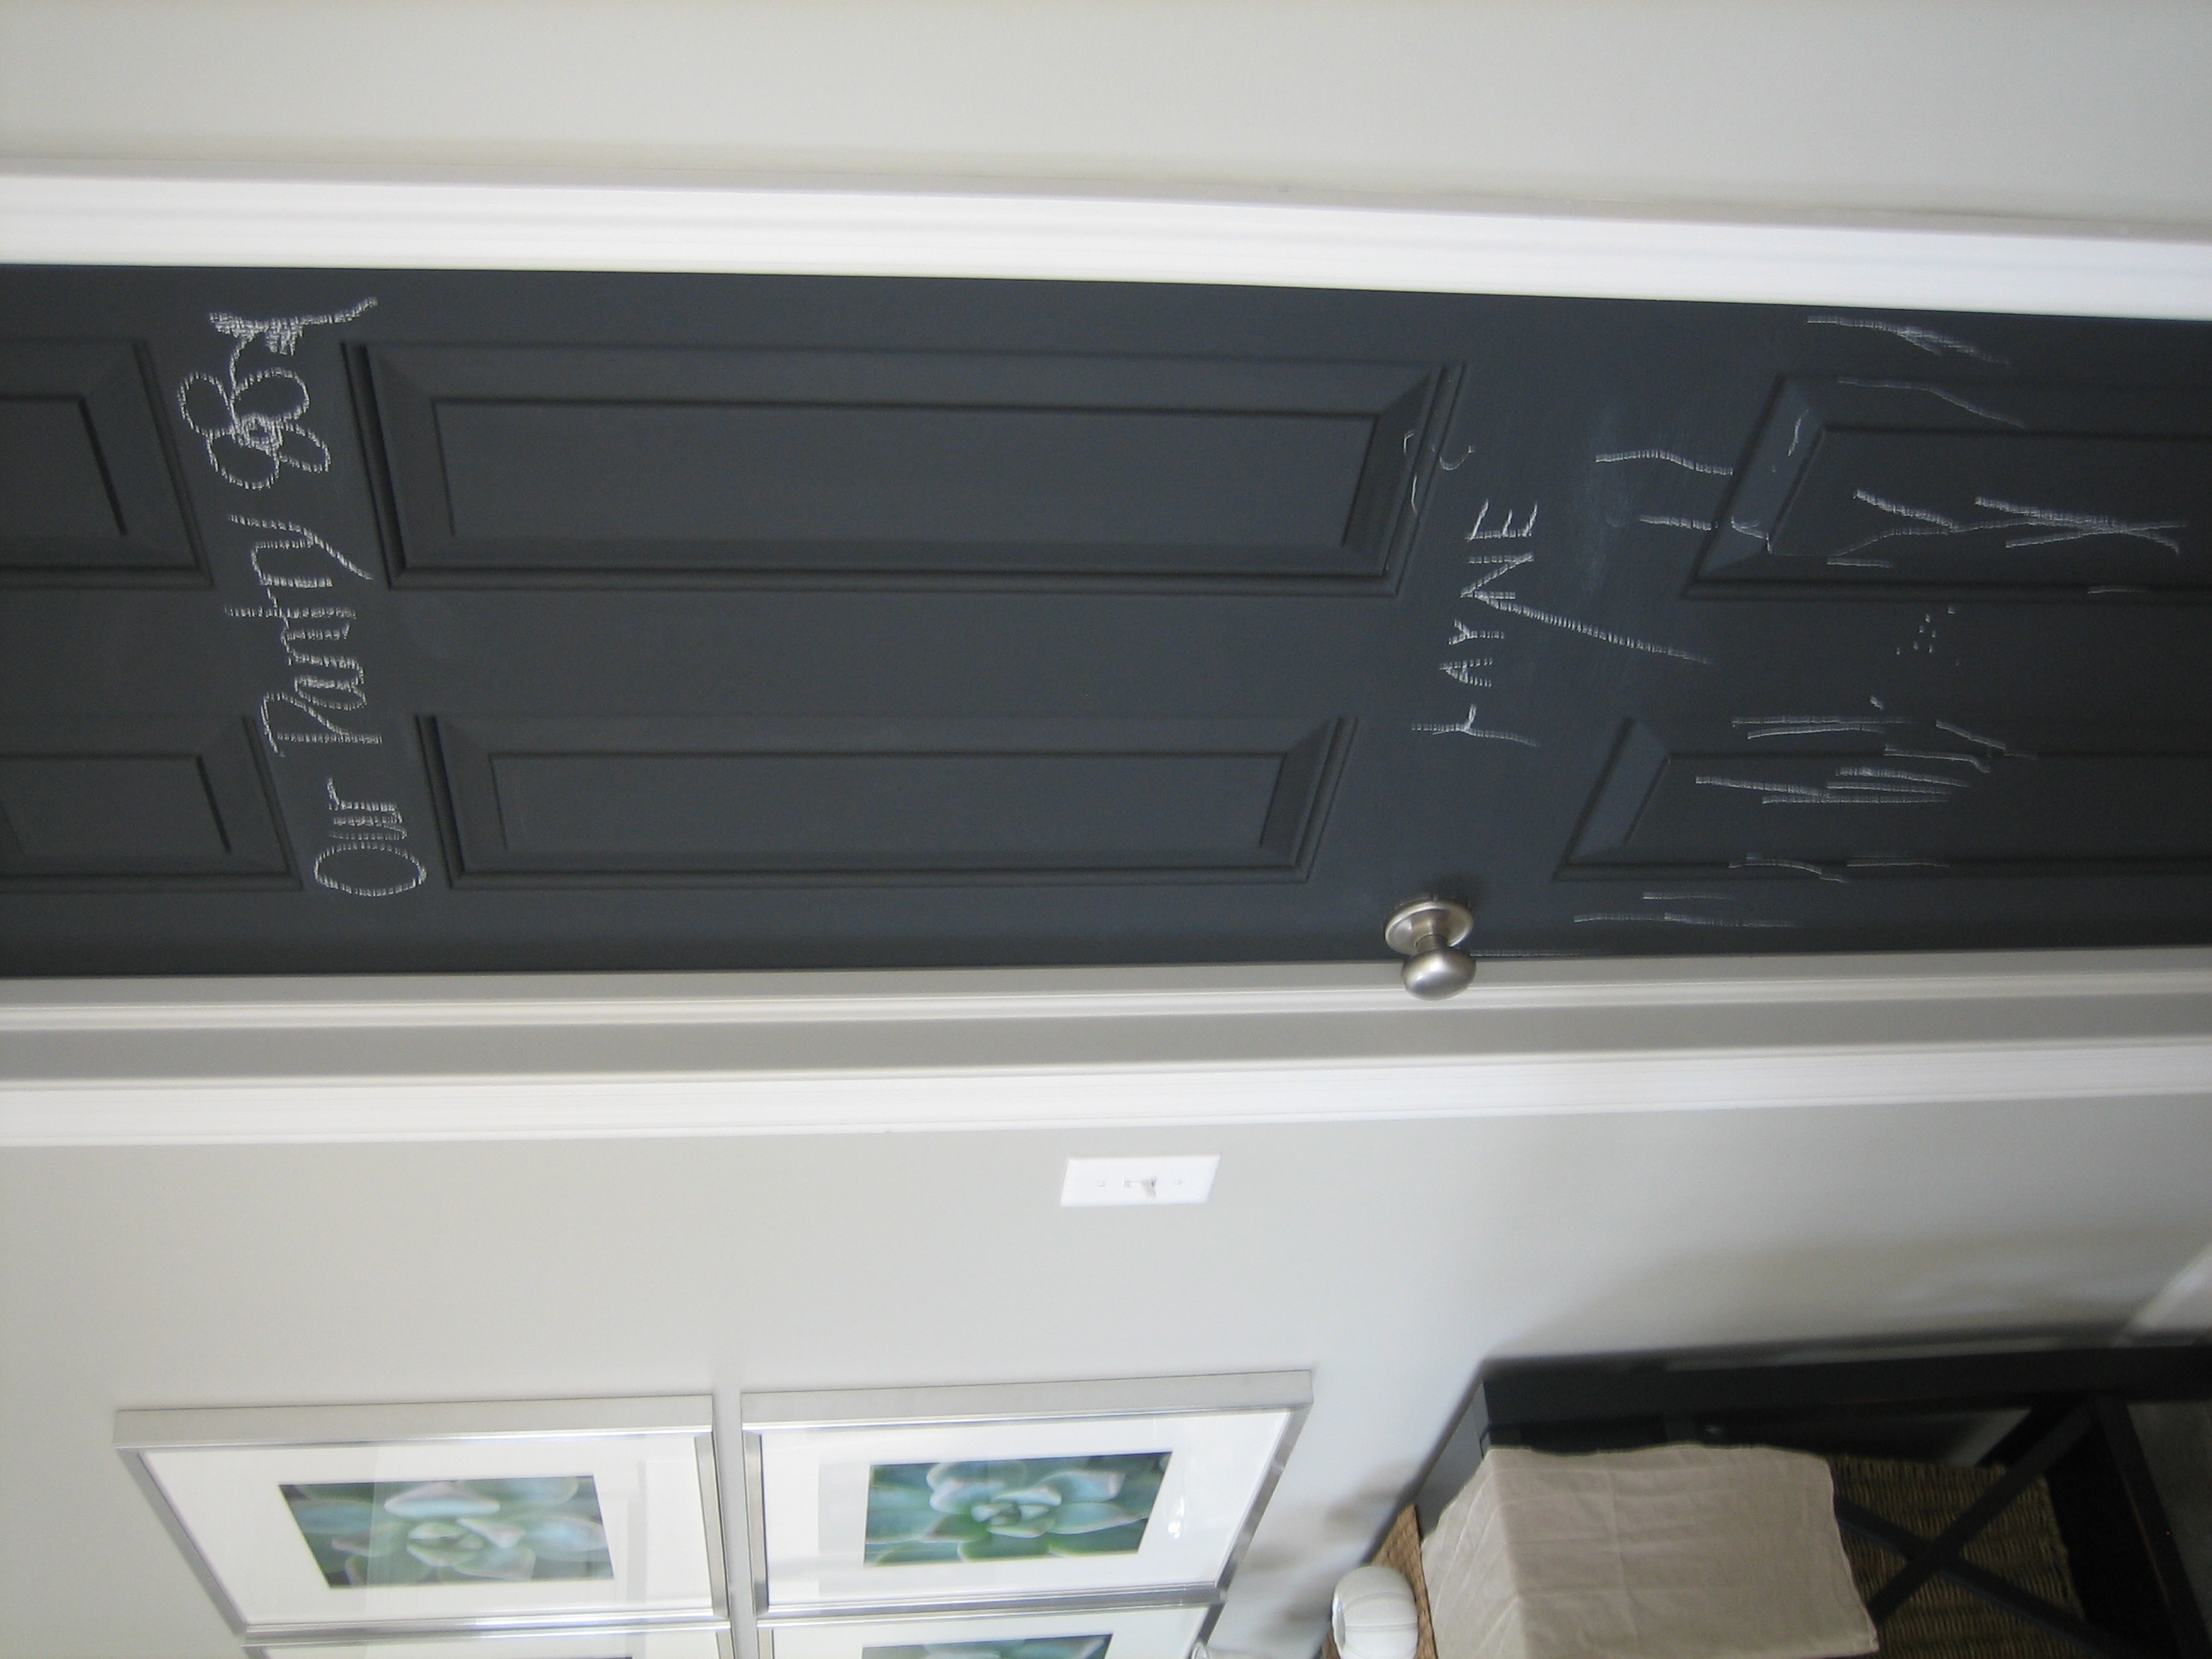
We have a nice sliver of wall to the right of our fridge that I thought would fit the bill for chalkboard paint. Plus, in black, it could give the kitchen a little architectural element. Our pantry door was a qualified candidate also. I’ve always had dreams of finding an amazing old door with a glass panel for our pantry but alas that has not panned out. So, I’ll make do with what I have. Both the narrow wall and the pantry door accepted their nominations, so off to Home Depot where I picked up a can of chalkboard paint for $12.

I bought the can that already came in a black finish but, in case you’re wondering, there was a tintable version available also. Then I set to work prepping the wall and door. The wall was fairly easy. I just wiped it down with a damp cloth, let it dry and taped it off. And, yes, I did use the refrigerator as a ladder. Not the safest idea but it’s all good.

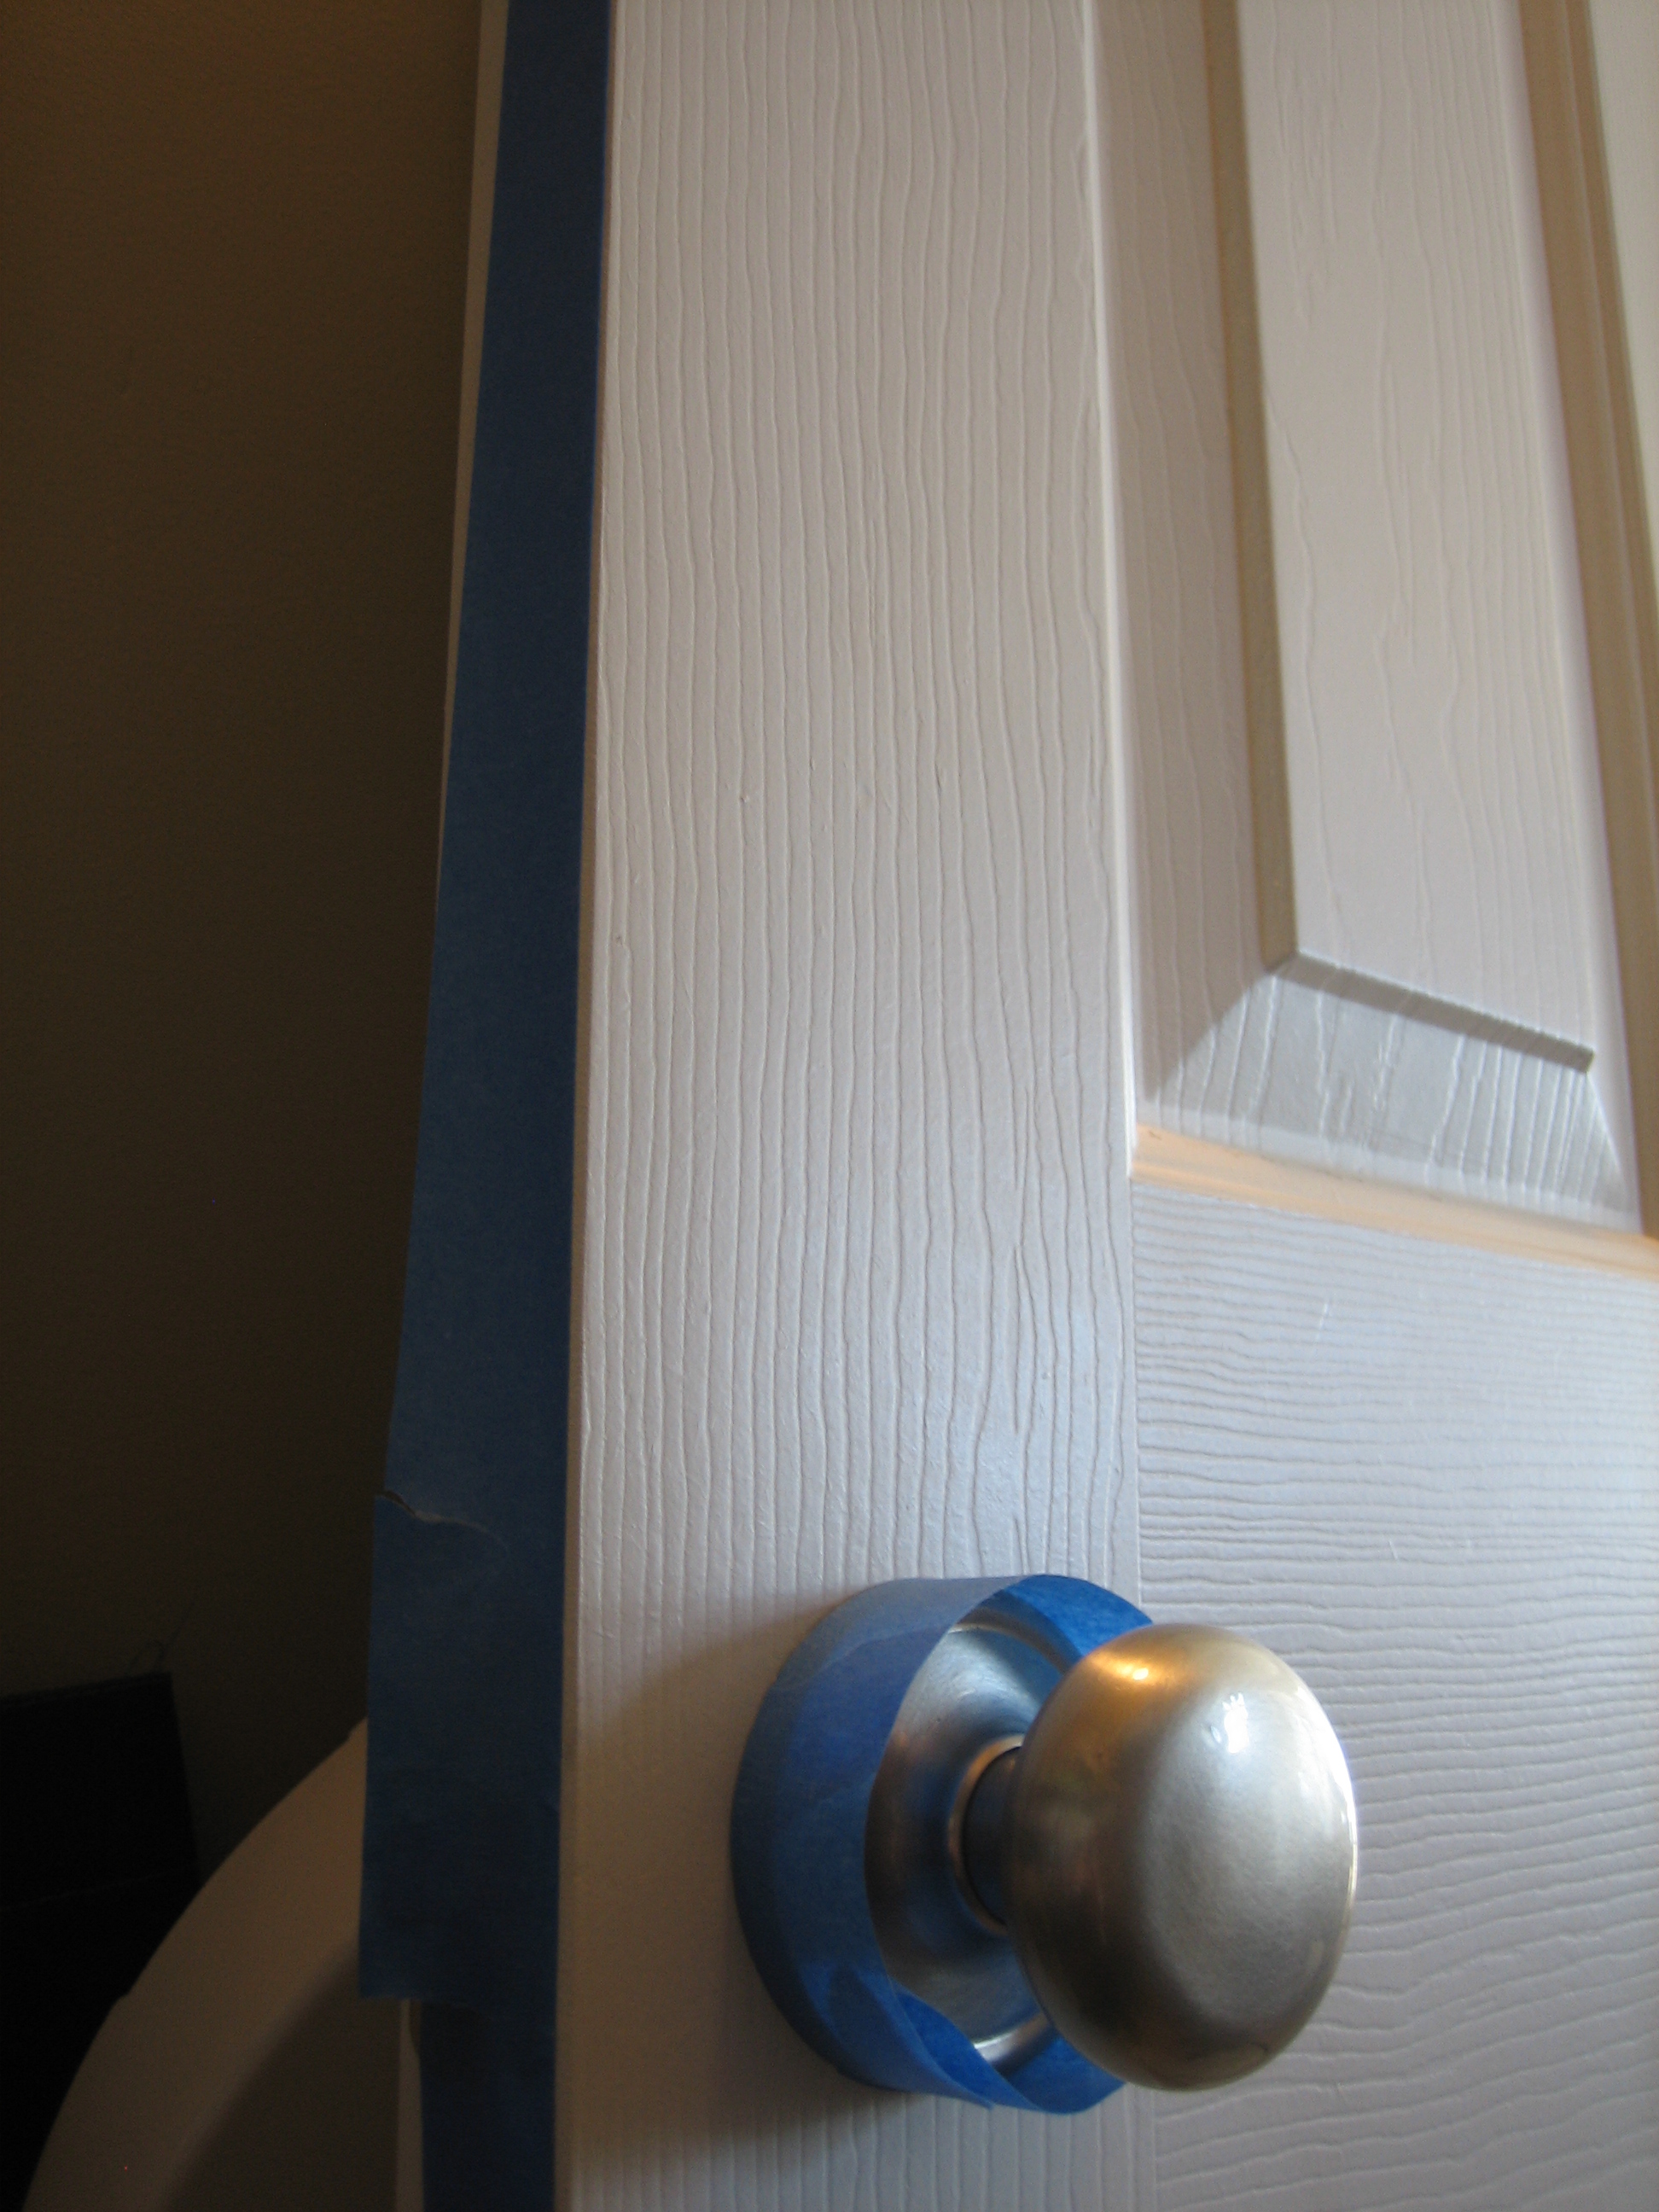
The door prep was a little more involved. I taped off the door knob and the face of the door. I decided to paint the front side only. In the whole 2 years we’ve lived in this house, I can’t remember looking at the back side of the pantry door once. (Okay, maybe once…while playing hide-and-seek.) I figured not painting the back would save me time (and money because I came close to running out of chalkboard paint as it was). And when you’re a mom, time is precious.

So, the wall was set to go. But our slick, hollow builder pantry door needed primed first. I used an oil-based primer leftover from our kitchen cabinet painting project.

After a hefty coat of primer dried on the door, it was go time. I broke out the chalkboard paint and rolled it onto the wall and door. (I used a 2″ angled brush to paint the paneling inlays on the door.) Now, this wasn’t my first time painting so I know that wet paint looks different from its dried state. However, I was scared. Chalkboard paint has a purple-ish, indigo hue to it when wet. And it looked waaaaay different than what I thought chalkboard paint should look like wet. But I swallowed my fear and went with it. Glad I did. Check out the final (dried) results after 2 coats of chalkboard paint…

I have horrible handwriting and even worse artistic skills, so until Handy Hubby contributes (he’s the gifted one) to the chalkboard wall I’ll be using it for inspirational quotes.

With this being next to the fridge, it should be easy to jot down grocery list items as they come along.


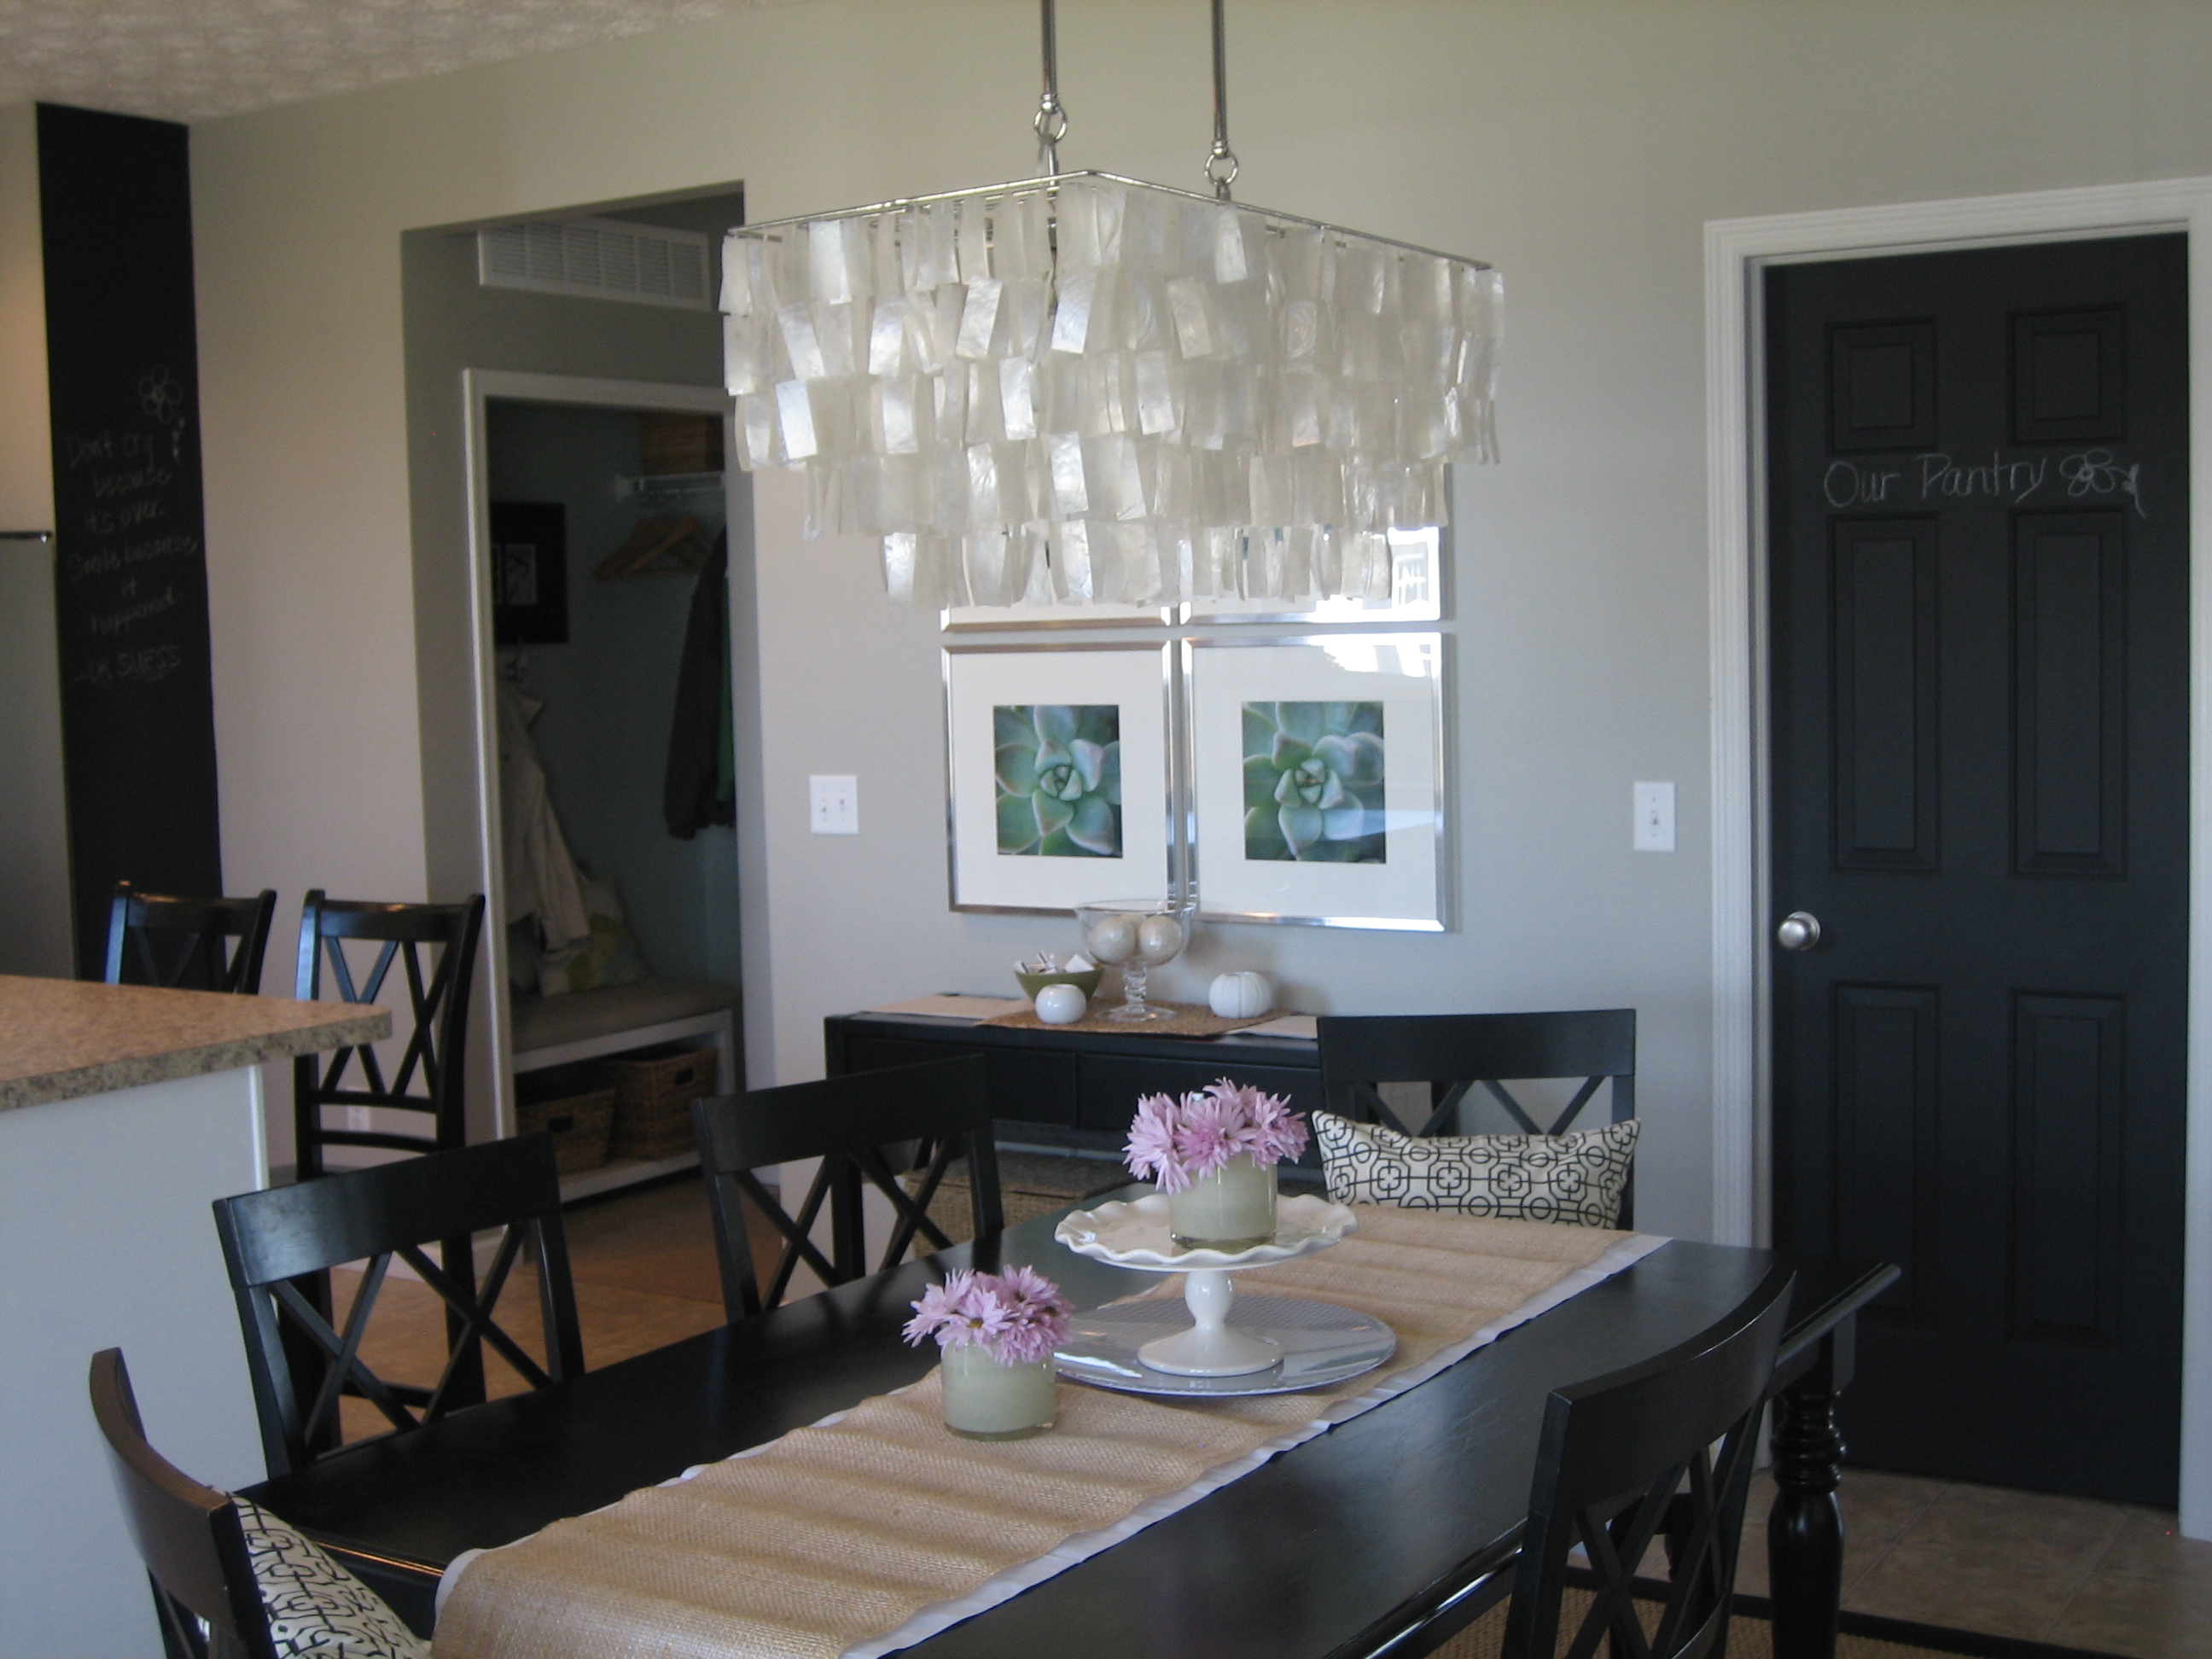
The pantry door is my fave even though it’s not the dreamy one I had envisioned. The black really ties into the dining furniture and console. I may even come up with some organized way to write out pantry items that need used up before we buy more (i.e. pasta, canned veggies, brownie mixes…brownie mixes?! Who am I kidding? I don’t need any help using those up.)

It adds some drama (not that we need anymore drama in the kitchen – Everett is good at that!) to an otherwise bland open space and kind of grounds the dining area.

Both the wall and door together in one shot…

Yes, the kiddos love it too…

Layne has been practicing his writing. Specifically, he’s been practicing “To Layne, Kisses.” Wonder if he’s been getting notes from little girls at school?

Everett, on the other hand, is quite the Master Grass Blade Artist. Note all the little lines on the bottom of the door.

Am I worried about chalk dust? Nope. Contrary to popular belief, I’m not so much of a clean freak as a neat freak. Of course, chalk dust is going to appear. I plan on wiping it up with a damp cloth every couple of days or so. Someday I’m probably going to wish someone little was at my house to make a chalk dust mess…I hope I can remember that. I do have one rule though: only white chalk! I read a bunch about colored chalk being more difficult to wipe off and clean up, so as far as my boys know, colored chalk only works on the sidewalk. (I know, I’m evil.)
So, there it is. Nothing fancy-shmancy. Just a $12 can of chalkboard paint and a box of chalk.


budget decor, DIY, kid-friendly