...because home doesn't happen overnight.

This is how our kitchen island has looked for the last 3 years. 
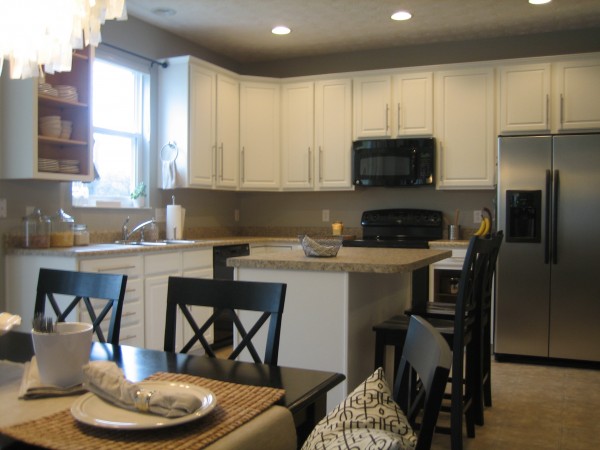
Even though we upgraded our builder laminate countertops along the perimeter, the island sat untouched. 
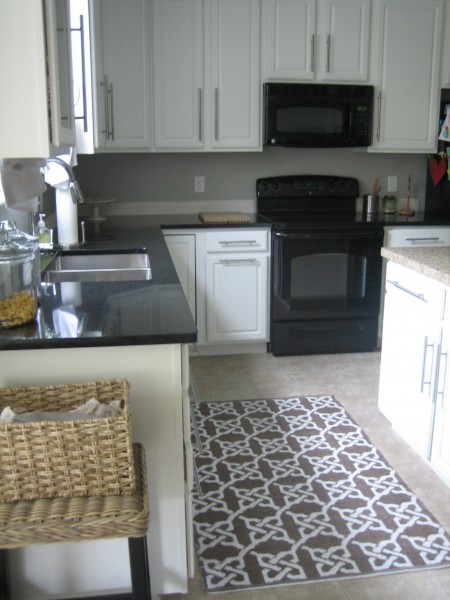
Over the course of the summer (in between vacations, Kindergarten preparations, swim lessons, soccer practices…and not to mention 2 ‘real’ jobs), we sporadically worked at bringing the island up to par with the rest of the kitchen.  I wanted something a little more substantial with open shelving and a butcher block countertop.  Like this…minus the TV…

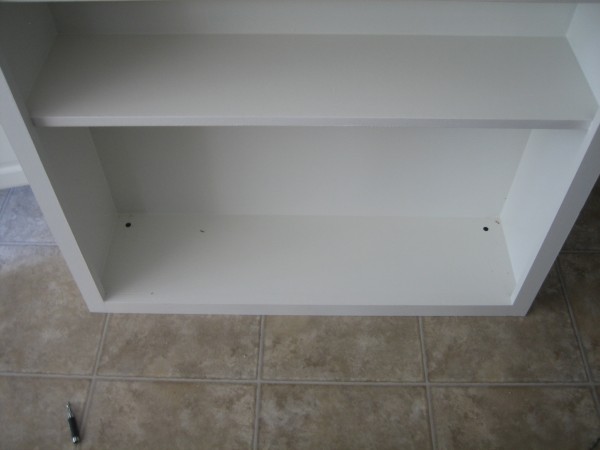
Thanks to Handy Hubby and his generous woodworking friend, I scored a handmade extension for the island.  It only took them a few hours, $30 and a large pizza to finish the job.  Then the 9″ island extension sat in our basement awaiting caulk, primer and paint before being installed.  Handy Hubby caulked the seams a few weeks ago…
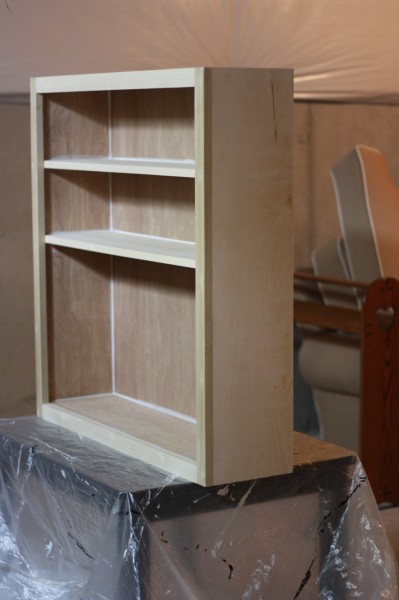
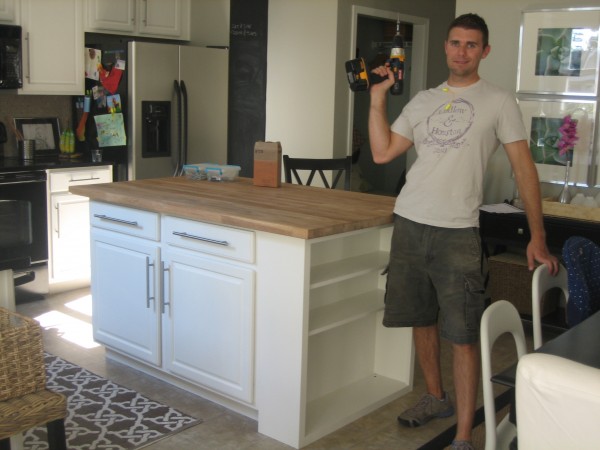
 …and I finally got around to priming and painting the darn thing last week.  I picked up a slab of  IKEA’s Numerar oak butcher block.  And by ‘picked up’ I mean I dragged my 2 lil’ guys to the Swedish superstore, artfully rearranged all the car seats in the Trailblazer, guilted some big-boned stranger lady into helping me lift the heavy wood slab and somehow managed to slide it across the tops of all the seats’ headrests.  (IKEA may be the reason why I drive an SUV.)  Which means last weekend Handy Hubby installed the extension AND countertop onto our builder grade kitchen island.  Man, I love that man.  Here’s what he did:

Removed the island drawers…
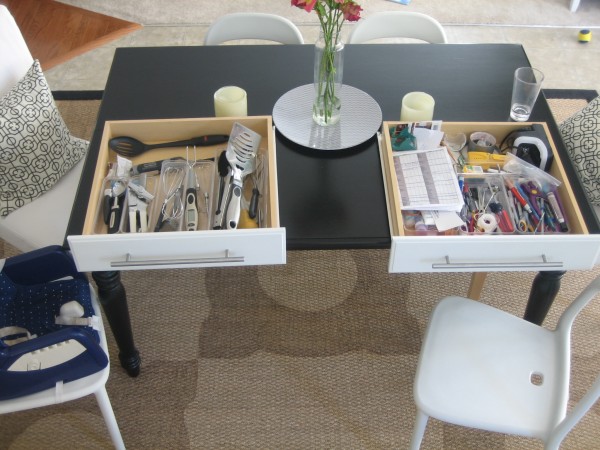
Removed the builder grade laminate countertop…

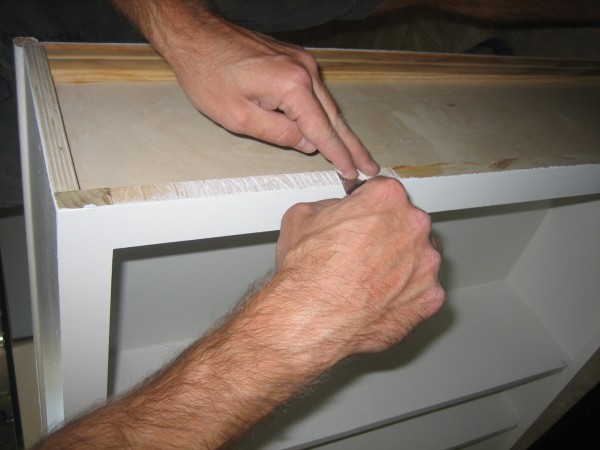
Scraped off some random dried paint drips from the bottom of the extension (I’m not a professional painter)…
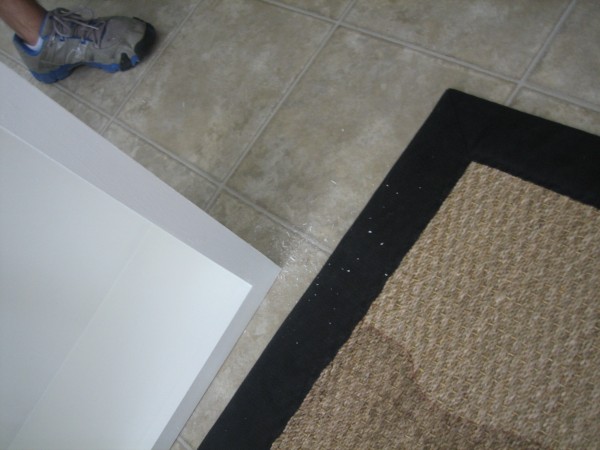
Placed the open shelving extension…
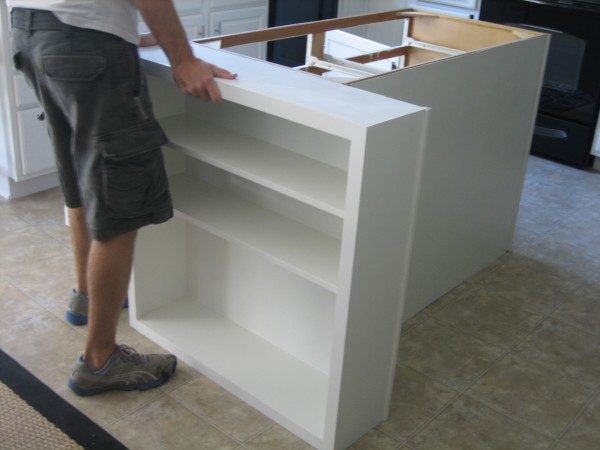
Clamped it to the existing island…
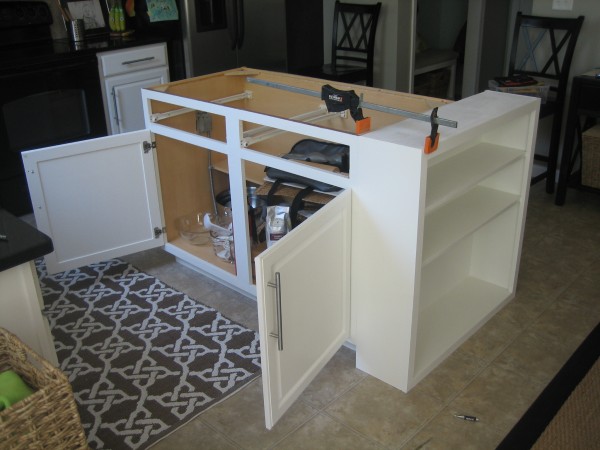
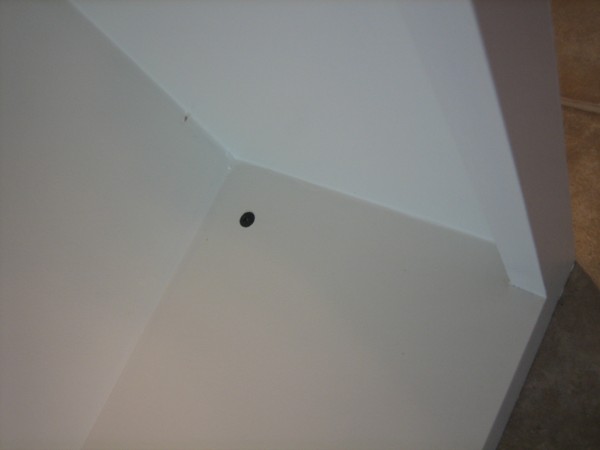
Pre-drilled holes and screwed the extension into the existing island frame and into the floor…

Once the island was secure and checked for level height all the way around, Handy Hubby laid the butcher block on top of the island.
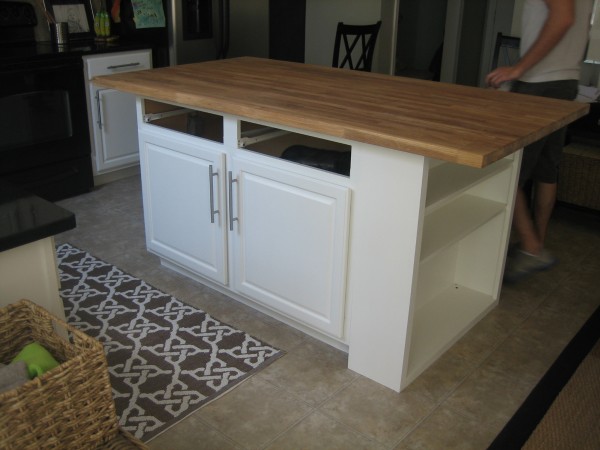
Luckily, the width was just right but the overhang was a bit much lengthwise.  It was about 10″ too long as-is, so out came the circular saw.
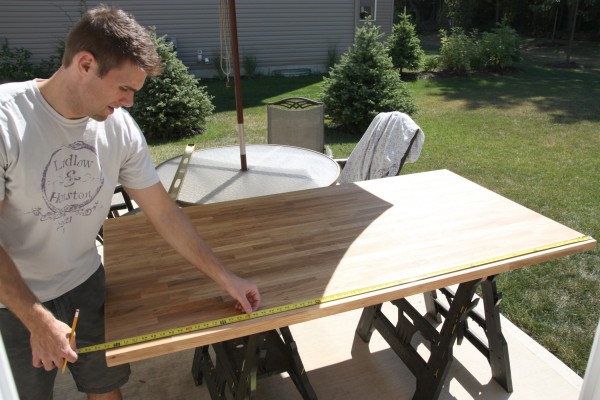
Once the countertop was cut to size, Handy Hubby sanded it then screwed it onto the island and added trim along the back side of the extension where the island meets to hide a seam…

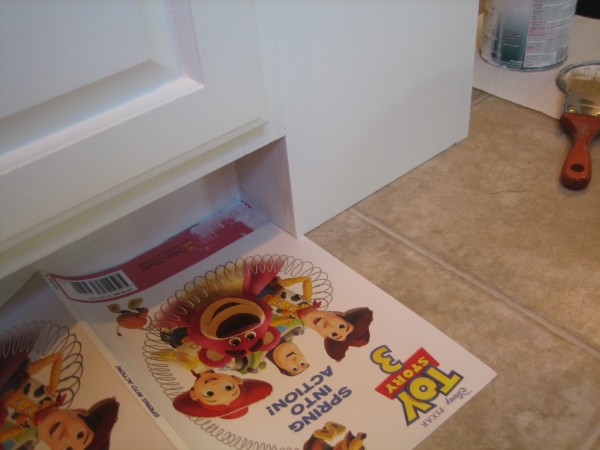
I primed and painted the trim, screw holes and a corner piece that I missed the first time I painted the extension before it was put in place.  (When the task of finding and applying painter’s tape to the floor loomed ominously, I went with the old standby…one of my kids’ coloring books.)
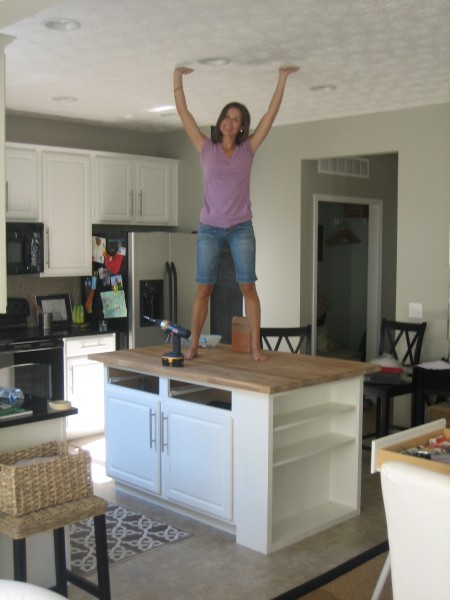
And after all that, we finally have ourselves a larger, less builder-ish kitchen island!  Yippee!!
To obtain a near *waterproof* surface, I’ve been applying mineral oil in quantities larger than Betty White has ever dreamed of.  (That’s a little pharmacist humor.)
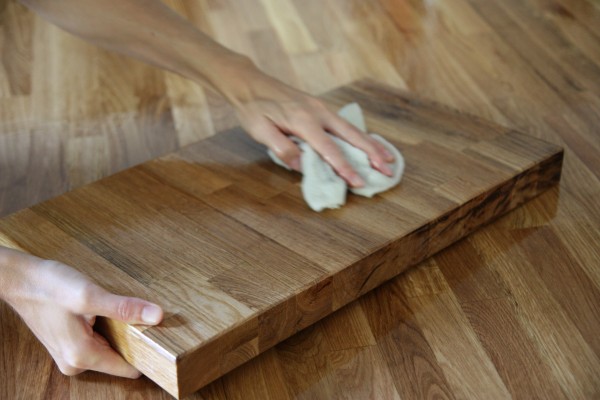
(My left hand kinda looks like E.T.’s??!)  The 10″ section of butcher block that we cut off got cut in half and sanded to make 2 custom cutting boards.  We like that we were able to use every last piece of the butcher block.  Some may find it ironic that we painted our oak cabinets white and then added an oak countertop to our island.  In fact, the oak stain of our builder cabinets was so awful that the doors didn’t match the frame and many of the doors didn’t even match each other…and they were all very orange.  Plus, 2 walls of oak cabinets was just too much for us.  The more natural wood tone of the butcher block is the small dose of warmth that we were looking for in an otherwise all white kitchen.  We’re absolutely in love with it and the price tag.  Our island upgrade came in under $250!

Check back to see the final product in its surroundings tomorrow!

33 Comments

02.September.2010

Where’d you get the rug in front of your kitchen sink! I love it. The whole kitchen looks great. Very bright.

02.September.2010

Love this! The finished result looks incredibly professional and you are so right that this tone of oak is just fine! I suffered from the same wall of orange oak cabinets (now painted white). Can’t wait to see how you dress it all up!

02.September.2010

Looks awesome. Bailey asked why you were on top of the countertop. HaHa!!

02.September.2010

The island looks really good! I love the countertop!

Gah! It looks amazing! I never would have thought to just add a “bookshelf” and a new countertop! Makes me wish I had a kitchen big enough for an island. lol

02.September.2010

Andie – You aren’t the first to ask about my kitchen rug. I got it from Ballard Designs and wrote a more detailed post about it here:

https://www.housetweaking.com/2010/06/06/you-asked-for-it/

We absolutely love it! Hope that’s the answer you were looking for.

02.September.2010

Tricia – So did you tell Bailey it’s because I’m Queen of the Island? Hehe.

Very nice job. I love how you used a combination of pre-fabricated and custom built. First time visitor here and I’ll be returning. If you folks ever want to write a guest post on our site just let me know. Good luck!

02.September.2010

Wow, that’s awesome! How creative you guys are, the island turned out beautifully! Extra storage, more countertop space…perfect!

02.September.2010

Great work! It has really warmed up your kitchen. Do you have any plans for a centerpiece on top? So many possibilities! Keep the photos coming, I love your thrifty ideas!

02.September.2010

Shayna – I whipped up a FREE centerpiece for the island today. I’ll be sharing it tomorrow so be sure to peek in.

03.September.2010

well done, as usual! have you thought of adding an updated (pendant?) light above the new spiffed-up island? there are pendants you can use in place of recessed lighting (to avoid a call to the electrician!)

Love seeing the transformation. Great to have such a handy hubby too. Popping over from our e-course to say hello and browse all the great new blogs and sites.

See you in class. Have a great weekend in your new kitchen.

Fellow BYWer, Lisa

03.September.2010

Carole – Why, yes, you read my mind! I would love to add a pendant (or 2!) above the island. Not in a huge hurry, but it’s definitely in the future.

03.September.2010

Lisa – Thanks! Look forward to talking more with you…

[…] revealed our tweaked out kitchen island recently.  We added on an open shelving unit, painted it all white and replaced the builder […]

[…] IKEA Numerar butcher block slab that we used for our kitchen island was about 10″ too long for what we needed.  Handy Hubby cut it to size and in the end we […]

[…] other news, my DIY kitchen island upgrade was featured on Home Construction Improvement today.  (It’s been a busy week of P.R. around […]

09.September.2011

Love your creativity and design aesthetic, Dana! I’d love to add an island to our kitchen but wondering about sizing/scale. I’m curious, what are the dimensions of your kitchen island (before and after)? It appears the original version of the island was a 36″ base cabinet – is that correct?

24.January.2012

Did you stain the butcher block or is that just the mineral wax coat?

25.January.2012

Megan – We did not stain the butcher block just used regular ol’ mineral oil {from the laxative aisle!} to seal it and keep it maintained. It worked beautifully!

10.July.2012

I love this! We have the exact builder grade cabinets and we have been looking to replace the formica top w/ butcher block. My only question is how wide is the slab you purchased from Ikea? When I look online I have only found the width at 25 5/8″…yours looks much wider. Our current island top is right at 26″ so I’m not sure how this would work. Any ideas? Thank you!!

23.January.2013

I am also looking for a wider than 25 inch butcher block and that is all I am finding at Ikea! HELP!

23.January.2013

We purchased the island depth butcher block then cut it down to the length we needed for our island. Here’s the link. Looks like it is a little over 39″ deep.

29.January.2013

i love the work you did!! and am totally going to try this!! do you know how much space is recommended to leave surrounding the island? (just so i know how big i can make the actual island without being too cramped…) thanks! and again- gorgeous!!

06.October.2013

Did you buy Beech or Birch? Is one better than the other?

07.October.2013

Ours was oak.

[…] kitchen island upgrade (via housetweaking) […]

[…] Upgraded kitchen island: If your small kitchen island feels a little anemic, update the counter top and add a shelf for an […]

21.July.2015

That turned out AWESOME. I’m clicking on your links to the butcher block top and it wants to take me to the home page. Would you mind copying/pasting the link into a reply for me, please? Also, is this piece solid? The ones I did find on the site appeared to have particle board in them and I was worried I wouldn’t be able to cut it down to fit my piece. Thank you! :)

21.July.2015

Unfortunately, Ikea has stopped selling the Numerar oak:( I’m not up to date on the current wood countertop selections but, you’re right, particle board probably wouldn’t work here.

07.January.2016

I am about to do the same thing to my island. I am using a butcher block table it bought off Craigslist for $100. Already stained dark. It’s solid wood. Just taking off legs that are screwed into it. Fits perfect! Lucky me.

24.July.2016

This looks awesome. I’m in the home buying process and noticed an island that was rather small for the kitchen. This is a great way to make adjustments.