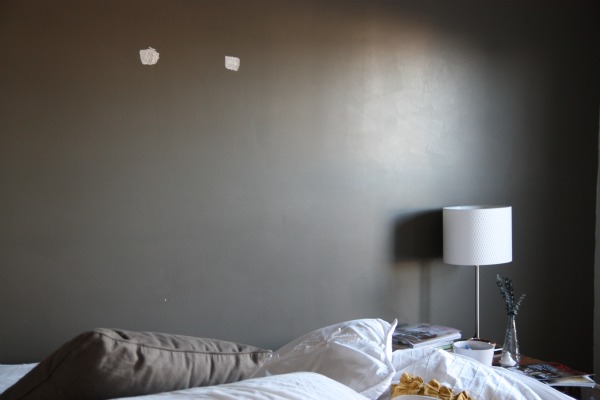
Since we’ve moved the placement of our bed in the master bedroom {see the old/new floor plans here}, I’m giving the wall of windows new curtain rods and panels. I’m thinking cozy linen flowing from a chunky black rod hung at ceiling height. But before I can start on any decorating, I’ve got a few holes to patch. Few = 17!!!! Why? Because the old curtain rods I used were way too short {only a few inches wider than the windows themselves} and hung way too low {only a few inches from the top of the windows}. Live and learn. The new furniture arrangement has meant taking down a couple of frames from the walls, too. One frame previously hung above a chest of drawers on the now bed wall. Goods news = no more chest of drawers, I got Handy Hubby to purge his stuff and fit it all into our closet. Then we sold the dresser via Craigslist today. Bad news = holes above our bed. Nothing a little spackle can’t handle.
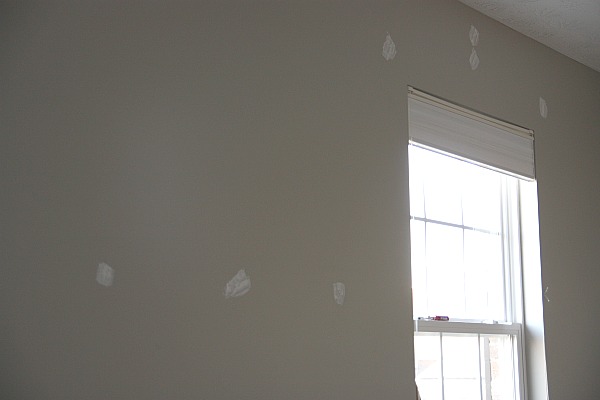
Pardon the unmade bed. My lil’ guys decided to romp around in the pillows while I spackled. And since it was already 4:00 p.m. by the time I finished removing all the old curtain hardware and sanding/filling the holes, I figured, “What the heck? We’re closer to bedtime now anyway.” I’ve yet to hang the custom headboard. Here’s the window wall in all its pock-marked glory.
That’s just half of the wall. Yup, I have some touch-up painting to do! I’ve been perusing thrift, antique and online stores for the perfect mirror to hang between the 2 windows. I wanted something with an interesting shape. Up until today, everything I’d found was way too pricey. I managed to squeeze in a quick trip to one of my favorite outlets {Ballard Designs} this morning and found just what I was looking for. Not only was it marked down just because it was an outlet piece, but all wall decor was an extra 30% off! Sweet.
I love the geometric shape and the way the dark metal frame contrasts with the lighter capiz tiles. I’m itching to get it up on the wall, but in the meantime I’ll be waiting for my spackle to dry, sanding, re-spackling, waiting some more, re-sanding and painting. Pretty monotonous stuff. Looks like I’ll have a dusty bedroom for another few days.
images: all Dana Miller for House*Tweaking


budget decor, DIY