Previously, on House*Tweaking…
…the ledger and beam installation. Then it was time for joists – the supports that run perpendicular to the ledger and beam. According to Trex’s deck designer tool {you can view our original plans and design here}, our joists required 12″ spacing. If you’re a decking rookie {like me}, the joists are part of the framing that provide support and give the deck boards something to tie into. Now you know.
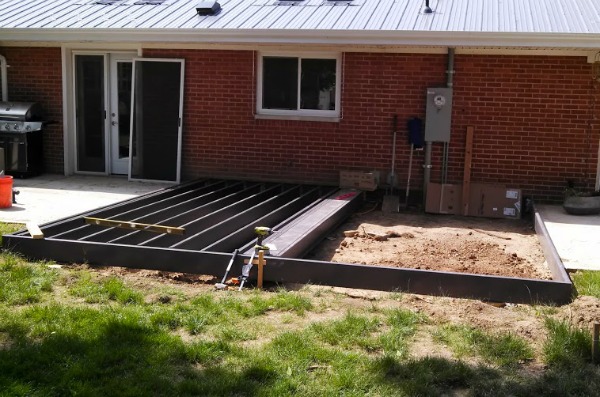
HH marked the proper spacing on the ledger and beam then attached each joist to the ledger and beam with Simpson ties and self tapping screws.
If you recall, our deck will be a low platform with a picture frame detail. In the center of the frame, HH installed one joist parallel to the ground so that the center breaker boards of the deck’s picture frame would have something to tie into.
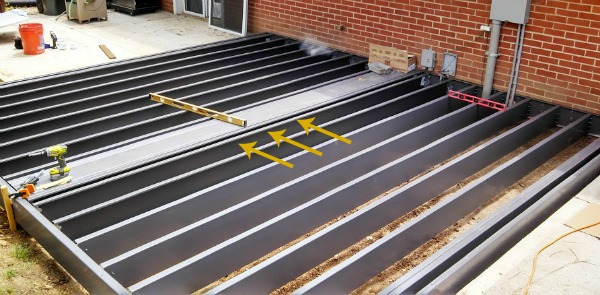
A zoomed out view of the joists in place and our disaster of a backyard. I can’t wait until this part of the yard is usable again!

With the joists in place, HH added smaller steel supports between each joist. This deck isn’t going anywhere. Seriously, when this deck is done we could have an elephant party on it if we wanted to. Anyhow, each of those smaller supports had to be custom cut. Measuring for the supports was tricky because even though the longer joists are super strong they are flexible and have some give to them. So HH had to measure and re-measure {and measure again!} the spacing between the joists being careful not to push the joists one way or the other. This was the most tedious step of the deck build. But it’s an important one! These little supports stabilize the framing for a rigid and sturdy end result. No swaying decks in the backyard, please.
After each support was custom cut, HH screwed it into the neighboring joists with Simpson ties. That completed the deck framing build! The Trex elevations steel framing is ideal for our low-lying deck. Conventional lumber can rot and warp if it comes in contact with the ground. Have we mentioned that we’re super excited about having a completely maintenance-free deck?!
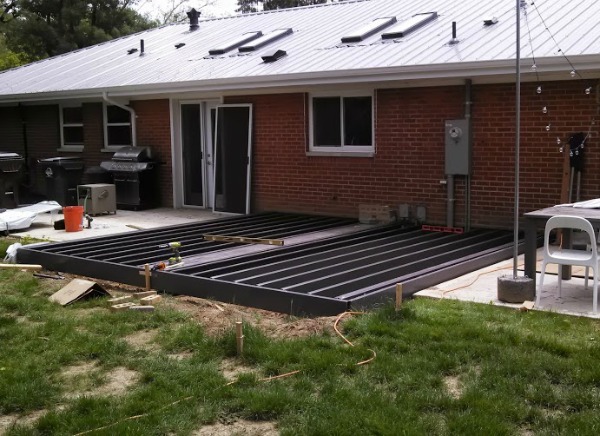
If coverage of this DIY deck build seems broken up and long, then you are getting the real life experience. Ha! HH works long hours, travels a lot for business and our summer weekends are chock full of other stuff. Oh, and we have three kids that, as much as we had hoped, weren’t born with innate deck building skills. That means deck work happens in short intervals mostly in the evenings when it is NOT RAINING.
Next up…deck boards and hidden fasteners. Thrilling!
We have partnered with Trex to build our deck. They have provided us with some of the materials for the build but all other materials, designs, labor, injuries, flubs, four-letter exclamations, opinions and reaping of the benefits {i.e. chillaxing with beverages on our new deck} are all ours.
images: Dana Miller for House*Tweaking


DIY