UPDATE: Sometimes when I write blog posts I have a hard time remembering what details I have and have not posted. In regards to this project, I failed to mention that the bottom plank of the tongue and groove TV wall is removable, purposefully. We won’t be removing it on a regular basis but it will allow us to remove the TV from the wall should it need repaired / replaced. If another TV were to be installed, we would only have to mess with the shorter planks framing the actual TV. So, this isn’t a completely permanent setup for those of you who worried about TV failure in the future. Hope that makes sense! Thanks for asking questions and keeping me honest.
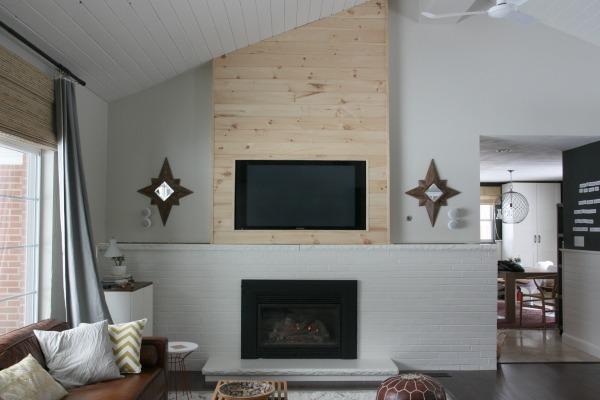
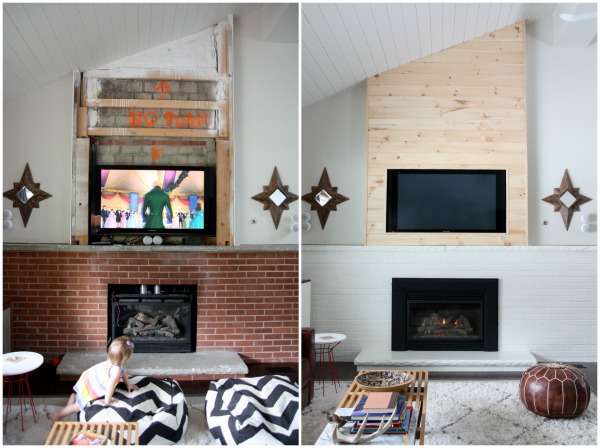
The horizontal planking around the TV is finished! After running out of tongue and groove mid-project, we were able to make a quick trip to Home Emporium over the Thanksgiving holiday to pick up more. While I was out running errands with the kids this past weekend, HH installed the rest of the tongue and groove and added trim.
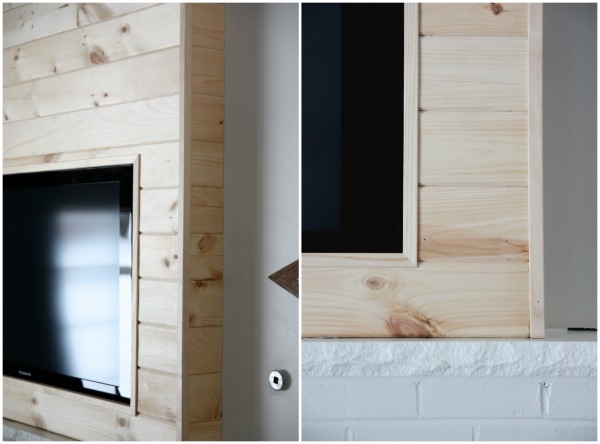
For consistency, we used the same corner trim that we have in the mudroom. It covers the outside corners of the wall and also frames out the TV. We’re happy with our decision to wrap the tongue and groove around the sides of the wall.
The planked wall covers the remote sensor on the TV. In order to power the TV on / off, we use an RF {radio frequency} receiver in the media cabinet along with an IR {infrared} transmitter on the TV. It’s too technical for my non-engineer brain but if you have questions about the specifics of our setup, you can leave them in the comments section and HH will answer them. He’s the brains behind this operation.
Next up is priming and painting.
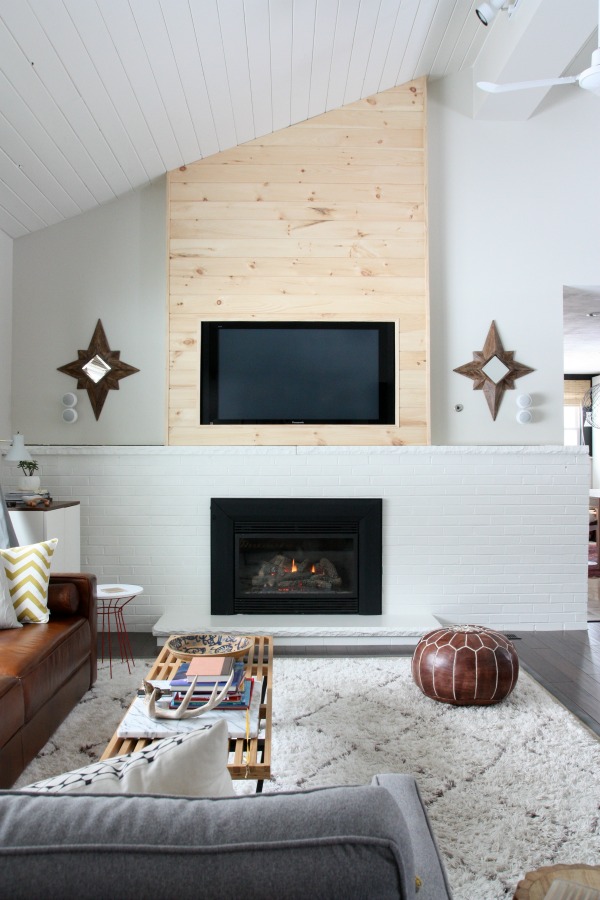
Sorry in advance to everyone on Team Leave It and Team Stain It. Painting tongue and groove is definitely a personal choice. Our hope is to make the fireplace surround and planked bump-out read as one large architectural element by painting them the same color. If the entire wall feels flat or cold with all that white, we’ve already tossed around ideas for painting the drywall a darker hue for contrast or adding a textured wall covering. I’ll let you know how it plays out but we’ll probably live with it light and bright for a while before making any concrete decisions.
So back to priming and painting…we’ll be using the same Zinsser B-I-N shellac base primer that we used on the tongue and groove ceiling to seal the knots. Then a few coats of Benjamin Moore white dove mixed in Clark + Kensington’s primer + paint {the same I used to paint the brick} will follow.
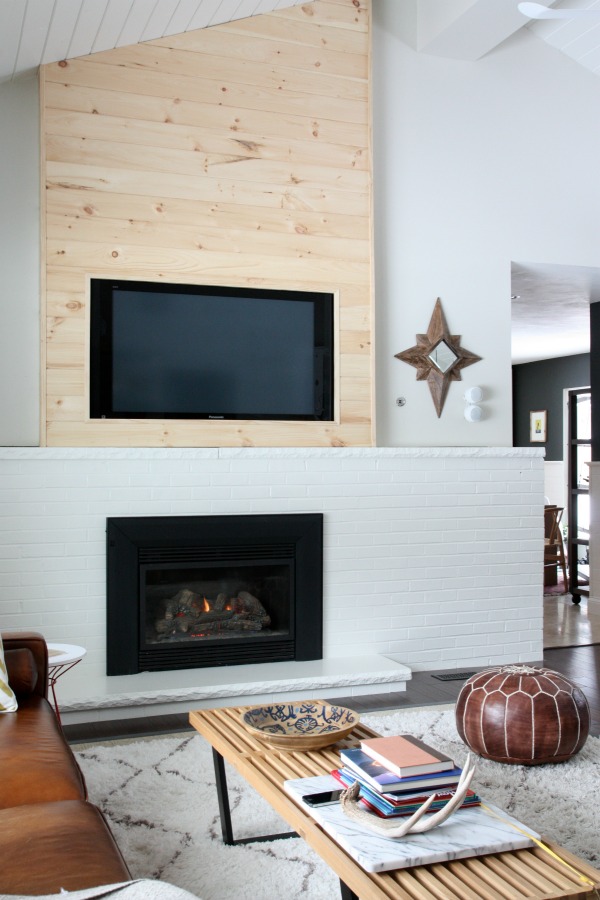
And we need a Christmas tree next to the hearth!
Still, it’s definitely an improvement compared to the stained red brick and exposed block wall that we lived with for over a year.
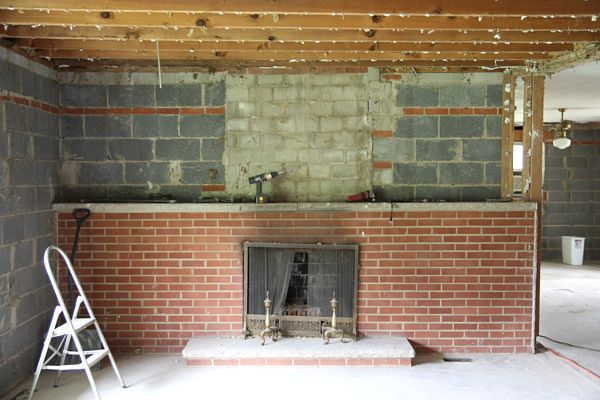
And that’s where we were a little over two years ago! It’s been a long time comin’.
images: Dana Miller for House*Tweaking


budget decor, DIY, renovation