The bathroom floor has grout! The grouting process went smoothly and was a welcome “easy” step after the tiling fiasco. Steve says he would install tile all day long if the only thing involved was grouting.
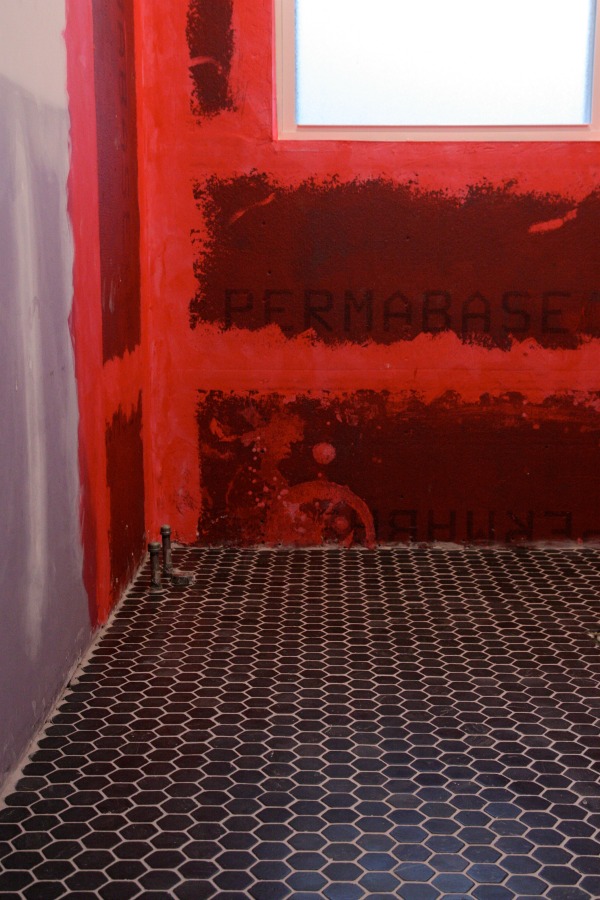
I took some pictures to share with you. They’re under artificial lighting because it’s (big surprise) extremely dark and gloomy here today. We’re going to DIY a boat soon. KIDDING. I thought about waiting to shoot on a sunny day but I couldn’t! Still, these images are pretty spot-on for what the floor looks like in real life. It has some variation and variegation which gives it a natural, organic vibe. Just try to imagine white subway tile on the walls instead of that garish pink-red and be aware that almost everything has a pinkish / purplish tint to it from said walls.

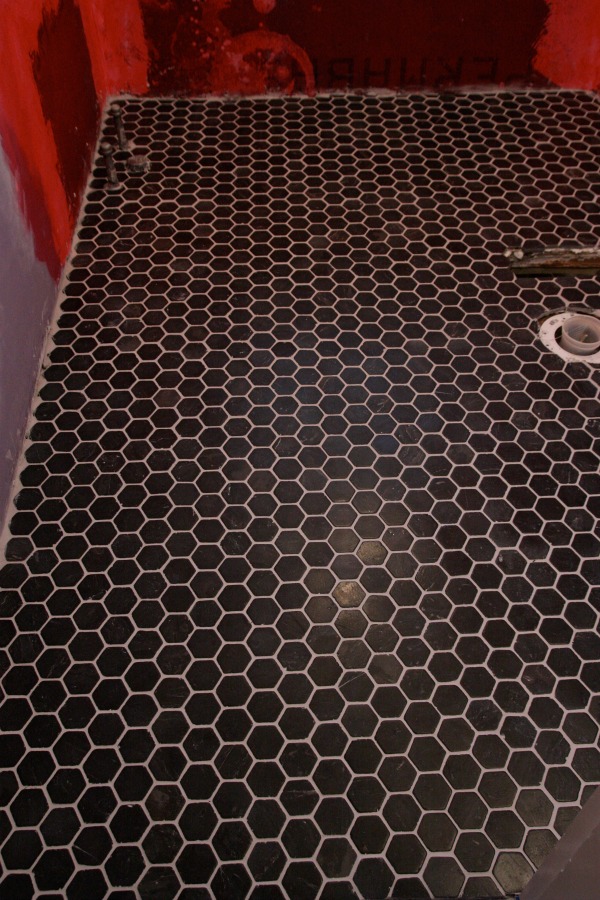
That’s the view from the hall looking in at the bathroom floor. The plumbing fixtures on the floor (left-hand side of this image) are for a claw foot tub. The rectangular hole is a heating / cooling register and you can see the toilet drain.
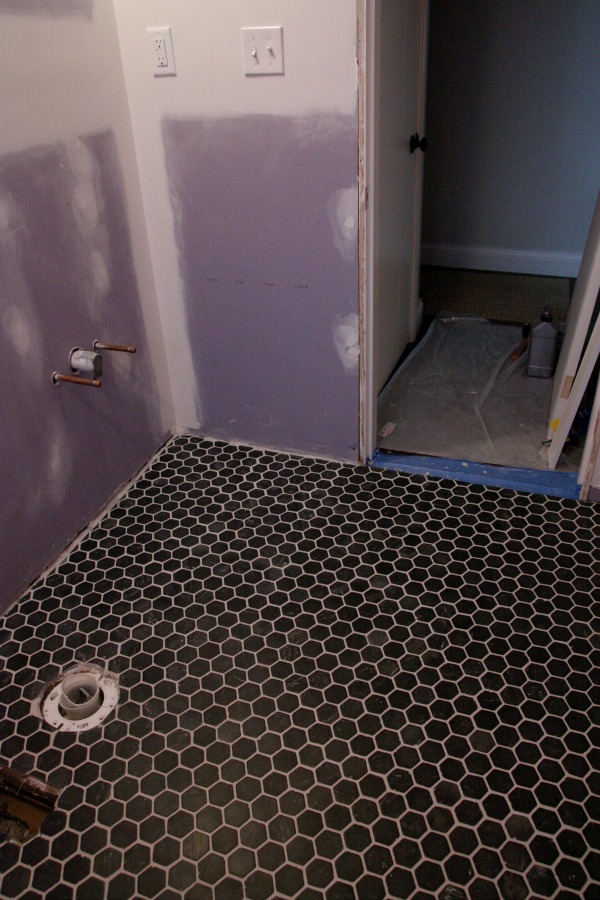
And that’s the view looking back towards the hall. The plumbing fixtures on the wall are for the sink vanity. As you can see, there is a short hall that juts off from the main hallway and leads to a linen closet and this kid / guest bathroom. The door to the bathroom has been leaning against the wall waiting to be hung for over a year!
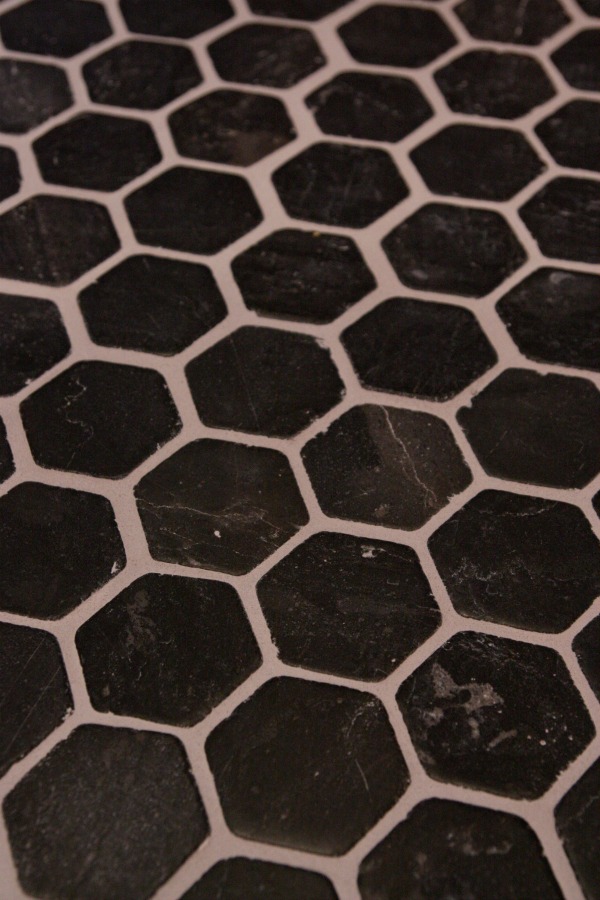
This close-up shows the little imperfections in each tile. They look old and worn. I think they’re beautiful.
I’m not going to go into great detail about the grouting. There are enough resources out there on the inter webs and I don’t think I’d be saying anything that hasn’t been said already. A few things about our grout though…
Steve and I were at odds when it came to choosing a grout color. He was leaning towards medium to dark while I wanted something lighter to contrast with the noir hex. But I didn’t want white since I knew it wouldn’t stay white for long. So, of course, we googled a bunch of images of “black hexagon tile” for inspiration. We ended up choosing sanded grout in whisper grey. The grout lines are ~1/8″ as predetermined by the mesh sheets of tile. The tile is travertine – the same material as our mudroom / dining room floor – and requires sealing BEFORE grouting. This is a critical step which keeps the porous tile from absorbing the grout and it also helps with grout clean-up.
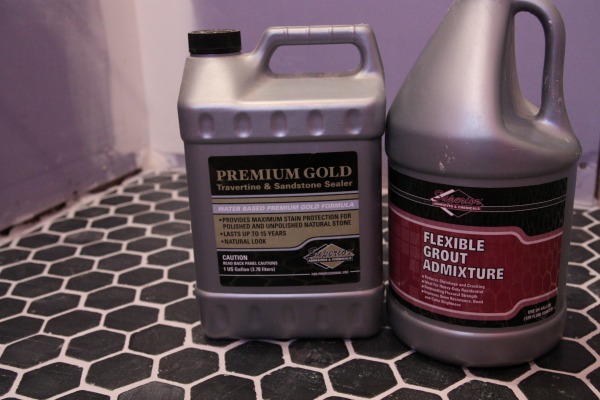
We used a sealer specifically for travertine that we had leftover from tiling the mudroom floor. Steve rolled it on with a foam roller then buffed it lightly with a terry cloth to avoid pooling. It had to dry for an hour before grouting.
Once the sealer was dry, it was grout time. Instead of mixing up the grout with water, we used a flexible grout admixture. (We’ve actually used it for most of the grout in our house but I don’t think I’ve mentioned it.) Supposedly, the admixture prevents shrinking & cracking and improves strength, bonding, color and stain resistance. Since we used this technique in our master bathroom and the grout is still going strong with no cracks or stains 2+ years in, we figured it couldn’t hurt to use it here, too.
I think the sealer did help with clean-up afterwards. We didn’t have to use a grout haze remover – just water – to clean up. It took about five rounds of sponging with a clean, wet sponge to remove the grout residue.
We still need to seal the entire floor now that the grout is in. That will probably happen this week.
Steve and I both LOVE how the black hexagon floor turned out. Yes, it was such a pain to lay and in the heat of the moment we may have questioned our choice of tile but…BUT!…we are so glad we stuck with it. The final result is just as dreamy as I had envisioned. My favorite part is that it looks old but it isn’t.
What do you think? I can’t say a black hexagon floor is something I’ve always wanted in my house. But now that it’s here I don’t know why I never thought about one before!
We partnered with The Tile Shop for the bathroom floor. They kindly gave us the tile of our choice and necessary tiling supplies. All labor, opinions, images and mishaps are our own.
images: Dana Miller for House*Tweaking


DIY, inspiration, renovation