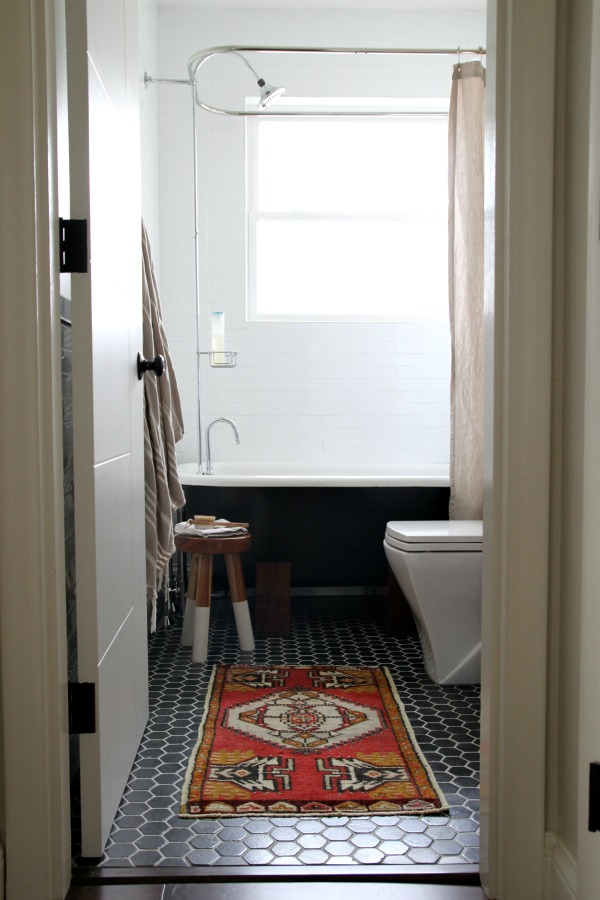
Remember when we finished the main bathroom? Yeah, that was fun. I am so grateful for that second bathroom. It’s been a game changer. There was just one teensy, weensy issue with the room. Where do we put the toilet paper? After all the work that went into making the bathroom, we didn’t have the heart cajones to drill into the subway tile or the wood vanity to hang a toilet paper holder. I tossed a few rolls in a basket under the sink and called it a day. Except Mabrey (and all of her three-year-old spunk) was having trouble reaching the basket from the toilet. #toddlerproblems
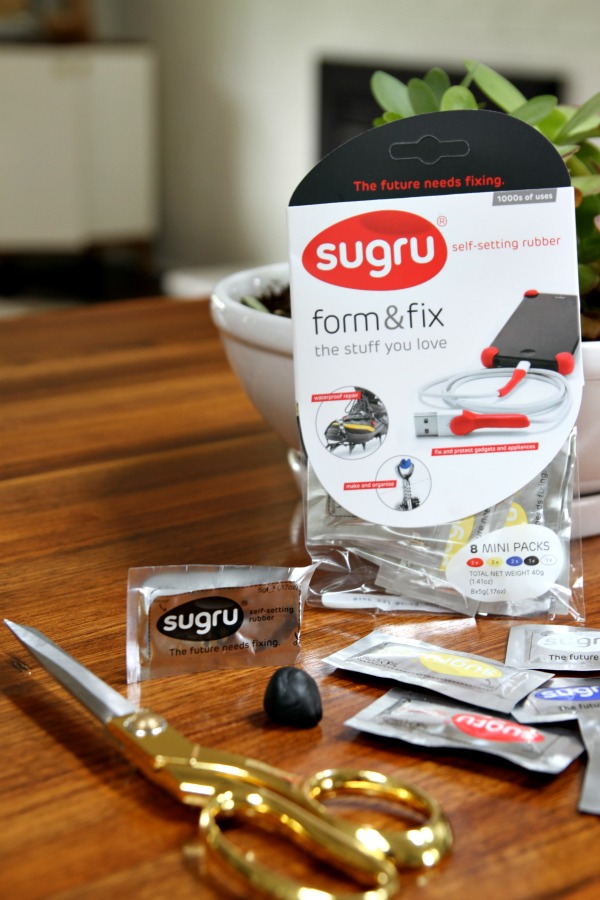
Enter Sugru. The instant I was introduced to the moldable, 3D glue, I had an a-ha! moment.
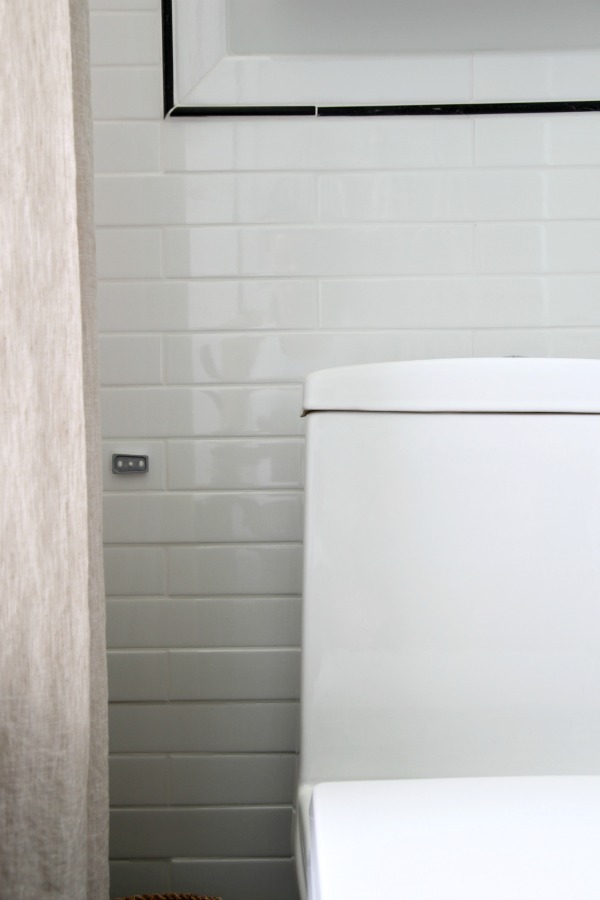
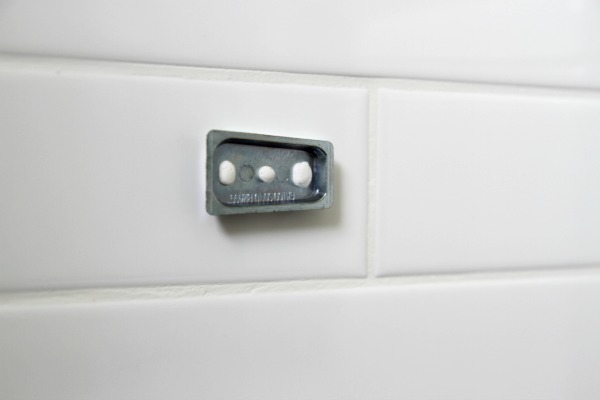
Because Sugru is waterproof and stable at high temperatures, it’s ideal for bathrooms. I used white Sugru to adhere the backplate of this toilet paper holder to the wall near the toilet. Then I waited 24 hours for the dough-like substance to harden into a strong rubber-like adhesive. In the meantime, I spray painted the holder flat black to mesh with the bathroom’s other finishes.

Once the backplate was secure, I mounted the paper holder. I took advice from my lovely friend, Belinda, and rotated the holder 90º. (Traditionally, toilet paper holders are installed horizontally.) The vertical installation keeps the paper roll from falling off so easily – especially useful if children are using the facilities! I like the way it looks, too. Simple and modern. The black picks up on other black elements (pencil liner, tub exterior, hex floor tile, etc.) in the room. I love the way it turned out but, more importantly, Mabrey can reach the toilet paper now. Should I tire of it (not likely), Sugru is removable with a little elbow grease.
After my first successful Sugru project, I started looking around the house for other potential uses.

Over a year ago, the kids knocked over my favorite lamp while horsing around in the living room. The cap that keeps the lampshade in place was cracked and I’ve been straightening the annoying thing ever since. I even resorted to duct tape at one point but it didn’t hold up. The crooked lampshade was driving me bonkers!
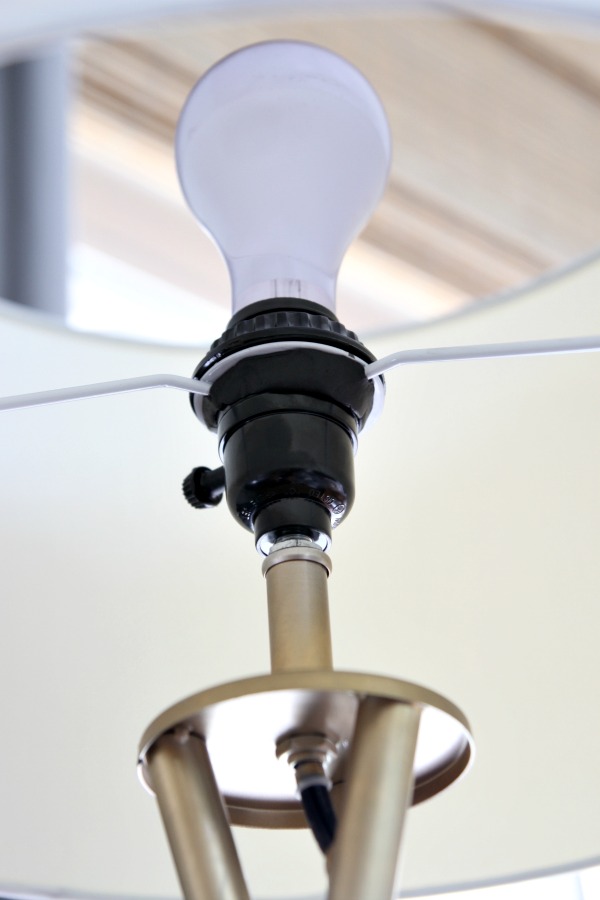
I fixed it with black Sugru. Did I mention Sugru comes in different colors for discreet applications?
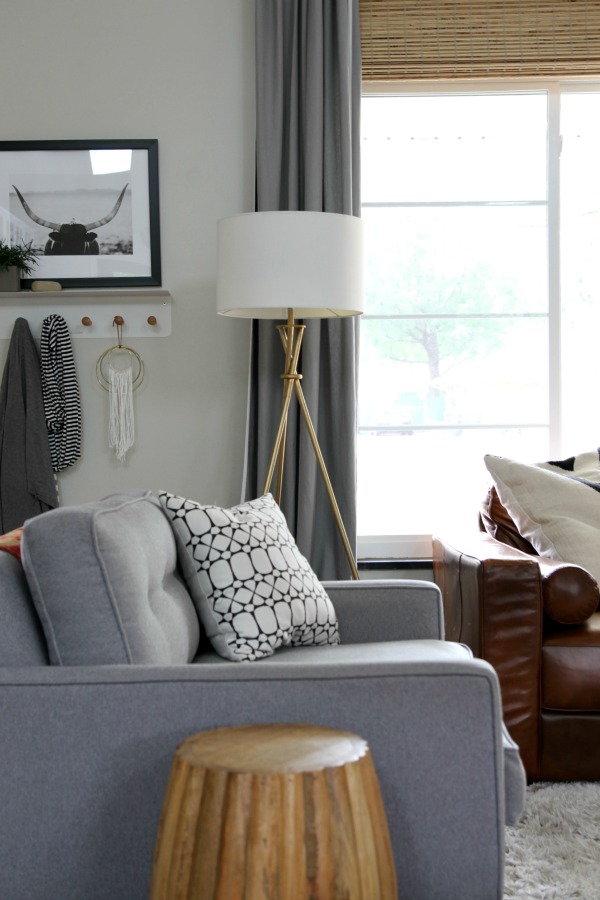
No more crooked lampshade, but the kids are still horsing around in the living room.
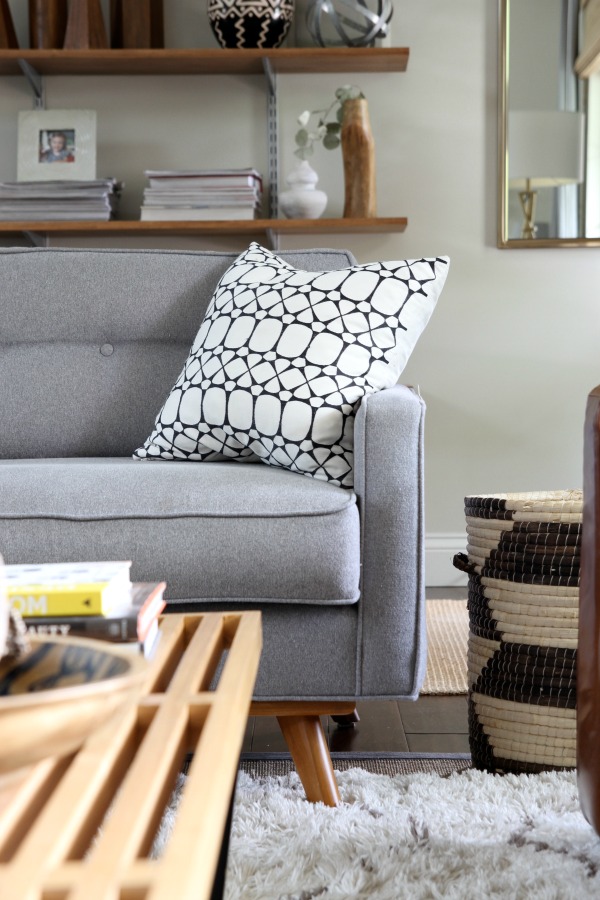
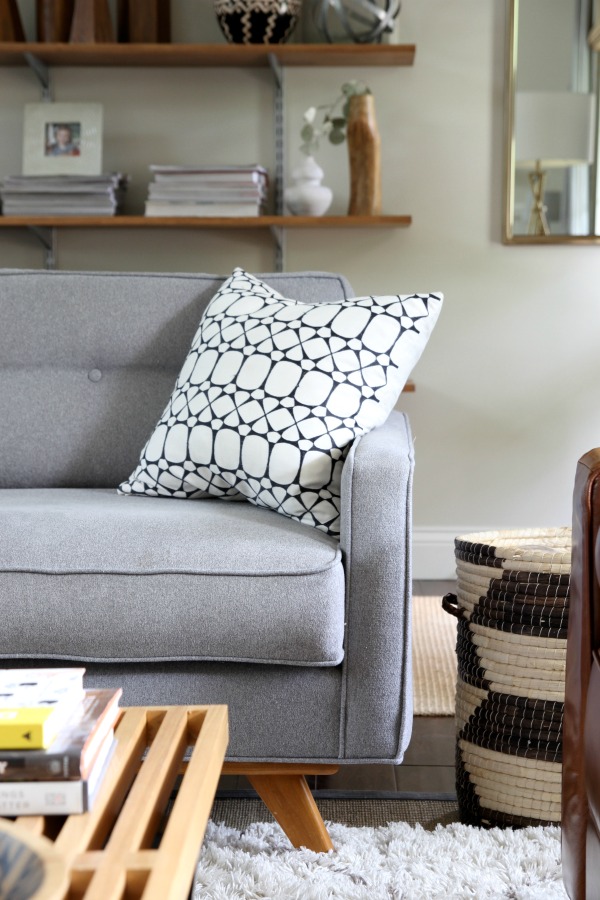
They like to run and jump onto the gray chair. The chair legs are constantly twisting out of place. Again, me = bonkers.
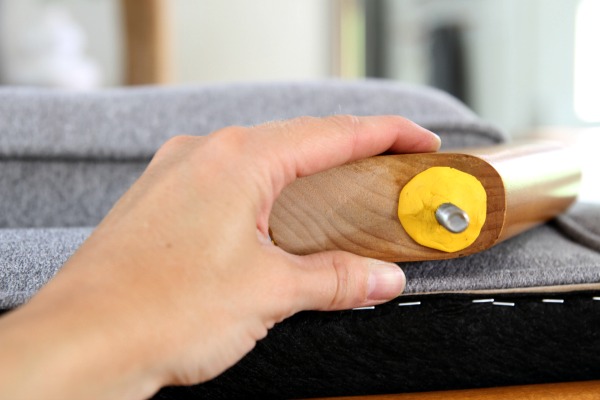
I removed the chair legs and added a bit of Sugru for stability.
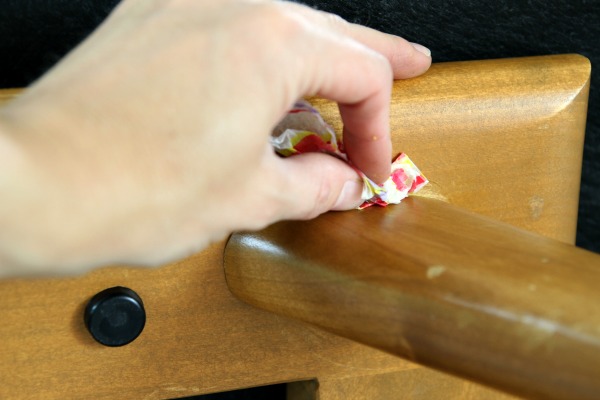
I screwed the legs back in and removed the excess adhesive with a small piece of tissue paper. Then the hard part came…keeping the kids off the chair for 24 hours while the Sugru cured.
It worked like a charm! We’re one week in and I haven’t had to readjust the legs once.
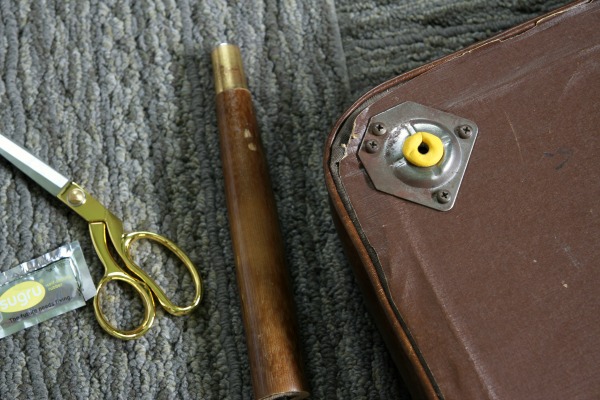
So, naturally, I used Sugru to shore up a wobbly leg on the vintage footstool in the boys’ bedroom.
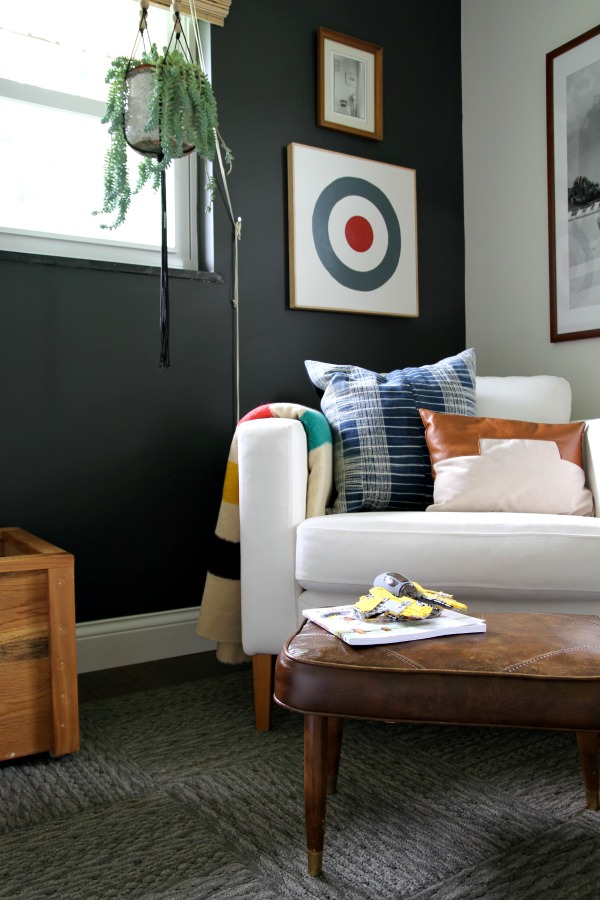
Awesome. Are you noticing a theme here? If you have kids, go get ye some Sugru.
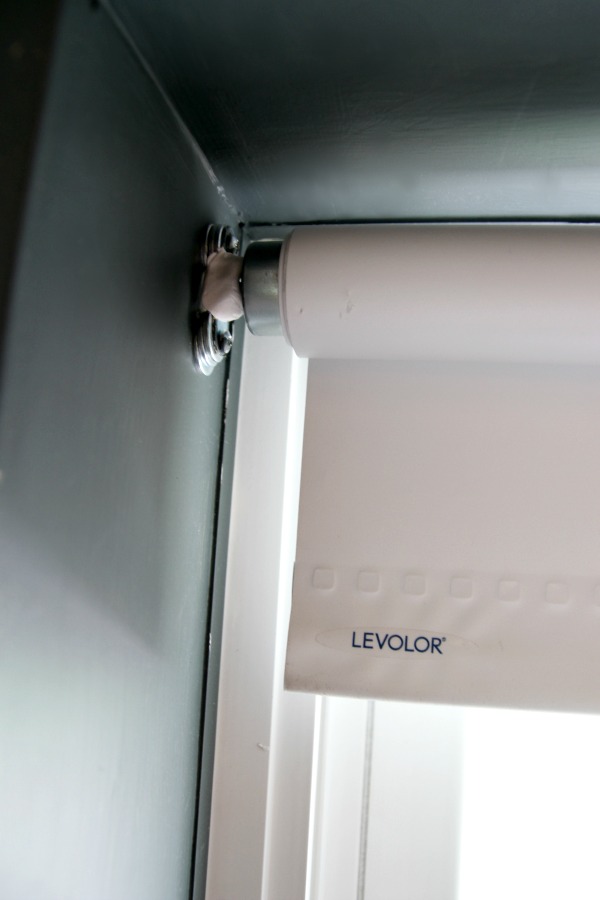
We’ve always had problems with the roller blind in Mabrey’s window. It tends to jump out of the mounting hardware when recoiling which causes it to come crashing down which nicks up the drywall which makes more little work for me which infuriates me more than it should. Many a four-letter-word has been muttered in the name of that effing shade. (It’s just that one…all the others work great.) I used a little Sugru to create a bumper of sorts around the mounting bracket. It still allows the shade to roll up and down but doesn’t let it fly off the bracket. It’s glorious.
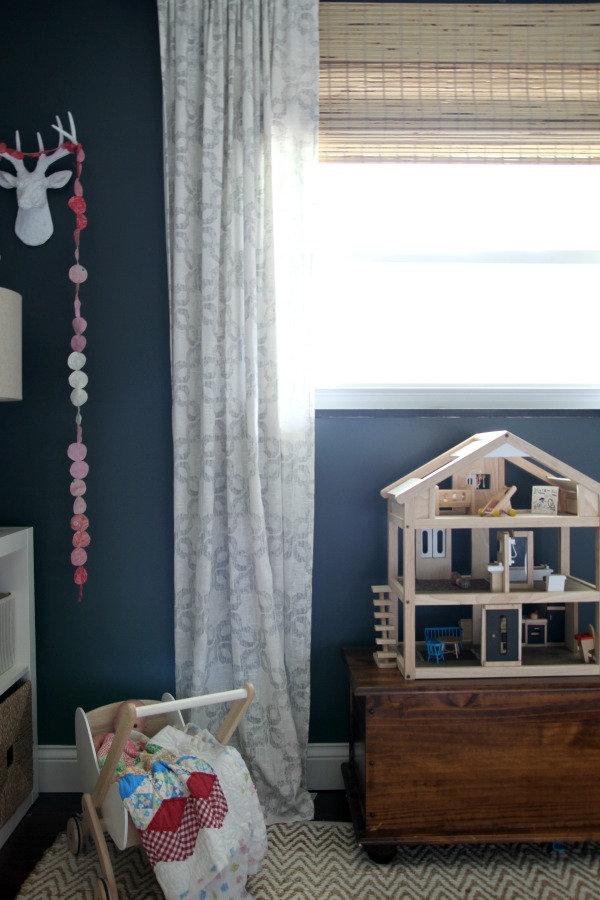
And it’s completely undetectable behind the woven shades.
I officially added Sugru to our junk drawer last week. It’s one of those fix-it things that comes in handy in a pinch. The possibilities are endless. See my favorite tutorials here. I know you’re already brainstorming things you could fix with it. Luckily, Sugru is now available at Target stores nationwide. Find your nearest store to add Sugru to your DIY arsenal for quick and easy fixes. (It would make a great gift for grads and dads, too!)
*This post sponsored in part by Sugru. Thank you for supporting the brands that support this blog.
images: Dana Miller for House*Tweaking


budget decor, DIY, family life, kid-friendly