Notice anything different?
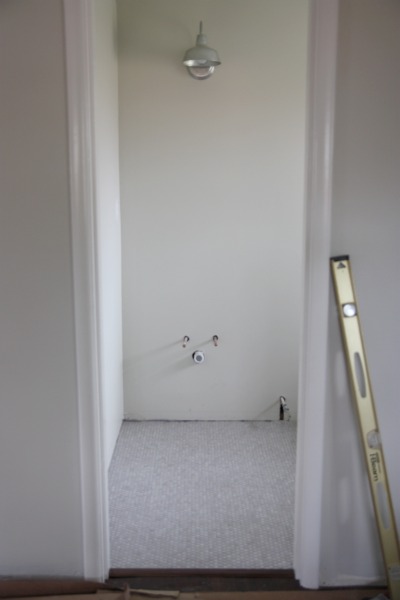
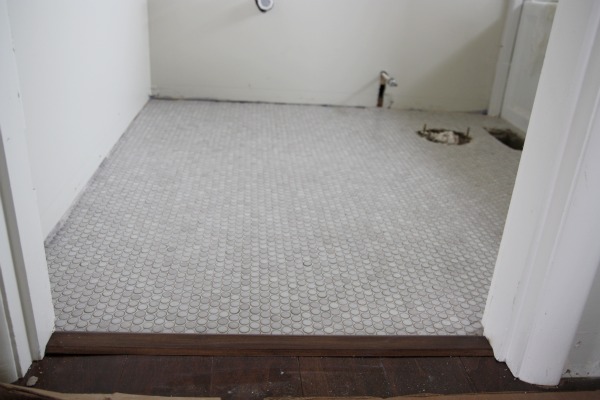
What’s that? You say there’s some sweet penny tile in the master bathroom where a dirty old concrete slab used to be the only floor? You’re so smart. So observant. So right.
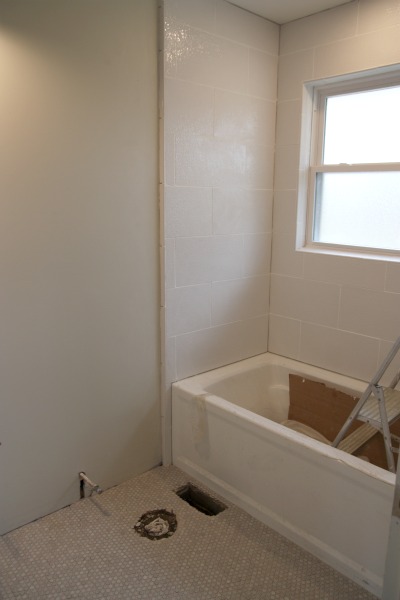
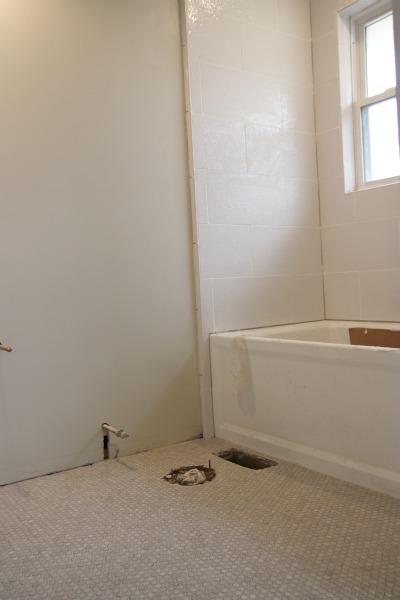
Handy Hubby worked all weekend to install the penny tile then grout the shower and floor in the bathroom. To show my gratitude, I washed his work jeans afterwards. HH said his jeans could stand on their own after all the thinset and grout had dried on them over two weekends of tiling.
If you’re an avid home decor/DIY blog reader, then you probably already saw John & Sherry over at Young House Love install the same penny round tile in their kitchen as a backsplash. Which turned out fabulous, btw. We actually chose the moss penny tile last summer before we knew John & Sherry were thinking of using it in their kitchen. Great stylish minds think alike ;)
Yes, I feel close enough to YHL to refer to its authors on a first name basis. They make it pretty easy. I’ve been following them since their This Young House days…before This Old House sicked their money-hungry lawyer dawgs on them and all but forced them to change their blog name. I’m still angry about that. Glad to see J&S have moved on. {Oh yeah, now I’m feeling friendly enough to call them ‘J&S’.} They featured our previous mini-mudroom and DIY stencils as Reader Redesigns a while back and I still chat with them via email every once in a while. Fun stuff! They’re such an inspiration.
But anyways, they beat us to installing the penny tile. Which is why they make a modest living blogging. Those two are non-stop, I tell you! So much energy. So much motivation. So little sleep.
HH took their tips to heart and put them to use while he cut, set and grouted the penny tile. The tips he found most helpful were to use painter’s tape to mark off the cuts on the penny tile and to use a thin layer of thinset spread with a small trowel. {Thinset tends to squeeze up through the spaces in between the penny tiles and can be a b!#$h to clean up before grouting so it’s best to avoid using more than necessary.} The Tile Shop and YHL both recommended laying the sheets in a brick pattern to help avoid visible seams from one sheet to the next. HH followed that tip as well.
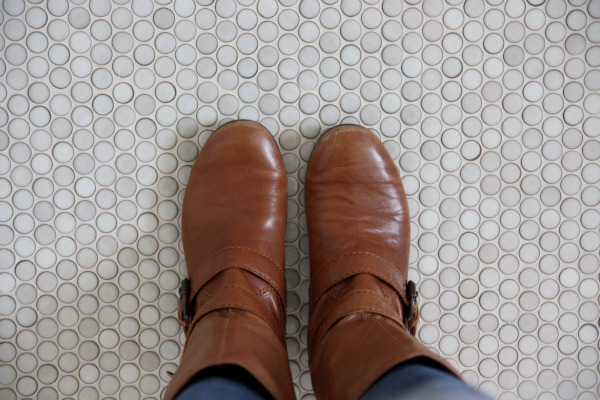
I love the penny tile as a floor tile. I can’t wait to see how it feels on my bare feet. Until then, my boots aren’t complaining.
I may have to start cheating on the shimmery shower tile. The penny rounds are pretty hot. What’s a girl to do? Both. I will do both. And there will be no emotions involved. They will be two totally separate, purely physical relationships. I promise. Sounds like the beginning of a healthy, long-term commitment, no? Ha! Can you sense the third trimester pregnancy hormones kicking in?
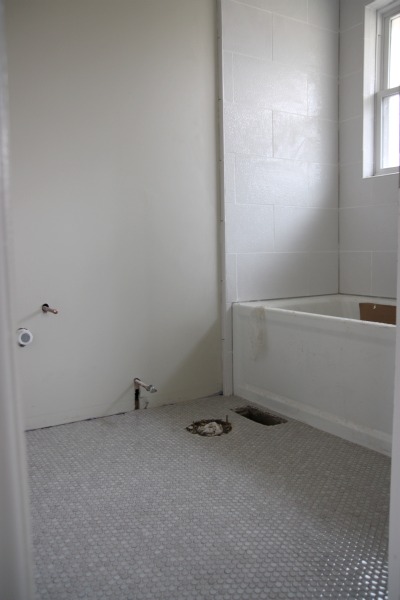
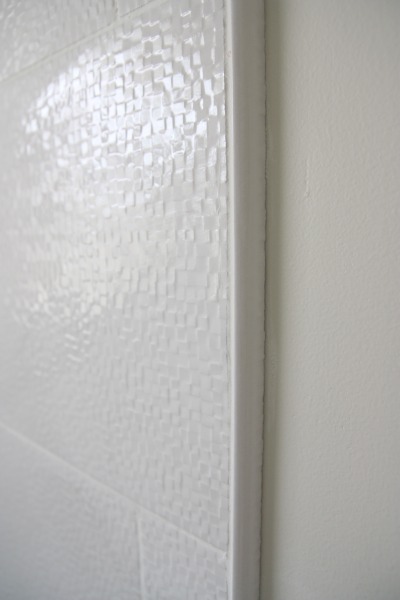
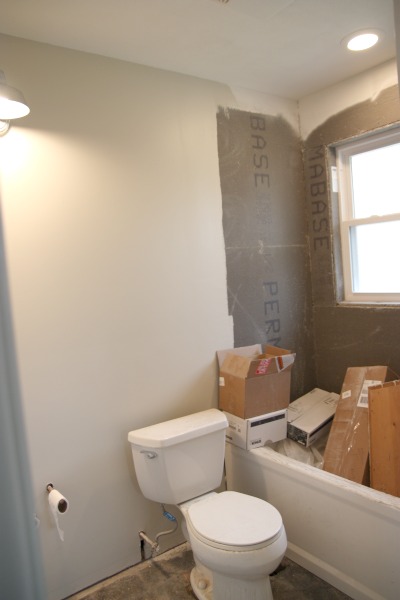
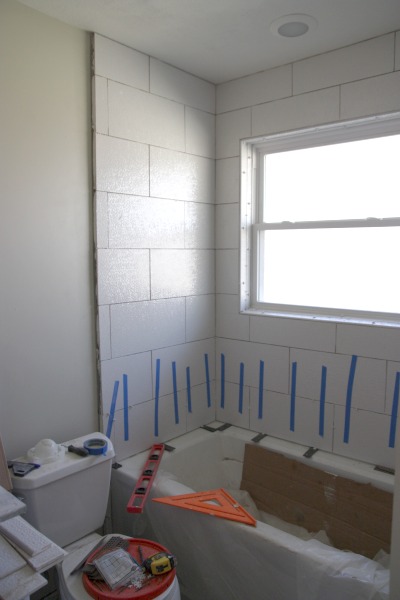
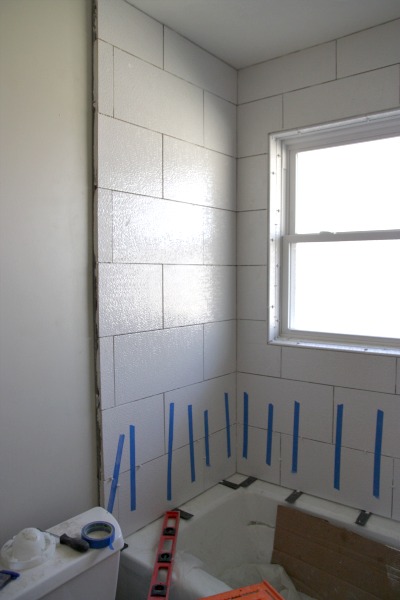
HH also finished up the trim along the shower’s edge. If you’ll recall, we had a problem with our new tub being a smidge shorter than the width of the bathroom, so HH built out one wall with a double layer of backerboard to suffice. {A smart, lovely reader has since mentioned installing drywall flush with the backerboard but seeing as how our drywall was already installed, mudded and painted, we decided to make do.}
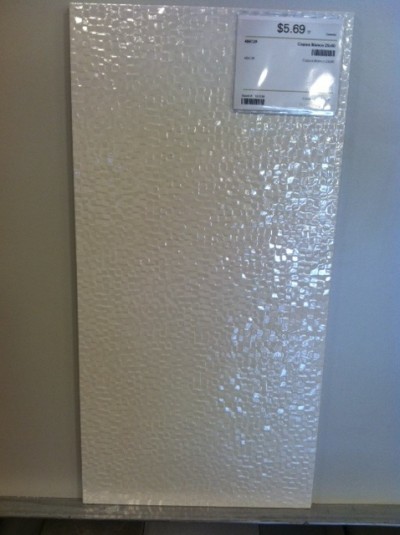
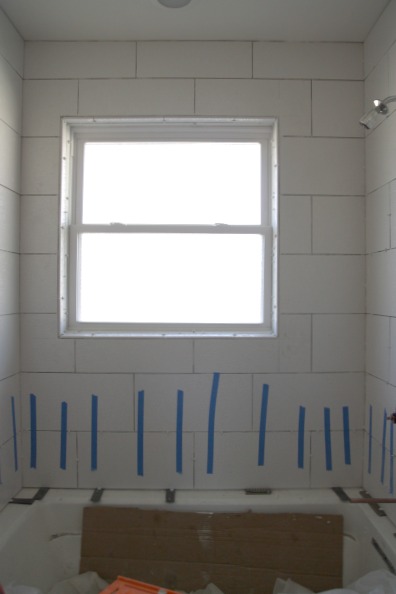
Our idea was to use pencil edging along the transition to drywall but when I mentioned our situation to the peeps at The Tile Shop, they recommended we use the bullnose version of the shower tile {the same version we used in the shower windowsill}, turn it 90° and cut it to the depth needed. They were concerned that a pencil trim would look too different from the shower tile. The color, texture and sheen would be different since a pencil edge trim isn’t available in the Capua Blanco. So, that’s exactly what HH did. Even though it took longer and required more measuring/cuts than pencil edging, it worked great!
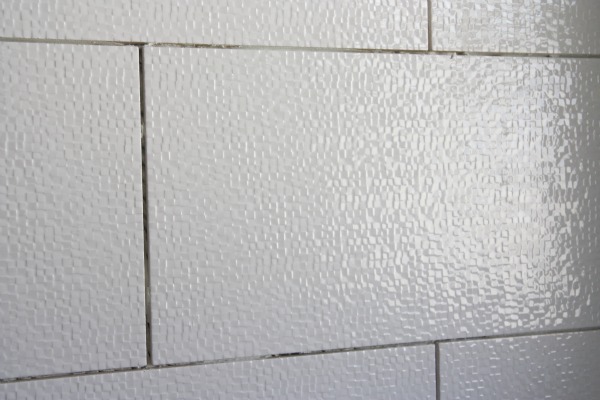
The shower tile is a little hazy from grouting. HH plans to use some grout haze remover to remedy that. If the tile isn’t looking as shimmery as you remember, that’s why. Oh, and in case you’re wondering, we used unsanded standard white grout for the shower tile and sanded mobe pearl grout for the penny floor tile. They were the grout colors used on the in-store samples of both tiles and we liked them so it was easy to choose.
After haze removal comes sealing and caulking. Then our master bathroom will be ready for baseboards, toilet {we’re reusing the original one} and fixtures. I can hardly believe we’re this close.
For fun, I took some pics of the bathroom progress in artificial light too – just to see how it might look at night. The light from the sconce {above the future sink} and can light {above the shower/tub} warms up the wall color and tile a bit. So cozy!
HH also installed a threshold between the master bedroom and bathroom. I wanted a wood one for a seamless transition. We bought the molding accessory from Build Direct to match the engineered hardwood.
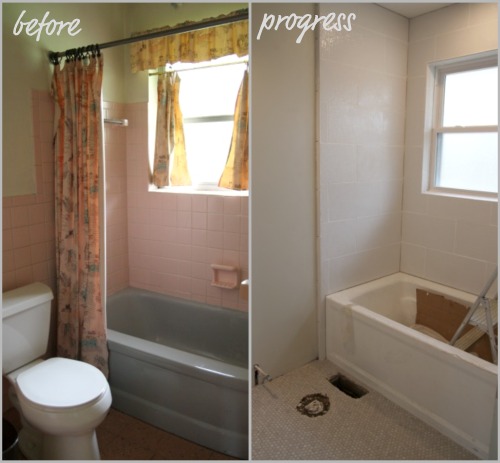
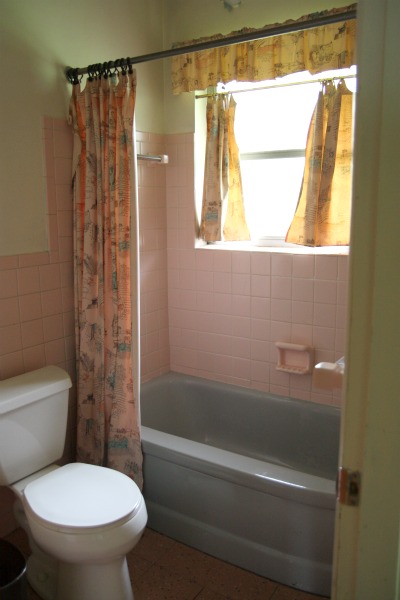
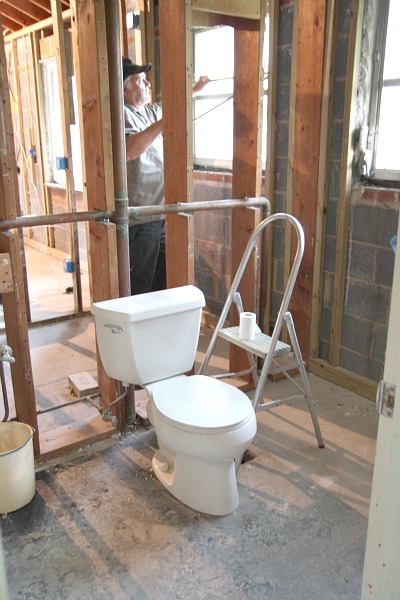
A ‘before/progress’ side-by-side for comparison…
Forget our bed that will someday be in the adjacent master bedroom. I’m sprawling out on that penny tile. I’m only half kidding.
FYI – The Tile Shop provided us with materials for our master bathroom tiling project. However all designs, product selections, DIY installations and project photos are of our own doing.
images: Dana Miller for House*Tweaking











DIY, renovation