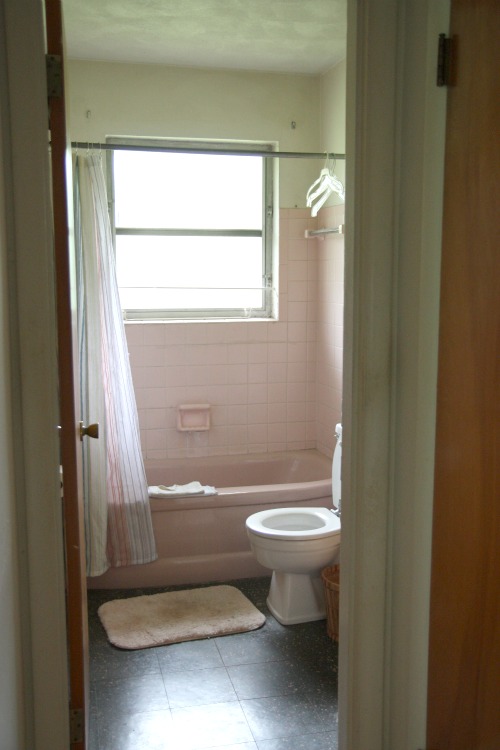
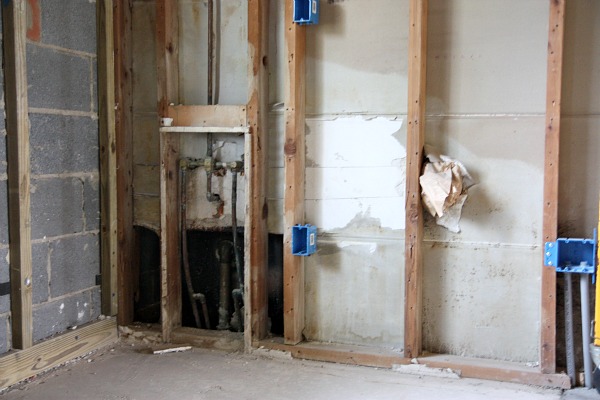
I’ve been unplugged for a few days. I surprised our kiddos with a trip to DC to visit my sister this past weekend. I purposefully didn’t pack my laptop. I really needed some one-on-one time with my boys and we had a great time! Handy Hubby stayed behind to work…at work and on the Underdog. Upon our return home, Everett came down with an awful stomach bug. {Probably from the germ-infested Metro!} So, not only have I been thinking nonstop about bathrooms…I’ve been spending a lot of time in them with Everett as well. I’m about bathroom-ed out! But not enough to keep me from coming up with a quick preliminary plan for our future master bath.
Take a look…
1 – To keep things cohesive, I’d like to use the same galvanized sconce that I mentioned in the kid/guest bathroom mood board {seen here if you missed it or forget}. Plus, I just can’t get enough of the industrial feel it provides.
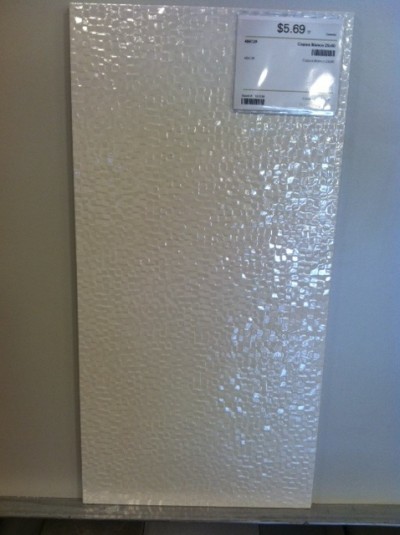
2 – In searching for tile options for the shower surround, I came across this uniquely textured ceramic wall tile. The shiny textured surface reflects light like glitter. With natural light pouring in from the window right inside our shower, this wall tile would really keep the small room light and airy while providing a little glitz too. It’s light reflecting power is difficult to see from the online image, so I made sure to snap a picture of it in our local store.
Isn’t it purty? I think I’d install it horizontally in a brick pattern. At 10″ x 19.75″, this tile is large so there wouldn’t be a ton of grout lines.
3 – For the floor, HH and I both fell for these moss penny round tiles. I like smaller tiles for the floor in petite bathrooms. They add texture and pattern not to mention an anti-slip safety feature. Again, the online image isn’t exactly true to reality. Here’s my phone pic for better reference…
The round tiles have a subtle gray-blue-green color going on and I love it. Notice how the dark brown edges provide definition and contrast. Oh, and that wood floor sample next to the tile sample is what we think will be going in as flooring for most of the rest of the house…if that makes any sense. {More on that later!} I brought the floor sample along with me to The Tile Shop to make sure whatever tile I chose would look okay alongside the wood floor since they’ll meet at the entrance to the master bathroom.
4 – Even though HH and I love the idea of a large walk-in shower with dual shower heads, we decided against it. Subtracting a tub from the bathroom would technically make it a ¾ bathroom instead of a full bathroom. While we intend to stay in the house for 10+ years, we’d really hate to lose the freedom to market our house as ‘2 full baths’ whenever/if ever we decide to sell. Plus, HH wasn’t keen on a lower shower threshold thinking it might splatter water everywhere outside the shower. {I told him NO to glass shower doors. I’m the one that would clean them and I detest cleaning glass shower doors. So, our walk-in shower would have simply had a shower curtain.}
We’ve actually already purchased this Kohler bathtub. We liked the simple lines, it had good reviews, it would fit in our teeny bathroom, the price wasn’t awful {$440} and it was in stock at our local Home Depot. It’s joined the chaos of other ‘waiting to be installed’ stuff in the Underdog’s garage.
5 – I really like white textured shower curtains. What else can I say?
6 – To tone down all the straight lines that are inevitable in a small rectangular bathroom, I’d love to incorporate a round mirror above the sink. The bathroom sink/vanity will be visible from the master bedroom, so using a mirror that doesn’t scream ‘bathroom!’ would be nice. The antique zebrano finish on this one makes it feel less utilitarian.
7 – If it can be done, I want {Handy Hubby} to DIY a chunky floating wood vanity/shelf to house this simple IKEA sink. Of course, the wood would need to be sealed to avoid moisture penetration. Don’t worry! We don’t plan on using plywood/OSB as a finishing material in the bathroom or anywhere else in the house. The vanity I shared last week was simply an inspiration to me. Before I decide on a major design element, I gather a bunch of inspiration images and then think about how I can tweak them to fit my style and aesthetic. I do think that DIY OSB vanity was clever and could look great in the right setting. But it’s not going in our home.
8 – Since under sink storage {open or closed} will be minimal due to the floating vanity, we’ll need other storage options in the bathroom. I found this stainless steel medicine cabinet just today and think 2 or 3 of them would work and look great. Must show to HH tonight!
9 – West Elm has the best hand towels. This honeycomb one in slate is my pick for the master bath.
10 – If I can squeeze it in somewhere {under the sink? next to the shower?}, this woven ottoman {or a cheaper, similar alternative} would provide a landing spot for {taking off or putting on} clothes, a book or magazine, or maybe even a glass of water or wine. I like to add at least one natural, woven element to each room – even bathrooms.
So, there it is. What may be our future master bathroom. Do you like? Not like? By far, my favorite element is that glittery white shower wall tile. I couldn’t stop running my hand across the sample at the store. Thankfully, HH liked it too. I can’t wait to see what it looks like installed.
Now, it’s back to the ugly apartment bathroom with Everett. Poor guy. I hope he feels better soon.
images: 1) Polyvore collage by Dana Miller linked within 2 & 3) Dana Miller for House*Tweaking


budget decor, DIY, inspiration