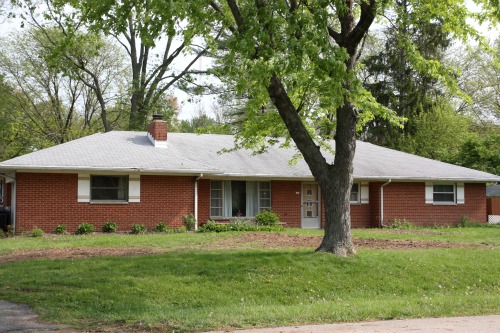
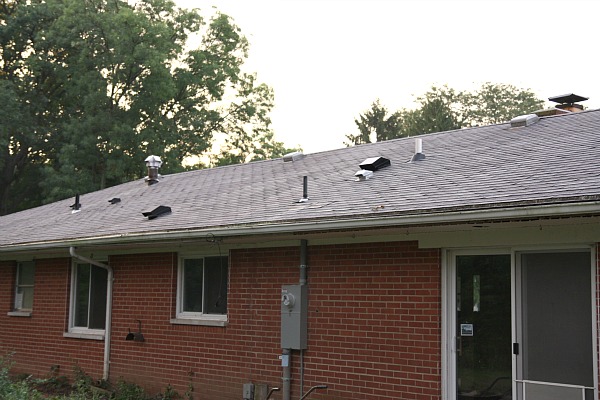
The new metal roof, gutters and downspouts are installed! Just for the sake of before-and-afters, let’s take a look at the Underdog with its old light gray asphalt roof…
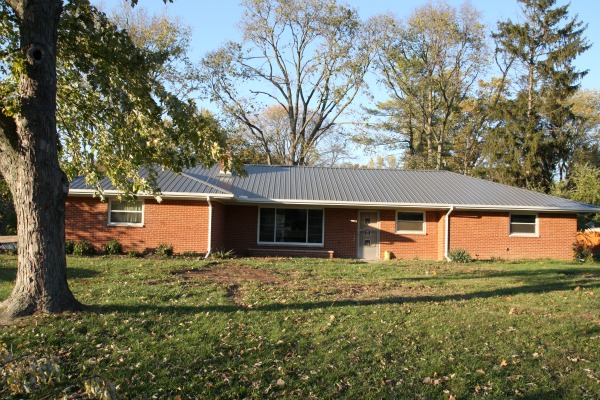
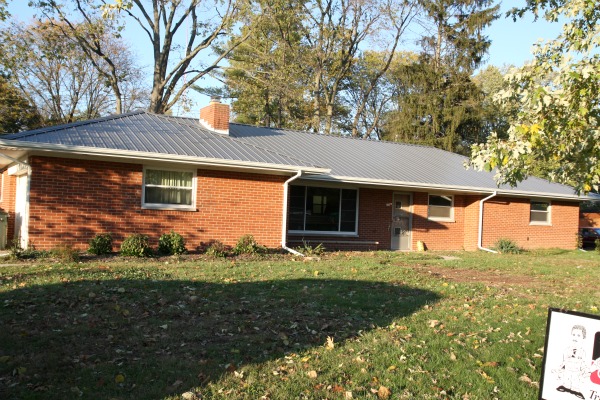
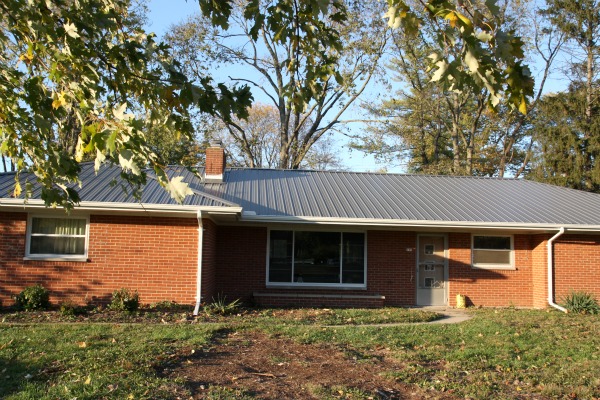
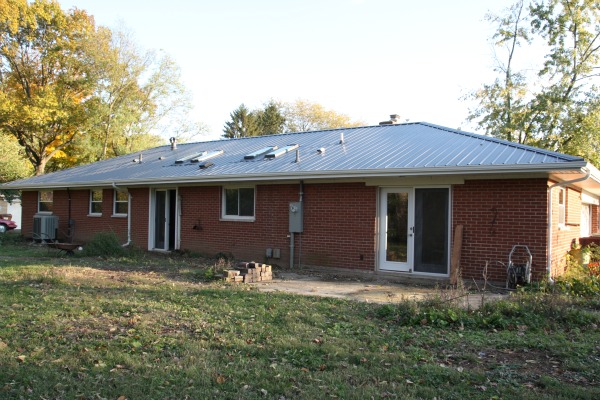
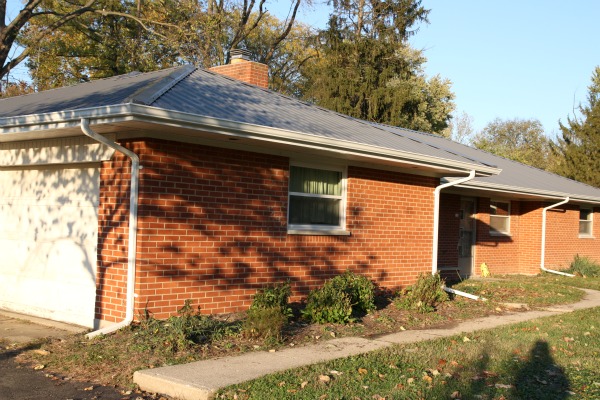
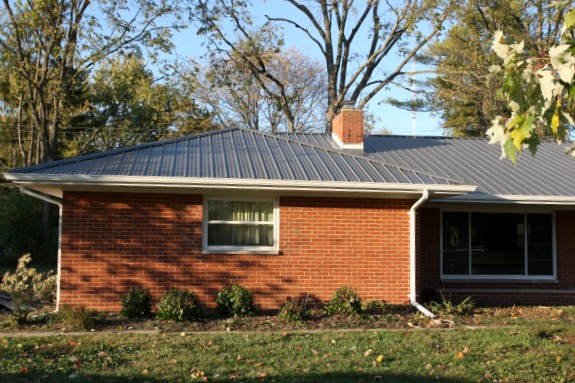
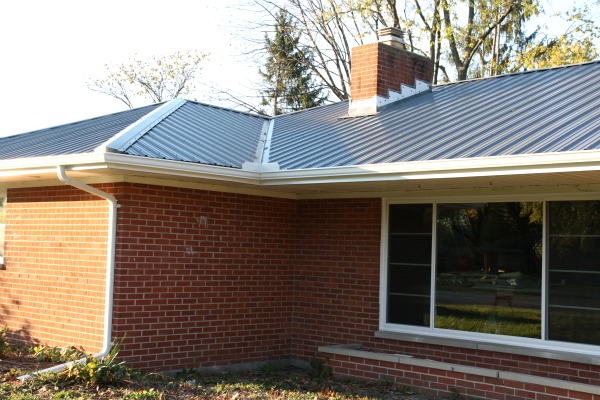
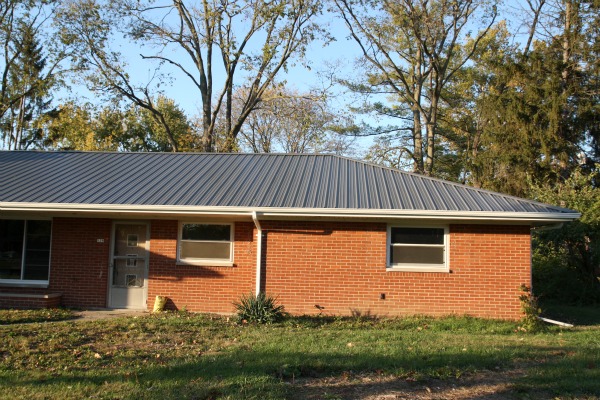
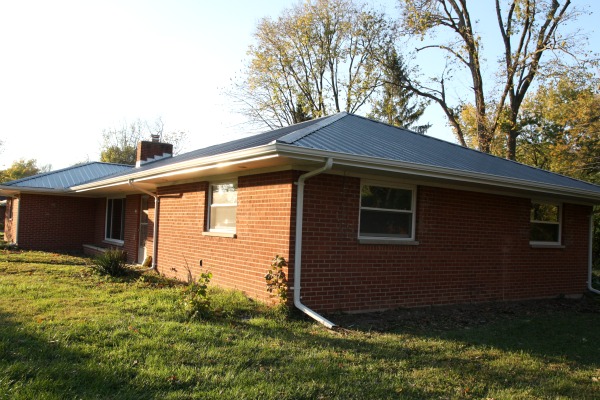
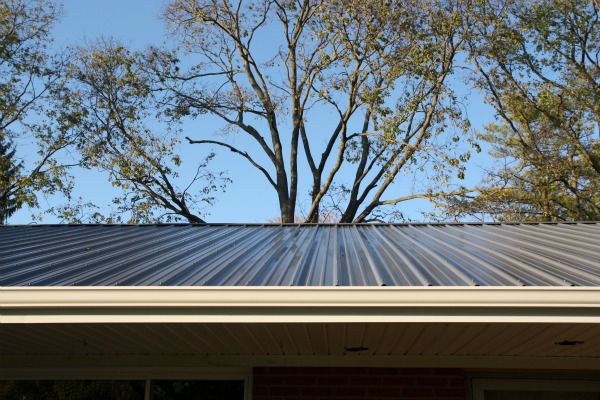
And here she is rockin’ her new metal roof…
{Sorry about the long shadows. It was evening time. I couldn’t wait until the next day to take pics with the sun overhead.}
A few people were worried when I first said we were going with a charcoal-colored metal roof, afraid it would be dark and absorb heat. We’re very happy with the color though. It’s a nice medium gray…not too dark and not too light…and we don’t expect any problems due to heat.
The metal roof is a greener alternative to traditional asphalt shingles not only because we expect it to outlast an asphalt roof by 25 to 75 years but also because it was installed over top of the existing asphalt roof, keeping two layers of asphalt shingles out of the landfill. This also helped to keep installation costs low since less labor was involved {no need to remove the existing shingles} to put the metal roof on.
Handy Hubby and I are thrilled with the roof. We like the clean lines and slick contrast against the brick. To us, it just looks tidy and neat.
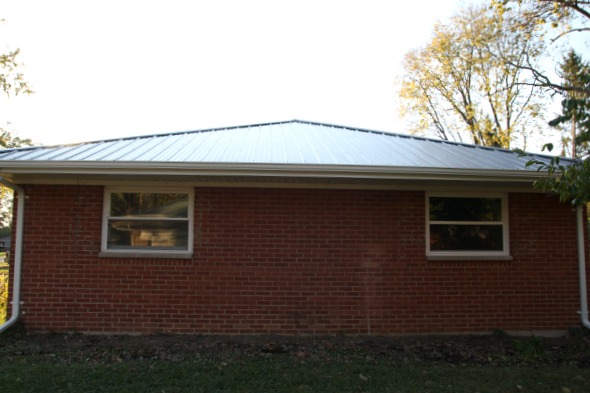
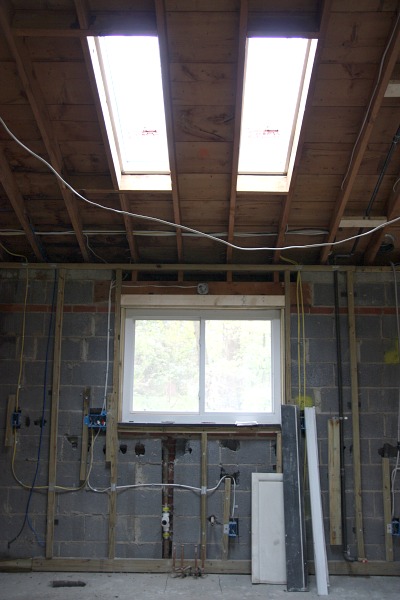
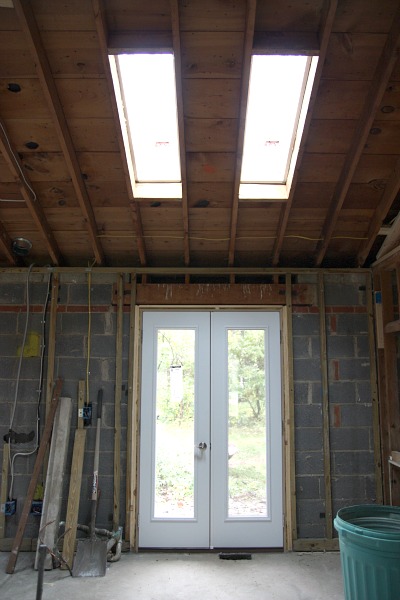
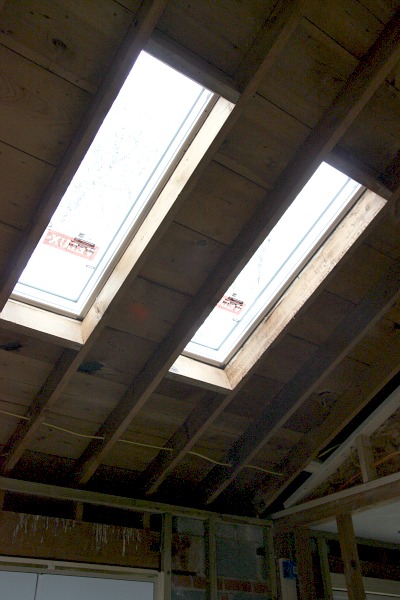
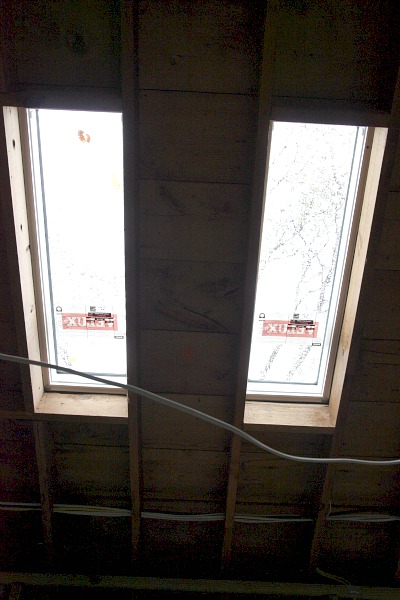
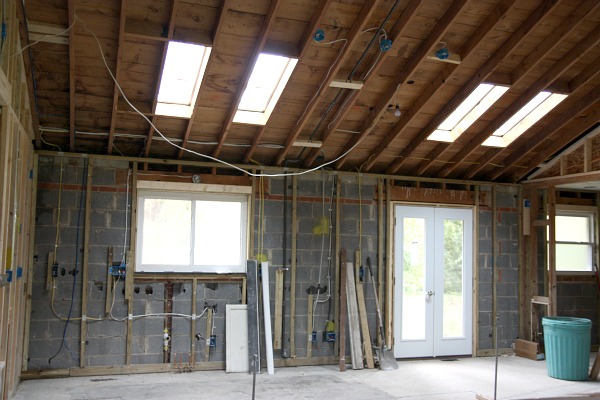
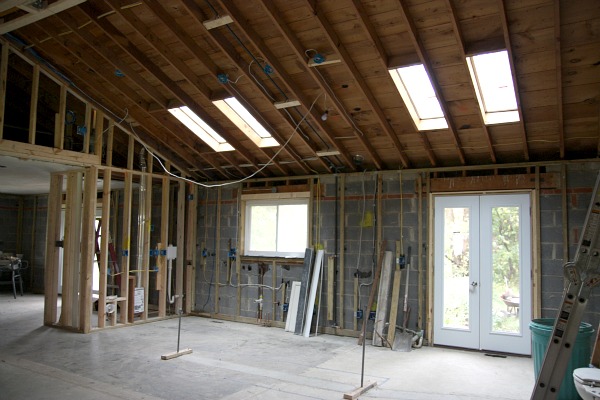
The back of the house looks much busier than the front. All business in the front and party in the back. That’s mostly due to all the vents {bathroom, gas, radon mitigation, dryer, kitchen hood, etc.} required but also because we added four skylights above the kitchen. I’m so happy we were able to keep the skylights off the front of the house. With skylights in the front, we surely would have lost some curb appeal. Just for fun, this is what the backside of the house used to look like…
With the new roof, we were able to get rid of some unnecessary roof clutter – ridge vents, original kitchen hood vent, etc. Read more about all that here.
So back to the new roof…
One reader had asked what color the gutters and downspouts would be. As you may have noticed already, they’re white.
I think gray gutters and downspouts would have looked great but the existing soffit was white and in excellent condition. To save labor and $$, we decided it should stay. We thought gray gutters and downspouts might look ‘off’ with the white soffit AND we’ve thrown around the idea of someday lime washing the brick {to a lighter color}, so we went with white gutters and downspouts. Although I’ve seen some pretty fabulous homes with white brick exteriors and black gutters! White was just our personal decision.
The new gutters are wider than standard gutters used with shingled roofs to accommodate faster runoff from the metal roof. Oh, and all those holes in the soffit are where our electrician installed electrical boxes for exterior recessed lights that haven’t been installed just yet. It was our electrician’s idea {versus the uplighting-from-the-ground idea HH and I originally had in mind} and we loved it. A few homes in the area have similar outdoor lighting and they look so pretty washed in light from above at night.
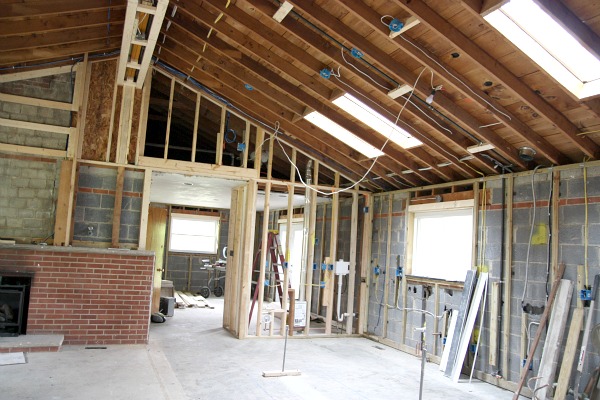
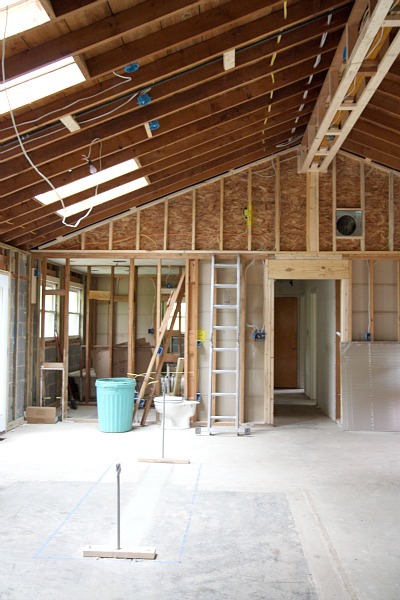
It rained all last week and while I was at the Underdog taking pictures of the new skylights, there was quite a downpour at the time along with 20-30 mph winds. Contrary to popular belief, the rain on the metal roof was no louder than what I noticed at our previous home which had an asphalt shingle roof. And once insulation is installed in the vaulted ceiling of the great room and attic space, the noise should be even less. Most new metal roofs are made with an embossed texture that helps to disperse rain and reduce noise. Plus, when installed correctly new metal roofs shouldn’t yield a significant noise increase as opposed to other roofing alternatives. Metal roofs have come a long way!
All in all, HH and I are 200% happy with the new metal roof. Even though it’s not the standing seam design we had always dreamed of, it looks so much better than we could have imagined. In case you’re wondering, our roof is the Everlast II in charcoal. We hired a reputable metal roofing company that typically takes on commercial jobs but is looking to branch out to residential roofing since metal roofs are becoming more popular in residential settings. We had to wait a long time {think 2-3 months} after signing a contract and being put on their waiting list, but it was worth it. Oftentimes, a company with a waiting list is worth waiting for {as long as you do your research, of course}.
The metal roof and skylight install cost us $3,000 out of pocket since we put money from our hail damage insurance claim towards the purchase. The insurance adjuster based their estimate on what it would cost for a new asphalt roof, so that price difference should give you an idea of how much more to expect to pay for a metal roof on a small ranch home. Of course, it all depends on your particular home. And remember that our price difference {$3,000} included the skylight installation as well. I still think the crazy hail storm that attacked the Underdog only a month after we closed on it was a blessing in disguise.
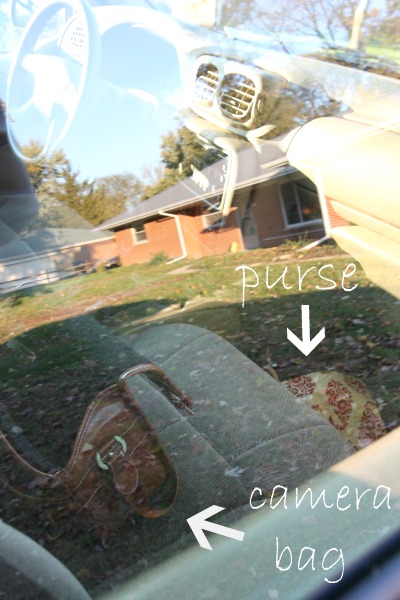
The only snafu we encountered during the whole roofing escapade was this…
I locked my purse – with keys and phone inside! – in the car while I took all these after shots. Luckily, our new neighbors let me borrow their phone to call HH to come rescue me. I felt like such the idiot. I’m blaming my forgetfulness on this…
Baby bump is going to my head.
FYI – I was not compensated in any way to use or mention Everlast metal roofing. I just love sharing great products that we’ve used!
images: all Dana Miller for House*Tweaking








renovation