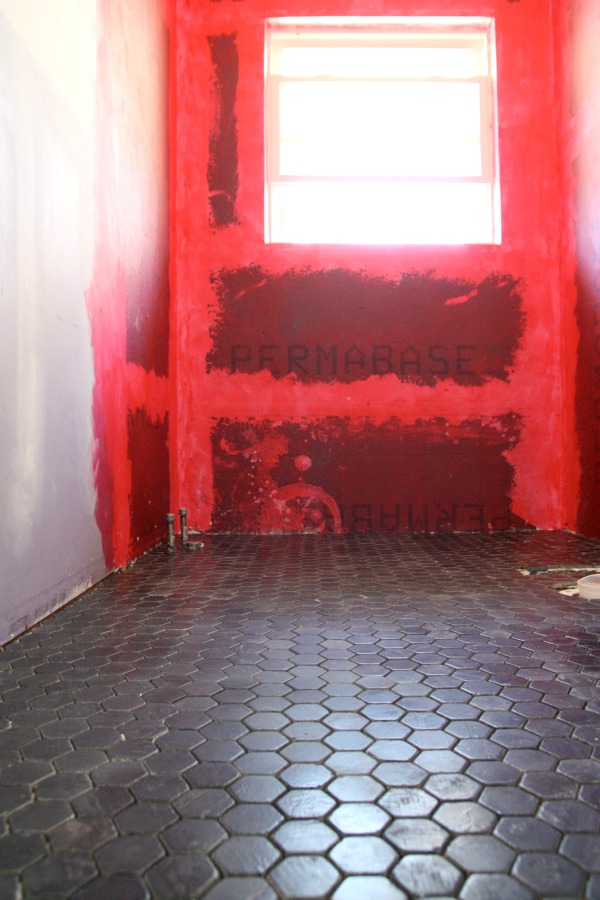
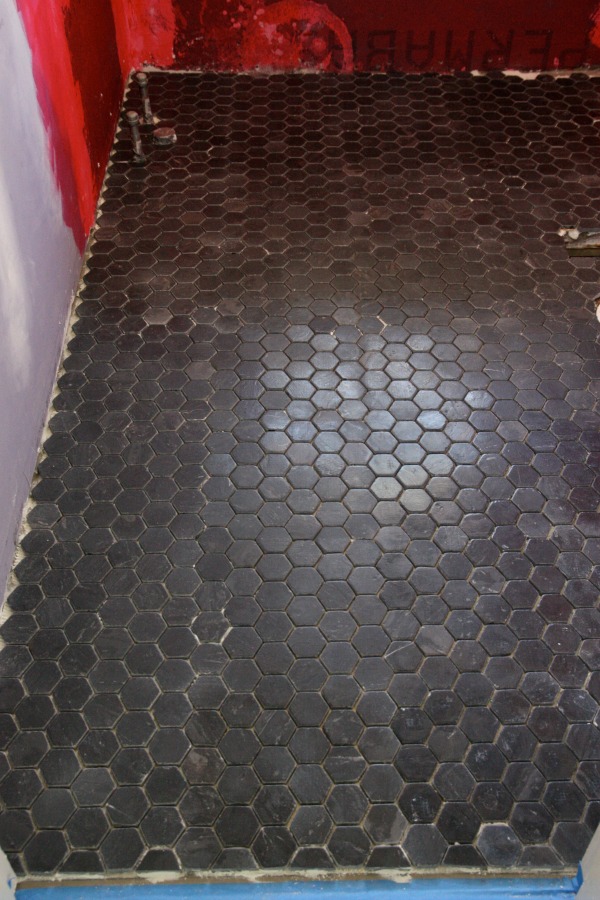
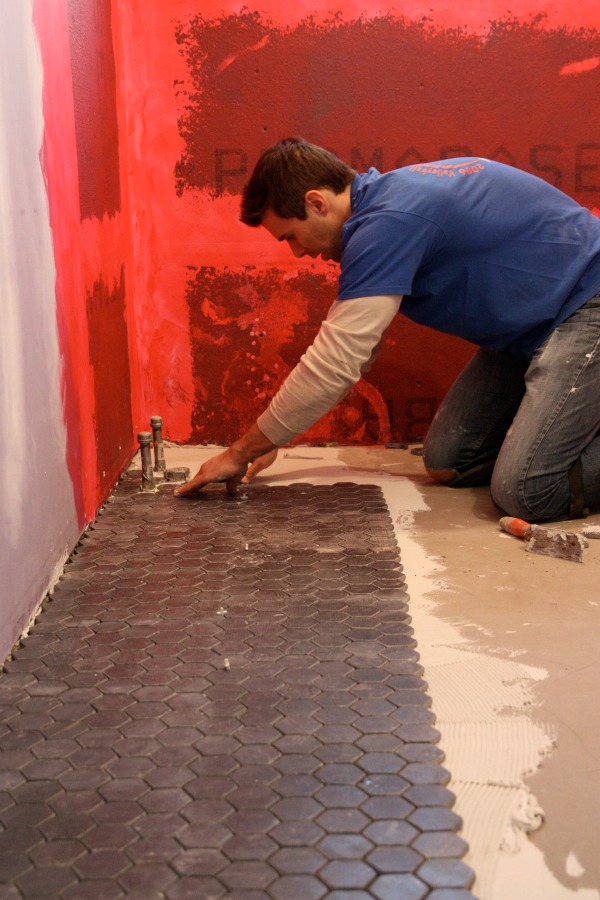
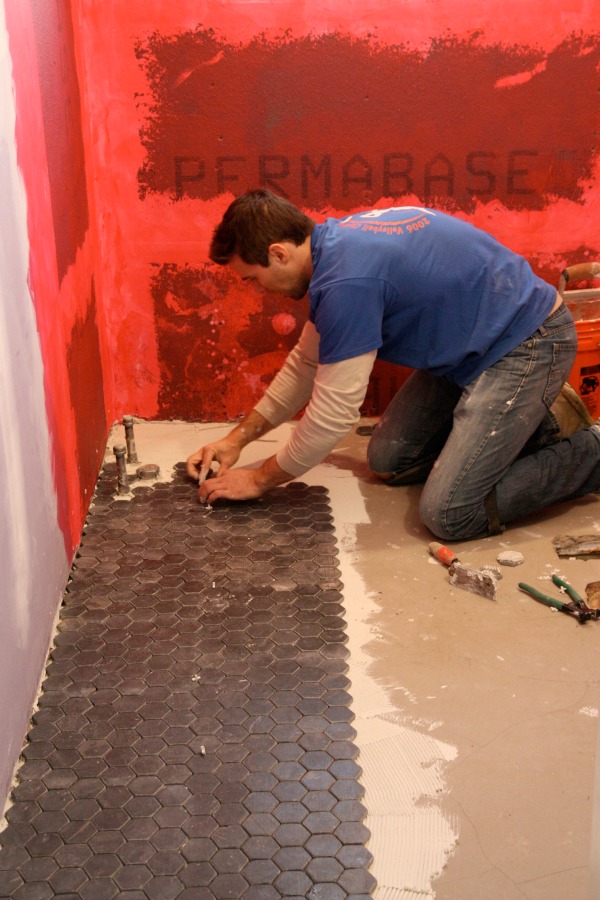
We have floor tile in the kid / guest bathroom! It took two tries along with the help of a friend with more tiling experience than us to knock it out. We need to address a few wall and corner tiles in the far right corner and we haven’t grouted yet but I couldn’t wait any longer to share our progress – especially since this project proved to be more difficult than we had anticipated. The floor tile was in as of Sunday and I would have shared images sooner but The 2014 Plague had me down and out the last two days. The last few days have felt like weeks but things are finally returning to normal around here.
We had family in from out of town so I took the kids to visit them while Steve and our contractor friend, James, tackled the bathroom flooring. As much as I want to be an active, hands-on participant in this bathroom project, often it’s more helpful if I’m the one keeping the kids occupied and out of the way.
I thought I would share the tiling tidbits that Steve found most helpful when laying the hexagon tile. Some of the tips are basic ones you’ve heard before but were easily forgotten in the heat of the #epicfail. Others come from the experience of our friend, James. Maybe you will find them useful.
*First, don’t rush! Steve was in a hurry to get going the first time around because the project had been postponed from the day before and he had to be at work the next day. It’s imperative to have a good game plan and be patient. You’re better off with a really nice half-tiled floor or wall than a shoddy “finished” job.
*Work from the center out. Define your reference line based on where / how you want your tile to hit in the most critical areas. Mark off a second line perpendicular to the first. Essentially, this breaks the room up into four quadrants. Start where the two lines intersect and work your way out, constantly checking your reference lines and adjusting as needed. For this project, Steve focused on perfecting the entrance and visible floor-wall seams. He wasn’t as concerned with tile that will eventually be hidden by the tub or vanity.
*Inspect and dry fit everything. Steve did dry fit the first time he attempted to lay the hexagon tile – but only partially. When he discovered there was an issue with the tile sheets matching up correctly, he assumed he would be able to “make it work” as he went along. James suggested inspecting each box of tile before dry fitting. Upon inspection, one box contained tile that was 1/8″ smaller than the rest of the tile with tighter gaps between the individual tiles. And wouldn’t you know, that was one of the two boxes Steve started with the first time around?!
*Mix up small batches of thin-set. Mixing up a large bucket of thin-set might seem like a time-saving step but, actually, it could be detrimental to the whole “don’t rush!” mindset. In the grand scheme of things, it really doesn’t take that much time or effort to mix up smaller batches of thin-set as opposed to one big batch.
*Be clean with your trowel. This takes time and experience. Steve admits to slathering on a bunch of thin-set then forging ahead. But you really only need to trowel on a little more thin-set than what’s required for the current tile sheet you’re working with at the moment. Also, be aware of your reference lines when troweling and don’t wipe them out completely.
*If an individual tile needs adjusted, it’s easier to make the adjustment after the sheet has been laid. Just trace the outline of the tile with a utility knife, cutting the backing in the process. Shift the tile into the proper position. Use spacers or even small pieces of cardboard to hold adjusted tiles in place. This works for tiles that are thinner as well. Cut the tile out, pull it up, back-butter it and then place it back at the same height as the rest of the tile. Steve guesses he had to adjust ~1 tile per sheet due to spacing and height issues.
*If you have help, let someone else cut the tile. This saves time running back and forth between the wet saw. If your tile and layout allow, hand-held tile nippers or scorers can save time and energy, too.
I called Steve a few hours into the job to see how things were going. Just from his tone of voice, I knew it was going well and I was able to breathe a huge sigh of relief. When a DIY project isn’t going as planned, it helps us to take a break, take a step back, start over, get back to basics and enlist experienced help if possible. We’re so thankful James was willing to help us out. (FYI – We’re compensating him for his time with dinner and concert tickets.)
I hope you learned something from our tiling snafu. We sure did. Next up? Grout!
images: Dana Miller for House*Tweaking
I seriously considered not writing this post. But it would have been dishonest. For me, this blog is all about sharing my ideas, passions and home with the hope that they will inspire others. It’s never my intention to show perfection or a glossed over view of DIY and renovating. (Although, I’ll be the first to admit to loving good eye candy.) It’s easy to leave out the bad stuff online but in real life it’s impossible. We’re human. We make mistakes. It happens.
And it happened to us this weekend.
I picked up the noir hex tile for the bathroom floor last week and the plan was to lay it this past Saturday. An early morning phone call on Saturday skewed our plans. A family member was in the hospital (it turned out to be nothing serious, thank goodness) and our help was needed. Persons we love in the hospital trump DIY projects so Saturday was shot.
No big deal. Steve said he would lay it Sunday afternoon while I tended to the kids.
On Sunday, I helped Steve measure and snap a chalk line on the floor to get things started then I stepped aside to keep an eye on the kids since no one was volunteering to babysit. (Where are all the volunteer babysitters when you need them?!) When I checked in on him later, things were looking good. He was two rows in from the longest wall and working his way around the plumbing fixtures for the tub.
I took a few progress shots then Steve said, “Now’s not a good time.”
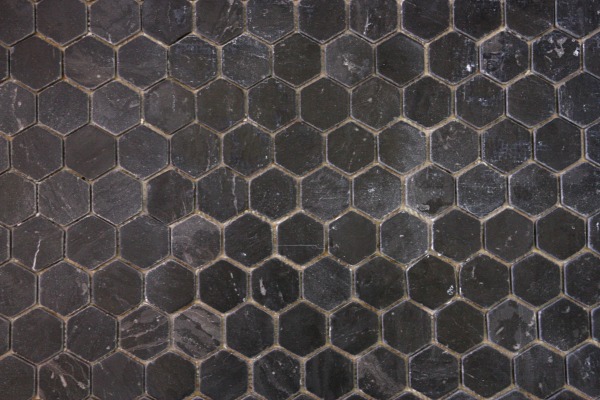
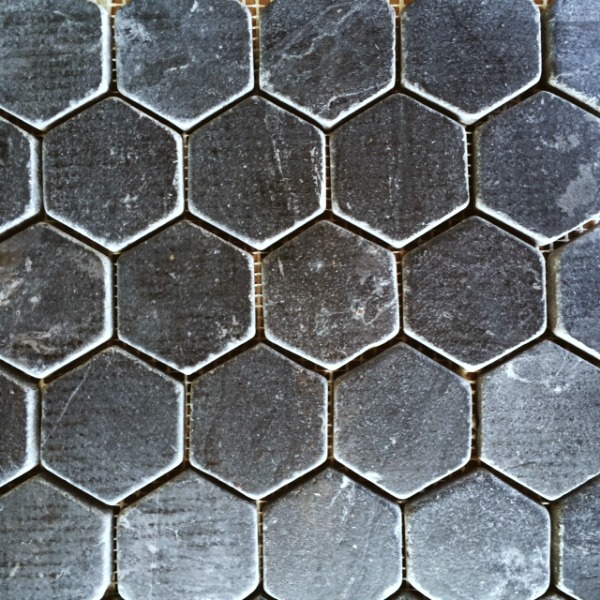
Oops. He was on the verge of pissed and I could tell. Everything seemed par for the course from my viewpoint. The tile reminded me of scaly reptilian skin and I loved it. But Steve said the tile mats weren’t lining up well. He was doing a lot of eyeballing, using spacers occasionally and removing individual “trouble” tiles and placing them by hand when necessary.
Now I should mention this wasn’t our first tiling rodeo. We’ve tiled several floors and walls over the course of 10+ years of homeownership. I should also mention that Steve is an engineer and a bit of a perfectionist. He would rather not do something at all than do it half-assed. What he considers mediocre work is probably more like meticulous to others. In this way, he is so much like my dad it isn’t funny. You know that line about women marrying their fathers? There might be some truth to it.
A while later I was making dinner when Steve started unloading buckets of tile in the front yard. Loud scraping noises were coming from the bathroom. I knew something was up and I knew it was bad. I also knew that asking questions wasn’t going to make anything better so I waited until there was a break from the scraping before I peeked into the bathroom.
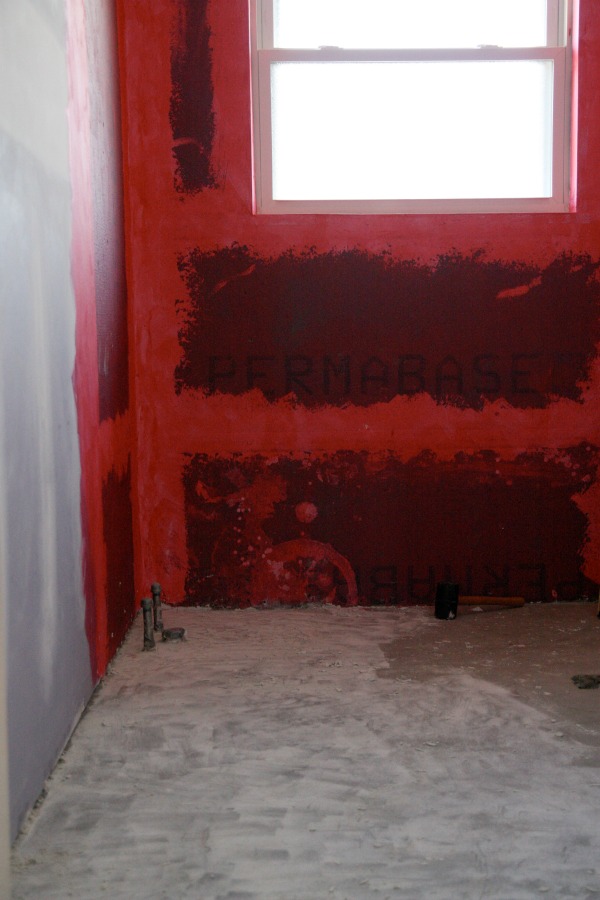
Five hours into laying the floor tile, this was our progress. One step forward. Two steps back. As I had guessed (I wanted to be sooooo wrong), Steve had pulled up all the tile and was scraping away the thin-set.
In response to my meek “what happened?” he replied, “I failed.”
I left it at that while he went outside to scrub and salvage the used tiles covered in thin-set. Later on when he was able to talk about the incident, I learned that something went awry in the third row of tiling and the 12″ x 12″ tile mats weren’t matching up properly. I never actually saw the third row so I have no idea if it was really that bad or just Steve’s version of bad. (Two very different definitions of bad, btw.)
At any rate, we were back to square one. I asked if I could help him work on it after the kids were in bed for the night and Steve pointedly stated, “I’m not stepping foot back in there today.” Um, okay. Me neither then.
For the rest of the night, Steve was so down. He was mad at himself more than anything. I reminded him it was just a bathroom we haven’t used for two years anyway but, I have to admit, I was a little disappointed, too. Not in him, but I had anticipated sharing a tiled bathroom floor on the blog Monday and that clearly wasn’t happening.
Feeling defeated (I know because he said it more than once), Steve called up our contractor friend – who’s just as meticulous as Steve – to ask for guidance. He was *sort of* happy to hear that something similar had happened to our pro friend. (Just to be clear, that’s pro as in professional contractor not as in professional friend.) And he was more than happy when our friend offered his hands-on help for this upcoming weekend.
So, yeah, many projects don’t go the way we plan – even projects we’ve done before. Like this one. Sometimes DIY sucks. But for some strange reason we keep coming back. We went to bed last night feeling like we wasted an entire day of our lives. I can think of a hundred other things we could have done yesterday that would have been way more fun than un-tiling a bathroom floor. Scraping my fingernails across a chalkboard comes to mind.
Have you experienced any failed projects that took the wind out of your DIY sails and left you feeling completely defeated? How did things shake out? Luckily, we were able to salvage the tile so we’re hopeful we can forge ahead with the help of our friend. But until next weekend, we’re shunning the bathroom and putting it in timeout. It probably won’t even notice. It’s been in a perpetual state of timeout for the last two years anyway. Grrrrrr…
P.S. – WOW!! You guys are really into laundry hampers! I wish I had accidentally received 2,000 of them to give away. Haha. Click here to see who won the one extra hamper I do have.
images: Dana Miller for House*Tweaking


DIY, inspiration, renovation