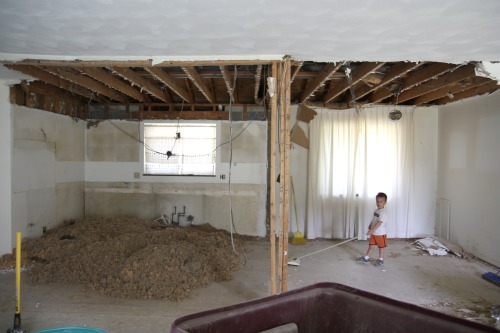

I left you hanging a few weeks ago after I shared the ceiling tear-out progress at the Underdog. At that time, Handy Hubby had ripped out the ceiling over the kitchen half of the great room that will eventually be vaulted. Here’s the living room/kitchen now after removing the rest of the ceiling.

I know. It still doesn’t look like much but I have a good feeling about what the future vaulted ceiling is going to do for the space. Can you see it? Imagine the ceiling joists gone. Yeah, those wide, flat boards at the original ceiling height that are running parallel to the floor…those, gone. {Along with the vertical supports in the middle of the room.} Look beyond them to the rafters…the skinnier boards running along the roof structure. The future ceiling will live just below those rafters. Now, can you see it? Raising the ceiling is going to give this modest, multifunctional space more breathing room and an airier feel.
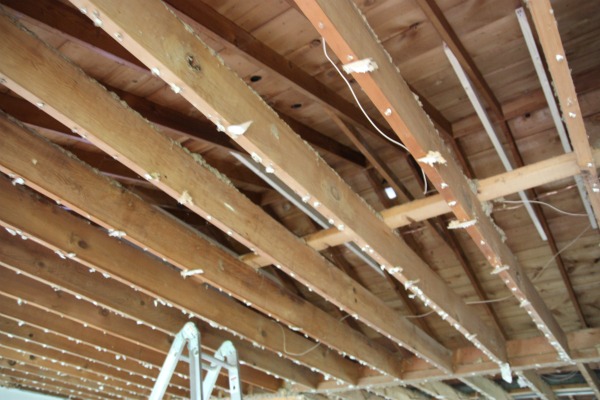
But the big question is, how exactly do we plan to vault the ceiling? Handy Hubby spoke with several contractors and even a lumber yard discussing the dimensions of the room and roof and our desire to open up the ceiling. Originally, the thought was that we could just add some collar ties one-third of the way down the rafters – which HH started to DIY himself.
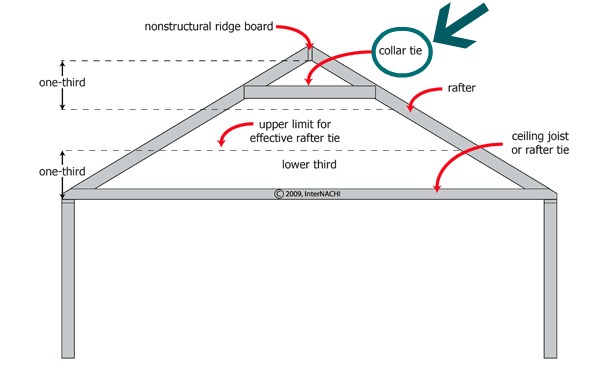
But after more extensive research {because HH is a mechanical engineer after all}, it looks like we’ll need to have a steel support beam put in place that runs along the peak of the vaulted ceiling. We’ll still frame in the beam with some collar ties to disguise it and also to run duct work and electrical through the peak. So the vaulted ceiling will look more like this…
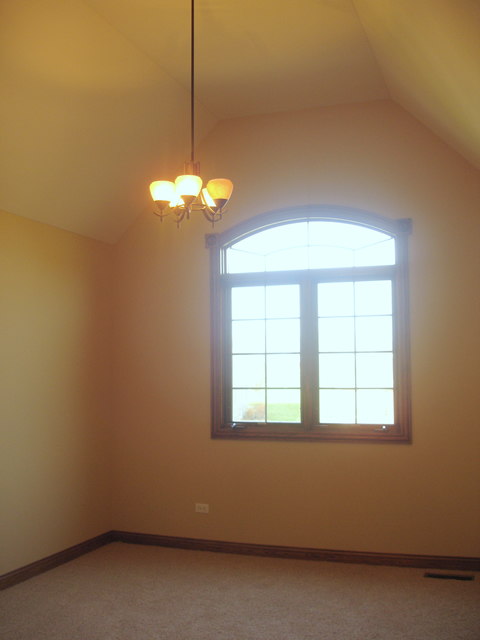
{notice the flat peak…not the aesthetics}
…and less like this…

{once again this picture is for demonstrating a vaulted peak…not aesthetics}
Of course, we’d prefer to have a ‘sharp’ peak versus a flat one but we really need space to hide duct work and to place recessed lighting {since we’re having a hard time finding can lights for slanted ceilings that don’t have a lot of wiggle room between them and the rafters}. Even though we were assured by multiple contractors that collar ties alone would be structurally sound, we’re going the better-safe-than-sorry route and adding in a steel beam for extra support. We will be hiring out for the beam since it’s beyond the scope and manpower of our DIY skills. Once the beam is in place, we can start installing the new ceiling. The jury is still out on what the ceiling material will be. We love the look of a painted plank ceiling but due to cost we may end up with budget-friendly drywall instead. I’ll let you know what happens!
images: 1-4) Dana Miller for House*Tweaking 5) InterNACHI 6) Custom MMIC Design Services, Inc. 7) Benjamin Benschneider for The Seattle Times
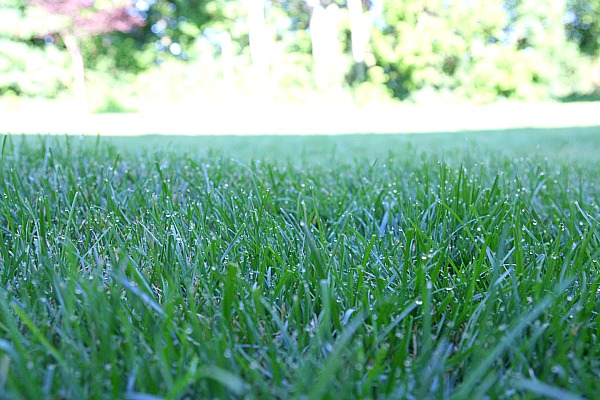
I was sitting in the sunroom with Layne this morning enjoying a cup of coffee, looking out at the peaceful backyard and conjuring up ideas for today’s blog post when I realized that I should share how we keep our lawn green. Last year, we made the decision to go the organic route after visiting a local organic garden and learning more about organic landscaping. We’re lucky enough to live just 10 minutes from Marvin’s Organic Gardens, voted Cincinnati’s Best 2011 Green-Oriented Business. {You may recall this is where we dropped off our live Christmas tree back in the winter to be ground into mulch.} After learning that fertilizer is good for your lawn but potentially bad for your water supply, we bought our first bag of organic fertilizer and haven’t looked back.

Marvin’s supplied us with a little cheat sheet that tells us which fertilizer to apply when. In the summer we apply the 8-3-3 fertilizer once or twice. One bag costs $35 and provides 2 applications. True to organic form, the fertilizer contains soluble {quicker releasing} and insoluble {slower releasing} nitrogen to help avoid over-fertilization which can lead to harmful run off.
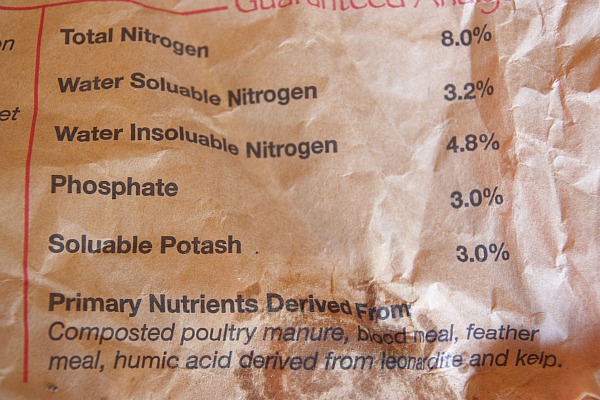
The slower releasing nitrogen also helps our yard to remain healthy during drought periods. In general, this fertilizer helps our yard grow green and strong, independent of weekly treatments and watering…meaning less money and less waste. Good for us and good for the environment. As you can imagine, the manure, blood meal and kelp ingredients lend a certain natural odor to the fertilizer. Let’s just say it doesn’t smell like roses. Once applied, the fertilizer is so dispersed that it’s not like our yard stinks…it’s just when you open up and pour that bag into the spreader that you have to hold your breath.

I happened to snap a shot of the fertilizer just before the spreader was empty the other day while I was fertilizing the yard.

It looks like fish food to me. We haven’t had our soil tested or anything since we started using the organic fertilizer about a year ago, but I do think it’s helping our yard to become more resilient, healthier and less reliant on treatments. While many of our neighbors’ yards were struck by a widespread fungal disease {causing large bare, brown spots} last year during late summer/early fall, our yard continued to remain green and vibrant. No diseased areas – even with fungal diseases in both neighbors’ yards immediately adjacent to our yard on either side. Our one neighbor told us, “I don’t know what you’re doing to your yard, but keep doing it. It looks great.” Both neighbors are relying on twice weekly professional chemical treatments to try and rid their yards of disease this summer. I don’t know what it’s costing them but I’m pretty sure it’s more expensive than $35. Plus, the guy that comes out to spray their lawns always wears long pants, boots and full-arm rubber gloves so the stuff he’s spraying can’t be good. I’d love to tell them about Marvin’s without seeming too pushy but I haven’t found a way to do it yet.
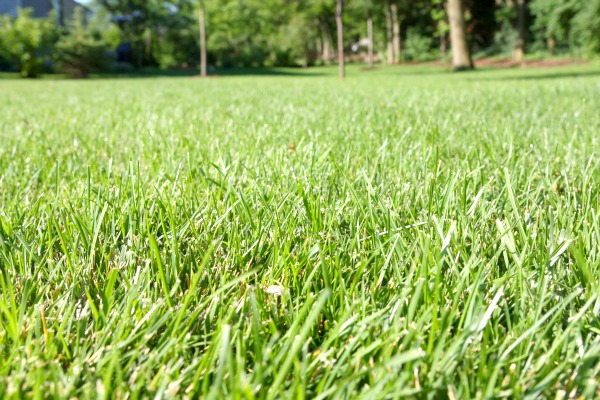
So, that’s how we keep our grass green in a green way. I’ve also used Marvin’s fertilizer to fertilize the plants in our mulch beds too. I just sprinkle a little fertilizer on the mulch around the base of each plant annually to help them grow oh-so-lush.

Have you ever used organic treatments for your yard or plants? I’d love to start my own compost and use it to fertilize. Any tips?
images: Dana Miller for House*Tweaking


DIY, inspiration