
This past weekend we prepped the unfinished bathroom for tile. Steve mudded, taped and sanded the seams in the cement board. Then he shop-vac’d the entire room and cleaned everything with a damp cloth. (Where I come from, shop-vac is a verb.)
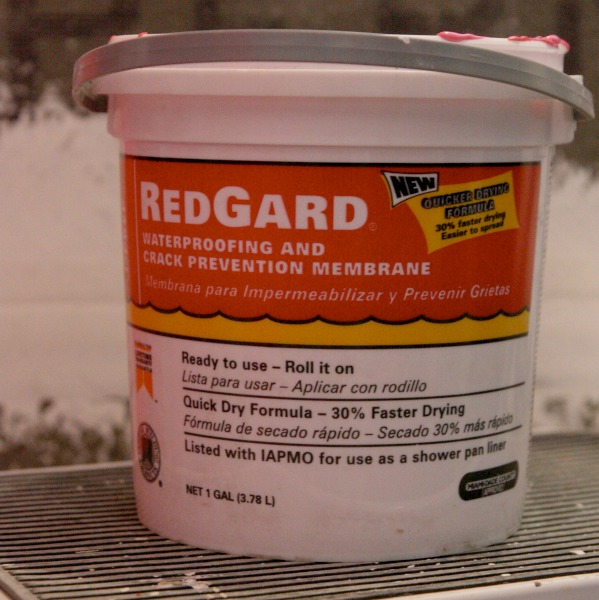
Per the suggestion of a friend who also happens to be a self-employed contractor, we decided to try a new waterproofing product (it’s that hot pink stuff you see above) on the shower walls. It’s called RedGard and can be rolled onto surfaces before tiling to create a waterproofing barrier and prevent cracks.
Some say this extra step isn’t necessary. (We didn’t use this product in the master bathroom because we hadn’t heard of it yet and things are just fine in there.) For us, it’s peace of mind. Plus, we like trying out new products along the way and sharing our experience with others.
The cement board in this bathroom was installed at the same time as the drywall in the rest of the house – which we hired out for. And while the rest of the walls turned out great, the cement board installation in this bathroom was a little wonky. I’m guessing it was the last room to be finished at the end of a long day and was completed in haste. The seams were less than perfect but not enough for us to rip everything out and start over. Steve asked our contractor friend what to do. He suggested mudding, taping and sanding the seams then applying the RedGard. So that’s what we did.
Steve rolled two coats of RedGard over the cement board. The stuff is really thick and stinky. For better control, he used a small roller. This method worked well but the RedGard can also be troweled on if desired. Steve wore a respirator during application while the kids and I spent most of the *mild* day outside. We turned on the bathroom ventilation fans and opened the windows to help dissipate the smelly fumes. Still, it was pretty stinky the day of application.
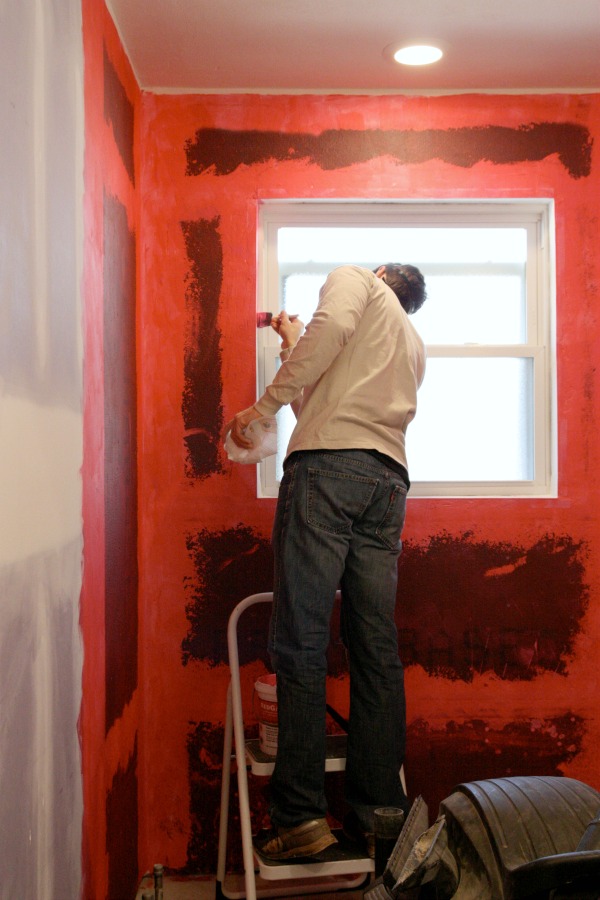
The RedGard turns from pink to red when dry. It dries fairly quickly. See how it’s more red in the image above and pinker in the very first image of this post? That was the time between starting the first coat and cutting in around the window to finish up the first coat. The color is just as garish in real life as it is in these pictures. If not more so. Steve’s vision was screwed up for the the rest of the day after staring at the red-pink walls. The boys were relieved to learn this was NOT going to be the final color of their bathroom!
With the bathroom prepped for tile, we started thinking ahead. The original plan for the room was to use the same skinny subway tile we have in the kitchen for the shower walls and a continuous 36″ high tiled wainscoting around the rest of the room. For the floor, we planned to use carrara marble hexagon tile.
But right at “go time” we were second-guessing these choices. We hemmed and hawed over whether or not to do the tile wainscoting throughout the room…mostly because we knew it would be a lot of work but I also worried it might look too busy. But the more I thought about it, the more I liked the idea of having mostly tiled walls to wipe down from the kids’ splashes and messes. We decided putting in the extra time now for the wainscoting installation would pay off in the form of easy cleaning down the road. Not to mention, the wainscoting will serve as another “layer” in the room and you know how I feel about layers. So tile wainscoting it is!
Then we got to thinking about the floor tile. I love, love, LOVE the marble we chose. But my kids love, love, LOVE to not pee in the toilet. We have two boys and our toddler just started showing interest in potty-training. Need I say more? I knew the white marble wouldn’t last one day in this house without becoming stained. (We have light-colored penny tile in the master bathroom but it’s ceramic and isn’t easily stained like marble.) And I don’t really feel like being a slave to a bathroom floor, no matter how pretty it is.
I wasn’t on the computer two minutes before I found this noir hexagon tile. It’s tumbled travertine and it’s slightly less expensive than the marble we originally chose. We have a travertine floor in our mudroom and it has held up really well to all the mud, dirt, rocks and food my family throws at it so I know the same material will work great in the kids’ bathroom. And can we talk about the color of this tile for a hot second? From a distance it reads black but upon closer inspection there are variations of charcoal, blue-black and jet-black. The color gradient gives it a natural, organic feel. It’s soooooo goooooood. So good we changed our minds. Noir hex it is!
We’re (im)patiently awaiting the arrival of our noir hex order to swap out the carrara we have on hand. Since the floor tile needs to go down before we can begin the wall tile, our progress in the bathroom has come to a screeching halt. So goes DIY home improvement!
In the meantime, I went ahead and created an updated mood board for the bathroom.

1 – barn wall sconce We have the same light over the sink in our master bathroom. We like it so much we’re using it in the kid / guest bath, too. Even though the two bathrooms will feature different finishes, keeping the lighting the same offers some consistency.
2 – imperial bianco 2″ x 12″ subway tile We used this tile for a minimal backsplash in the kitchen. Again, incorporating the same tile here provides cohesion throughout the house which is nice because this bathroom will serve as our main bathroom once finished (eek!) and it’s located near the kitchen.
3 – stainless steel first aid cabinet I bought this metal cabinet eons ago. We’re planning on cutting through the drywall and mounting the cabinet between the studs (recessed so that it’s flush with the wall) for hidden storage in the bathroom. I haven’t decided if it will hang above the toilet or on a sliver of wall next to the sink. Probably next to the sink?
4 – noir hex! Most everything else in the bathroom will be white or wood-toned so I’m banking on this tile for some high contrast.
5 – tork brass dripping mirror I like adding circles to boxy rooms so I’m thinking a round mirror will go above the vanity. I like the thin brass frame of this one but I’ll probably wait until most of the fixtures are in place before I finalize the mirror selection. As much as I like softening sharp lines with rounded edges, I wouldn’t be opposed to a rectangular one if it “fits.”
6 – cognac vanity with marble top We bought this vanity over two years ago on sale at Home Depot. I can’t find it available anywhere now. We bought it for the inexpensive price, open frame and clean lines. I’ve read it’s a pain to assemble and install so we’ll see how it goes.
7 – claw foot tub with wood base Do you remember the claw foot tub we found on craigslist? It had four feet when we bought it, three feet when we got it home and now it’s down to two. (!) The plan is to DIY a simple wood base and forego the claw feet all together. I have a feeling we’ll be flying by the seat of our pants during this project as I haven’t come across any detailed DIY’s for wood tub bases. It might not work out but it sounds fun so we’re giving it a go. We’re trailblazing!
We’re itching to whip this bathroom into shape. Whenever we’re in the middle (or even beginning stages) of a project, it feels like a major waste of time (and, honestly, a complete drop in confidence) to take a step back and reassess our plans. But sometimes it leads to changes that make more sense in the long run. That’s how I feel about our decision to switch up the floor tile in the kids’ bathroom. It’s a good change.
Do you find yourself second-guessing every step of a project? Does it help or hinder you? We’ve seen it go both ways for us. Sometimes taking a second look at plans reaffirms our original decisions which gives us a boost of confidence to forge ahead. Other times, we doubt certain aspects and end up completely paralyzed which usually results in the project getting pushed further out.
Oh, home improvement, why are you so addicting?
images: Dana Miller for House*Tweaking


DIY, inspiration, interior design, kid-friendly, mood board, renovation