...because home doesn't happen overnight.

wood bead strand 13

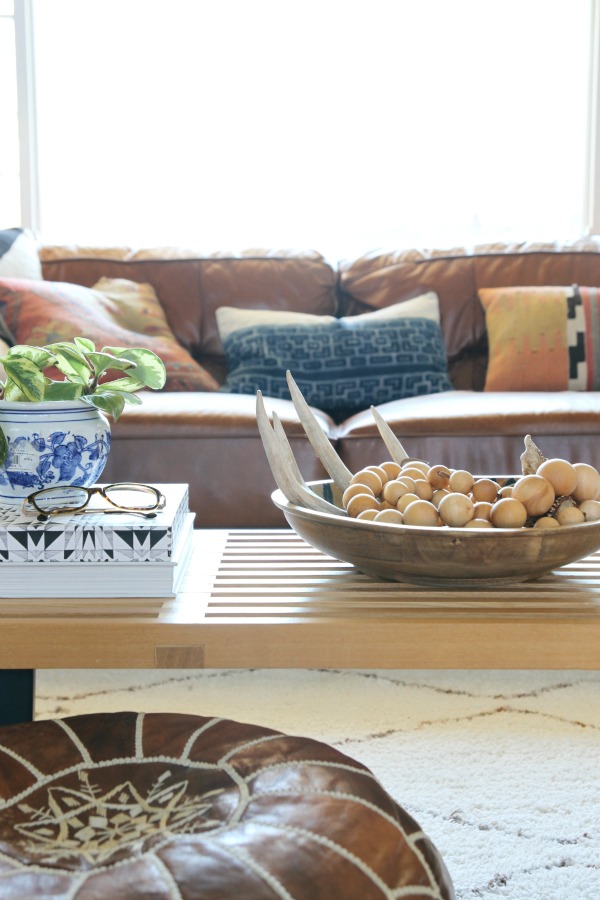
Wood bead garlands have been popping up in interiors for years. I think I first noticed them styled in Scandinavian vignettes. Then they became pretty popular as holiday garland on trees and mantels. More recently I’ve spotted them casually gracing tabletops in interiors with a natural, organic vibe. (Lauren Liess’s coffee table and Anissa’s dining room table come to mind.) I love how effortless they look. Oh, this ol’ thing I just tossed on my table?

A few weeks ago when cabin fever hit hard, I was itching to make something. Putting my spin on the famed wood bead garland sounded fun so I gave it a whirl. Obviously, I’m not reinventing the wheel here but it was nice busying my hands and tweaking little details to my liking. Here’s what I did…

wood bead strand 1

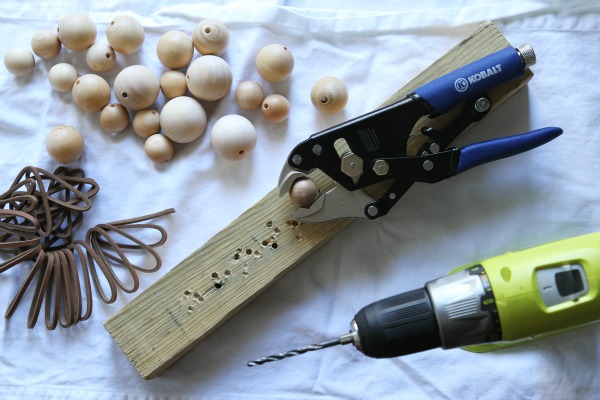
I knew I wanted a pretty substantial strand with a longer length and chunkier profile (no measly little necklace of wood “pearls”) but when I started gathering my supplies I quickly discovered that pre-drilled wood beads are expensive! And I needed quite a few. To save money, I ended up buying wood balls in various sizes and drilling the holes myself. I bought three bags of 1″, two bags of 1¼” and one bag of 1½” wood balls along with four yards of leather cording. I raided the garage and found some heavy duty grip pliers to stabilize the balls during drilling.

wood bead strand 2

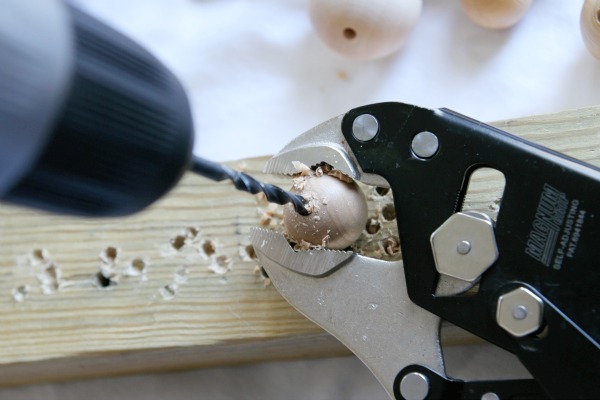
One by one, I placed each ball on top of a scrap piece of wood, secured the ball with the pliers in one hand and drilled a hole through the center with my other hand using a 3/16″ drill bit. (I’m a lefty so if you’re a righty flop the image above for a better visual.) You can drill whatever size hole you want. The key is to drill a hole at least slightly larger than your preferred stringing material: rope, string, jute, yarn, etc. Keep a firm grip on the pliers!

wood bead strand 3

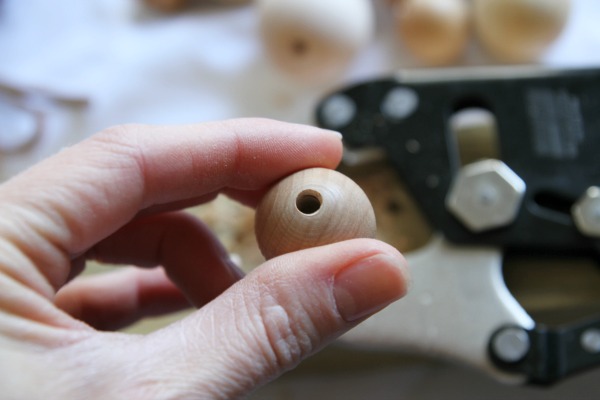
Drilling through the ball into the wood scrap below prevents splintering and produces a clean cut. Ideally, this would be an outdoor project but below-zero temps kept me indoors. I kept the vacuum nearby and swept up sawdust as I went along.

wood bead strand 4

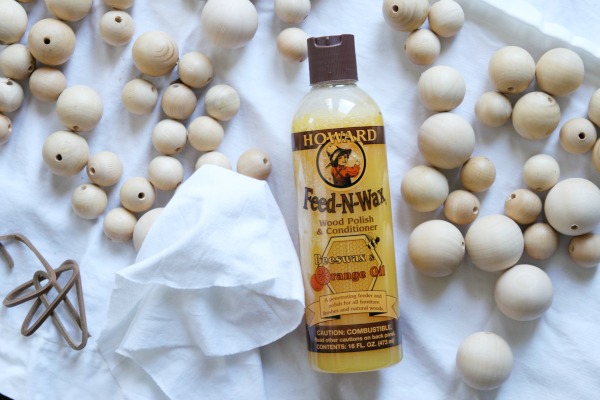
After all the holes were drilled, I wasn’t digging the cool grayish tones of the unfinished maple. I busted out my trusty beeswax + orange oil wood conditioner (previously seen here) and applied it with a soft cloth.

wood bead strand 5

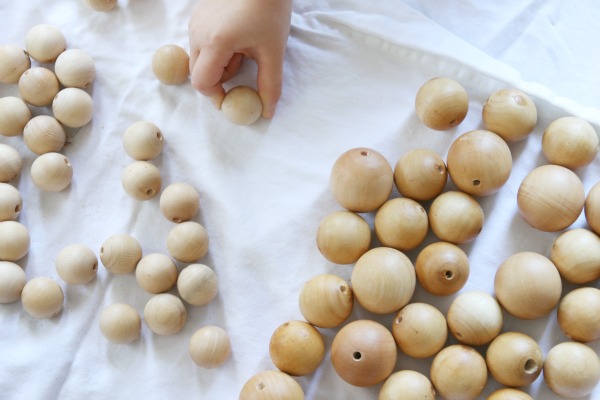
This was about halfway through the waxing process. The beads on the left are unfinished. The beads on the right are waxed. I love how the beeswax warms up the wood tone and emphasizes the graining. Instant patina!

wood bead strand 6

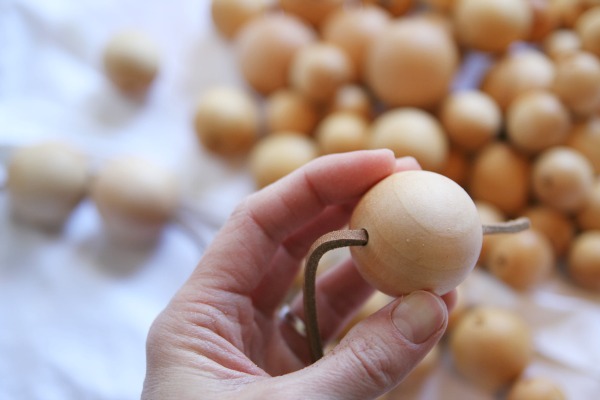
Once waxing was complete, I strung the beads onto the leather cording.

wood bead strand 7

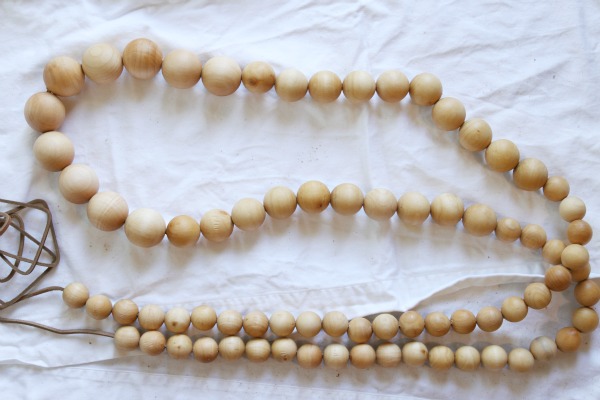
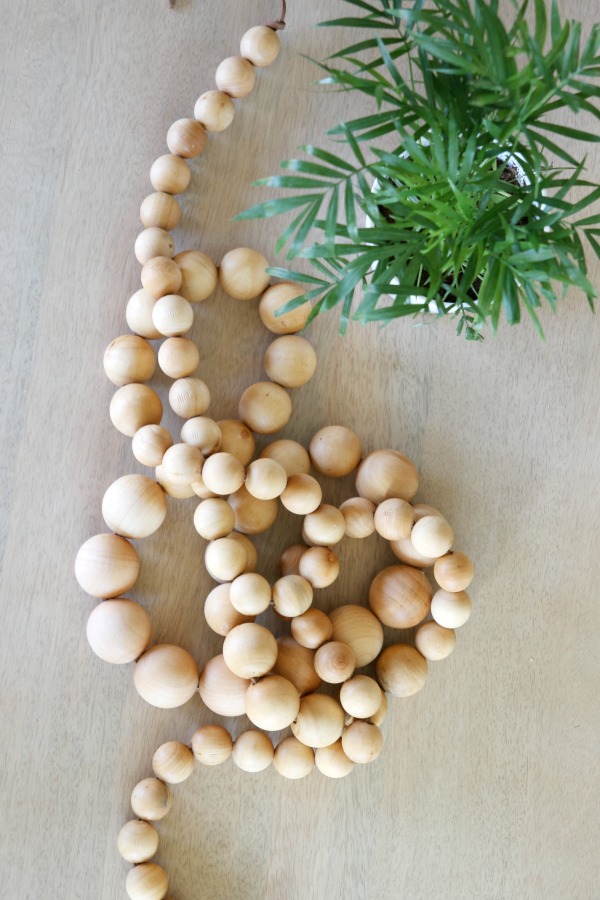
I decided to string the largest beads near the center of the garland and the smallest beads near the ends for a graduated effect.

wood bead strand 8

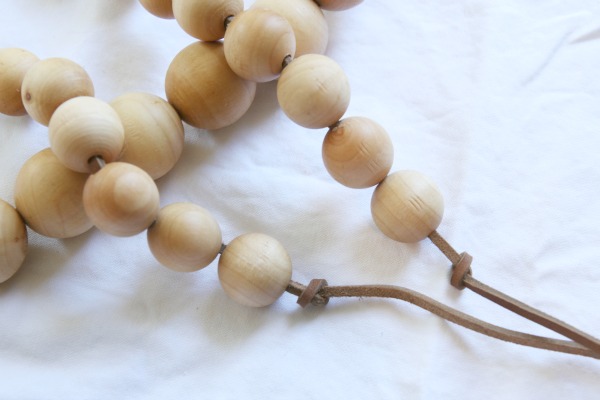
After all the beads were strung, I went back through and spaced them out a little so the garland wasn’t too stiff and had some play in it. I wanted the garland to drape easily. I knotted the ends and cut the excess cording. Done! (You could also tie the ends together to create a circular garland.)

wood bead strand 9

The end result is so pretty in a natural, unfussy way. I love that you can see little indentations from the pliers. Living proof that they were touched by hands – not just a machine. There’s really no wrong way to style them. They kinda just do their own thing and go with everything. They’re the J. Crew of home accessories. I’ve already had a heyday trying them out all over the house.

wood bead strand 10

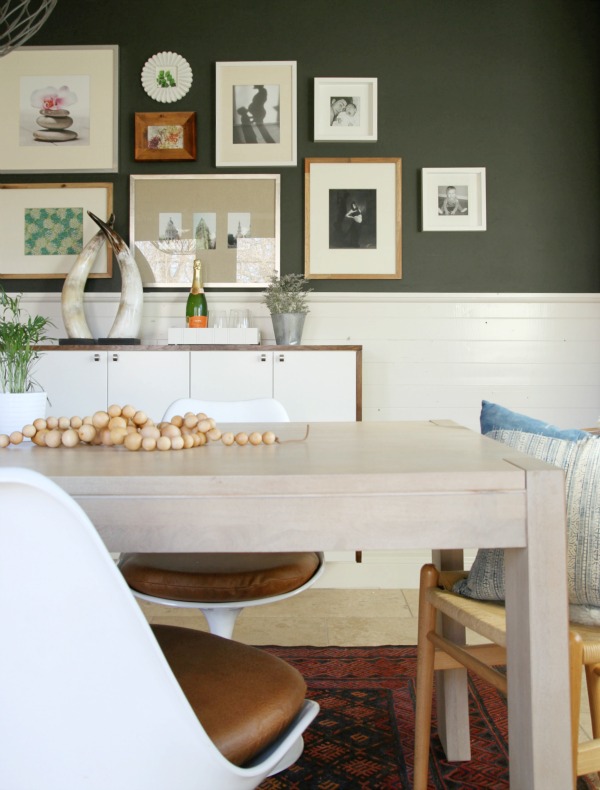
As a cat-friendly centerpiece on the dining room table.

wood bead strand 11

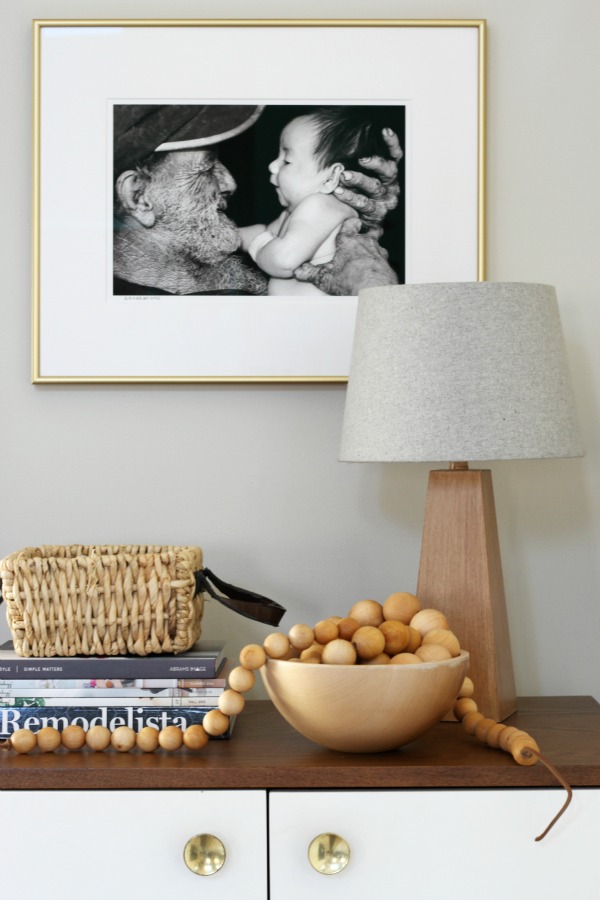
Spilling out of a thrifted bowl on the media cabinet.

wood bead strand 12

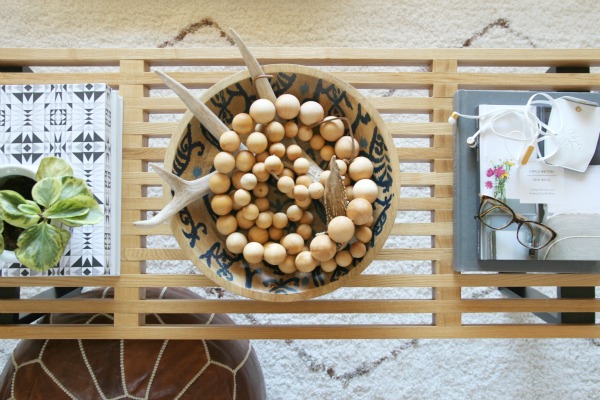
Curled up in a large bowl on the coffee table.

wood bead strand 14

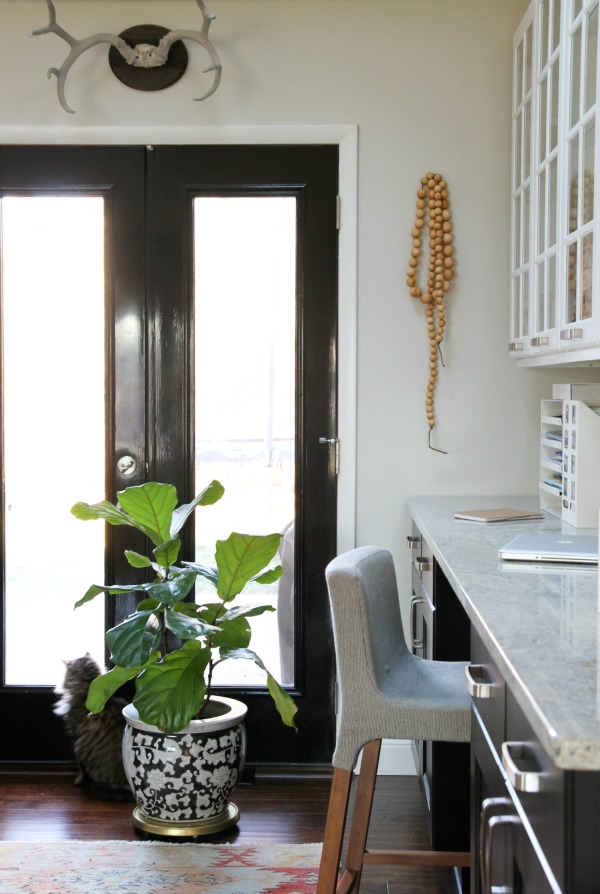
Dangling from a hook on a sliver of wall.

wood bead strand 15

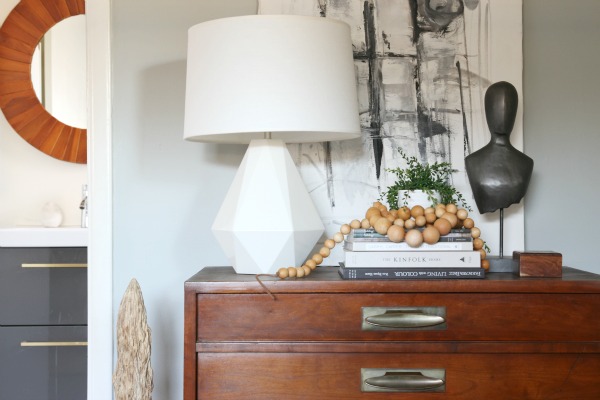
Draped over a pile of books on my dresser.

They’re so versatile. I keep moving them around. Who knows where they’ll end up. I’m going to start a new blogger game called Where Are the Wood Beads? Should be a good time.

images: Dana Miller for House*Tweaking

53 Comments

03.February.2016

I’ve always wanted to craft something with round wooden beads and leather, I love the natural look, thanks for the tutorial. I wouldn’t have thought of putting a piece of wood under it, I probably would have drilled straight into my dining table like my husband did yesterday when he was drilling holes in to some wood knobs we are making for the kitchen cabinets.

03.February.2016

I have to say that they DO look great in just about every setting, but I think I would laugh out loud if I actually saw them in someone’s house. I was JUST making fun of them after seeing them in an interior designer’s reveal video earlier this week. And now, here you are, making me reconsider my position: ) Do you plan to use them only for styling shoots, or will you actually use them as a decor item in the house?

03.February.2016

They’re still draped across my dresser for now! Definitely a keeper (not just for photo shoots) in my book. I think they’re actually a great idea for a dining table centerpiece. They’re evergreen, maintenance-free, pet- and kid-friendly and don’t take up vertical space so you can actually see people across the table.

03.February.2016

It happens to the best of us ;)

03.February.2016

The strand reminds me of oversized mala beads, which we love in our house (my hubby is Buddhist). If I was to do this I might use some sort of metal as well to add another organic element. Thanks for the creative inspiration!

03.February.2016

Blogging game? Ha…let’s make it a drinking game.

03.February.2016

I love it on the stack of books! Very pretty :)

Definitely one of those “why didn’t I think of that!” moments. Love this so much! And hooray for a “craft” that actually has longevity in the home.

03.February.2016

looks like way too much effort for the finished product, sorry

03.February.2016

I don’t get the appeal, but you like it so it’s all good ha! They would make a great plant hanger. What kind of plant is that on your dresser? It must be a low light plant right? I have heard you say your bedroom does not get a lot of light. This post has more plants than I remember ever seeing. Would you do a plant post?

03.February.2016

I didn’t know wooden beads were a thing, so now I’ll look for them!

I really love wooden beads (and pegs) – anything with a simple shape that is repeated. I bought some wooden beads a few years ago and painted them for a bedside lamp for my youngest daughter. I love the way they turned out.

http://www.thirdstoryies.com/2014/01/05/unwrapping-bedside-beaded-cord-lamp/

I think the natural wooden strand might be pretty in the master bath project we’re working on right now. Thanks for the idea. I’ve got a bag of leftovers from the lamp project I could use. (Predrilled!!)

03.February.2016

Long time reader, first time commenting. I’ve been drooling over these move room to room on Housesevenblog’s insta. I never thought of DIYing! Thanks for sharing!

03.February.2016

I’ve been eyeing Anissa’s coffee table top beads for awhile now. Thank you for the DIY fix to achieve the look of the BIG wood beads. Did you sand each and every bead before stringing?? Is that 90+?

03.February.2016

I really love them and you are right… so versatile! I need to ask, do you have links already posted somewhere else about the pillows on your sofa? I love, love, love the whole natural, vibe of your home and your use of texture!

04.February.2016

The black and white “X” pillow is from CB2. The two kilim pillows are from etsy and eBay. The Hmong (indigo) pillow was a DIY. I sewed the pillow cover using fabric I found on etsy. See the project here…

https://www.housetweaking.com/2014/08/21/i-think-im-sewing-again/

Hope that helps!

04.February.2016

No sanding required! The balls are smooth to begin with. I just knocked off the sawdust after I drilled the holes, before waxing. I think the total number was 78?

04.February.2016

Oh my goodness, that project is super cute! And I love the little built-in bookcase.

04.February.2016

Spoiler alert: that plant is fake. I can’t keep anything alive longer than a week in my north-facing bedroom. You have a great memory! I finally settled for this faux number from IKEA. It’s surprisingly realistic. Adding a plant post to the to-do list!

04.February.2016

I know. It’s something I will actually keep and move around! It would look great in your house ;)

04.February.2016

Even better.

04.February.2016

Mala beads and Rosaries both crossed my mind ;) It also reminds me of intestines. Ha!

You’re right. You could totally add other embellishments to suit your taste. Love the idea of adding metal!

04.February.2016

Gorgeous, but oh my goodness, I do not ever have the time with 5 kids to drill individual beads! I think I will keep my eyes open at second hand stores. Or if I really want it, spend the money and not the time to recreate the look.

04.February.2016

My Grandmother always had natural wooden beads strung around the house. Her favorite red painted ones ALWAYS hung like garland around the trim of her front door! She also used them on her Christmas tree and for “snakes” when we were little visiting! Last year she passed and we ALL wanted some beads so we could hang them in our own homes!

04.February.2016

I love this look! Thank you for the tutorial! Where did you get the large bowl on your coffee table?

04.February.2016

Target, a few years back!

04.February.2016

Such wonderful memories and what a cool way to pay homage to your grandmother!

04.February.2016

If DIY isn’t your thing, you can always pay extra for pre-drilled beads! Honestly, is was kind of meditative and Mabrey helped me wax and string the beads.

04.February.2016

Thanks for the info. I wish I lived closer to IKEA. It is a sweet looking plant.

04.February.2016

I have wooden beads from Pottery Barn but I like these so much better. Great DIY (and awesome photos/styling too!)

04.February.2016

How much did this end up costing you?

04.February.2016

I really enjoy your blog. It’s nice to read a ‘real blog’ that hasn’t sold out. You have principles and stick to them and that’s rare. I love that you used this diy as a meditative tool, too. Everyone always assumes “I’m too busy”, but it’s all mentality and priorities. Skip TV for two nights. ;)

(You also deal impressively well with the negative comments.)

04.February.2016

Love this! So simple and yet so pretty. Thanks for sharing!

05.February.2016

Hi Housetweaking

Good post :)
I would really looking forward with these.

Easy to make, durable, and the risk of getting it over whelmed is much less.
I would be eager if you could provide me with, what other kinds of materials we could bring into
for making something more fascinated and creative tweaking.

Hope you could bring up of some more and yeah your tutorials would be very helpfull for creating those
tweaks. :)

Have a good week ahead

Shantanu sinha

05.February.2016

Do you get emails from Design Within Reach? I just received one that had a photo of a standing mirror with a string of wood beads hanging off it! ha! :)

05.February.2016

What a rad little craft project. Thank you! Your dining chairs are fantastic, by the way. Did they come with leather pads (and if so who made them) or did you make those too?

05.February.2016

Yassss. I’ve been wanting to do this for months and was so frustrated with how expensive pre-drilled beads were. I’m so glad I have you to do the hard work of sourcing the parts and I just now have to put it together.

Thank you!

I love this! So versatile! I just pinned half of your pics onto different pinterest boards of mine. Love your style :)

08.February.2016

Love the beads…can you tell me where you got the lamp on the media cabinet? Love it.

09.February.2016

Hello!
What a great idea for home decor. Unfortunately, I am pretty sure I need some male help! Jess is actually right – if we don’t have the time, why not go to the store? :)

10.February.2016

Target!

10.February.2016

The chairs pads were originally white polyester and I knew they wouldn’t hold up to the kids. I had them reupholstered (by a local upholsterer) in a vinyl leather lookalike. They are super easy to wipe down and have proven to be very durable.

10.February.2016

No, I don’t (I recently unsubscribed from a bunch of email lists) but I’m sure I would love it!

10.February.2016

Thank you for your kind words Carolyn.

10.February.2016

Recently? I’m not seeing it anywhere online. :(

11.February.2016

Thank you for the idea – I made this exactly last weekend and LOVE them. They do look great everywhere.

12.February.2016

Loved this tutorial! I followed it (though I ended up finding pre-drilled beads for a decent price so I skipped that step) and love, love the end result! You’re right, the wax is key to making them look authentic. I love a good DIY that actually turns out how you expect it to and doesn’t require a lot of time! Bravo!

15.February.2016

So happy you were able to replicate! Sometimes I worry my tutorials aren’t descriptive enough.

19.February.2016

Thanks for this idea..Very nice Blog

21.February.2016

They remind me of anal beads. Sorry.

22.February.2016

Well, I’ve never seen those so I’ll take your word for it ;)

26.February.2016

Just wondering where you purchased the beads? Love the look, thanks!

02.March.2016

There are links within the post to the actual beads I purchased and used for this project. Just click on them to see!

05.July.2016

I was looking this sort of thing up cause a boyfriend of mine was mentioning I had some string around my bed when we were younger. He raised his eyebrow and I defended rapidly against what I thought he was thinking. Lol! In a bedroom setting, what are you truly trying to portray…;D