Steve and I are headed to Nashville this weekend for a much needed adults-only getaway. We try to take a trip just the two of us once a year. Sometimes it’s a big deal, and other times we visit far-flung friends (and ogle their kitchen). I get a little anxious leading up to trips like this. Who will watch the kids? Who will feed Cheetah? What if something happens to our kids/house/pet while we’re away? Is it really worth the effort just for three days? The planning is the hardest part.

It’s always worth it though. Once we’re on the road without kids whining and making demands in the back seat, we both agree the quiet drive is a vacation in itself.
Now for the big question: What do we do/eat/drink/see while we’re in Nashville? You guys always have the best suggestions!
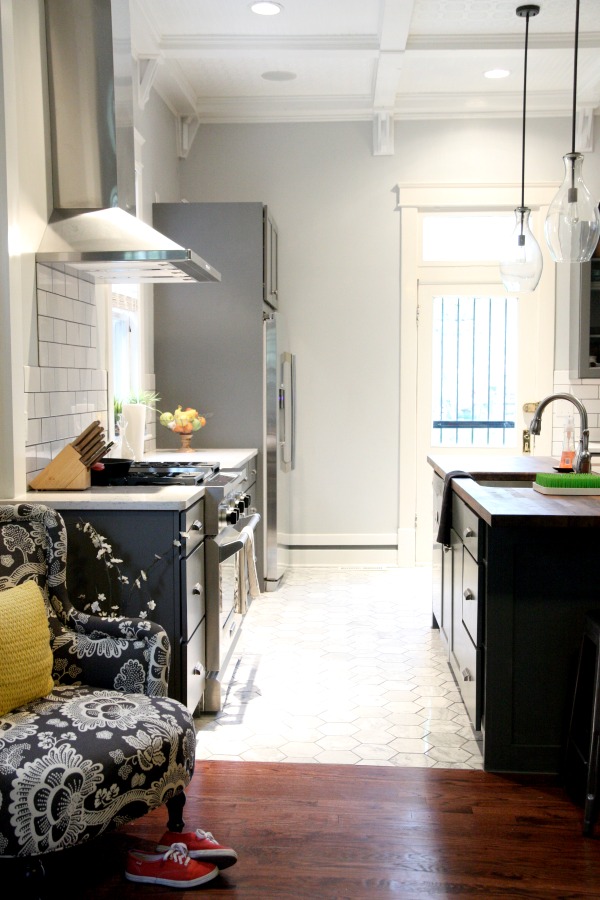
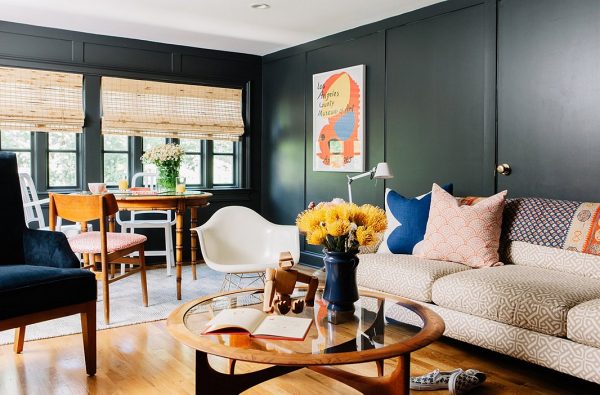
P.S. – A new kitchen in an old Nashville house and a fun Nashville house tour. I love the patterned sofas!
images: 1) Dana Miller for House*Tweaking 2) Leslee Mitchell for One Kings Lane
I have fond memories of my mom cooking in the kitchen. She could quickly scan the contents of the fridge and pantry and whip up a homemade meal based on her inventory. When she bought groceries, she planned meals on the spot according to what was on sale that week. All with a smile on her face and four kids in tow. Sadly, I did not inherit my mom’s culinary skills.
These days I cook frequently and I’m actually a decent cook, but cooking didn’t come naturally and it wasn’t an innately joyful experience for me right from the start. However, over the years, I’ve come to enjoy it. (!) Here are a few things that make cooking more enjoyable for me.
Planning ahead. By 5:00 p.m. my brain is fried and my patience tank is nearly drained. It’s much easier for me to start dinner prep when I know what I’m making and when I have all ingredients on hand. Having to put meal prep on hold (or cancel it all together) to hunt down a missing ingredient is THE WORST. So once a week I glance at our family calendar, plan seven to eight dinners and make a grocery list. Every week is different. When things are running smoothly (rarely!), I plan an entire week of homemade meals. Other times, I pencil in Chipotle when Mabrey’s ballet class runs close to dinnertime. In my book, planning a meal out is still meal planning!
When it comes to grocery shopping, I like to tackle it the same day each week. For me, that’s Wednesday. The boys are in school, the stores are well stocked and I avoid the weekend crowd. (When I was working second shift as a pharmacist, I would shop for groceries at a 24-hour store once a week after my shift was over to avoid crowds and make it a kid-free errand.) If someone is sick or our schedule is unexpectedly thrown off and I’m not able to get to the store, there is a local grocer that offers curbside pickup. I put in an online order and Steve picks it up on his way home from work. The few times I’ve done this, it’s been a lifesaver.
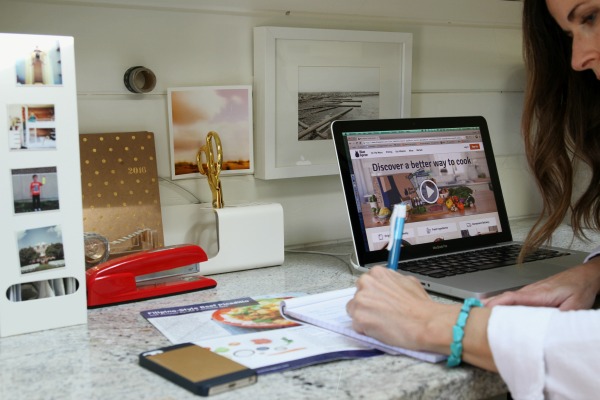
For weeks when I anticipate total chaos (like when Steve is traveling and I’m flying solo), I set up a Blue Apron delivery. I’m able to select which meals I want to try and get fresh ingredients in exact proportions delivered right to my doorstep in a refrigerated box. Typically, I order two dinners from the family plan. It might not sound like much, but subtracting two dinners from my weekly meal planning helps tremendously. That’s two fewer meals I have to think about. Blue Apron is great for week-long vacations, too. (Just remember to change your delivery address before and after vacation!) I have it delivered to our destination at the beginning of vacation. It gives us a chance to get our bearings and hunt down a local grocer if necessary. I supplement with food I bring from home, and we always like to try out local restaurants as well.
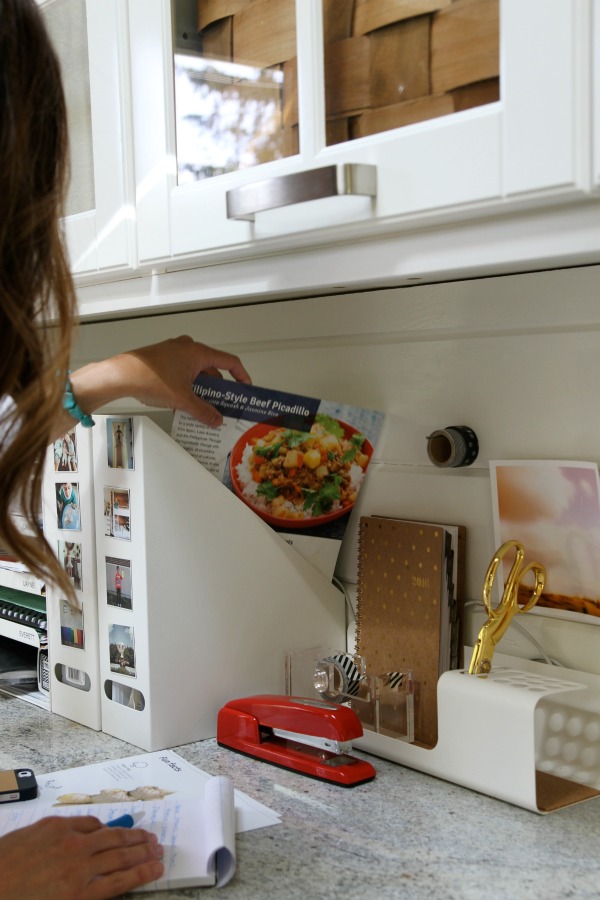
Crowd-pleasers. Finding a meal that checks all the boxes for five people can be challenging, but, when I know I’m making something everyone will eat sans complaints, it makes my job more enjoyable. Oftentimes, I get stuck making the same things over and over. When I’m in a rut, I bust out Blue Apron recipes that I’ve tried in the past with success and recreate them with store-bought ingredients. I keep recipe cards of our favorite meals in a magazine file at the kitchen desk for reference, and sometimes I browse the online cookbook. To this day, our favorite family meal is the first one we tried!
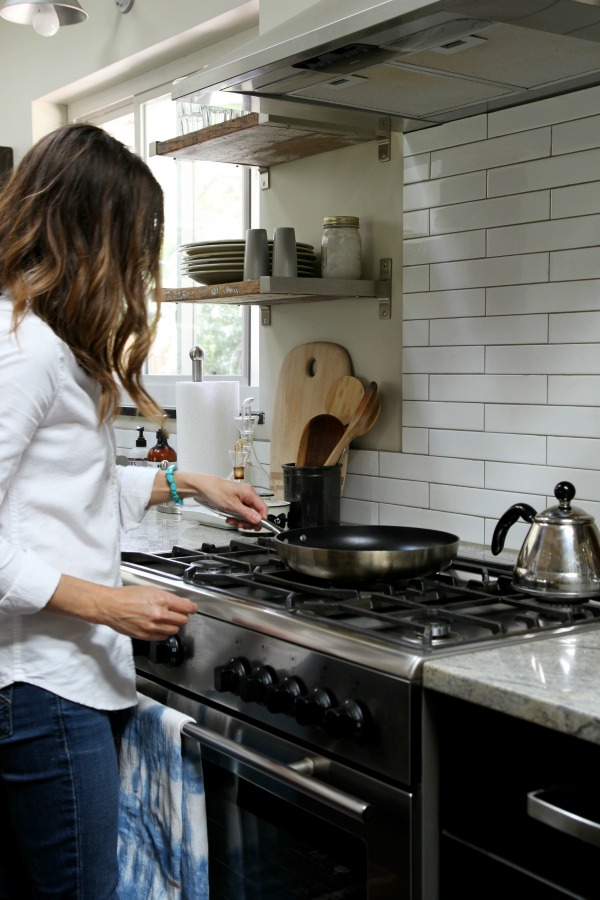
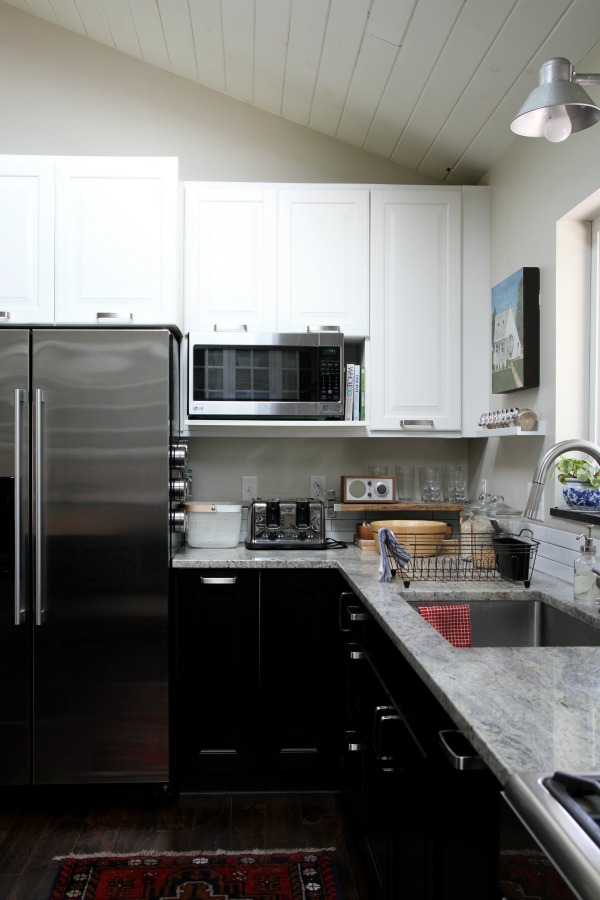
The right tools. For me, that means quality over quantity. I’d rather invest in one really good, versatile piece that I use on a daily basis than a dozen meh things with very specific purposes that I use maybe once a year. Over the long run, buying this way usually costs less. I recently replaced a cheap, nonstick pan we bought over ten years ago. Ironically, everything stuck to the pan and I found myself mumbling four-letter words under my breath every time I used it. Cleanup was a disaster requiring extensive scrubbing even after a long soak. I invested in a Scanpan from Blue Apron’s market and, oh my word!, it’s a game changer. It produces flawless dippy eggs (a.k.a. eggs over easy) and is a cinch to clean. It’s also nice to know that a bunch of toxic chemicals aren’t leaching into our food.
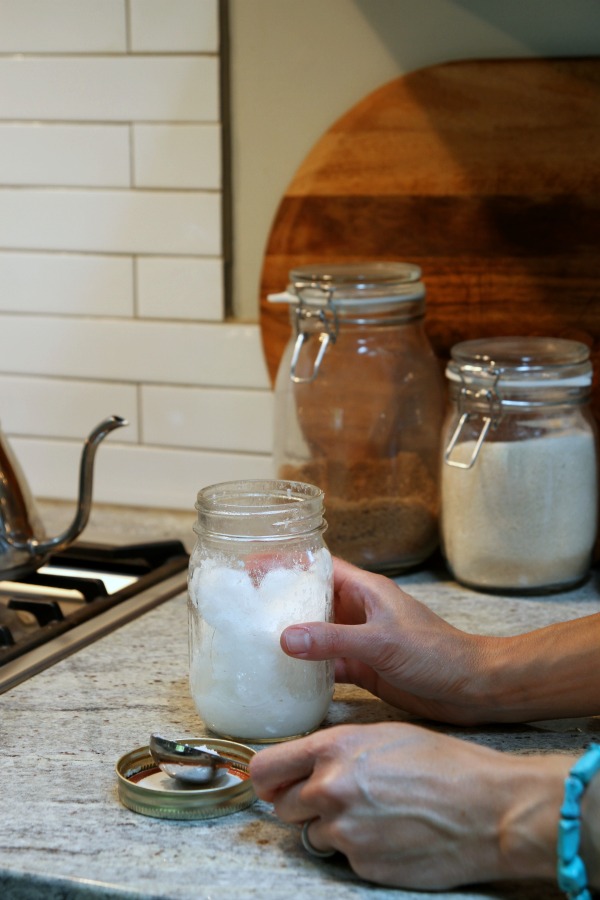
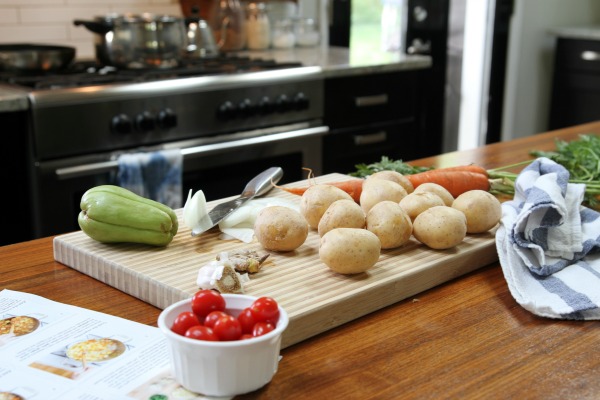
Here are a few more kitchen items that I use on a regular basis which make cooking easier and more enjoyable for me: a gas range (so fast! so efficient!), non-drip oil and vinegar cruets (they also make great wedding and housewarming gifts), easily accessible spice jars, a wooden spoon rest (I broke no less than three ceramic ones before investing in a robust wooden one), coconut oil in a mason jar on an open shelf (I keep an oversize bulk jar in the cabinet and refill the mason jar as needed), stainless steel measuring spoons and cups, a vegetable knife (the 365+ knife line from IKEA is surprisingly awesome), a large cutting board and a multipurpose set of ramekins (I use them as ingredient, snack, dessert and dip bowls).
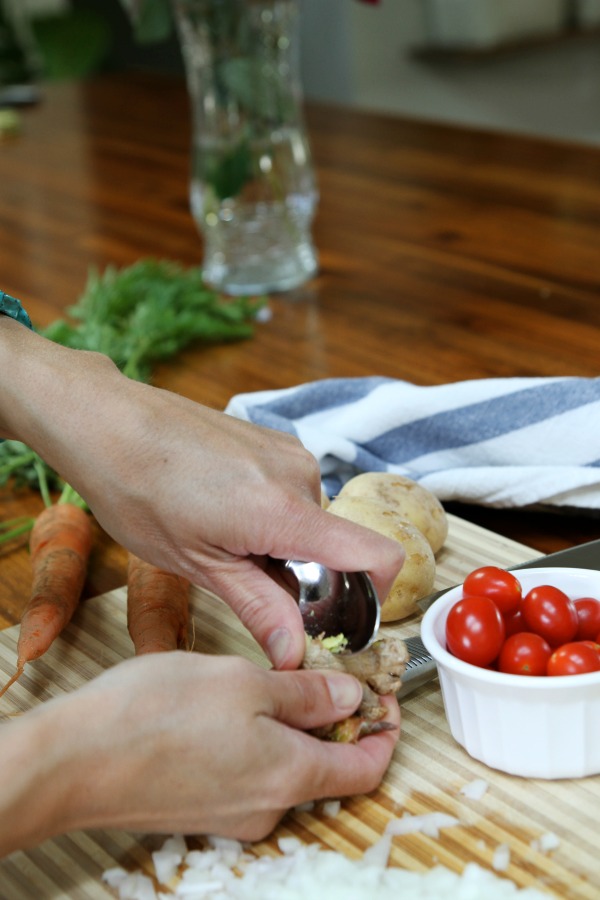
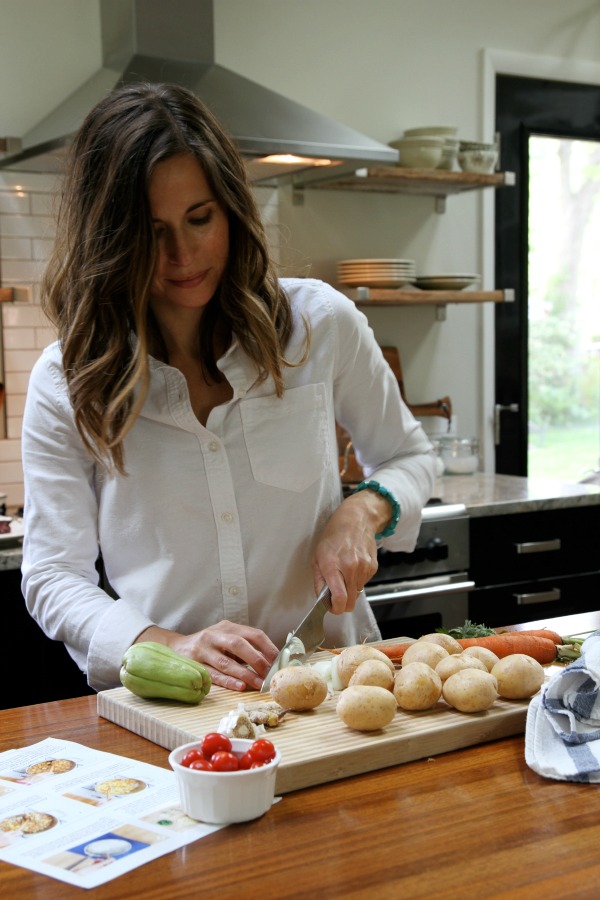
On a different note, I detest using a peeler. I grew up watching my mom and grandma peel fruit and veggies with a paring knife and that’s how I like to do it. Although, did you know the easiest way to peel ginger is with a spoon? That’s one of the many little tricks I’ve picked up from Blue Apron over the years.
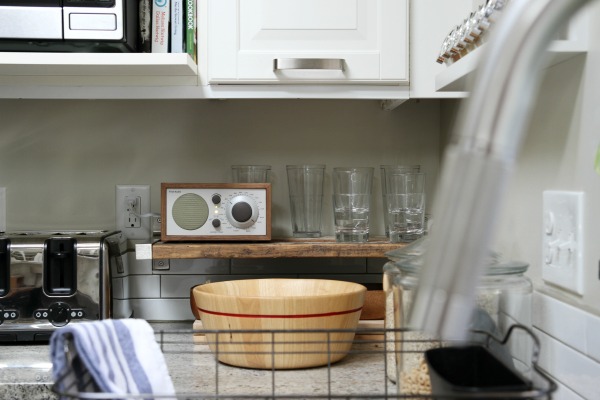
A soundtrack. I enjoy cooking way more when I listen to music, podcasts, TED talks or NPR. Earlier this year, I added a small radio to a corner shelf in the kitchen and it makes me ridiculously happy. It’s become part of my cooking routine. Something about having music or an audio story playing, keeps the kids calm and interested, too, which is a nice bonus.
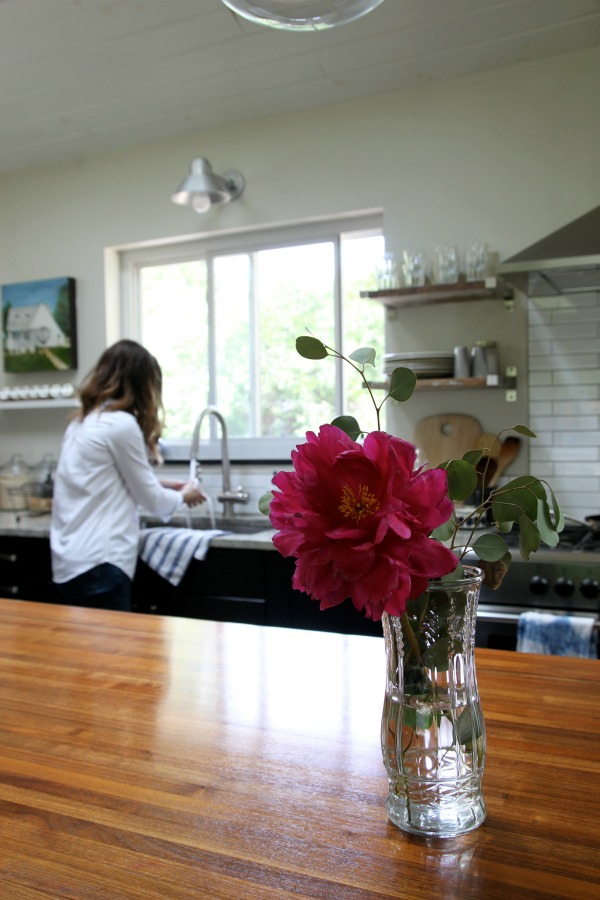
A tidy kitchen. When it comes to cooking, I like to start and end with a clean kitchen. Before I start prepping a meal, I quickly brainstorm my next moves so that I use the least amount of cookware possible. It should come as no surprise that many of my favorite meals to prepare are one pot recipes. (I love Blue Apron’s beef picadillo recipe just for this reason. I cheat and use microwavable rice.) I heard somewhere that the best cooks clean as they go. If that was the only criteria for culinary success, I’d maybe have a chance at becoming a world-renowned chef. Ha! When our bellies are full and the dishes are cleared and the dishwasher is humming along, now that’s my happy place. Top it off with a glass of wine and I’m on cloud nine.
Do you like cooking? Does it come to you naturally? What do you do to make it more enjoyable? Do you have a dedicated grocery shopping day? What is your favorite everyday cooking utensil? Any podcast recommendations? Also, I’ve been thinking about doing a little kitchen tour. You know, have a look in the drawers and cabinets to see how everything is laid out. Is that something you’d be interested in? I’d love to hear your thoughts.
If you’re new to Blue Apron, the first 25 readers can score two free meals on their first order by clicking here.
P.S. – An organized sink cabinet.
*This post sponsored in part by Blue Apron. Thank you for supporting the brands that support this blog.
images: Dana Miller for House*Tweaking


family life, inspiration, interior design