Ever since I can remember I’ve always had a weird obsession with peeking in people’s homes at night. Okay, that sounds weird. But it’s not the people I’m looking at. I’m looking at the house. The innards of the house. There’s something about seeing lights on, a TV flickering and pictures on the walls that grabs my attention. When I drive by my favorite local homes at night, I slow down in hopes of catching a glimpse inside. Total stalker. I know.
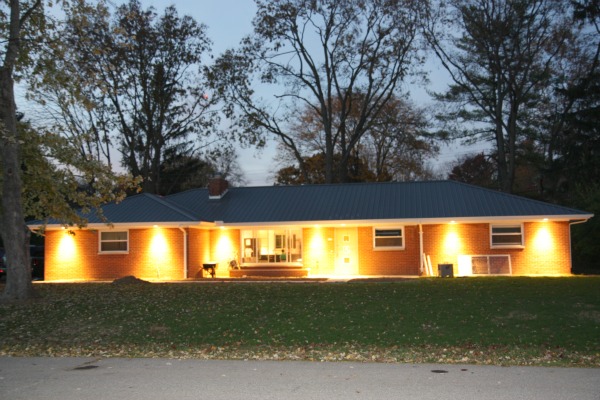
The weather was so beautiful tonight {I’ll take upper 70’s and sunshine in late October anytime Mother Nature} that I slipped outside to peek into my own house for fun and realized that I’ve totally forgotten to show you the exterior lighting we added to the Underdog. Forgive me. Also, please forgive the aftermath of our new hardscaping. Yes, that is the original screen door lying horizontally propped up against the house and a wheelbarrow to the left of the picture window and a hose reel on top of the brick planter. Junking up the front yard. We’re cool like that. If you look closely, you can see our grassy lawn too!

Our electrician-in-law urged us to go with exterior downlighting installed under the eaves. HH and I hadn’t really thought too much about exterior lighting and, if our EIL hadn’t mentioned downlighting, we probably would have added landscaping up lights instead. We’re so happy that we went with the downlighting! Our EIL placed the recessed lighting so that it washes flat areas of the brick facade. We like that it warms up the brick and gives it a soft glow. That way there’s no annoying bright light shining in through any windows to the interior.

Are you peeping in my window? Haha! That’s okay. I’ll let you look in mine if you let me look in yours.
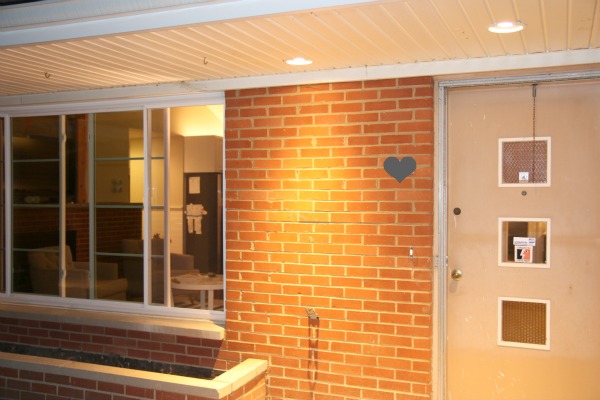
You can see in this picture how the lighting is placed closer to the house to illuminate the brick {accent lighting} and then further out from the front door to act as task lighting. The gray heart is covering our house number. Seriously. How does one see a house number that small from the road anyways? We might as well not have one. Which is why we have plans to replace it with larger, more modern numbers down the road. Well, not literally down the road. You know what I mean.
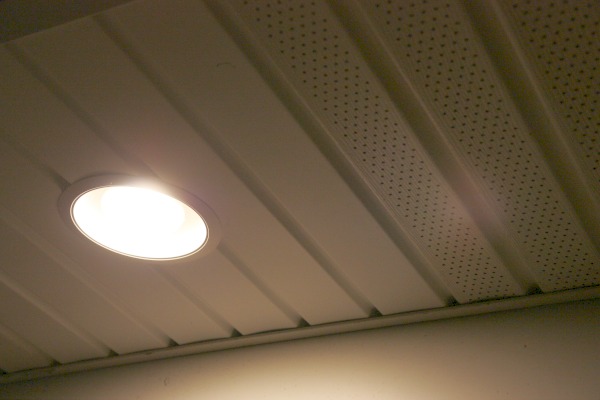
After living with standard incandescent flood lights for only a few months and almost all of them burning out, HH decided to look into replacing them with LED’s. I was leery. Typically, I don’t like LED’s because I associate them with a cold blue light that feels sterile – not warm. HH did some research {the man loves his research} and found a Sylvania 50W 2700K soft white flood light. It’s an LED good for 50,000 hours but gives off that warm glow I love so much. HH tracked a bunch down when they were on closeout a few weeks ago, hitting up several different Lowe’s stores to acquire enough for our house. Even at the sale price, these bad boys weren’t cheap. We paid $39.97 a pop! But they’re guaranteed to last three years or we get a full replacement. Sweet. If you’re interested, this is the newer available version.
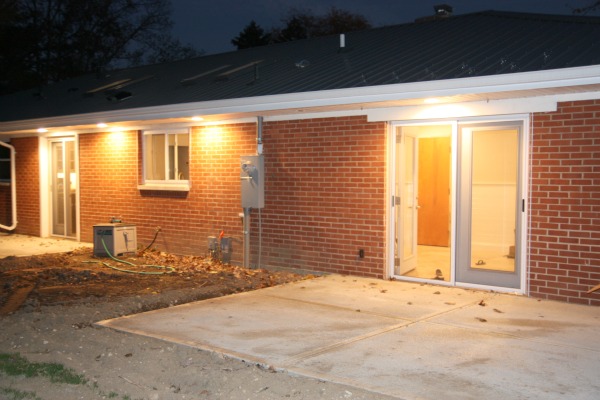
The back of the house has downlighting too. And two new patios {!}. We’re replacing the back lights with LED’s as they burn out. We don’t turn on the back lights as frequently. You can see one light is burnt out now and needs replaced.
And because I like peeking in houses at night so much, here’s a shot of mine. Complete with kid lunches on the island in preparation of school tomorrow.

I’ve been wanting to reveal the kitchen backsplash in a true before-and-after post when the kitchen is put back together. But, what the heck!, I’m keeping it real and showing you what it looks like right now. We went with this 2″x12″ subway tile and contrasting epoxy grout in a warm gray. I love subway tile but was afraid that traditional subway tiles would have looked too busy…too many grout lines. {FYI – We’ll be using this same tile but with white grout on the walls in the kid/guest bathroom!}
You also might have noticed that we backsplashed {yes, I just made “backsplash” a verb} sparingly. We tiled up to the hood above the range and only three tiles high the rest of the way. Why didn’t we tile the entire wall? After all, I love me a focal wall tiled all the way to the ceiling. Well, three reasons: 1) It was cheaper not to. 2) It was easier not to. 3) I didn’t want the wall to be a focal wall because you see it from the front door and family room. We did something similar with the backsplash in our previous home because the kitchen, dining room and family room were all open to one another and liked the results so figured we’d go that route again.
HH removed the open shelving to install the backsplash. Once it was down, I decided I didn’t like the previous placement. While it was perfectly fine to reach and use, it was too low visually. Here’s a picture from a few weeks ago to jog your memory.
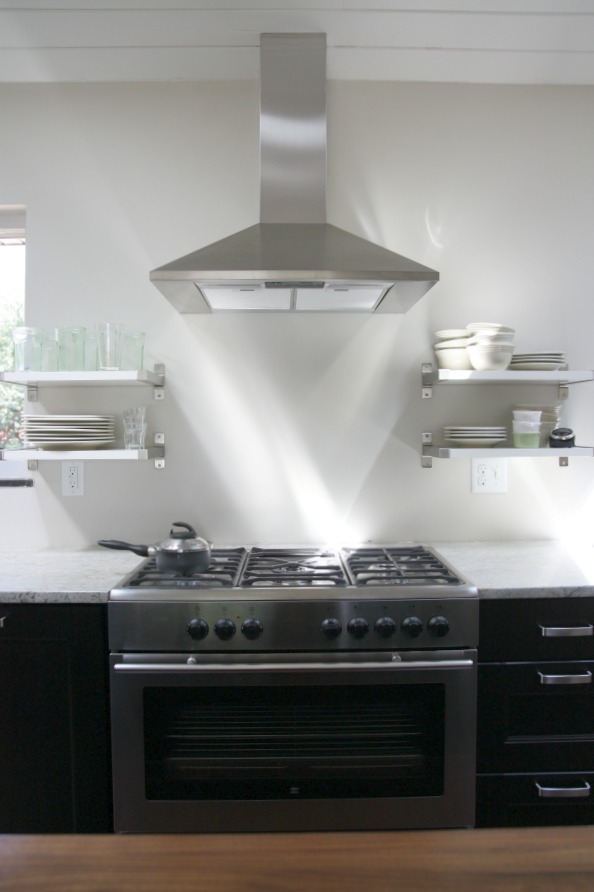
One reader recommended raising the shelves to incorporate the hood. I looked back through several inspiration photos and discovered that most of them had an open shelf in line with the bottom of the hood. I think putting the top shelves in line with the hood and the bottom shelves in line with the bottom of the wall cabinets is the way to go.
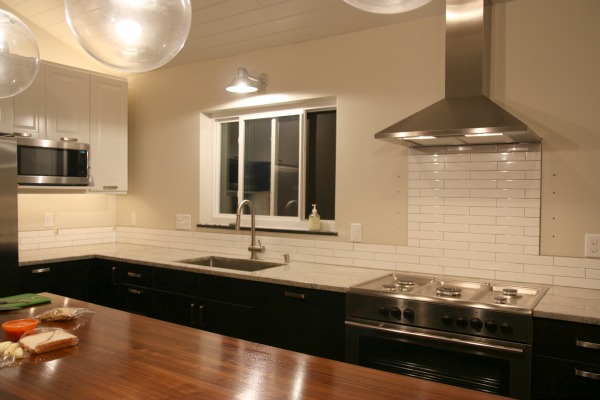
HH really doesn’t want to drill new holes and patch the old ones but I got him on board by saying it will be one of those little things that makes a big difference design-wise. We’ll be reusing the stainless steel brackets but replacing the white MDF shelving boards with reclaimed fence boards. I can’t wait to see the results of this little tweak!
What about you? Are you a legal Peeping Tom like me? Have you added exterior lighting to your house? Are you tweaking your kitchen? Did you notice anything else new that I didn’t mention? ;)
images: Dana Miller for House*Tweaking
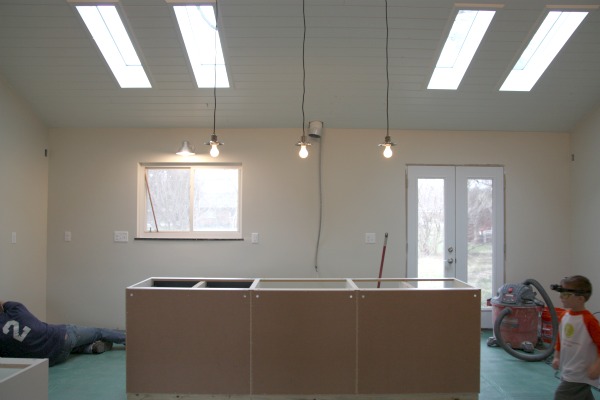
Our EIL {electrician-in-law} completed his work on updating all the original ’50’s wiring this past weekend. It looks great! We can’t believe what a difference the lighting makes and many of the fixtures aren’t even in place yet. Plus, artificial lighting in every room allows Handy Hubby to work well past dusk if he feels like it {i.e. when putting together base kitchen cabinets :)}. Before, we were working off of a few shop lights after daylight hours and having to move them from room to room.
The first image above is looking into the kitchen from the family/living room. Those base cabinets are the kitchen island. More on the island a little further down. Let’s talk lights for now.
The trio of lights above the island are actually these globe pendants {on sale!} from West Elm. The glass globes are intentionally MIA. We don’t want them to get shattered while renovating is still underway. We’ll probably end up switching the bulbs out after renovation is complete. The standard ones we have in there now are a little too blinding for everyday living but great for DIYing at night! We’re leaning towards an Edison-style bulb.
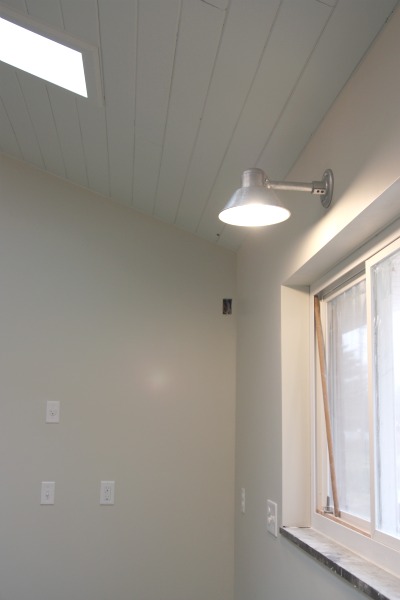
I’m loving the galvanized light over the future sink area. It projects out far enough from the wall to light the sink and countertop but doesn’t steal the show from the trio of pendants over the island. Our EIL said it’s not going anywhere. He’s very impressed with the quality.
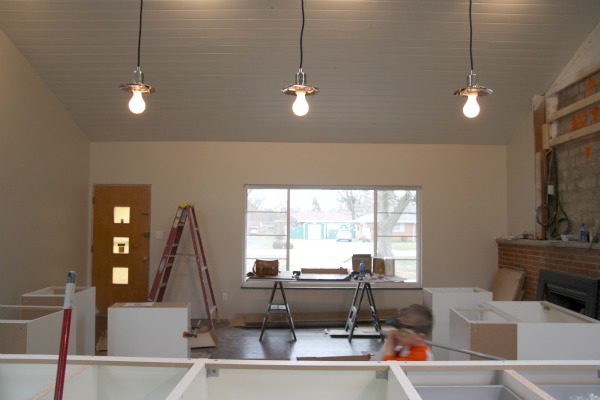
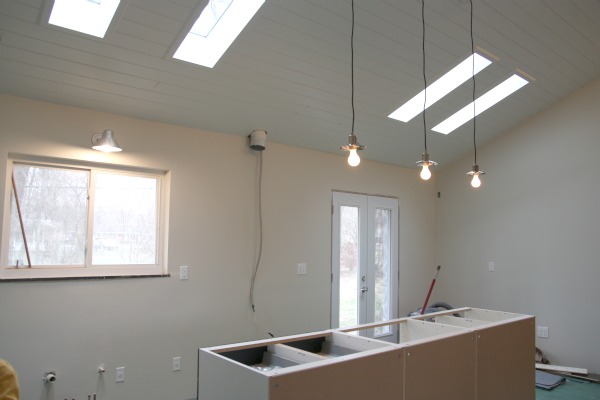
That’s the view you get when you’re standing on the kitchen side of the island looking back towards the family room. Without skylights and pendants on the family room side of the great room, it’s noticeably darker. I plan on adding a floor lamp and table lamp to brighten things up over there. I’ve been dying to incorporate a tripod floor lamp into our home’s design and I think the family room just might be the place to do it.
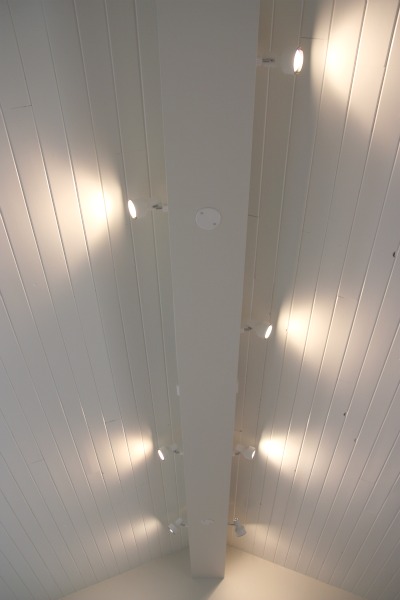
Along the ridge beam, we chose to have track lighting installed to wash the vaulted ceiling with light and provide indirect ambiance over the great room. We bought the track lighting from Menards. They don’t have it listed online or I’d link to it. The brand is Quantum and the price was extremely reasonable.
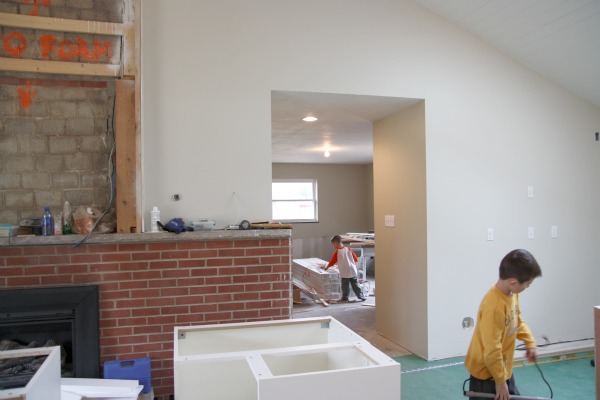
Looking into the mudroom/dining room there’s a recessed light and what will be a dining pendant {haven’t quite figured that one out yet} where you see a naked bulb.
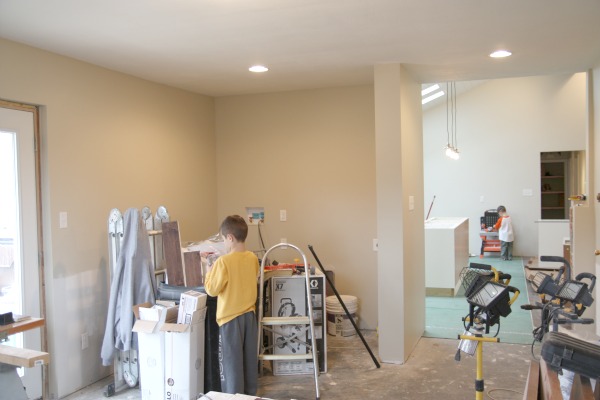
I knew I wanted a light in the laundry nook {it used to be a closet!} and recessed seemed to be the way to go. Again, we have plans to add overhead storage and a means of disguise to hide the washer/dryer. I see this nook being multipurpose – laundry room and bar area. Can’t wait to get my hands on it!
Back to the other side of the great room…
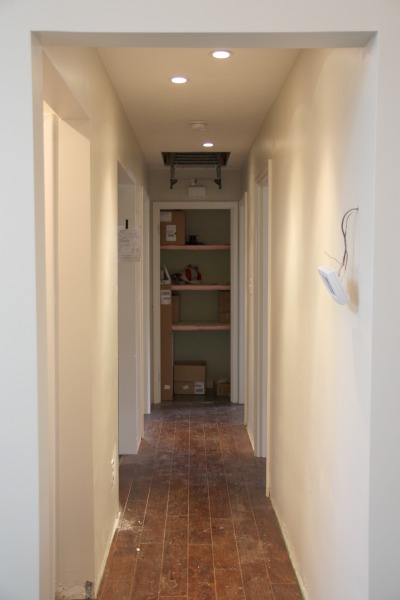
Could it be that this lit hallway is my favorite lighting element in the house? Yes. Yes, it could. And it is. I think it’s because it started out so dark and dingy. Design and DIY people say it all the time, “Lighting is a key element.” Our lil’ hallway is living proof of that – minus the hanging thermostat, dusty floors and messy closet.
When we first started planning the lighting scheme for the entire house, I’ll be honest, I didn’t really care about this hallway. I was thinking maybe hang a ceiling light and call it a day. After all, it was just a pass-through from the bedrooms to the great room and vice versa. But our EIL was very adamant about installing recessed lighting in the hall in a way that would wash the walls just in the right places. So we told him to go for it because we trusted him.
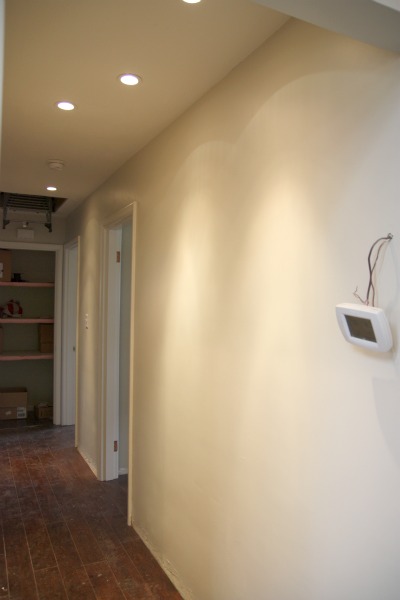
And I’m so glad we did! He obviously knew what he was talking about. The lighting is staggered so that each can washes a portion of wall. I can just see the walls lined with family photos and artwork! This hall is definitely going to become more than a pass-through.
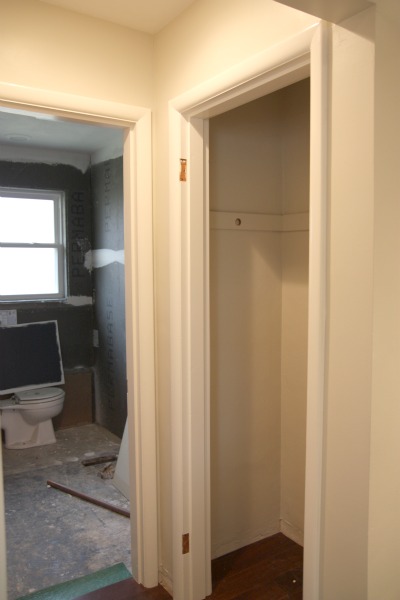
Just off the main hall is this smaller hall to the kid/guest bathroom. It originally had no lighting but now it does.
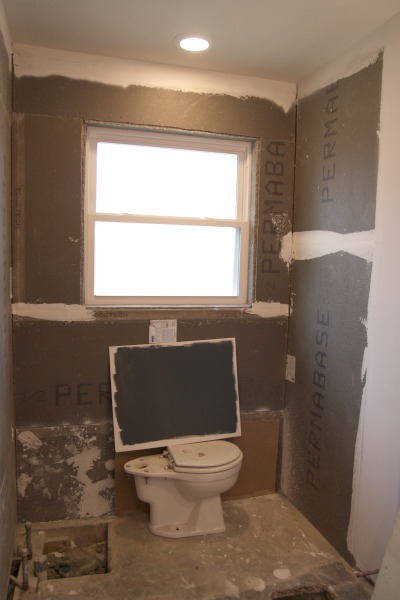
The bathroom is lit up too although there’s nothing to see here except for a broken toilet and paint sample.
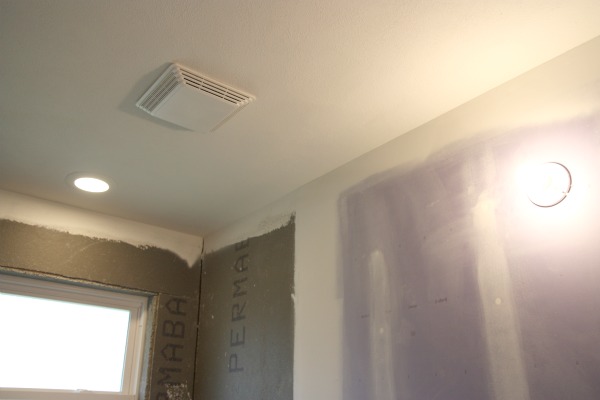
If you wanted to run the exhaust fan you could. It’s fully functioning! HH and I cannot – AND I MEAN CANNOT – wait to start tiling the bathrooms. They are going to be such unbelievable ‘afters!!!’ I hardly even remember the ’50’s pink tile and mold in the walls.
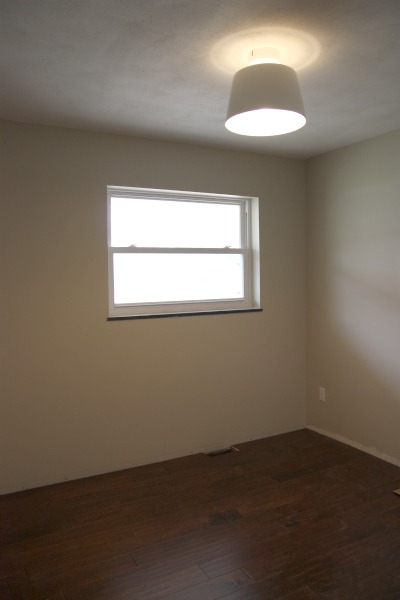
The nursery light is from IKEA. I’d tell you its name but I don’t remember and it’s not listed online because it’s being discontinued. I bought the very last one at our local IKEA a few weeks ago. It was less than $20. I was at IKEA to pick up the floating vanity and bathroom sink and hadn’t planned on buying any lighting but when I saw this ceiling light and its price tag, I knew it’d be perfect for the nursery.
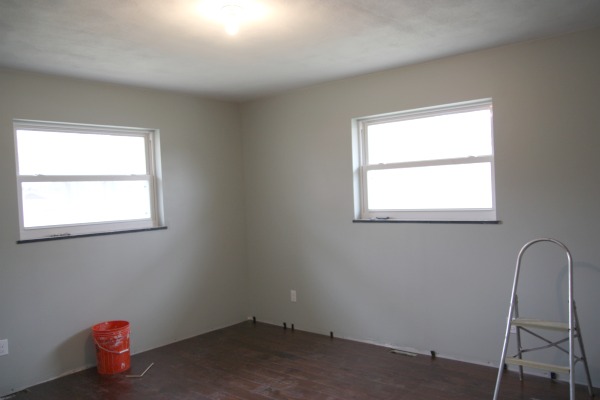
The boys’ bedroom has a place-holding lightbulb for now. I want an industrial ceiling fixture for them. Something that’s appropriate now {at ages 6 and 3} and ten years down the road. Like the nursery, I’m steering clear of any themes in here. I want the boys’ room to flow with the rest of the house but have a youthful, playful and laid back feel to it. I don’t think I’ve mentioned this before, but this room is going to have to function as a bedroom and playroom.
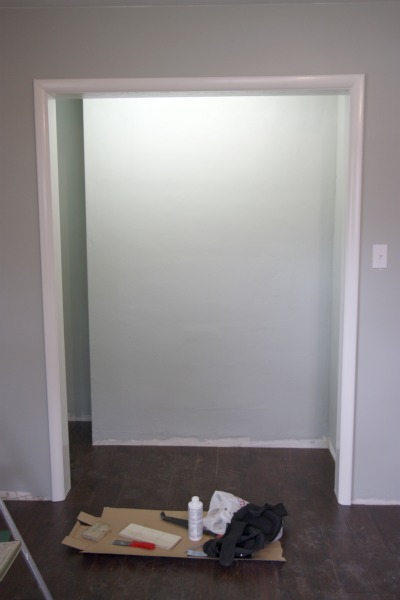
Another great idea that our EIL had was to light the closets in the two larger bedrooms. {The nursery closet is teeny-tiny and receives enough light from the ceiling light to go commando.}
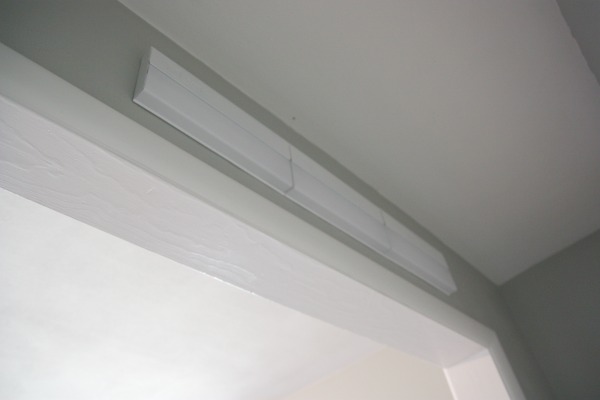
So in the boys’ bedroom he wired a light inside the closet just above the frame. It comes on with the flip of a switch.

It should come in handy for getting dressed on dark school mornings…and keeping the Boogie Man away.
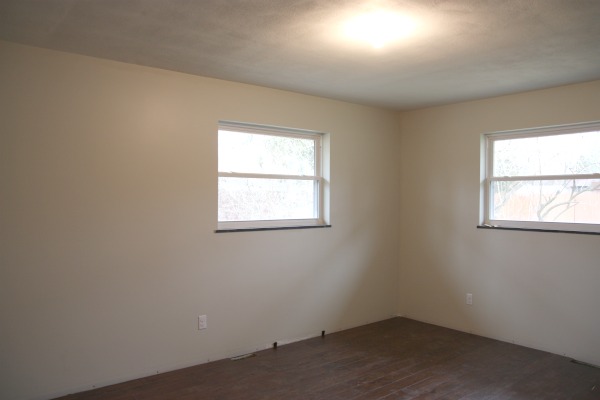
Another lone lightbulb in the master bedroom waiting to be replaced with something better. Since the light in our bedroom will be over the bed, I’m thinking a chandelier or hanging lantern could work well. I think I’ve talked HH out of a ceiling fan. I have my ways. ;)

We have the same closet light as the boys.

Eventually I see us needing to install a floor-to-ceiling closet organization system and when we do, this light will be well outta the way.
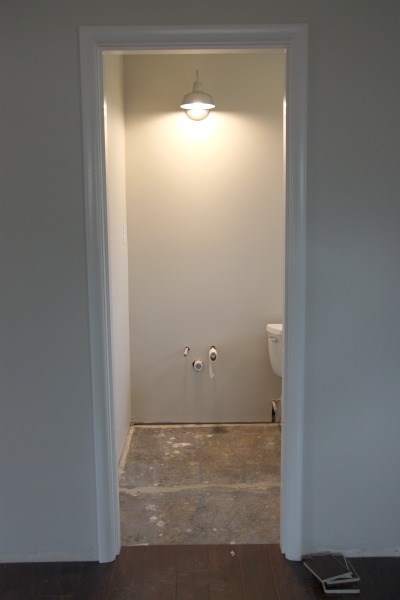
The wall sconce in the petite master {now there’s an oxymoron for ya} bathroom is perfect. It’s simple, industrial and slightly rustic. We love it so much that we’ll be installing another one in the kid/guest bath too. Below the sconce will be a mirror {hint: I already bought one and can’t wait to share it!} and floating vanity.
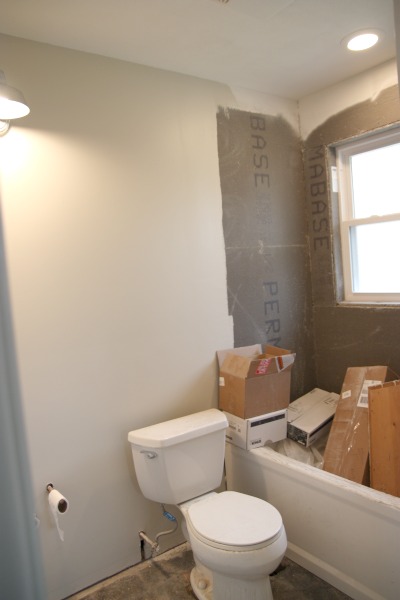
A recessed light over the tub/shower area should keep our small master bath feeling bright.
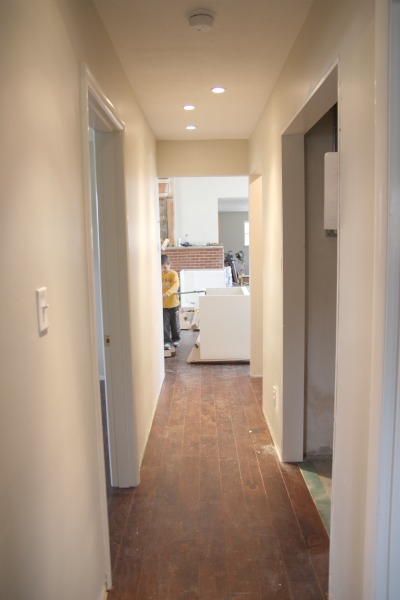
And, finally, a view back down my new favorite hallway. Ahhhhh. Sorry for the crooked shot. I was probably waddling.
Oh, and what’s that at the end of the hallway?
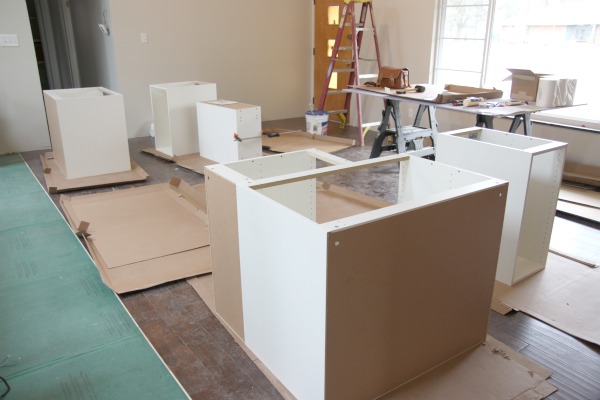
The beginning stages of a kitchen cabinet installation. If you’ll take a step back with me for a moment…we discovered that installing base cabinets onto a floating floor {like our engineered hardwood} could pose problems down the road. SO…in order to complete the flooring install, HH is installing the base cabinets in the kitchen then laying the flooring up to them. And that’s why you saw our kitchen island way up at the beginning of this post.

When we planned the kitchen layout eons ago, we knew we wanted a big island for food preparation and casual dining. It required knocking down a wall to get it, but it’s something we don’t regret one bit. In fact, I think we would have regretted not knocking down that wall. The 9′ long island {yes, I said 9’…that’s more than twice as long as the island we had in our previous 2,700 sq ft home!} is totally worth it. What can we say? We like open living spaces and a kitchen that allows us to see everything going on around us while we cook.
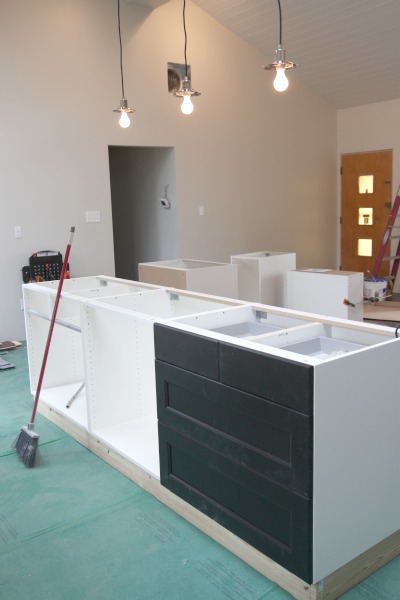
Not to mention all the added storage we’ll gain from those island cabinets. For fun, HH assembled the drawers of one cabinet…he just couldn’t wait. {Note: while the cabinet frames are white, all the lower cabinets including the island will be black. The sides of the cabinets and island will be covered with black panels so that everything on the exterior is black. For more specifics on our kitchen design, click here.}
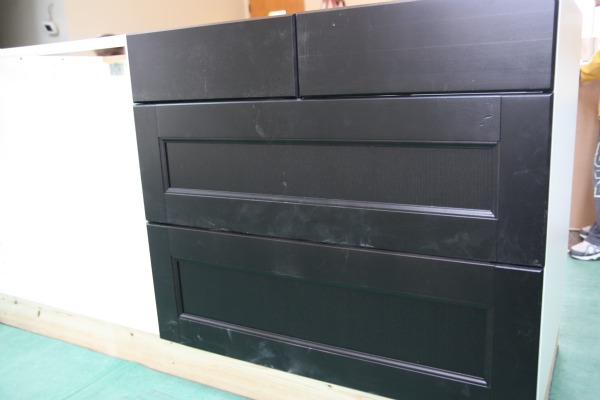
Like everything else in the Underdog, the cabinets are dirty. HH has been working non-stop assembling and installing the base cabinets all last weekend and during the week as time has allowed. He says it’s gone smoothly. I think the hardest part has been just searching through all the IKEA boxes for which cabinet/part he needs next.
Update: HH finished installing all base cabinet frames tonight! That means the rest of the flooring can go in…after I work all weekend and HH gets back from two weeks of business travel. Ugh. But I’ll be sure to get some new pics up of the kitchen layout for you in the meantime.
That should bring you up to speed on the Underdog. Many, many thanks to our EIL, Jared. He sacrificed family time and free weekends to help us out. And he made our future home safe and bright! Still, Everett refuses to stop wearing safety glasses and a head light.

Things are moving along and we’re loving this phase of the renovation…installing the finishes we’ve been carefully selecting over the last several months. I’ve secretly been shopping around and making a few decor purchases too that I’m itching to share with you. It’s really starting to come together although there will still be LOTS to do after we move in. I think we’ll be tweaking this house into our home for years and years to come. And that’s a good thing.
FYI – Two of the light fixtures mentioned above are from one of my sponsors, Barn Light Electric. They also sent us two ceiling fans to be mounted in the great room and once those are installed, I’ll be writing up a review of their sponsored products which will include detailed images. So far, we are beyond pleased with them. All other lighting elements were purchased with our own money. Just being honest, folks!
Congrats to Suzanne T!! She is this week’s random giveaway winner!
images: all Dana Miller for House*Tweaking


DIY, renovation