We recently acquired a (FREE!) pew from an old church that’s being renovated into a business by Handy Hubby’s father. Here it is hangin’ out in the Man Shed…
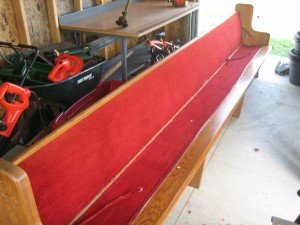
Did I mention it’s covered in ugly red velvet-like fabric? Not to worry. Here’s Handy Hubby hard at work pulling out the zillion staples.
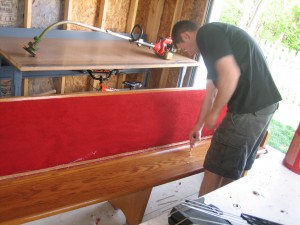
After we get the red fabric completely removed AND cut the backrest down AND shorten it up a little AND sand it AND prime it AND paint it AND polyurethane it AND recover it with outdoor cushions (whew!)…we think it will look great on our front porch that has zero seating currently. Unless concrete stoops count as seating.
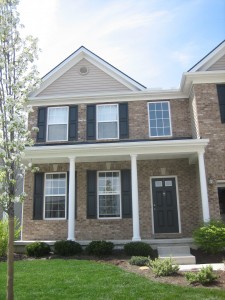
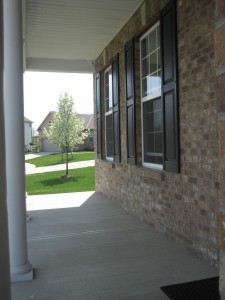
The long narrow shape of the pew is perfect for our long narrow porch.
We’re thinking of painting the pew (which should look more like a bench once the back is cut down) a color similar to this… (C’mon, did you really think I was gonna let that orange oak fly?)

…and then adding an outdoor cushion in a celery green as shown below.

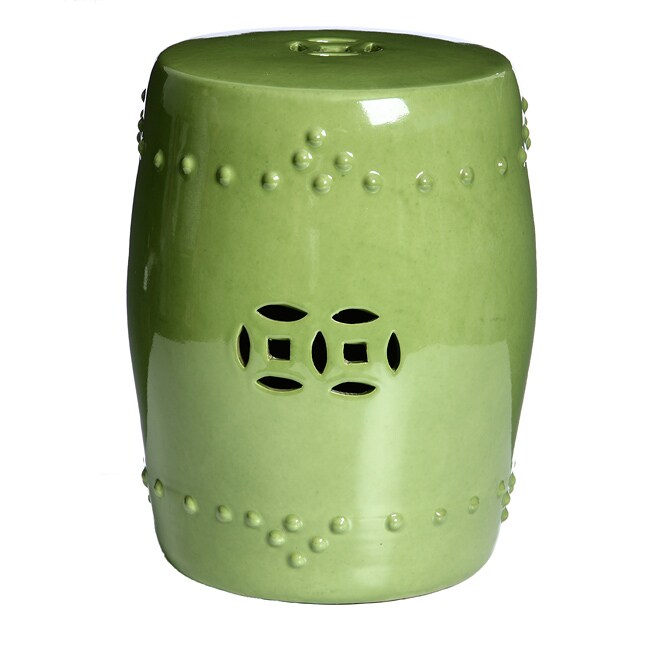
I could find a white or green ceramic garden stool to act as a side table or extra seating.

I want to try my hand at stenciling some numbered pillows like these…

…to display our house number. I’ll probably whip up a few planters in lime to pop.

And a geometric indoor/outdoor rug like this one…

…could really warm up and ground the area. Then our neighbors would have somewhere to sit and talk instead of hangin’ their legs off the front of our bare concrete porch. Yep! We live in a culdesac where, at 6:00 p.m. (weather permitting), everyone (adults and kids alike) are outside shootin’ the breeze. Might as well make it pretty!
I bought 2 of these floor lamps last year from Target.com.
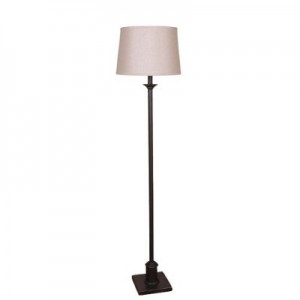
At $60 a piece (along with free shipping), the price wasn’t bad. Upon arrival, I was happy with the quality of the metal base (more black than bronze…which is what I was going for anyways) and the fabric shade. But something was missing. I decided to give the beige cotton shade a little facelift. I bought some black 1″ ribbon from JoAnn’s, brought out my fabric scissors/hot glue gun and added a ribbon detail to each lamp shade.
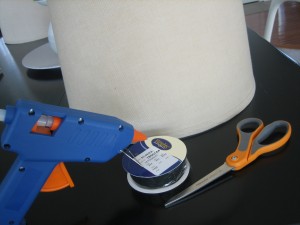
I loosely wrapped the ribbon around the shade and allowed roughly 3″ extra for foldover seams then cut to length. (Because my shades were slightly tapered at the top, I did this for both the top and bottom of each shade.) With 4 strips of ribbon cut (2 for the slightly tapered tops of each shade and 2 for the wider bottoms of each shade), I hot glued the ribbon right on top of the fabric shade. I wanted my ribbon seams to match up with the shades’ original fabric seams, so I started gluing at the seam in order to end there also. The key was to glue only 2″-3″ of ribbon down at a time. (Hot glue sets pretty quickly!) I just followed the finished border of the shade to keep my ribbon straight.
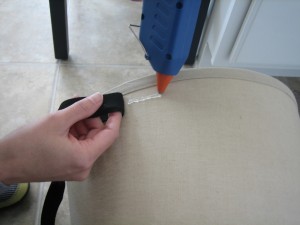
Once I had glued all the way around (back to the shade’s original seam), I simply folded the ribbon end under and glued it to itself to hide the unfinished edge. Then I glued the folded end on top of the unfinished end (where I had first glued the start of the ribbon).
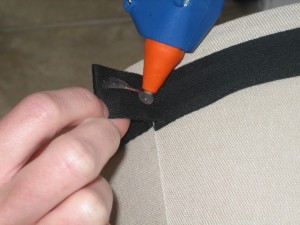
Voila! No unfinished ribbon edges showing and all the seams fell at the same place.
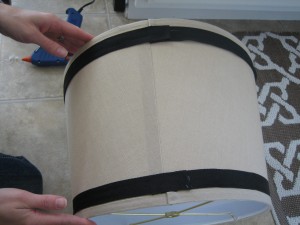
Here’s a look at the opposite side of the shade where no seams are…
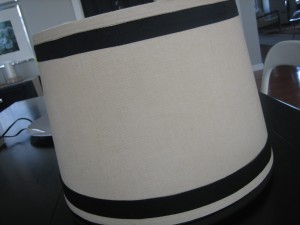
And here are the freshly ribboned floor lamps flanking the petite sofa in our living room (with the shades turned so that the seams face the wall)…
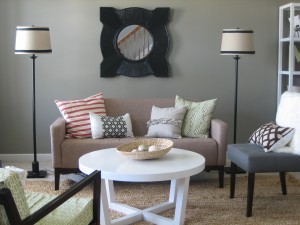
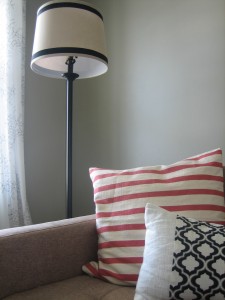
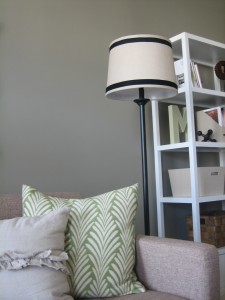
Adding a ribbon accent to the lamp shades provides a small dose of sophistication…especially in black. It’s the difference between simply coloring a picture and tracing a picture first then coloring it. The sharp outline gives a crispness lacking otherwise. Sort of like eyeliner. But not as heavy or smudged as Adam Lambert’s.
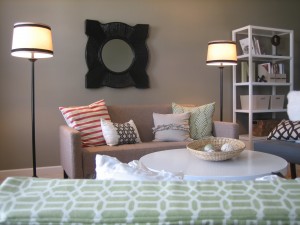
Coming in under $8, this project injects a pricier feel. Have you ever updated a plain lamp shade? After tackling this easy lamp shade facelift, I’m itching to recover another blah lamp with fun fabric! Keep your eyes peeled.


DIY, inspiration