It’s Feature Friday! On Fridays, I’ll be featuring one room in my house in its current condition even if there are some things I’d like to change about it. If I do happen to improve something later, I can always revisit it when the time comes. Plus, I’d kinda feel dishonest if I only focused on “finished” rooms in my house. And if what they (the professionals) say is true, a room is never really finished anyways…you’re always tweaking it. Concentrating on just one room weekly should give me some time to tidy it up a bit, too. At least, I can throw all the toys into another room!
This week’s feature room is my pantry. For a ‘room’, it’s small; for a pantry, it’s big. At least, to me. It’s right off the dining area and can be entered through this chalkboard door that I painted here.
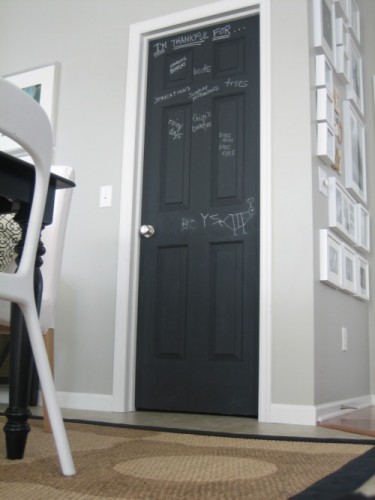
Somehow, it’s turned into our “I’m Thankful For…” door. On a whim, we scribble down things that we’re especially thankful for. It’s nice. Sometimes I forget it’s there and guests will giggle under their breath at the dining table. Usually it’s because of something they’ve read on our pantry door – or maybe it’s my cooking?
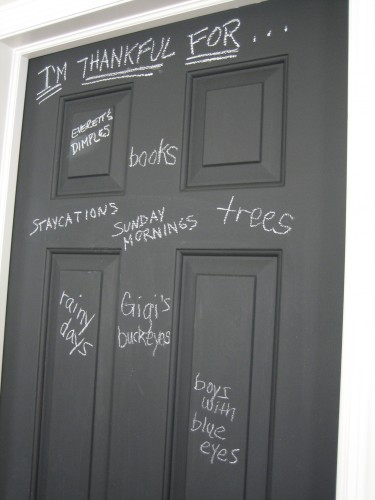
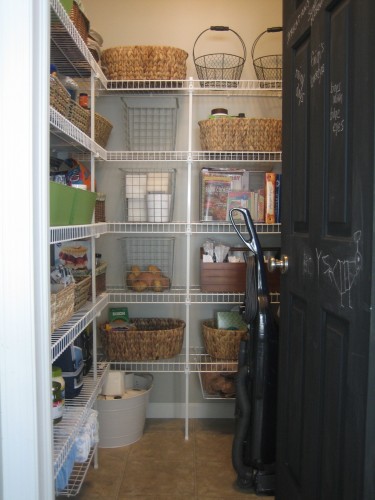
This is what lies beyond the door…
The wall to the left holds food items. I have them separated into baskets by genre per say.
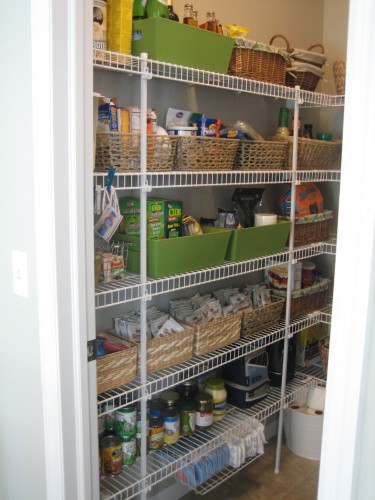
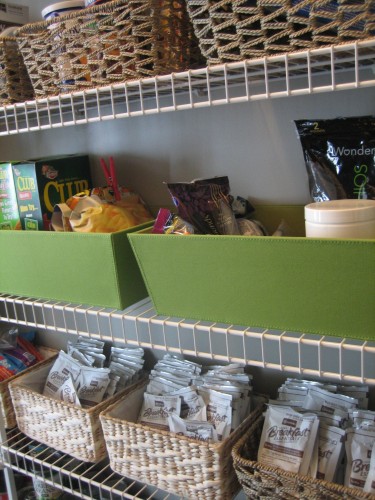
I also added a detachable wire shelf to the bottom that holds diapers, wipes and such. No more running upstairs to grab a diaper while a naked toddler awaits downstairs.

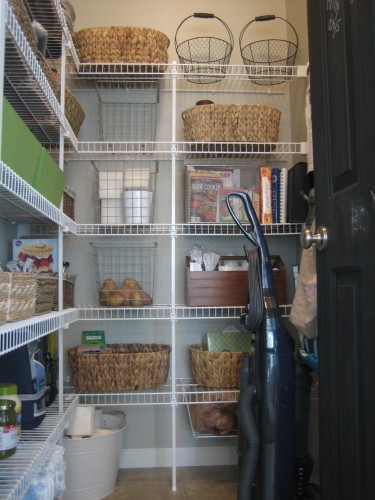
The back wall of the pantry houses everything from potatoes to batteries to the kids’ crayons. A few empty baskets await any new items in need of a home.
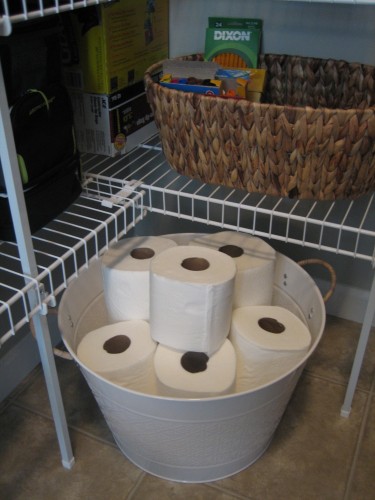
A round metal tub keeps an overstock of toilet paper and paper towels ready for quick dispensing.
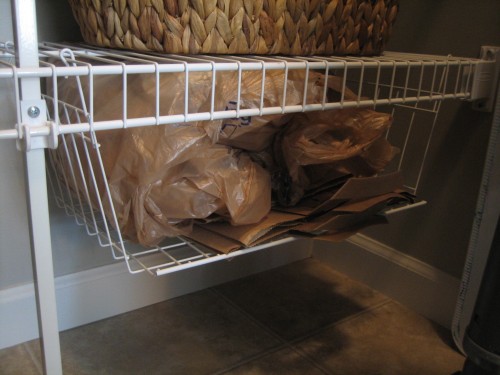
Another shelf added to the bottom stores paper and plastic bags.
The right-hand wall of the pantry is used for hanging items such as a master calendar, reusable shopping bags, aprons, and a broom.


We also park our vacuum and the kids’ large dry erase board against this wall.
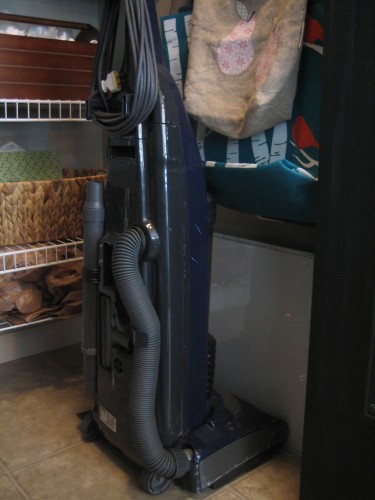
This teeny room packs big function and allows our kitchen cabinets to remain relatively food-free (except for some spices, oils and baking supplies located closer to the oven). Since we open and close the pantry door at least 4,288 times a day, we decided to paint the pantry walls the same color as the dining area to keep things cohesive. I’m glad we did because if either of our boys get in there, it’s a good bet the door will be left open.
Next week, you’ll find out what’s on the other side of the pantry. Wanna hint? It’s another small room.
Last week I shared my dining area with you.
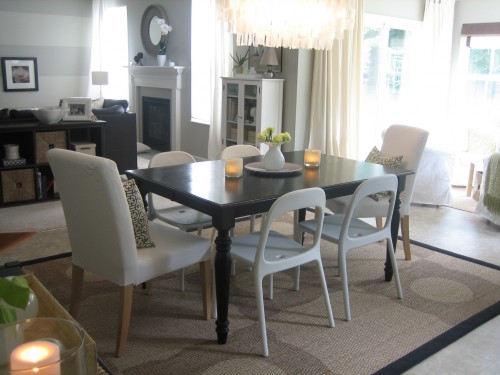
I mentioned that I had added the pattern to the rug myself. It was SUPER easy (think less than a 45-minute project) and cheap (think less than a $6 project), so I’m letting you in on the action. First off, I was very happy with the seagrass rug in its original condition. I purchased it from Natural Area Rugs over a year ago and it’s held up to 2 adults and 2 kids extremely well…especially considering the fact that it lives in the messiest area of our house – right under the table where we eat on a daily basis. But I was looking to add another dimension and maybe a little pattern to our dining area. I got the idea to stencil the rug from Sunny’s Goodtime Paints. Immediately, I knew that some rug stenciling would be in my future.

(courtesy of Sunny Goode)
I had thought of using the stencil Handy Hubby gifted to me for Christmas. After all, I already used it here and here to stencil a pillow cover and laundry curtains. But after laying the stencil out on my dining rug, I thought it was a tad on the small side and would create a busier pattern than what I had envisioned. Hmmm? What to do? I considered making my own stencil but 2 boys running around like mad men turned me off to that idea. When would I possibly find the time? So, in a moment of desperation, I started searching my house for potential stencil candidates. It didn’t take me long to rediscover this.
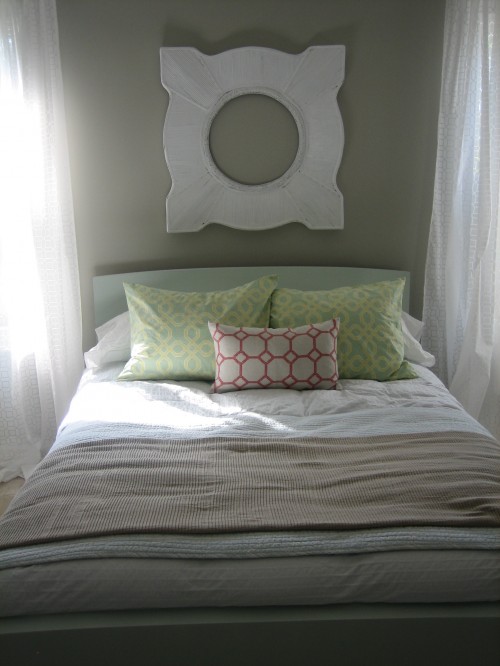
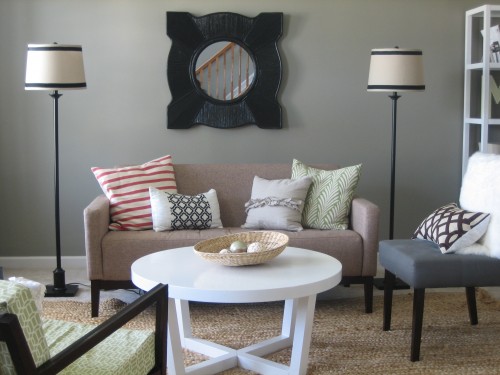
The white frame hanging above our guest bed! I knew the larger size and shape would give me the geometric pattern I was looking for. And there’s a little side story to this frame: it was supposed to be a mirror. I purchased this ‘mirror’ from Home Decorators Outlet (for $20!!!) but when it arrived the mirror had shattered during shipment. I was sent a new one to replace it but sending the broken one back would have cost the company more in shipping charges than what the mirror was on sale for ($20). I got to keep both! I painted the non-broken mirror gloss black and hung it in our living room. (It was originally a wood tone.)
I couldn’t bear to throw out the broken mirror’s frame, so I painted it white and hung it above our guest bed. Who knew someday it would double as a stencil?
Okay, so back to the task at hand: rug stenciling. I had a stencil. I cleared the rug of all furniture and vacuumed it. (Since I was only going to be using a very thin topcoat of stain and because my rug has a latex backing, I didn’t place anything beneath the rug.)
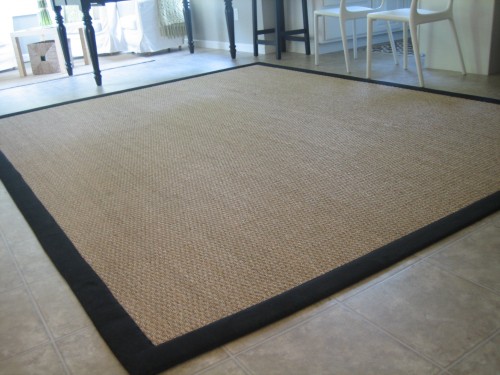
I carefully measured to find the rug’s center and marked it with chalk that could be swept away easily when I was done. Then I placed my ‘stencil’ centered up with the chalk mark.
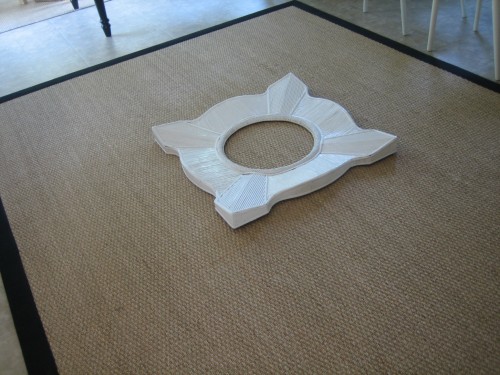
I used a medium brown wood Sharpie (that we normally use to fill in furniture nicks and scratches) to trace the stencil outline.
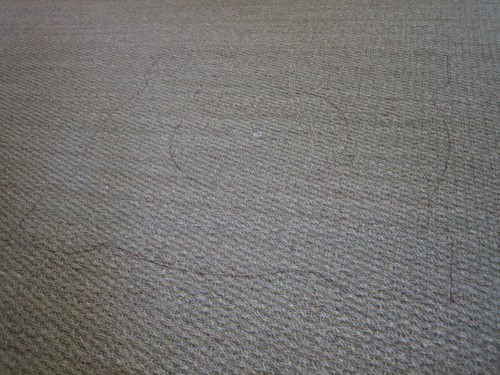
I traced more outlines of my frame stencil in a brick pattern, working my to the outside edges of the rug.

For the staining process, I used Minwax’s Special Walnut stain, a small plastic paint tray and 2 sizes of foam brushes.

The rest was like coloring. I traced the stencil lines with the small 1″ foam brush and my wood stain…
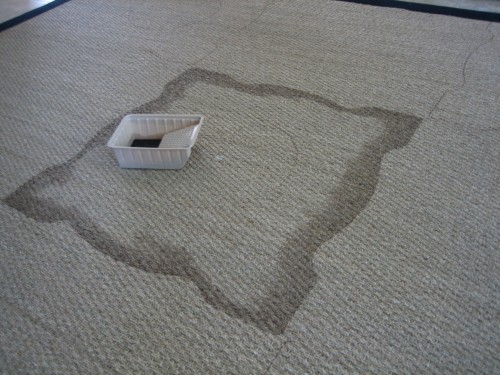
…then filled in the larger areas with the 3″ foam brush. The 8 ounce can of wood stain was just the right amount. OH! It helps to start in the center of the rug and work your way out. That way you’re not playing Twister with the wet spots you’ve already stained.
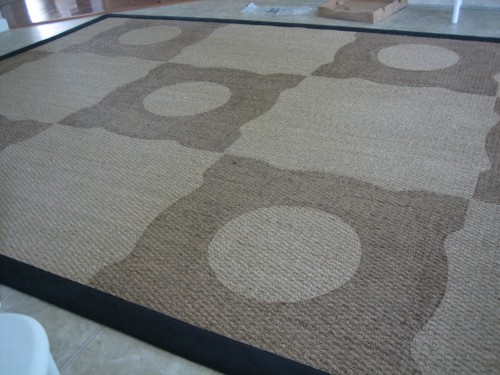
I let my stained rug dry for 4 hours then wiped the excess stain off with an old rag. The rug was still tacky for about 24 hours after that because we were having crazy humid weather at the time. We just made an effort not to walk on it until it was fully dry. The final product…

The effect is subtle. I only used one coat of stain. You could easily do 2-3 coats for a more dramatic effect. I would’ve liked to have done this project outside because wood stain can be fumey. But it was sunny and 95 degrees. Instead, I opened the windows (yes, with the AC running) and aimed a big floor fan at the rug then took the kids swimming while it all aired out.
I feel like jumping up and kicking my heels over this project. It cost $6 and took me less than an hour. Plus it gives the dining area that extra something I was looking for. What do you think?


kid-friendly, organization