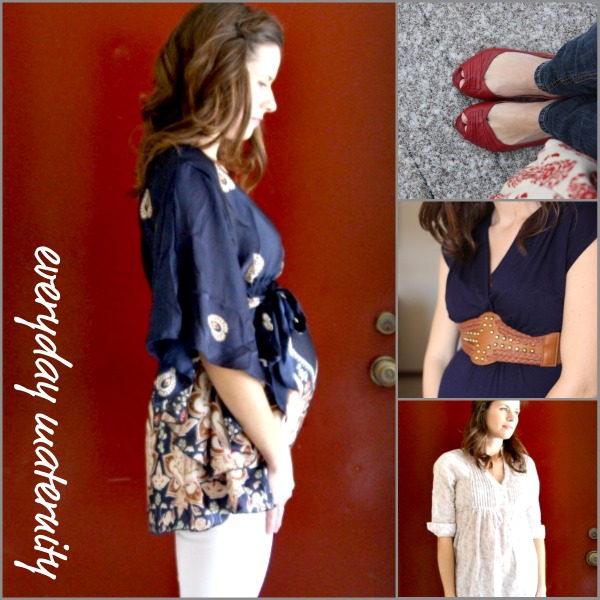
This is my final installment of Everyday Maternity and my hope is that I’ve given you some ideas for dressing affordably and stylishly during pregnancy.
As apprehensive as I was about plastering myself and my style all over the web, it’s been fun! Especially because you all are so kind with your compliments. Thank you! It looks like a few posts regarding my pregnancy fitness routine and hair styling will be coming to H*T in the near future…stay tuned.
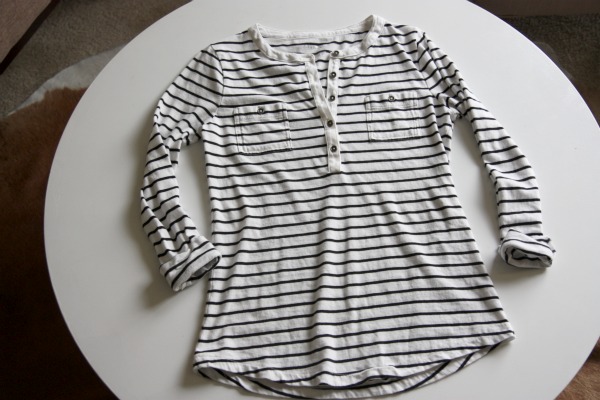
Today’s non-maternity-turned-maternity apparel idea involves a little tweaking. This is House*Tweaking after all. I found this super soft, casual and comfy striped tee at Target a few weeks ago.
I tried it on in one size larger than I normally wear and found it to provide adequate baby bump coverage and I fell hard for the stripes. On clearance for less than $8, I decided to bring it home with me.
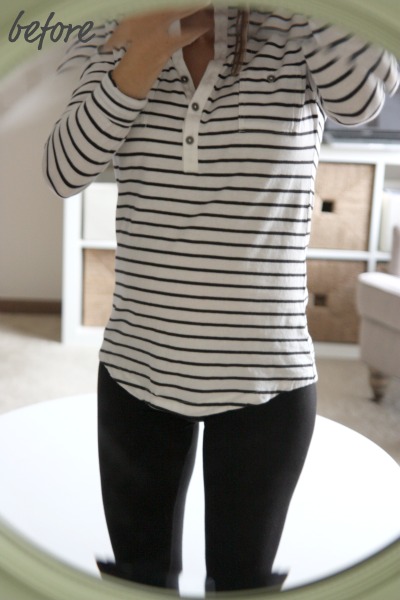
Once I got it home though I realized that something was off. The bottom of the non-maternity shirt needed some oompf.
See how the bottom hem is stretched away from my body? I immediately thought of ruching the side seams in hopes of bringing the bottom of the shirt in closer to my body. I googled around for ‘diy ruche’ and found this very simple, very easy-to-follow diy tutorial for side seam ruching. I guesstimated how high I wanted the ruching to come up on each side the shirt and went from there. It took me about 15-20 minutes to measure, set up my sewing machine and ruche the sides.
Of note: I do own a sewing machine and know how to use it but I’m far from a pro. You could easily diy this project by hand with a straight seam if you don’t own a sewing machine. It just might take a little longer.
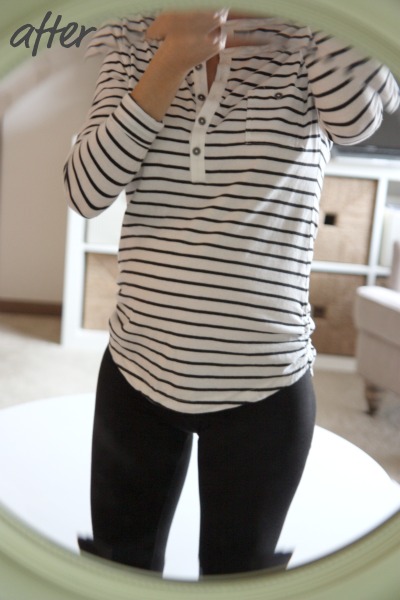
This was my first time using any sort of ruching technique. It was quite easy and I love the results! It was just the extra detail my clearanced, non-maternity tee needed. Can you see how the side seam ruching brings the bottom of the shirt in around my body more?
I decided only to ruche up about 6″ on either side of the tee to allow my belly to expand more over the coming {third trimester} months. Post-pregnancy I could ruche further up the seams once my belly shrinks. {In fact, I think more ruching is in my future…pregnancy or not.} So this shirt will take me beyond my baby bump days!
The newly ruched striped tee looks great on its own or layered under a jacket as seen here. And it cost me less than $8!!! That’s a lot cheaper than all the ruched maternity shirts I’ve been seeing at specialty maternity shops.
In more apparel news, Susan is the lucky winner of the Shabby Apple giveaway! She’s dying for a pair of UGGS but maybe the Andes skirt will hold her over. ;)
Even though you may not have won the giveaway, don’t forget that Shabby Apple is offering a special 10% off discount to all House*Tweaking readers for the next 3 weeks. Just use the coupon code HOUSETWEAKING10OFF at checkout.
So, there, you’re all winners. Have a great weekend!
FYI – I was not compensated in any way for mentioning Target or Shabby Apple. I just love sharing great places to shop!
images: Dana Miller for House*Tweaking








DIY, giveaway, inspiration