Remember the as-is living room?
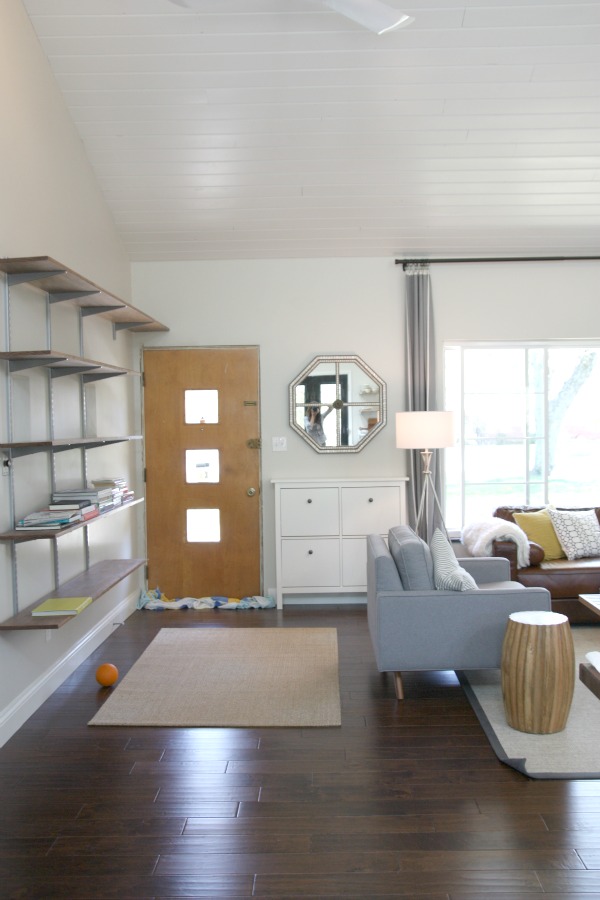
Yeah, it’s not done.
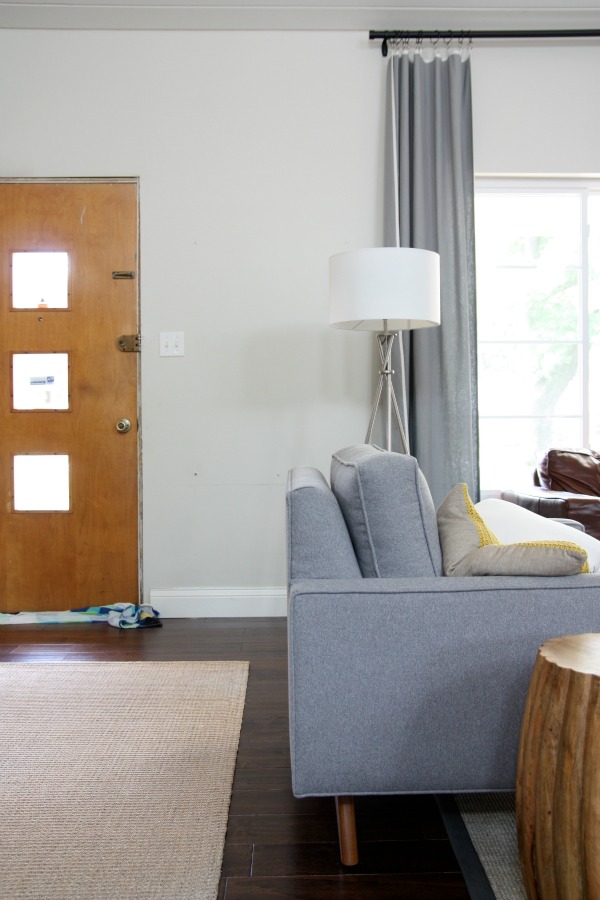
But I did remove the shoe cabinet and octagon mirror. And put down a clean beach towel along the bottom of the front door. AND I think my photography skills are improving. Yay for shooting towards a large window! Sometimes, it’s the little things people. Oh, and for those of you on Team Original Door…we’re gonna do it. We’re going to try to salvage it.
About the shoe cabinet and mirror…the shoe cabinet is from IKEA. It has a slim profile and holds a minimum of eight pairs of shoes. It’s great but I think it was a little wide for the space between the front door and picture window. The octagon mirror was a Ballard Designs outlet find a few years back and it used to live in our previous master bedroom. I love the mirror but the octagonal shape next to the rectangular door with square windows was throwing me into a shape-induced tizzy.
So where did the shoe cabinet and mirror end up? Not on Craigslist. Not in the attic with all the other “I like this but I don’t know exactly where to put it right now so let’s just throw it in the attic” stuff.
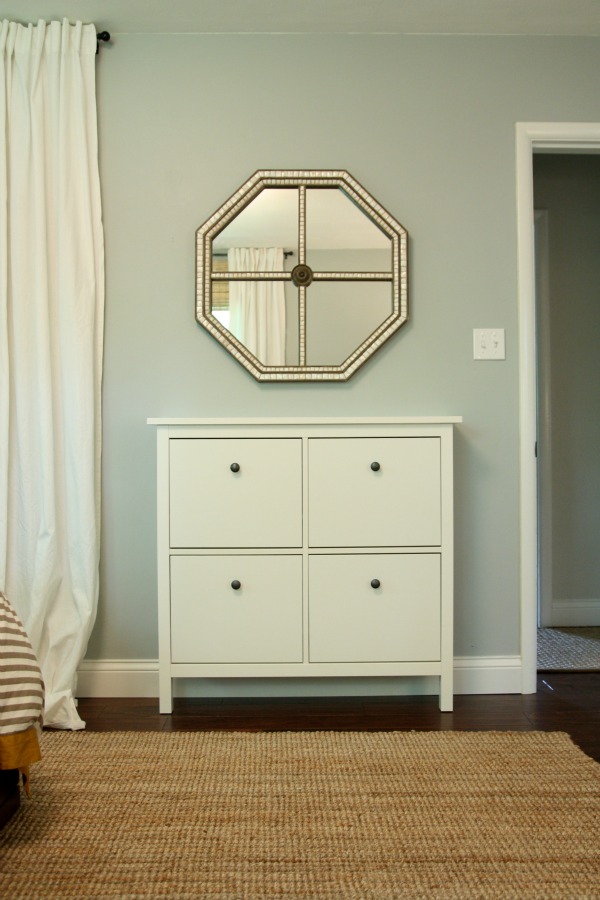
I moved the cabinet and mirror to our bedroom. I feel good about them there. The slim profile of the cabinet makes it easy to slip by on the way to the closet or bed and the mirror helps reflect at least a little light around the north-facing room. I’m glad I hung the curtains before relocating the cabinet and mirror. I think I would have been inclined to center the cabinet on the wall between the closet and door but with the curtains in place, it looks better centered between the curtain edge and the door. That’s a difference of several inches. {The curtain rod and curtains extend ~10″ past the closet opening.} Otherwise, the cabinet would have sat too far left.
I had been waiting for HH to move the cabinet and mirror but today I was motivated to DIM {do it myself}. It wasn’t that difficult but I did run into a problem when I remembered the wall was one of the few remaining original plaster walls. The shoe cabinet was easy. It has a support spanning the width of the cabinet behind the doors and I drilled through it into two studs. The mirror was a different story. I was able to hit a stud for one of the wall hangers on the back of the mirror. For the other one, I had to pre-drill a hole, insert a wall anchor and fasten a screw. Not awful but it did take longer than expected {mostly because I had to scavenge the messy garage for wall anchors}… which means the kids got antsy and I got flustered. But I got ‘er done.
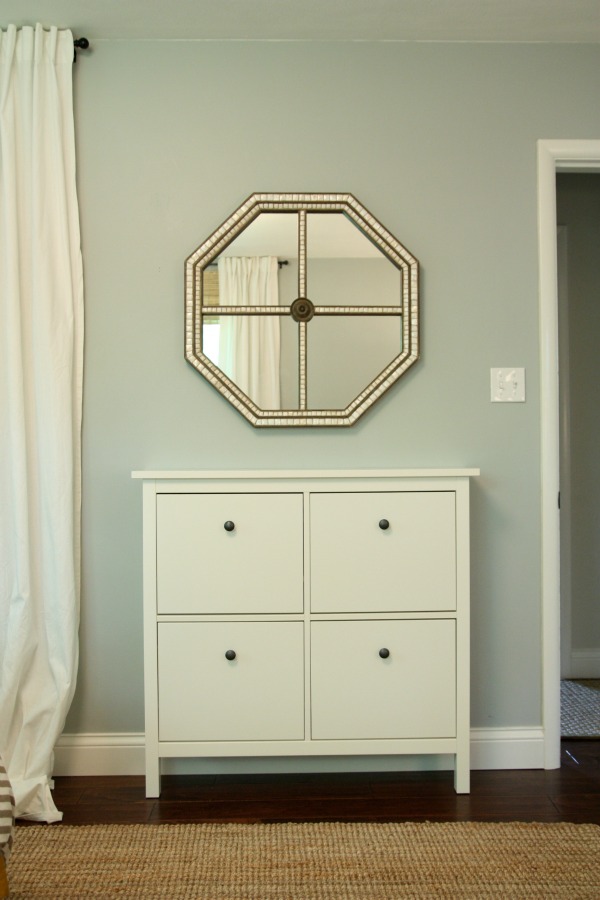
I’m hoping to make time for a little bedroom styling within the next week or so. This room is getting so close! I need something on top of the cabinet to connect it to the mirror {think overlap the mirror} and I have an urge to paint the knobs gold.
I haven’t quite figured out what to do with the now empty space next to the front door. Simple picture frames with a large basket on the floor to catch guests’ shoes {someday when the door is fixed}? A small entry cabinet/console on the wall? I like the idea of less versus more. While I was organizing the attic last week, I rediscovered some decor items that I want to incorporate in the house. Maybe I can make something we already own work. There’s nothing like shopping your attic for free decor!
Have you ever transplanted stuff from one room to another? For me, this was like killing two birds with one stone. I freed up visual space near the front door and added shoe storage and a light reflecting mirror to our bedroom in one fell swoop. Wait, is that three birds?
FYI – I’m sharing what HH wants for father’s day here. Maybe it will give you some ideas for your baby daddy.
images: Dana Miller for House*Tweaking


budget decor, DIY