Now that you have your polyvore account and clipper tool set up, let’s get clipping. If you’re having trouble deciding on a space to create a mood board for, I suggest keeping it simple – like a small bathroom or entry – for starters. The goal here isn’t to design the perfect room but to become familiar with the process of making a mood board. In fact, for my sample mood board I’m simply helping my sister choose some new bedding so I won’t be furnishing an entire room.
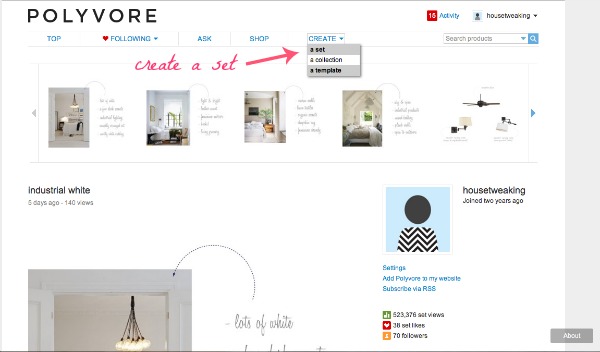
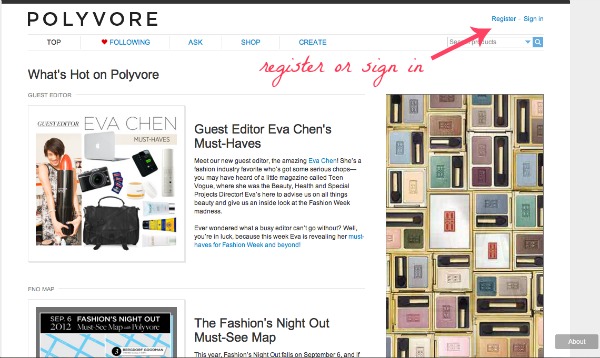
Sign in to your account and find the ‘create’ tab. If you hover over the small triangle next to the ‘create’ link, you’ll find options to create a set, collection or template. For our purposes, we’ll be creating a set. The ‘collection’ option is geared more towards fashion; I’ve never used it. The ‘template’ option allows you to create your own templates with placeholders that can be filled later. There are also ready made templates that you can fill with items. I’ve never used the template option either as, again, it’s geared towards fashion.
After clicking ‘create’ you’ll be directed to a page that has a square mood board space with ‘create a collage’ in it. To the right of the collage space are all the items, sets, templates and embellishments you have to work with.
When I first begin a new board, I always search under the ‘all items’ tab for items I may want to use in my mood board. My sister has already purchased a West Elm duvet cover, so I searched under ‘all items’ for ‘west elm bedding’ and, lo and behold, someone else has clipped it to polyvore so there’s no need for me to clip it again.
If you find an item already clipped that you want to use, click on it and a box will appear. There will be a description of the item, the cost {if applicable} and a link to the site from which it was clipped. You have the option to ‘add to set’ {this adds the image to your current board}, ‘view details’ {this gives you pertinent info about the item} or ‘save to my items’ {this allows you to save the item under the ‘my items’ tab for later use}. Not wanting to start my board right away, I save the image to my items for later use while I gather more items for my board.
What happens when you want to use an image that isn’t clipped to polyvore already? You clip it yourself.
Here’s a good place to review which images work best and which images polyvore prohibits. In general, large images from public websites work best. The simpler the background the better. Polyvore will automatically try to crop out the background so the image will work in a mood board, but it doesn’t always work. Many times you will end up with a distorted image. You either have to use the background that comes with the image, find a simpler image with little/no background OR custom crop the image yourself {I’ll get to that later}. Polyvore won’t allow you to clip images from photo-sharing sites {i.e. flickr, photobook, etc.} or google. You can clip from images from pinterest as long as they’re large and don’t infringe upon copyright laws. Clipping images directly from their source is always best.
If I find an image that won’t work on polyvore then I’ll usually try to find a similar image/item that will work but keep the original item in mind. I can still get a good feel for what will or won’t work in a room by using a similar item in a mood board. If there’s an image from my own life that I want to incorporate {say, a photo I personally took of my bedroom} I have the capability via House*Tweaking to make a draft page within wordpress that includes the photo. I can clip the photo to polyvore from my draft page. Not everyone has a blog though, so in that instance I would suggest finding a similar usable image online. For example, if you have an antique headboard that you want to use in a bedroom mood board but have no way of clipping a real life photo of it to polyvore, then search google images for ‘antique headboard’ and see if you can’t find a similar image that way.
Restricted images are a downfall of polyvore but they haven’t become that big of a nuisance to me yet to justify the cost of photoshop. There’s probably a better way than my way but this is what I do and you asked. Okay, well, maybe not you but someone asked. Ha! Honestly, figuring out ways to include certain images or searching for the best images has kind of become a fun game for me. Hi, I’m Dana and I like a challenge and I’m a polyvore dork. The majority of the time I’m able to add images without problem.
So, on to clipping…
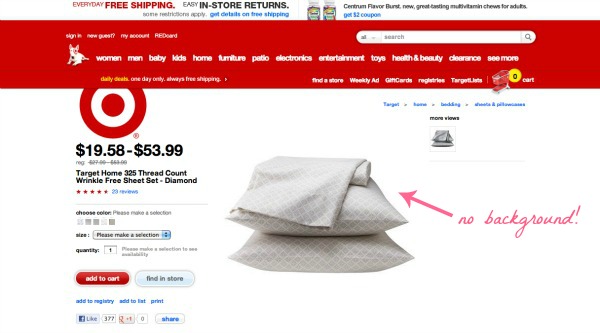
My sister mentioned some patterned sheets she saw at Target and I was able to find them online.
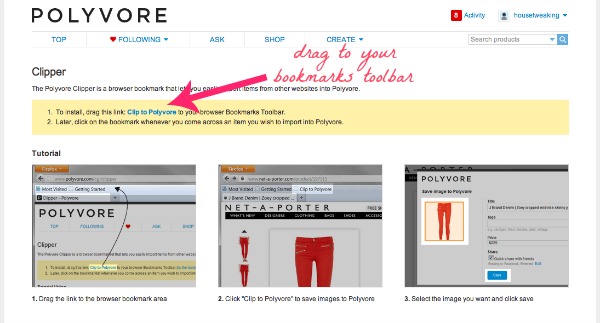
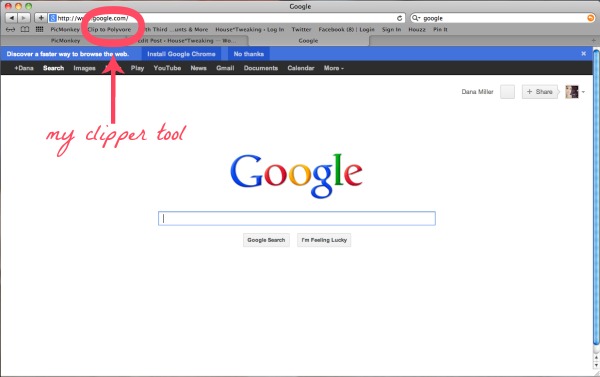
With no background, the image was prime for clipping. I clicked on the ‘clip to polyvore’ clipper tool in my toolbar which brought up a box prompting me to save items to my polyvore account.
The box includes any images that are able to be clipped along with a description of small or large. Remember, large images work best so always choose those when possible. The ‘title’ field will automatically populate but if you want to change the title to something else, you have to do that manually. I almost always leave it the way it is. Sometimes I fill in the ‘tags’ field, sometimes I don’t. The ‘price’ field automatically populates as well but it doesn’t always choose the correct price. If accuracy is important to you, you may have to change the price. Once everything reads the way you like, simply click ‘save.’
Congrats! You just clipped your first polyvore item! After each clip, you’ll be given the option of redirecting to polyvore to play with your item or you can click ‘done’ and go back to the page from which your item was clipped. Typically, I like to go hunting for a bunch of possible items that I’m thinking of for a mood board so I’ll click ‘done’ and keep clipping away. Less frequently, I’ve got an almost complete mood board but need that one item to finish the look. That’s when I’ll go to polyvore after clipping an item – to see how it works with the rest of my mood board.
When clipping items, I like to start with the obvious, basic pieces. Usually furniture. Then I’ll fill in with paint colors and accessories. However, if I come across a really great light or pillow I’ll clip it for future reference. Every mood board evolves a little differently.
Your homework for today is to clip, clip, clip and add items to your ‘my items’ tab. Don’t worry too much about finding the perfect items and overthinking your choices. Just clip away! I’ll take questions regarding clipping in the comments section below. Tomorrow we’ll tackle the task of adding your items to a mood board.
Happy clipping!
To start back at square one, see The Making of a Mood Board (Part I).
images: Dana Miller for House*Tweaking







DIY, inspiration, interior design, mood board