*THIS GIVEAWAY IS NOW CLOSED.*
Congrats to Linzy! She’s tackling a bathroom reno soon and is in need of lighting and hardware so this gift card should come in handy.
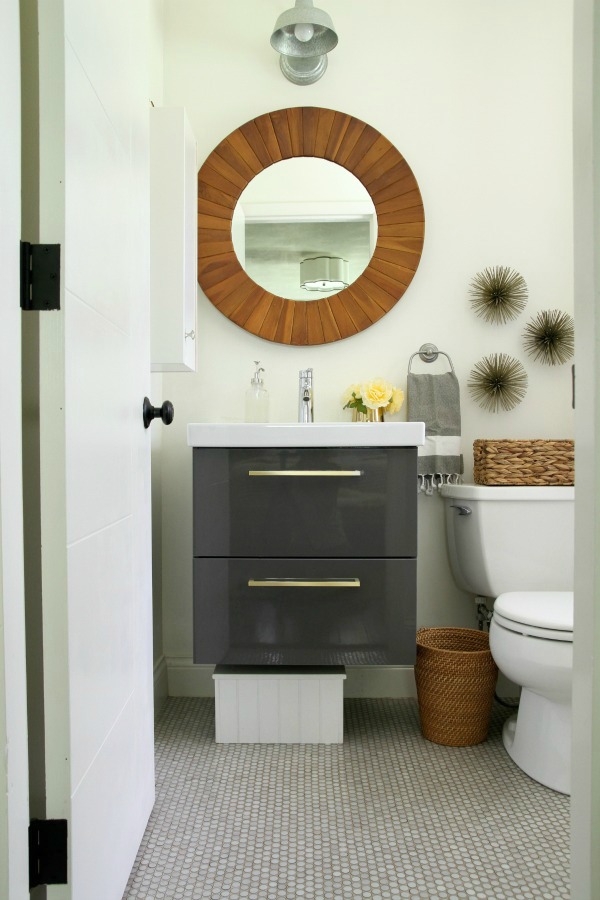
I’ve always loved the idea of adding special hardware to the Ikea vanity in the master bathroom, but it’s never been a necessity as the standard plastic pulls (mounted to the top of the drawers) functioned well. I was more than content waiting for the perfect handles to find me. And find me they did – just a few weeks ago in the form of the 11″ edgecliff pull from Schoolhouse Electric & Supply Co. They were a bit of a splurge but they instantly brought the vanity’s level of sophistication up a notch. Totally worth the wait.
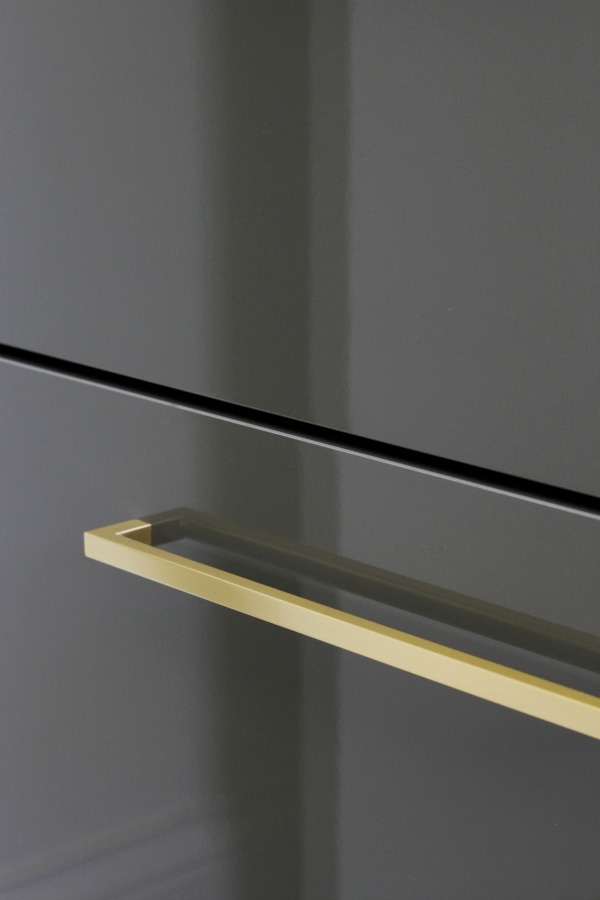
Installation was easy enough. Two screws per pull (which were included with the purchase) screwed into two pilot holes and that was it. (The new pulls are mounted 2½” from the top of each drawer.) The handles are quite substantial and feel hefty underhand. They’re one of the those subtle details that bring a sense of luxury to the space and they’re used so frequently that they really do make a regular, mundane task (opening a drawer) feel special.
I don’t think I’ll tire of the gray-brass combo anytime soon. And, yes!, you CAN mix finishes in a small bathroom! The brass pulls pick up on the gold vase and wall urchins but they don’t “match” the chrome finishes in the rest of the bathroom. THAT’S OKAY.
I love our new pulls so much that I asked Schoolhouse Electric & Supply Co. if they would be interested in a giveaway. They were kind enough to offer up a store credit! The timing couldn’t be better. The company just released their fall ’14 collection today. Like the rest of the inventory, the new items blend seamlessly with traditional or modern décor and the quality is superb.
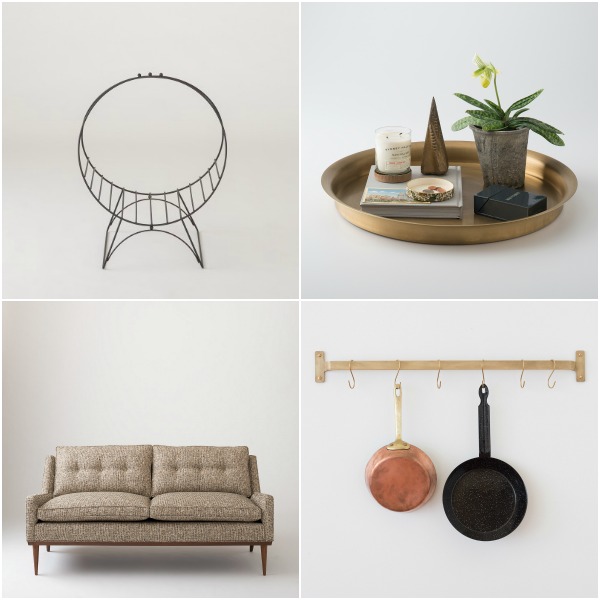
sources: metal hoop stand // round brass tray // brass rail // Jack loveseat in nubby tweed
I’ve got my eye on the metal hoop stand. Even though we converted the original wood-burning fireplace to gas in the living room, I like the idea of displaying stacked split logs for an organic vibe.
See anything you like? Check out the full collection here and keep reading to enter to win a $100 gift certificate!
PRIZE: one $100 gift certificate to Schoolhouse Electric & Supply Co.
TO ENTER: Leave a comment on this post proclaiming “SCHOOL ME!” and let me know which item(s) you would put the $100 toward.
RULES: You must be at least 18 years old and have a shipping address (no P.O. boxes please) within the continental U.S. One entry per email address.
DEADLINE: Enter before 9:00 p.m. EST on Sunday, September 21st. One random winner will be announced Monday, September 22nd.
Good luck!
images: 1 & 2) Dana Miller for House*Tweaking 3 & 4) Schoolhouse Electric & Supply Co.
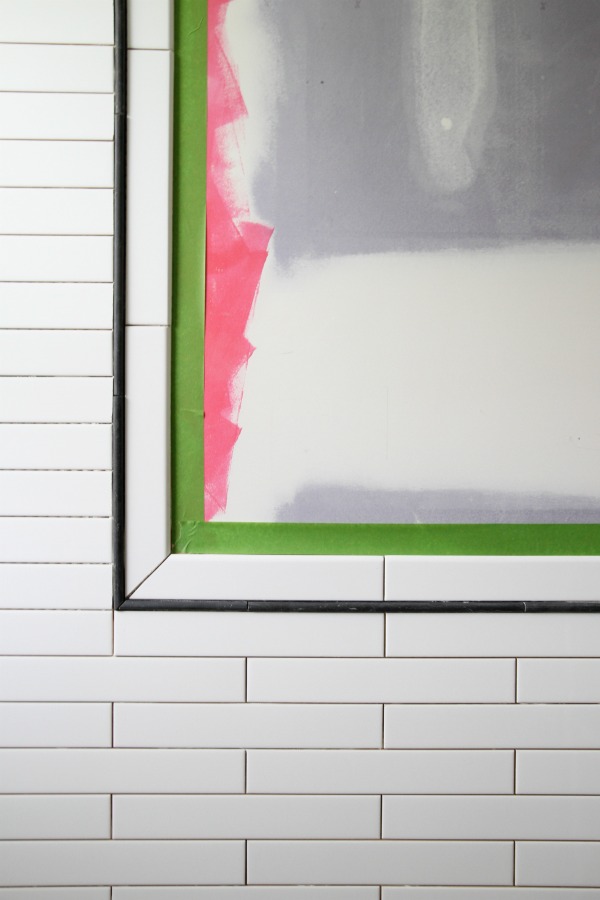
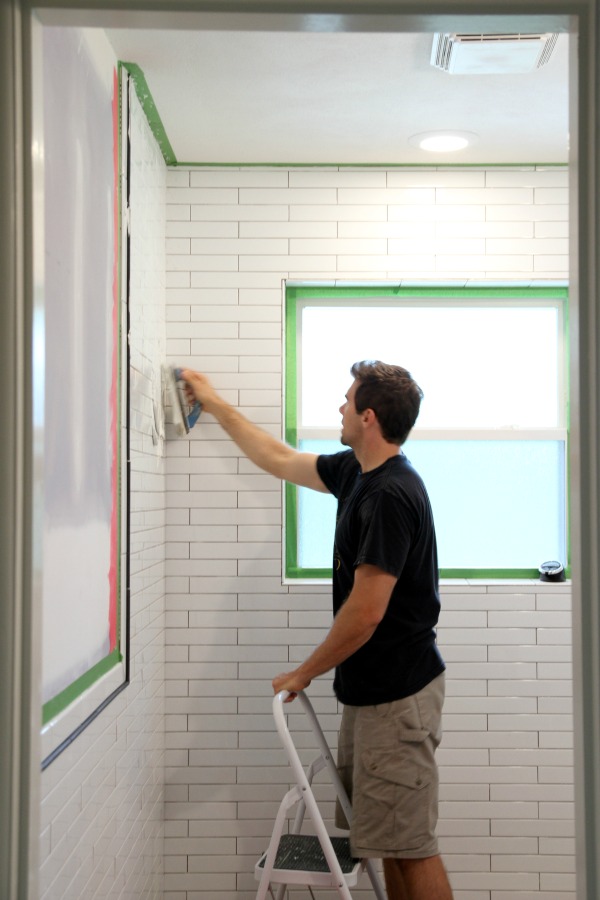
Steve finished tiling the bathroom walls two weekends ago. Working in spurts around his real job, family life and appendectomy recovery, the entire process strung along for most of the summer. Between the uneven walls and Steve’s perfectionist tendencies, it wasn’t the most enjoyable DIY. The window wall put up a good fight. It was all kinds of wonky. And our choice of tile probably wasn’t the easiest to work with on the wavy wall. The narrow subway tile is extra long at 12″ which didn’t allow for much “play” along some of the most troublesome spots. Luckily, the worst spot (along the bottom of the window wall) will eventually be hidden behind the bathtub so it shouldn’t be too noticeable in the end.
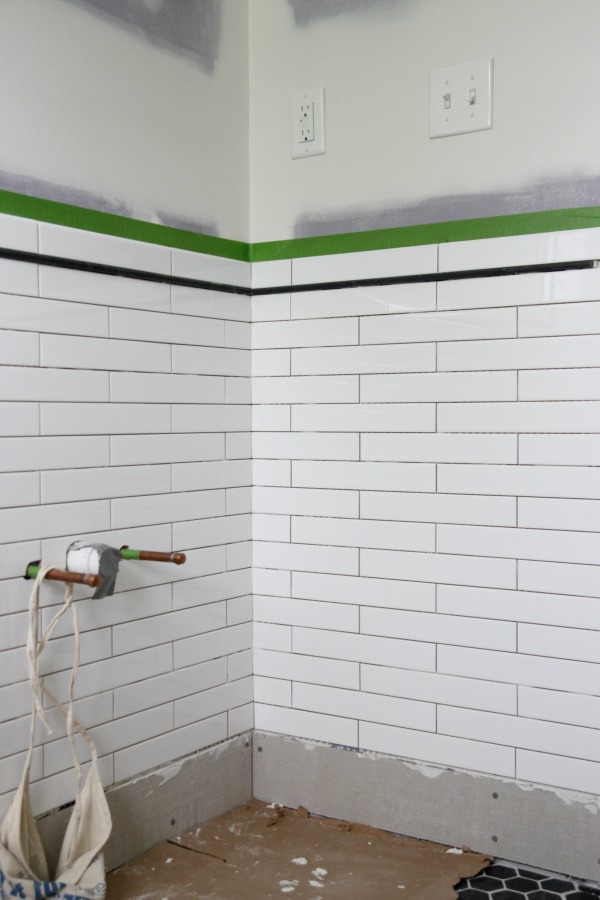
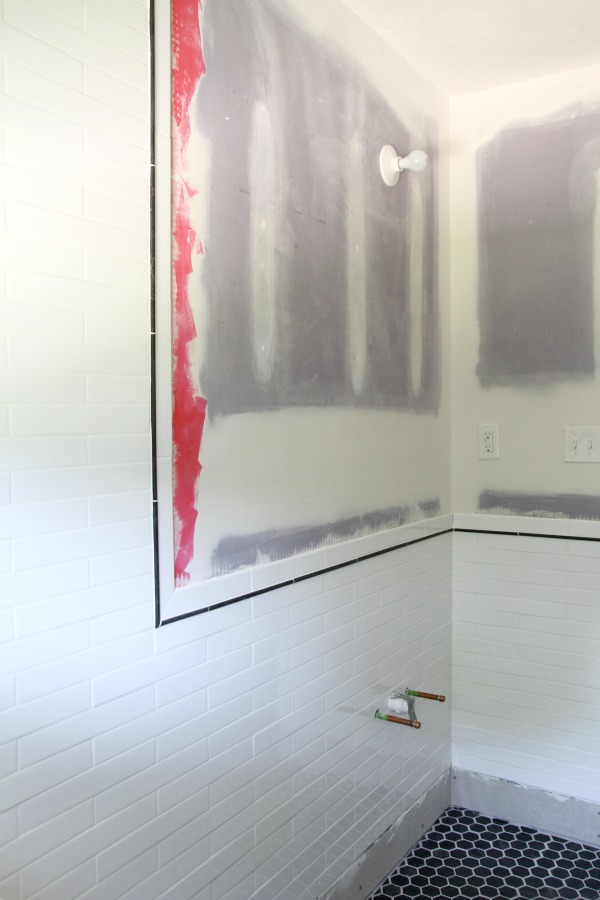
But we do have perfectly wrapped corners. (The water lines denote the vanity’s location.)
And exact 90º angles. Those are always fun.
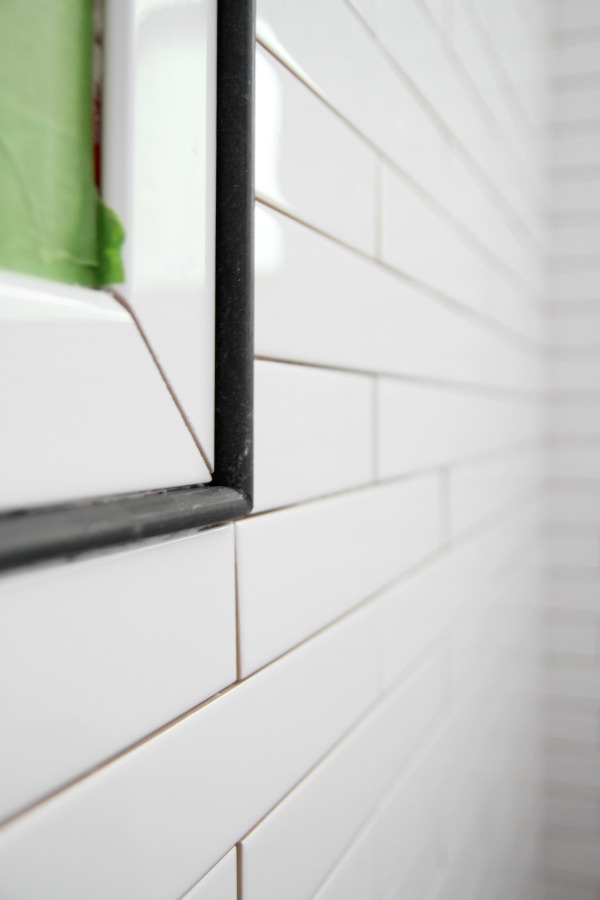
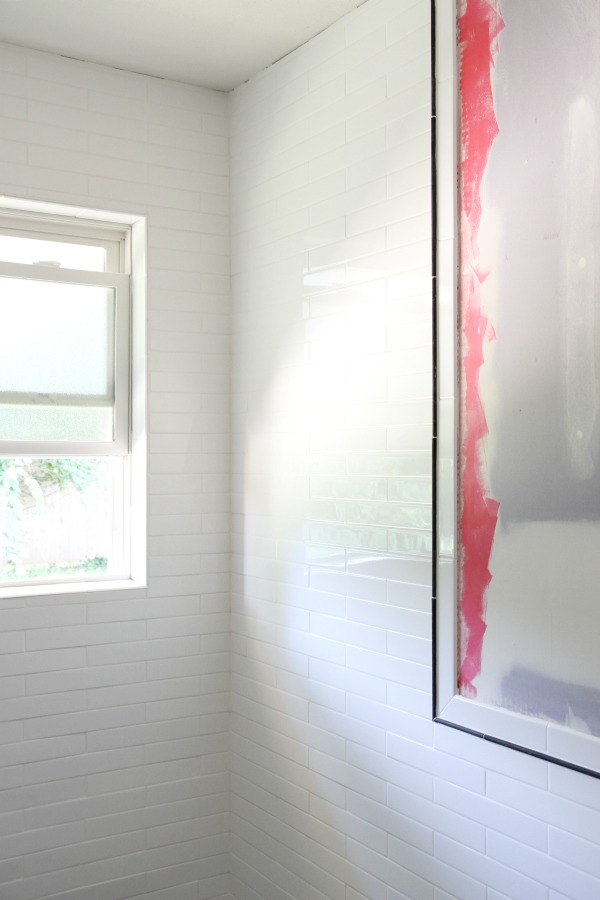
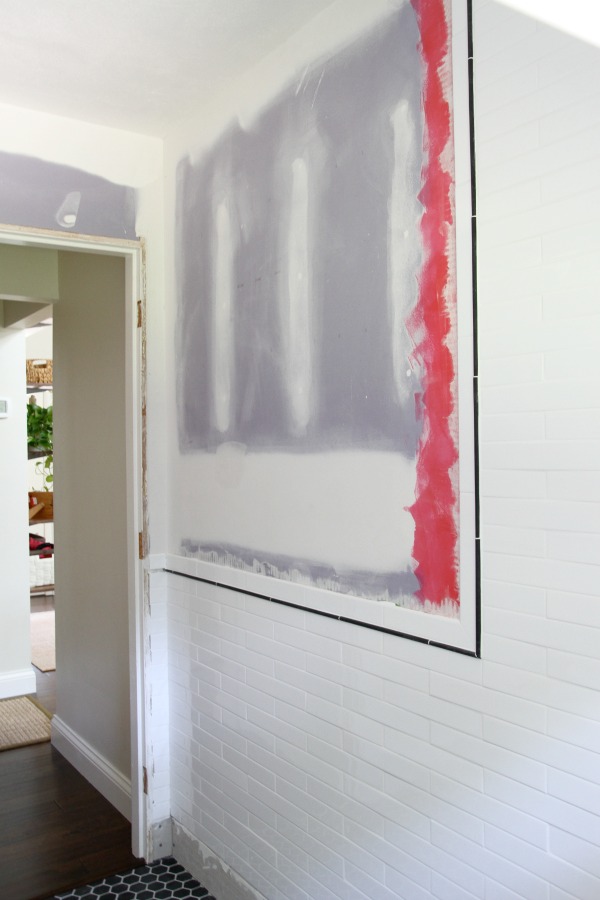
We are SO HAPPY with how the black pencil liner and bullnose trim turned out! I was a little worried about the profile of the pencil liner sticking out further than the subway tile but I actually love it. It’s a great finishing touch that’s simple yet sophisticated. And it gives the walls some added dimension, too.
With all the tile in, we started to second-guess our choice of white grout for the walls. The contrasting spaces between the subway tile looked decent so we contemplated a contrasting grout for a split second. But when we pulled back the cardboard protecting the hex floor tile, things felt very busy all of a sudden. So we decided to stick to our original choice of white grout.
Which we tackled this past weekend! It was a joint effort and we let the kids fend for themselves while we knocked it out. Let’s just say, once we were finished, the rest of the house was looking waaaaaaaay scarier than the bathroom. When you have three kids and a bathroom remodel on your hands, you do whatcha gotta do. Sometimes the bathroom takes precedence while your kids run wild and eat whatever / wherever they want for a day. It’s all good.
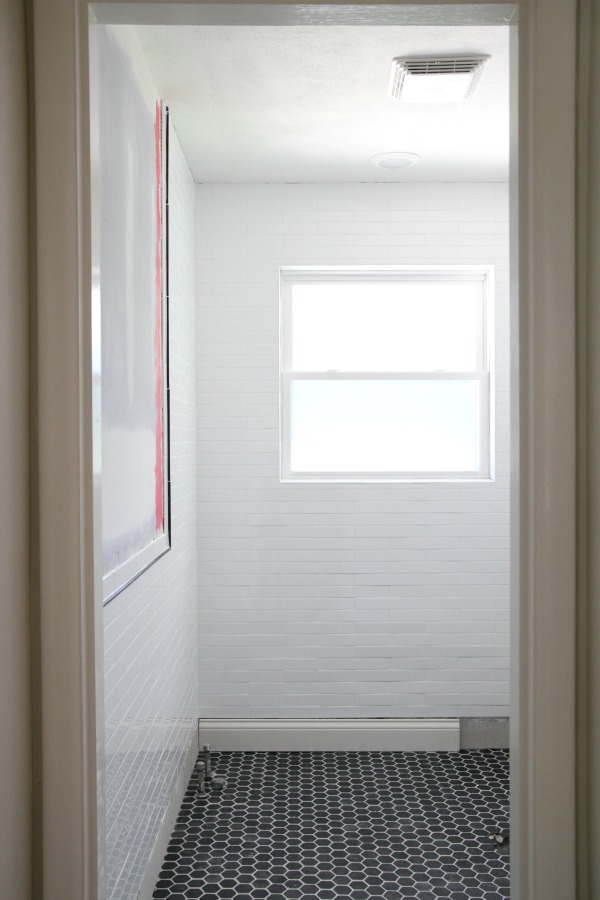
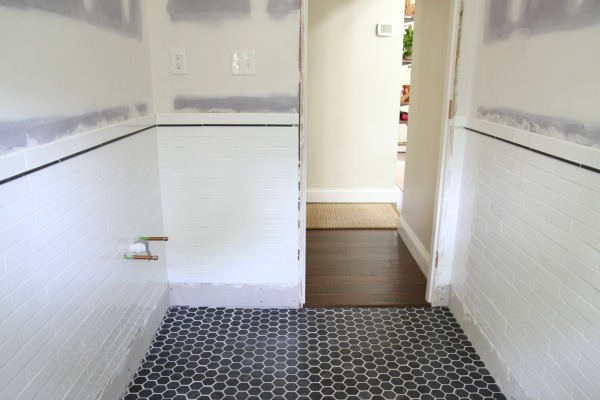
The freshly grouted bathroom! And a piece of unpainted baseboard for reference! I’ve never been so in love with a room that doesn’t serve any purpose (yet!).
The grout is standard white unsanded grout from The Tile Shop. It’s the same color we used on the shower walls in the master bathroom.
Pictures really don’t do this room justice. It’s difficult to photograph because of the small size and layout. Just being in the space – even sans fixtures – feels like a luxury. At one point, we considered only tiling the shower / tub area but I’m so, so glad we went for a tiled wainscoting around the entire room.
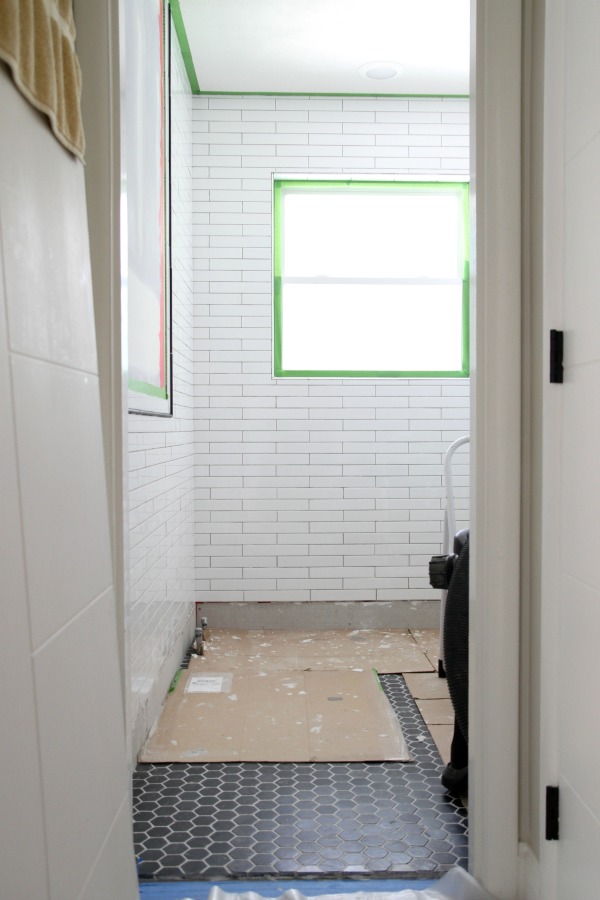
I was having so much trouble capturing the room on camera that I went outside and snapped some shots through the window to give you a different perspective. Do you spy a glimpse of the open shelves in the living room?
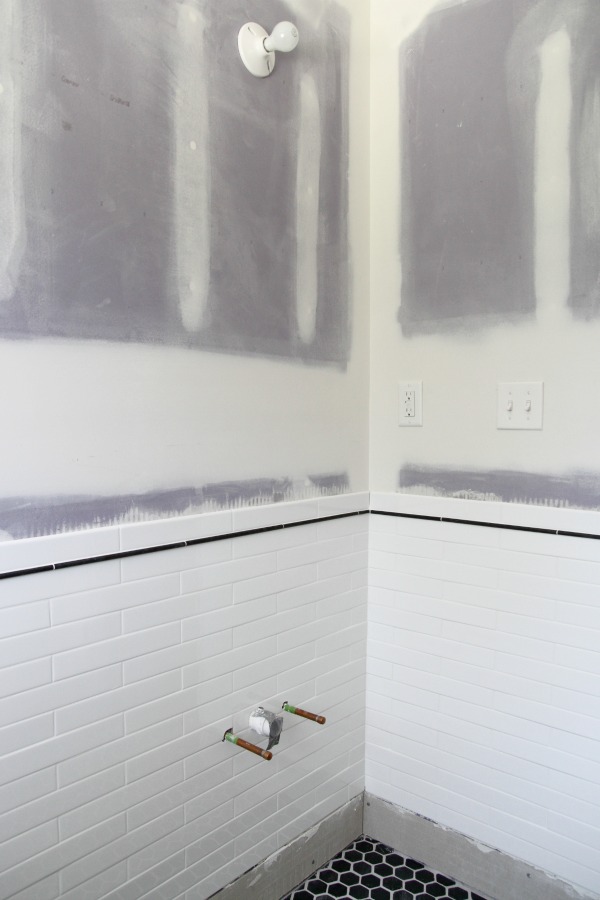
Someday, a toilet, vanity and wall sconce will live on this wall.
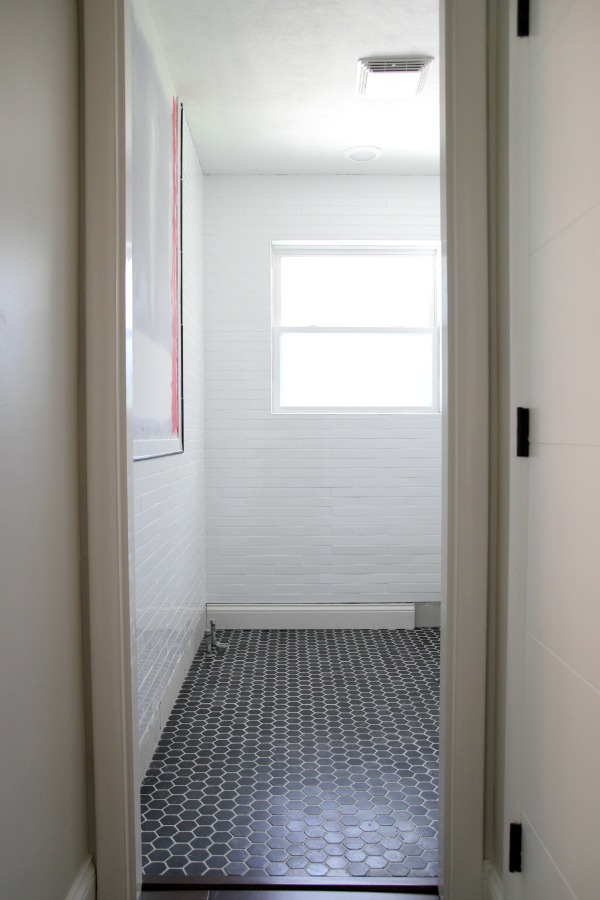
Someday, towel hooks and shower / tub plumbing fixtures will live on this wall. Maybe one day we’ll even have a bathroom door. Who knows?! The possibilities are endless.
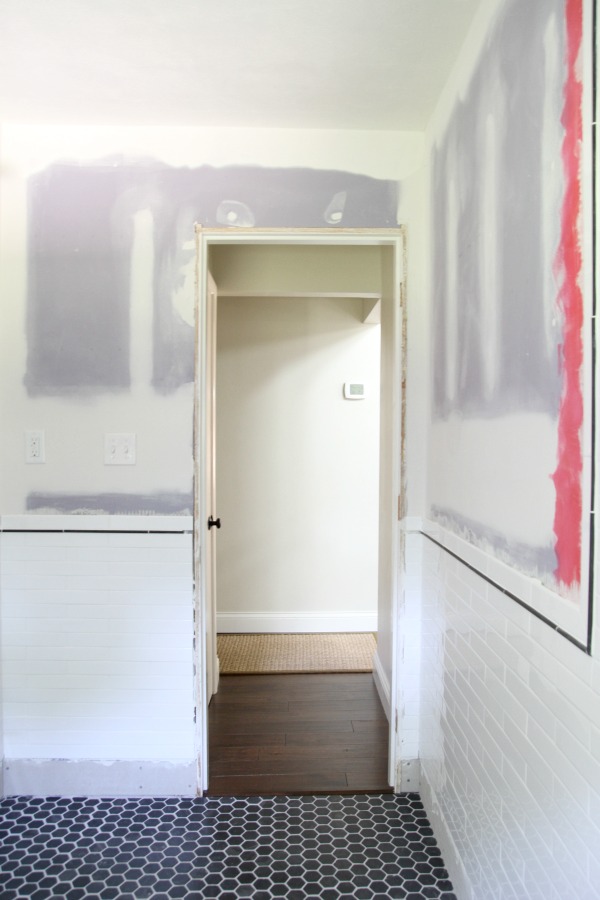
Here you can see how the short hallway (to the bathroom) juts off from the main hallway. There’s a small linen closet to the left just beyond the bathroom. I don’t think I’ve ever shown this view before but, hopefully, it gives you a better idea of the bathroom’s location in relation to the rest of the house. Hint: on the other side of the right-hand wall is the kitchen desk.
We still need to seal the walls, install baseboards and caulk. (The floor is already sealed.) Then we start work on the tub. We’re equal parts stoked : horrified. Especially considering what happened the last time we touched it. If anything, it should be a good learning experience. At least, that’s what we’re telling ourselves.
*Thanks to The Tile Shop for partnering with us on this bathroom remodel. Tile and grout were graciously donated to the project. All product choices, labor and opinions are ours.
images: Dana Miller for House*Tweaking


budget decor, DIY, giveaway, inspiration