A bathtub in a bathroom. It’s a novel idea.

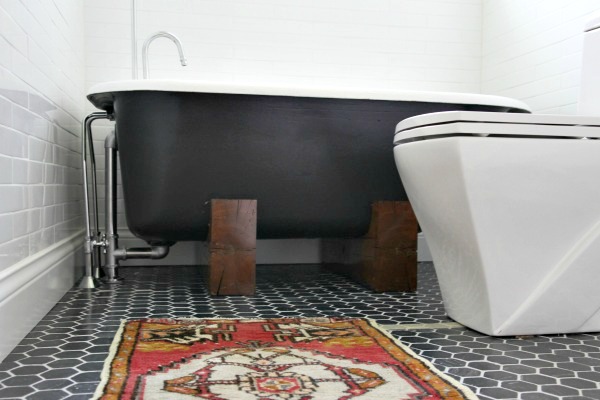
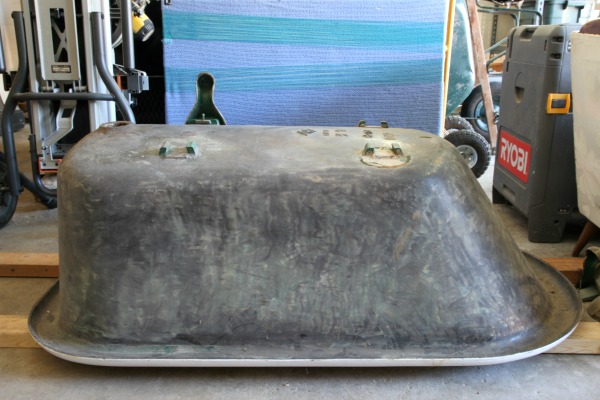
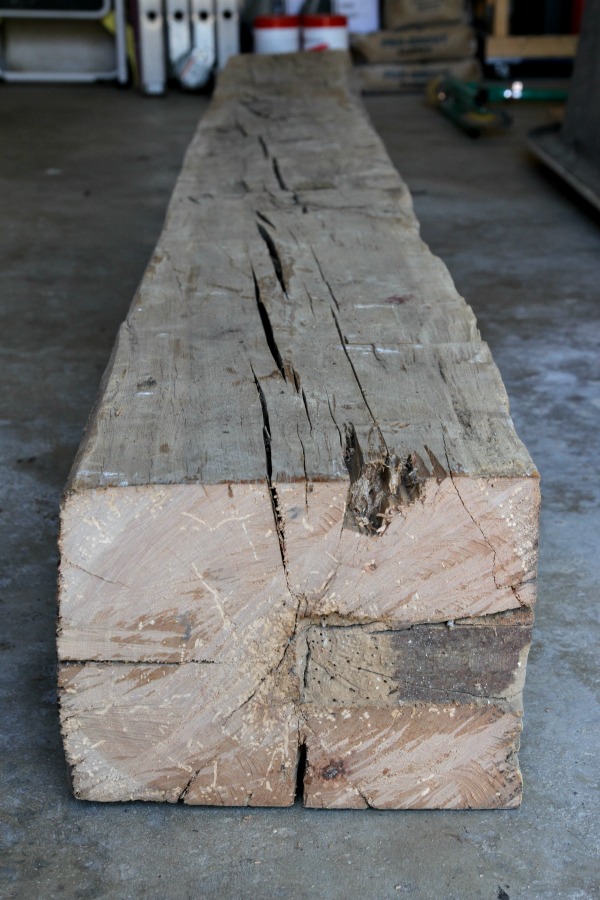
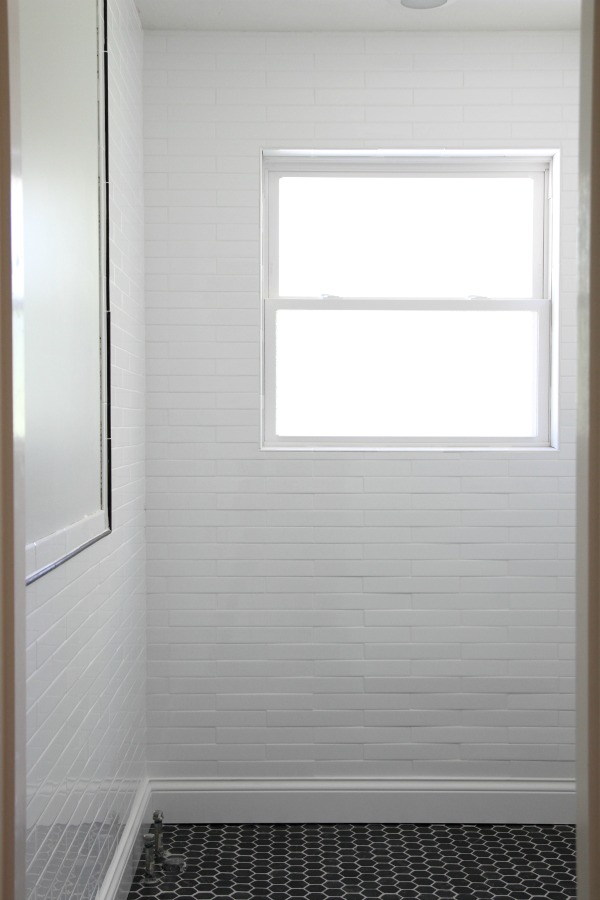
And we finally executed it in the main bathroom! (Don’t mind the masking tape on the floor. The toilet isn’t set yet.) Steve and I designed the tub’s base. He created two wood saddles from a reclaimed beam to support the tub. I primed and painted the tub’s exterior. I have an entire post coming on those projects. We hired a plumber (it was actually a two man job) to install the fixtures: water supply lines, drain, overflow, faucet, shower head support and curtain rail. We’re really happy with the final product! We do a double take every time we walk by the bathroom and see a tub in there.
The install wasn’t without a few hangups. We fully expected some to pop up since we were flying by the seat of our pants. There aren’t too many homeowners bringing in old clawfoot tubs and modernizing them with wood cradle bases and new fixtures, so there’s not really that much information out there on the subject. I’d like to share the issues we ran into with the tub install just in case it’s something you’re considering for your own home. So, here goes… (Again, I will address the tub’s base and paint job in a separate post so this mainly concerns the plumbing install.)
1. Things go missing. The day before the plumber came, we brought in all the fixtures for the tub that we’d been storing in the garage. When we took inventory, the shower head (just the head, not the support) was nowhere to be found. We looked everywhere! We ordered the parts over two years ago and somehow, amidst the renovation shuffle, the shower head was misplaced or thrown out. Ugh. We felt stupid and irresponsible, said some four-letter words, then sucked it up and ordered a replacement. Renovating is a humbling experience ;)
2. Chrome-plated clawfoot tub drains are typically special order items. When the plumber came to hook up the tub, all he had on hand was a standard brass drain. I love me some brass but we had already chosen chrome for the rest of the plumbing fixtures. We thought a brass drain and overflow would look out of place (especially since it would be visible) so we had to hunt down a chrome-plated one which added time and cost to the install.
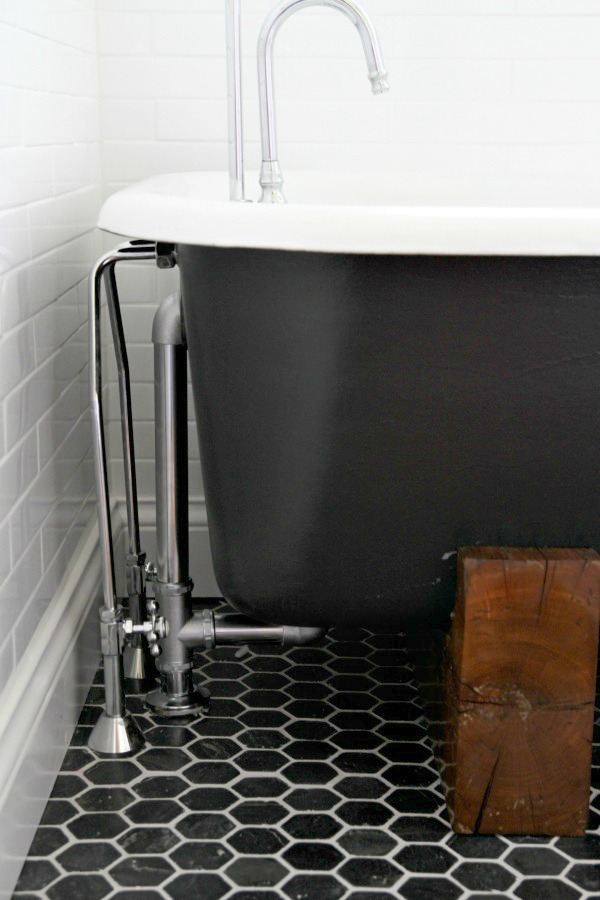
3. There’s nothing standard about vintage clawfoot tubs. The drain end of the tub has a slight slope on the vertical where the fixtures go. This means the fixtures don’t meet up with the tub at a 90º angle – which isn’t ideal. This posed a problem when installing the water supply lines, drain, overflow and even the faucet and shower head because each fixture relies on the placement of everything else. It was difficult to get the fixtures straight without compromising watertight seals. Obviously, it was important to us not to have leaks but we also didn’t want noticeably crooked fixtures. Our plumber was able to strike a good balance between function and aesthetics but not without some finagling. His exact words were, “Plumbers did a lot of cussing in the 1800’s.” Haha. Anyway, we decided to focus on lining up the drain, overflow, shower head and curtain rail and not worry too much about the water supply lines. (I.e., if the supply lines were perfectly straight, that would offset everything else.)
Another issue arose when we discovered the curtain rail was meant for a standard 5′ tub. Our vintage tub is 4½’. (The room is only 5′ wide.) Steve had to shorten the curtain rail by cutting out sections from each side of the rail. (The rail kit is made up of two symmetrical rods that meet at the shower head and ceiling flanges.) It wasn’t difficult but it was another hiccup that held up the install.
4. Four hands are better than two. It’s crazy how much the placement of one fixture affected the position of subsequent fixtures. There was a lot of “hey, hold this while I do this.” At one point, I was called in because a third pair of hands was needed. This was especially necessary when the ceiling flange was mounted. One person was in the attic holding an anchor block in place so that a second person could drill into it from the bathroom. I was holding a level to make sure everything was plumb. It’s not rocket science but there’s only so much you can do with two hands.
So, yeah, the install wasn’t a standard run-of-the-mill install. But it’s done and we have a working tub! We haven’t used it yet but we did fill it up and drain it to test things out. No leaks!

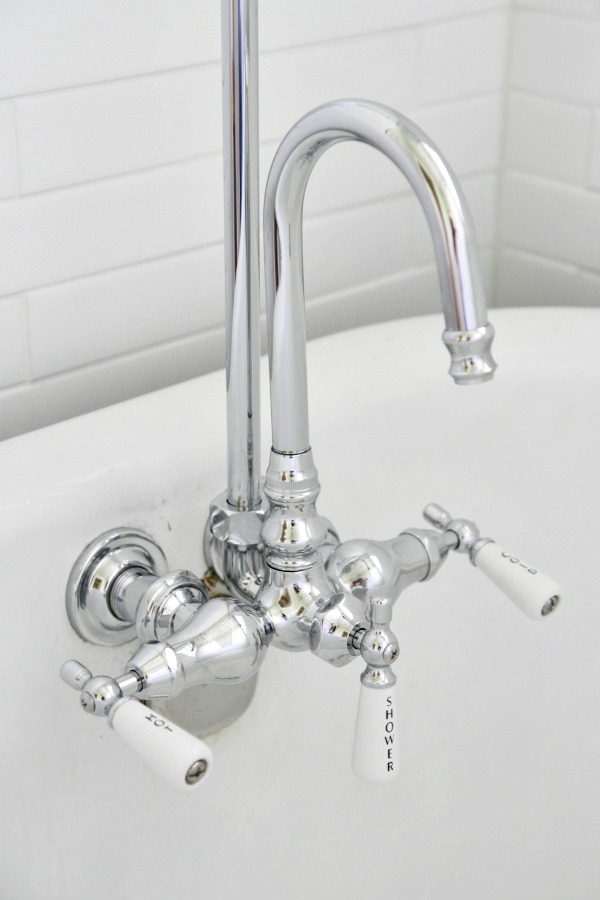
We’re crazy in love with the fixtures. The porcelain handles are so charming. Similar fixtures will go on the sink to help tie the old tub in with the new vanity.
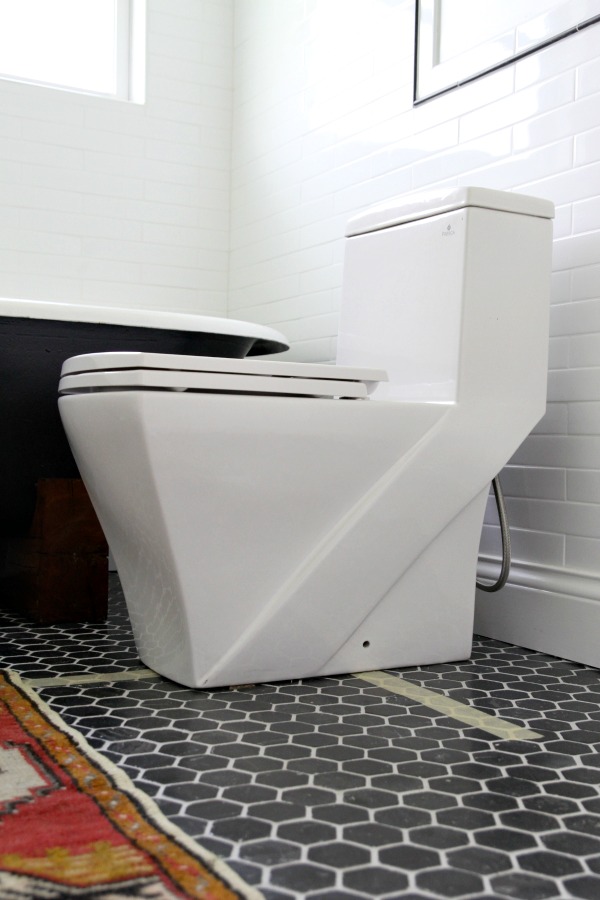
Once the tub was in, we were itching to set the toilet. We chose a sleek, contemporary model to contrast with the old tub. I am so intimidated by this toilet!
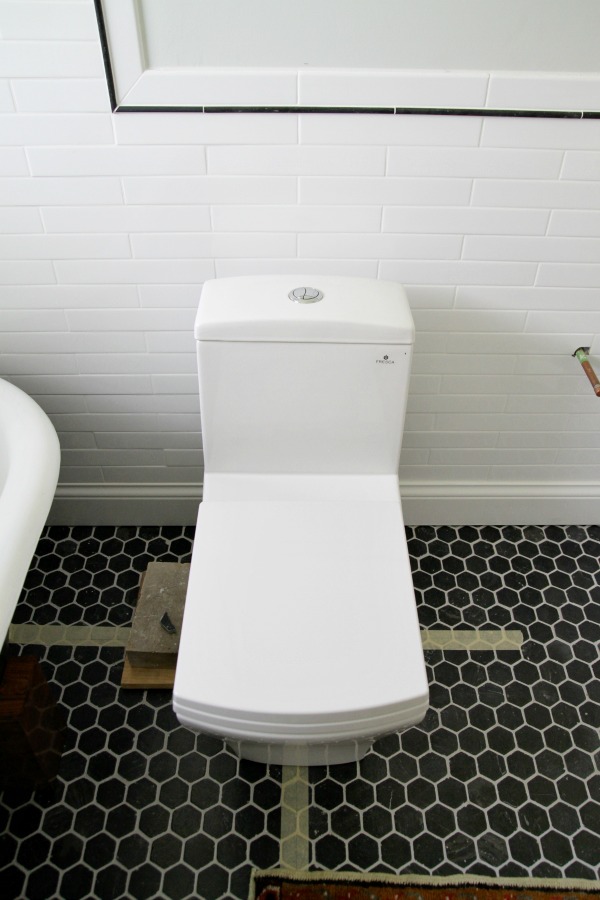
It has a dual flush button on the tank, an elongated seat with a soft-closing lid and clean lines. Can toilets be sexy? I say yes. Steve worked on installing the toilet the day after the tub was finished. He was two screws away from having it set when one of the brackets at the base broke. Two screws away from not sharing one toilet! So close. At this point, it’s par for the course. We’re waiting on a replacement. Hence, the masking tape on the floor until it’s officially done. The brick on the floor to the left of the toilet is covering a heating / cooling register to keep Cheetah from disappearing down into it. She’s one curious kitty.

I’ll share details of the tub’s base and paint job next week. And I will include a source list when I post the final reveal. But if you have any pressing questions that just can’t wait, I’ll try to answer them in the comments section.
We’re getting there. What do you think so far?
P.S. – It was such a gloomy day when I snapped these shots. I had to lighten them quite a bit to get the base of the tub to show up. The photo quality isn’t my best but hopefully you get the idea.
images: Dana Miller for House*Tweaking


DIY, renovation