We finally dragged out the outdoor furniture we bought last year after finishing the deck. You can read more about how we stored the furniture during the winter here. In the fall, I washed the cushion covers (they’re removable) then placed them in plastic bags in the attic along with the cushions themselves. We stacked the rattan bases on top of each other, covered them with quality covers found here then pushed them up against the house under a deep eave to protect them as much as possible.
The furniture looks great and we survived one of the worst winters ever so I think this storage method was a success! The real test will be this summer. We only had the furniture set up for a few weeks during late summer / early fall last year so it didn’t see a ton of action. I’m curious to see how it holds up.
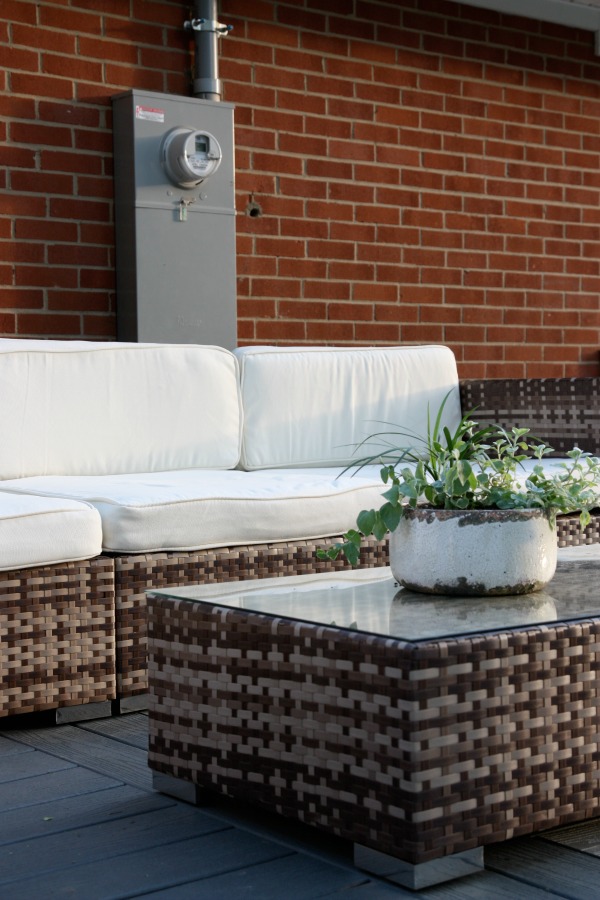
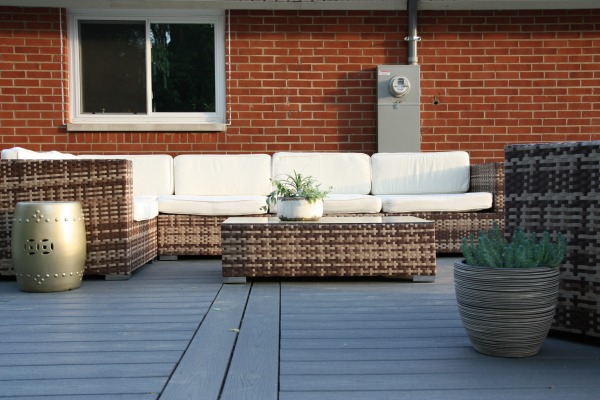
We have plans to build and hang a simple trellis / screen to hide the electric meter. I also think it would be fun and practical to install a shelf just below the kitchen window. We could serve drinks through the window or use it for easy clean-up after dining outside.
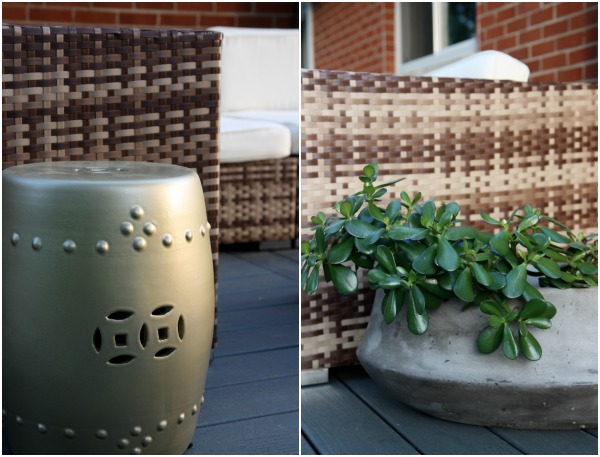
The stool I spray painted gold has held up well over the last year. I stored it in the garage over the winter months. We carried the heavy Crate & Barrel planter inside to keep the plants alive over the winter. It hung out in our mudroom all winter. One succulent died but the jade and fern are going strong. I KEPT SOMETHING ALIVE.
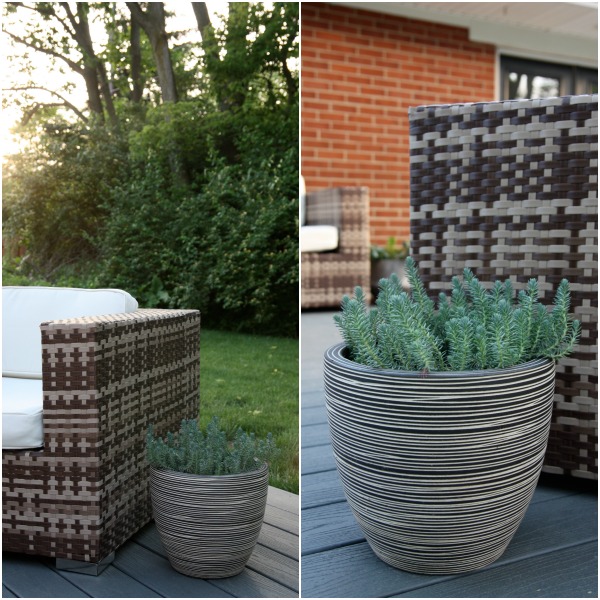
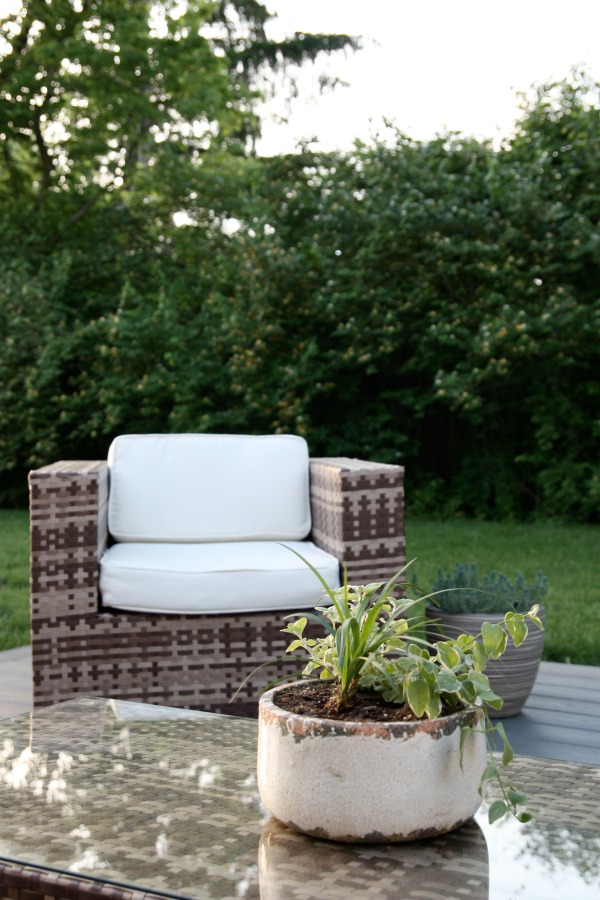
I’m drawing a blank on this planter next to the arm chair. We’ve had it a while. I pulled it out of the garage and planted something labeled “ground cover” in it. (A botanist I am not.) I was drawn to the texture. Still am.
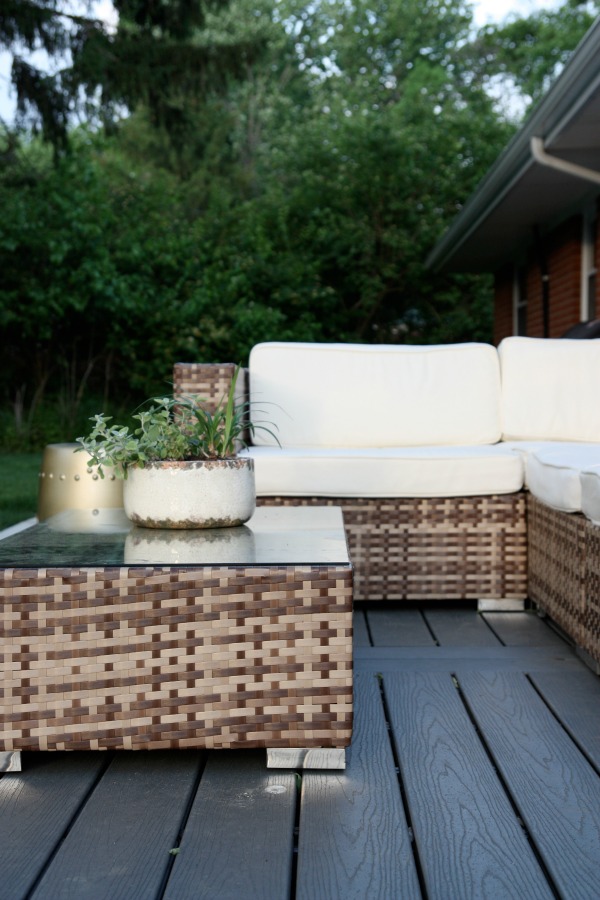
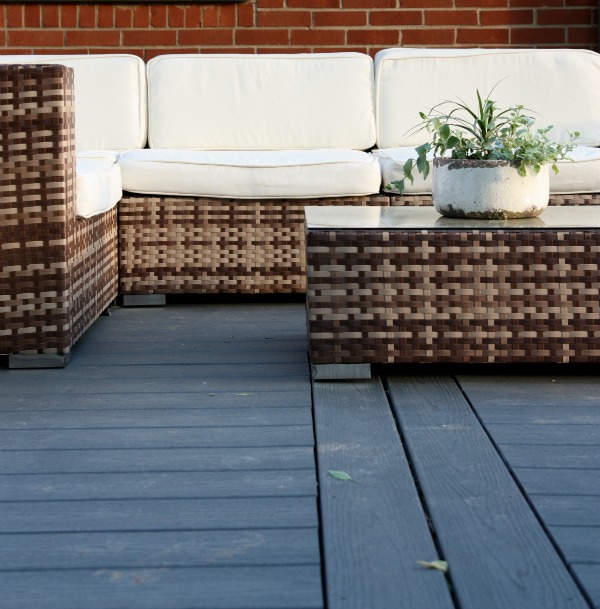
When the outdoor furniture arrived last year, I wasn’t keen on the coffee table. Mostly because everything was so matchy-matchy. But I think it has grown on me. (I stored the glass top in the attic over the winter.)
The planter on the table came from a local nursery. I wasn’t really looking for a planter but the minute I saw it I wanted it. I made myself wait a week then I went back and bought it because I couldn’t stop thinking about it. I have no idea what I planted in it. Just some cheap leafy things I found at Home Depot that said they could survive in part / full sun. Again, I was sold on the various textures.
The deck is awesome. It could use a good scrub. We backfilled and reseeded around it. With frequent waterings and kids in the mix, it’s a little lot dirty. But I have no intentions of cleaning it only to have it muddied up ten minutes later so I’ll wait until the grass starts coming in. Even dirty, it’s our favorite spot to hang out these days. To keep the lightweight furniture from sliding across the deck, we added gripper pads to the feet and plastic clamps to the frames of adjacent pieces. They’re working like a charm! I ordered some throw pillows for the sectional because it’s not “bringing the inside out” without bringing the pillows.
Putting in the deck last summer was so much work but knowing we’ll never have to maintain it (other than a scrub here and there) makes it totally worth it.
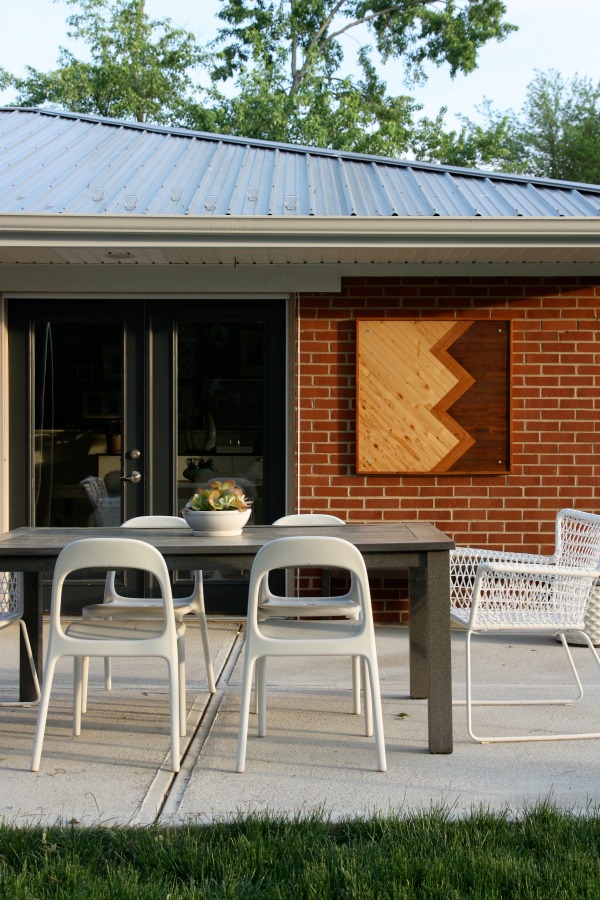
I set up the furniture on the dining patio. It’s all holding up well so far. There was some concern over the DIY wood art withstanding the elements but it looks the same as it did a year ago. It helps that it’s protected by a deep overhang. We haven’t busted out the globe lights – yet! I want to build wood frames around the concrete bases of the light poles we made.
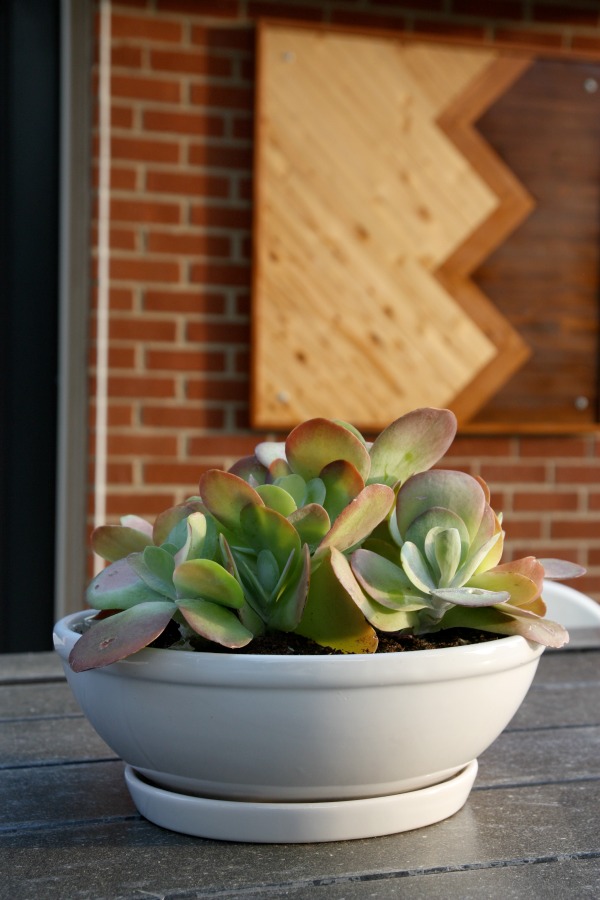
Guess what. I KEPT ANOTHER SOMETHING ALIVE. I bought the succulent centerpiece at Ikea last spring. It lived outside on the dining table all summer then inside on our kitchen island all winter. What is going on?! I kinda miss having greenery on the island now but if I buy something where does this happy lil’ guy live next winter?

We fired up the pit for the first time this past weekend and made s’mores. (Um, have you tried dark chocolate on your s’mores yet? It’s a must.) The kids LOVED it. I think I birthed three pyros. After posting about the portable pit last week, I heard from a few people who said they had the same / similar pit and it scorched the grass beneath it and rusted out after only a few years. Since the fire pit was a gift from family, we’re hoping to make it last as long as possible.
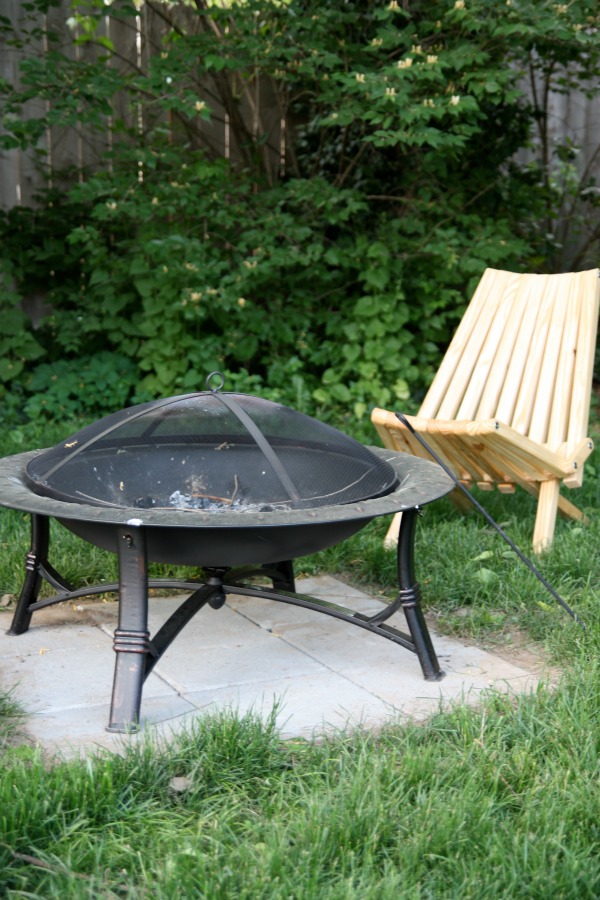
I bought nine 1′ x 1′ concrete pavers from Home Depot. It cost me less than $15 for all nine. Steve dug up the grass under the pit and transplanted it to random bare spots in the backyard. Then he leveled the ground and laid the pavers in a square. Now there’s no fear of the grass under the pit catching fire and it gives the pit a nice, even surface to rest on. Since the pavers are flush with the ground, it’s easy to mow over and isn’t a tripping hazard. If / when the fire pit konks out, we’ll probably just build a new pit with smaller pavers right on top of the square ones.
The folding patio chairs were a hit! We fought over them. I immediately ordered two more that very night. Steve’s only complaint was that the back isn’t tall enough for him to rest his head on and fall asleep. I told him he shouldn’t be sleeping around a fire + kids. We all know what Mabrey’s capable of…
So that’s how things are looking in the backyard these days. It’s extra living space! I’ll be sure to share updates (trellis / screen, window shelf, pillows!, globe lights, light pole bases, more fire pit seating, maybe a portable shade cover?) when we make them.
How are you bringing the inside out?
images: Dana Miller for House*Tweaking


budget decor, DIY, renovation