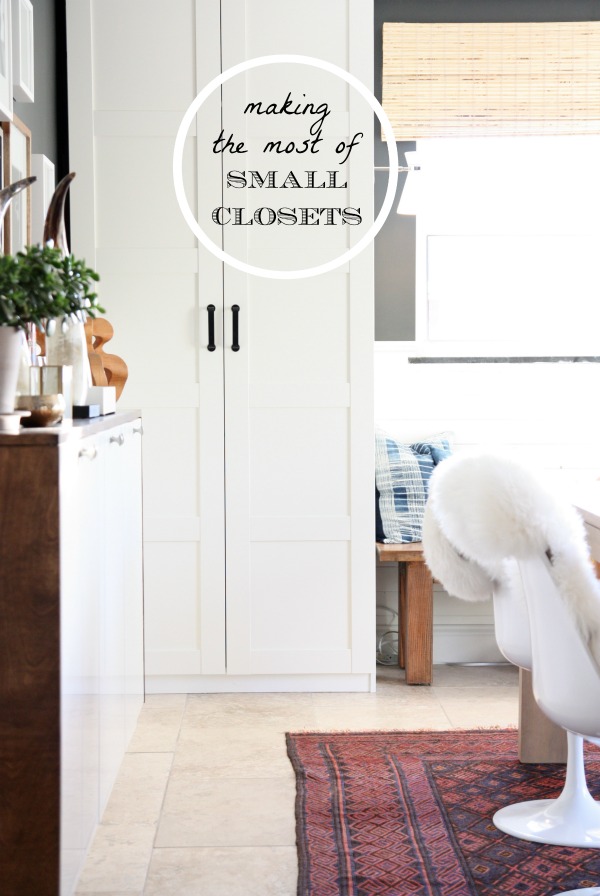
This is the second post in a series I’m devoting to all things closets. {You can see the first here.} Since downsizing and adding another person to our family, the majority of questions I receive have to do with how we edit / where we keep our belongings. Today, I’m sharing one of two wardrobes in our mudroom / dining room.
Our mudroom doubles as a dining room and triples as a laundry room. It is directly accessed from the garage and backyard so it is a natural dumping zone for outerwear, shoes, backpacks, mail, deliveries, etc. Having a designated place for everything is essential.
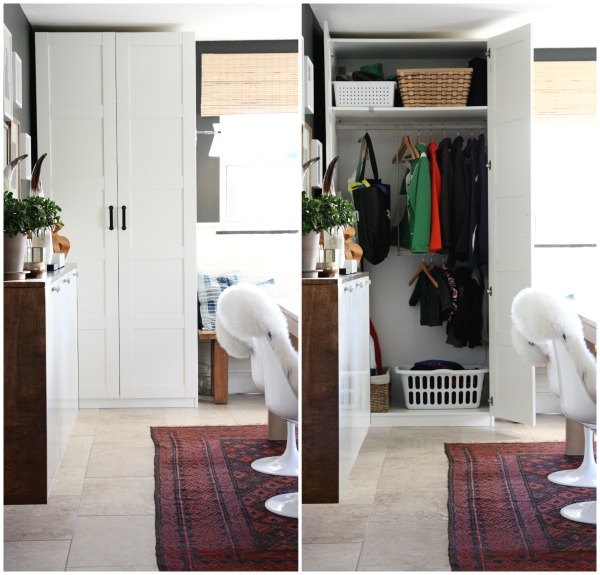
We added a pair of freestanding wardrobes to the closet-less room. One acts as an everyday coat closet while the other holds less frequently used items. {To avoid a too lengthy post, I’m discussing them in separate posts.} Most mudrooms utilize open cubbies or shelves but I wanted ample closed storage so that when we we’re eating meals in here it doesn’t feel like we’re eating in a mudroom. Which, in reality, we are. The PAX wardrobes are from IKEA and the great thing about them is that they can be customized with a range of organizational add-ons. From the outside, a pair or trio look identical but open them up and the possibilities are endless.
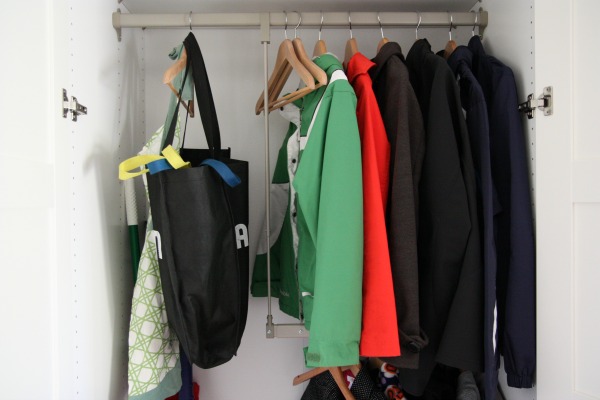
We added hanging rods at adult and kid heights. Not only does the lower rod make it easier for the kids to hang up their coats, but it also utilizes what is normally wasted space under a single rod. The kids’ rod doesn’t extend the full width of the wardrobe to allow for tall cleaning tools. The higher rod holds mine and HH’s coats, reusable shopping bags and my apron.
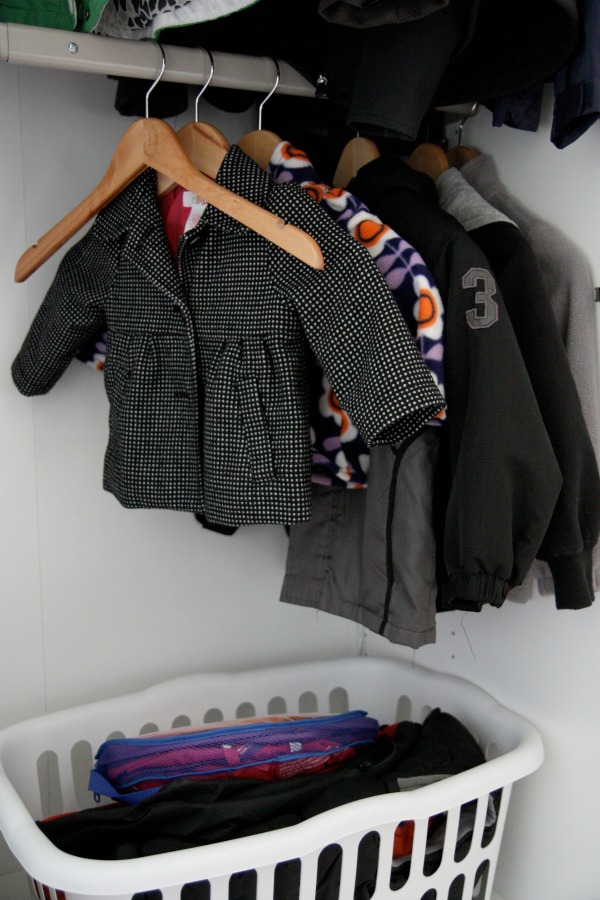
We upgraded to matching wooding hangers. The hangers are sturdy enough for heavy coats and keep hanging items from becoming one huge tangled mess.
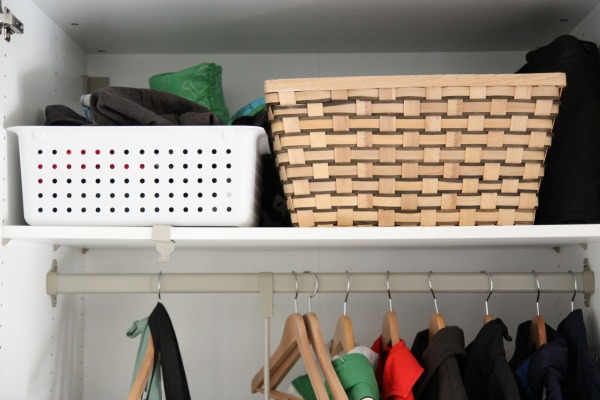
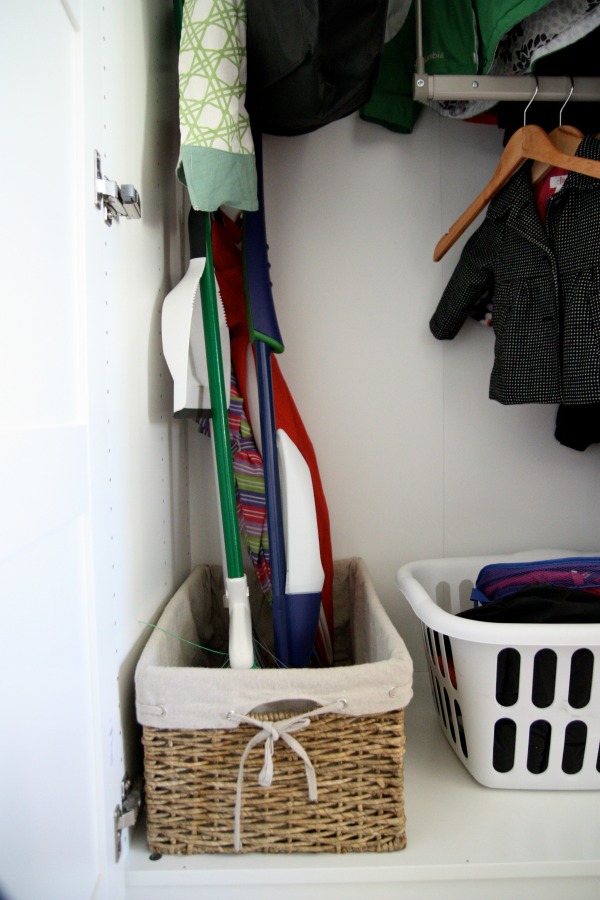
We utilize baskets for bulky and loose items. Hats, gloves, scarves and ear warmers are kept in baskets on the top shelf. A woven basket at the bottom of the wardrobe holds the broom, Bona mop, and umbrellas. This helps to keep the bottom of the wardrobe from becoming dirty. A plastic laundry basket corrals swim gear, athletic bags and the kids’ bulky cold weather vests.
We rotate seasonal items. In an effort to make the most of limited closet space in the bedrooms, we keep all seasonal wear in this wardrobe and out of the bedrooms. Winter wear, swimsuits and swim gear is all in here, all the time. {The exception is snow suits. They hang on a rod in the garage.} I bring whatever we’re using at the moment to the forefront and slip the out-of-season garb to the back.
We have a designated spot elsewhere in the room for items currently in use. There is a trio of double hooks and a floor basket next to the back door for backpacks, outerwear, shoes and bags that we use on a daily basis. These items may change day to day depending on what we have going on. In the summer, you will find our swim bag and flip flops here. During the school year, this space is loaded with backpacks, jackets and shoes. I have a rule that each person gets to keep one item from each genre out in the open. One bag, one coat, one pair of shoes, etc. This keeps clutter from getting out of control and taking over the dining table.
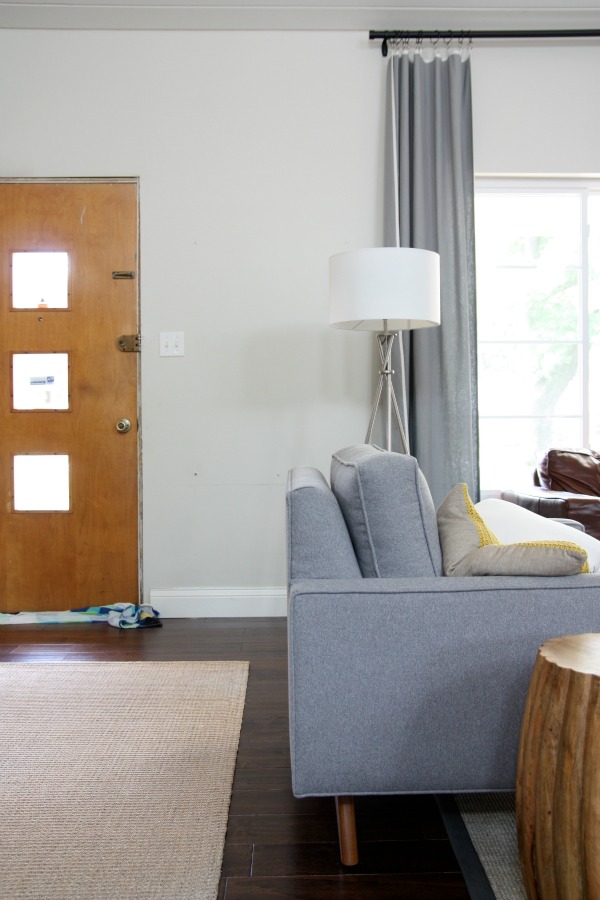
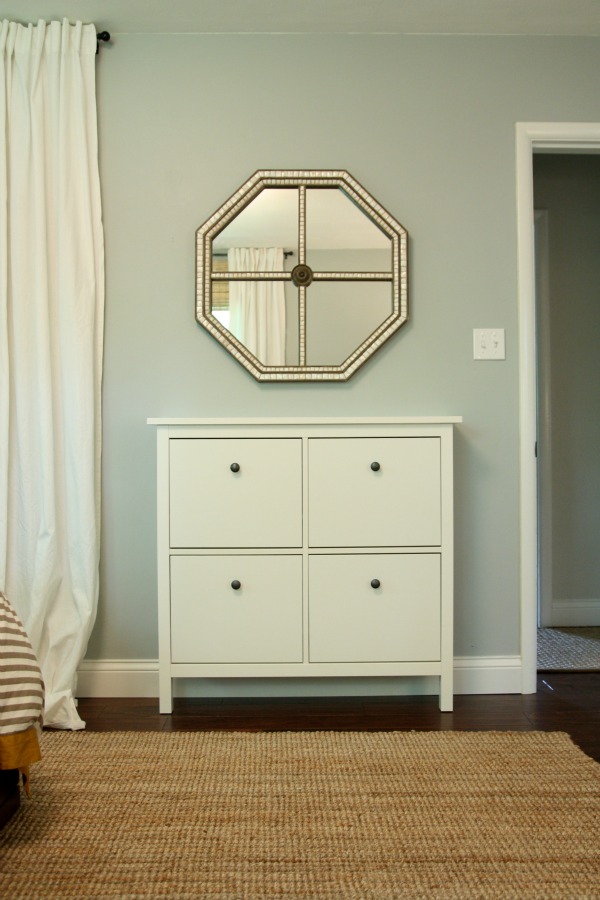
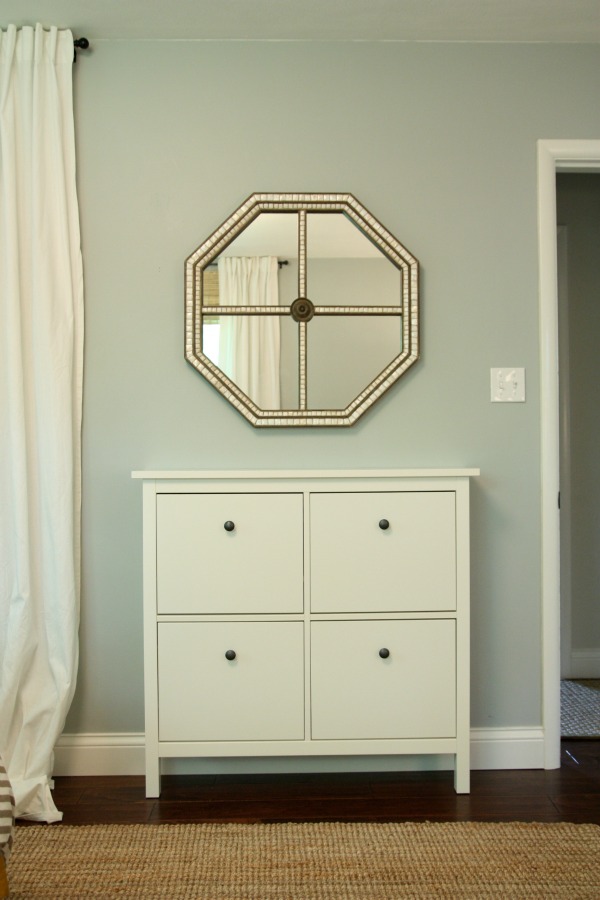
We keep shoes out of the wardrobes. Something that has really helped us make the most of our closet space is keeping shoes out of closets. The same goes for this wardrobe. We have a shoe rack in the garage, a shoe basket next to the back door and a shoe cabinet in the master bedroom. This frees up space in our closets and keeps the house cleaner, too.
Implementing all of these things helps us get the most out of this multipurpose space while keeping clutter at bay. You probably noticed a few ideas repeated from our master bedroom closet – customizable organization, matching hangers, keeping shoes elsewhere. Those are the things that really work for us so don’t be surprised if you see them popping up again throughout this series. Next time, I’ll share the other mudroom wardrobe. Currently, it’s in disarray so I have some work to do!
images: Dana Miller for House*Tweaking


budget decor, DIY, housekeeping, inspiration, kid-friendly